Announcement

Collapse
No announcement yet.

Valve spring removal

Collapse
X
 
  • Filter
  • Time
  • Show
Clear All
new posts

    Valve spring removal

    I removed some of my valve springs tonight. I thought I'd share some pics.

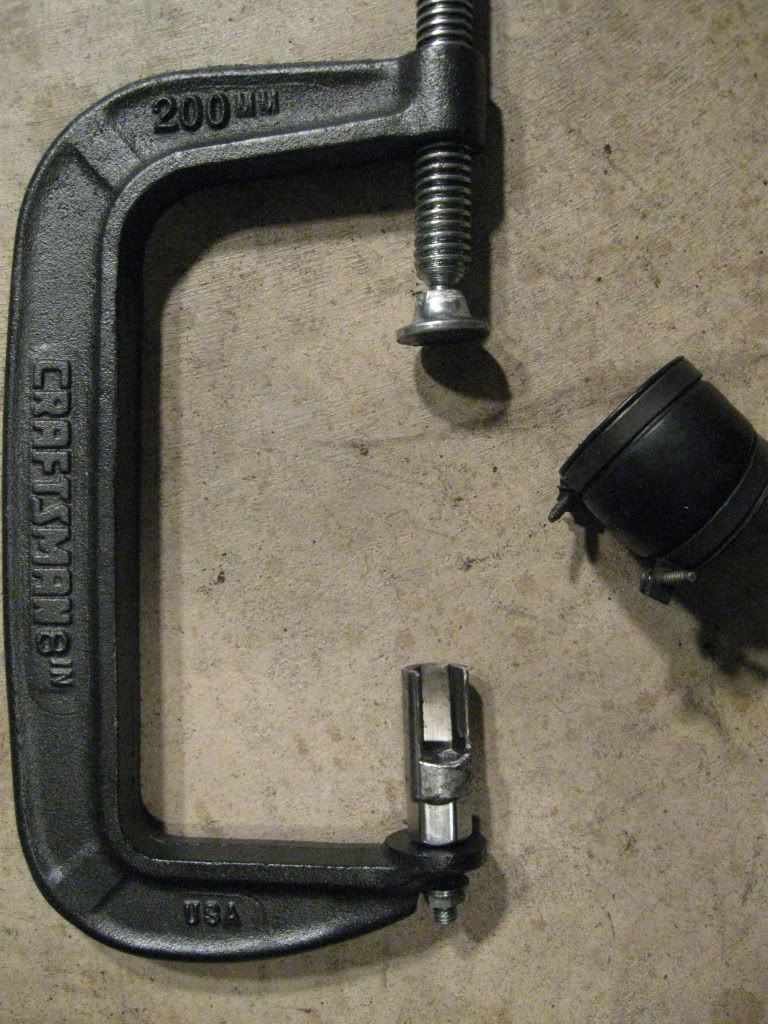
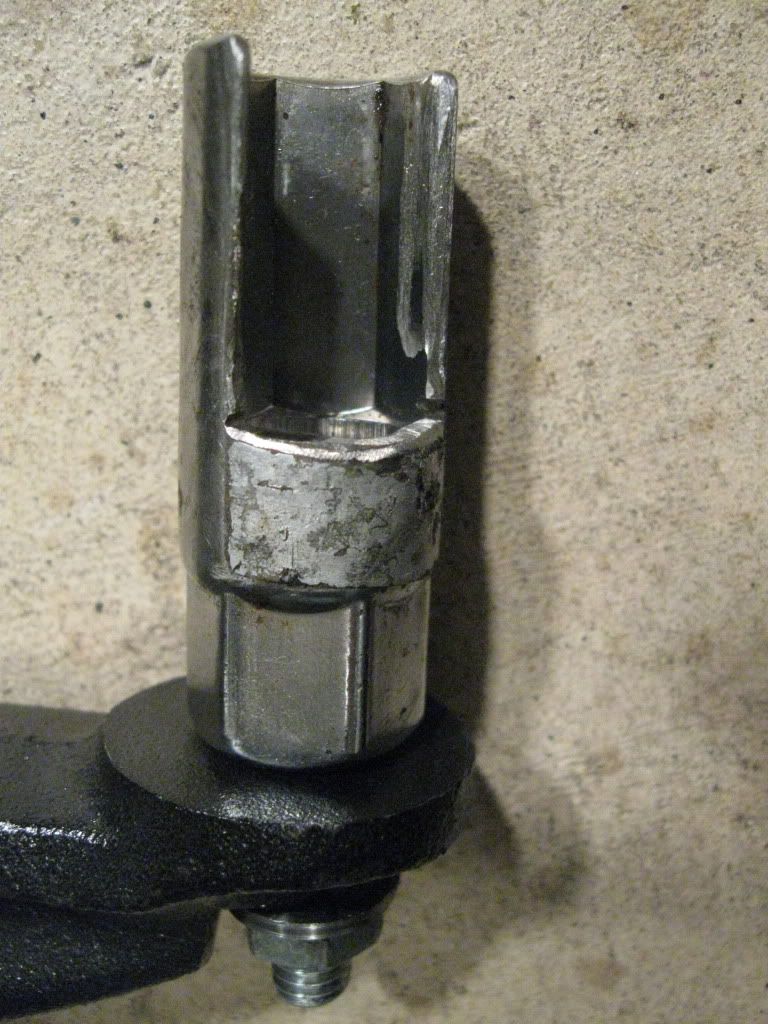
    First I'd like to introduce the main tool. It's a wonderful piece of engineering from the depths of bwringer's garage. A large c-clamp with a cut-out socket bolted to one end. I put the boot there for scale.


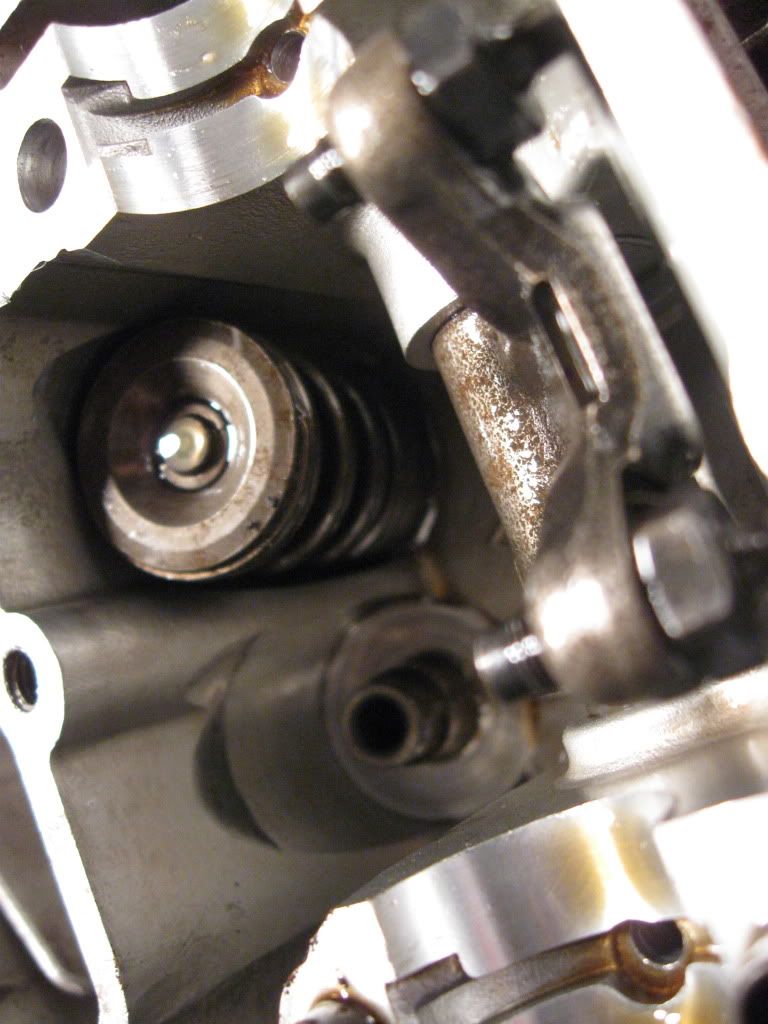
    Next is our patient. One of 16 valve springs from an '81 GS750. The one next to our patient has already been removed.


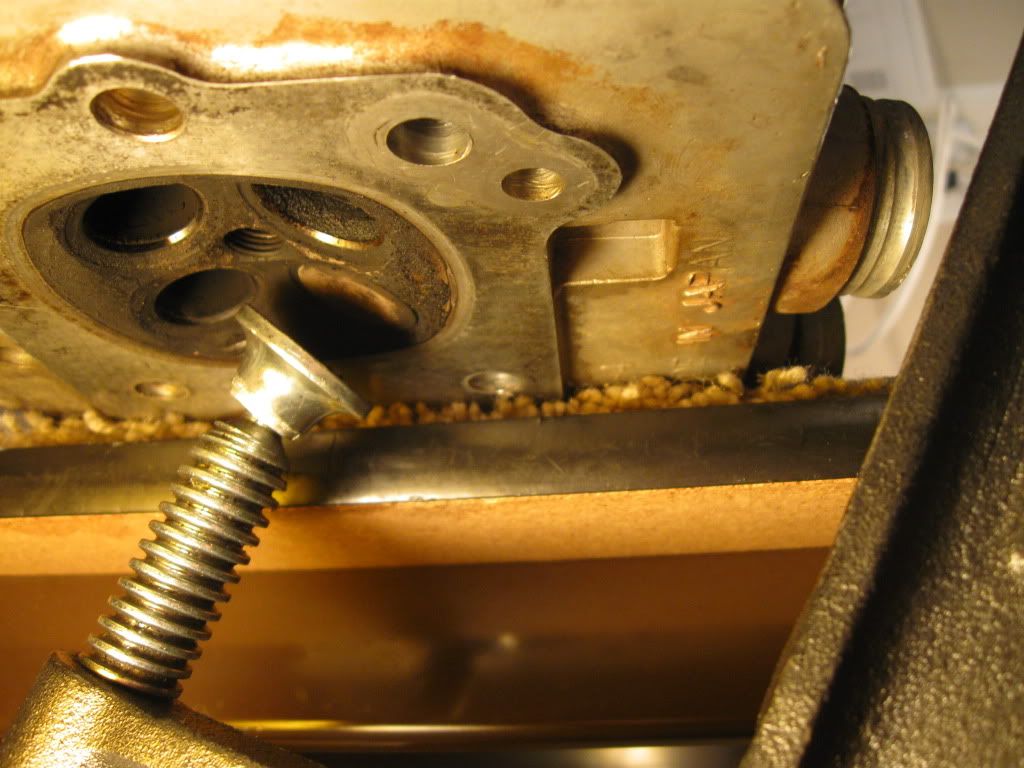
    Next, open up the clamp and postion it over the valve.

    Larry D
    1980 GS450S
    1981 GS450S
    2003 Heritage Softtail

    #2
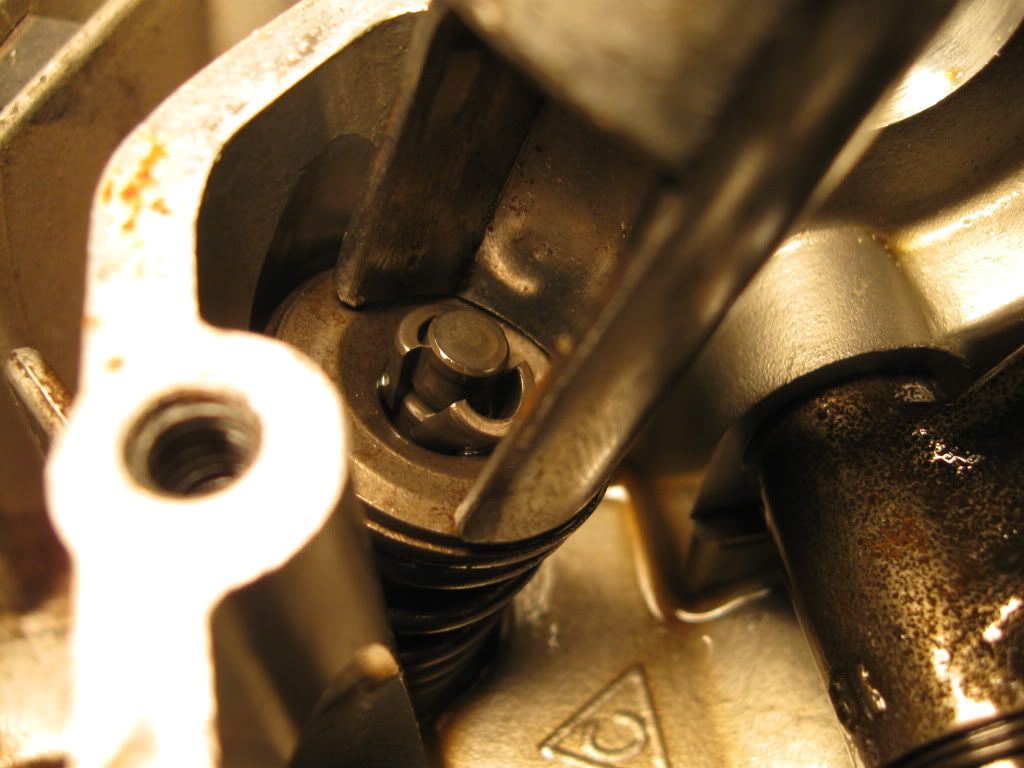
    Then take the socket and place it over the spring. Take care to position the opening so a small pair of needle nose pliers will fit in easily. Tighten the c-clamp to loosen these aggravating little keepers.


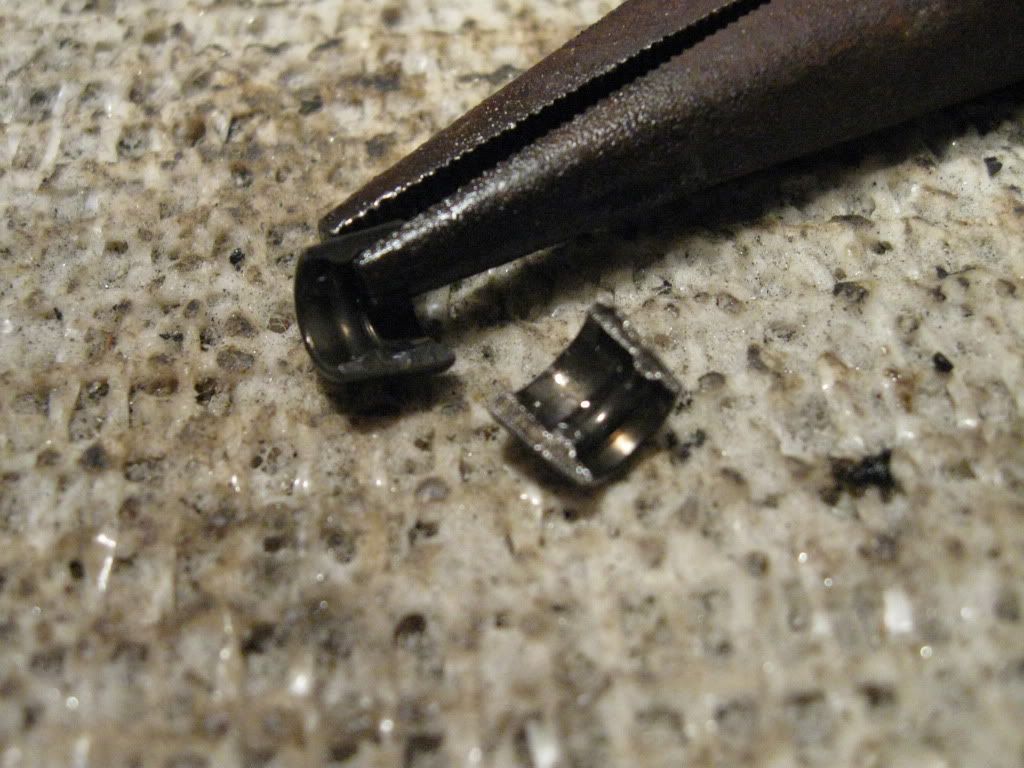
    Reach in with the pliers and take out the keepers. It's sorta like the the childhood game "Operation".


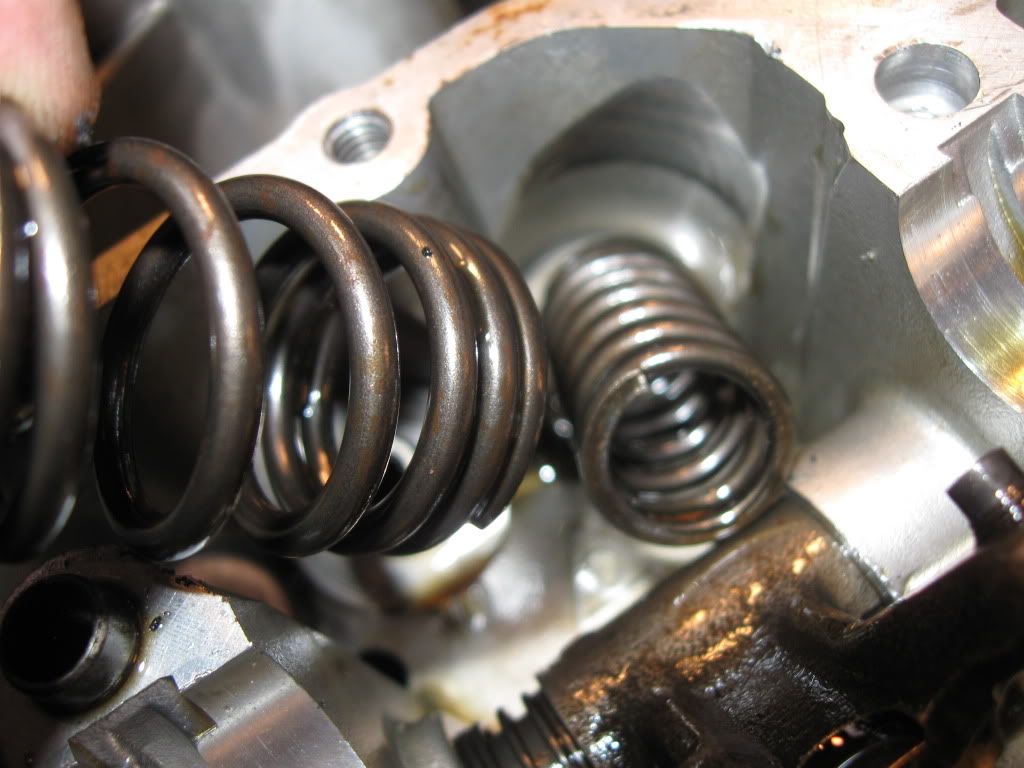
    Loosen the c-clamp and let the valve fall out. Then remove the springs...yep, there's two of them.


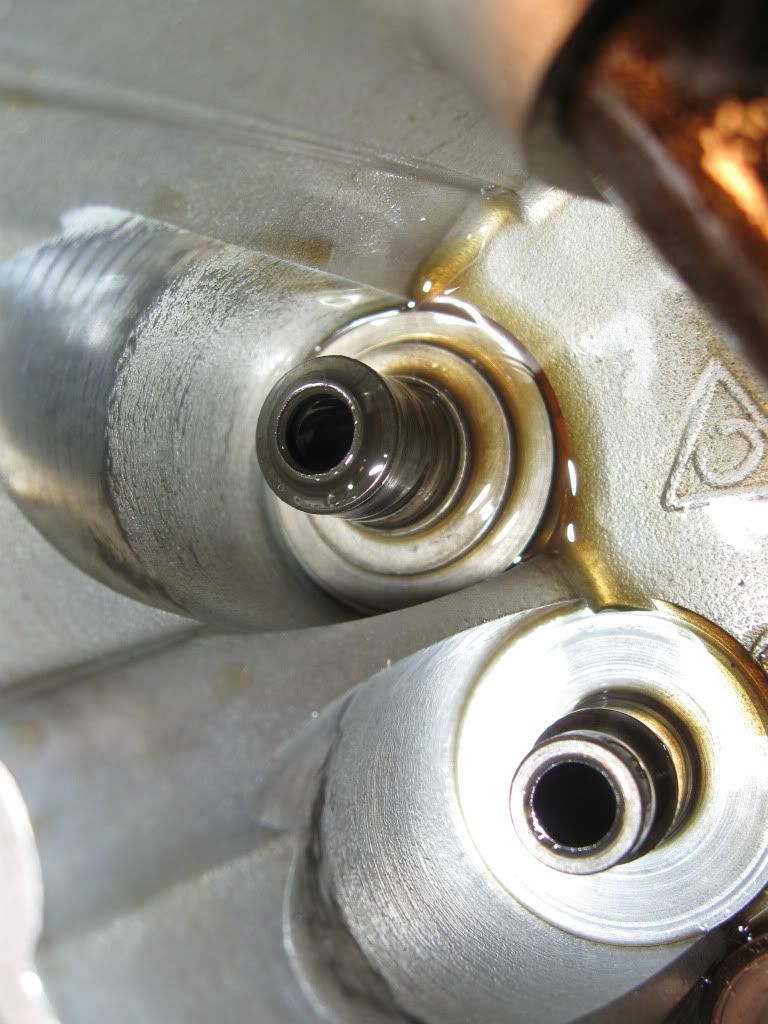
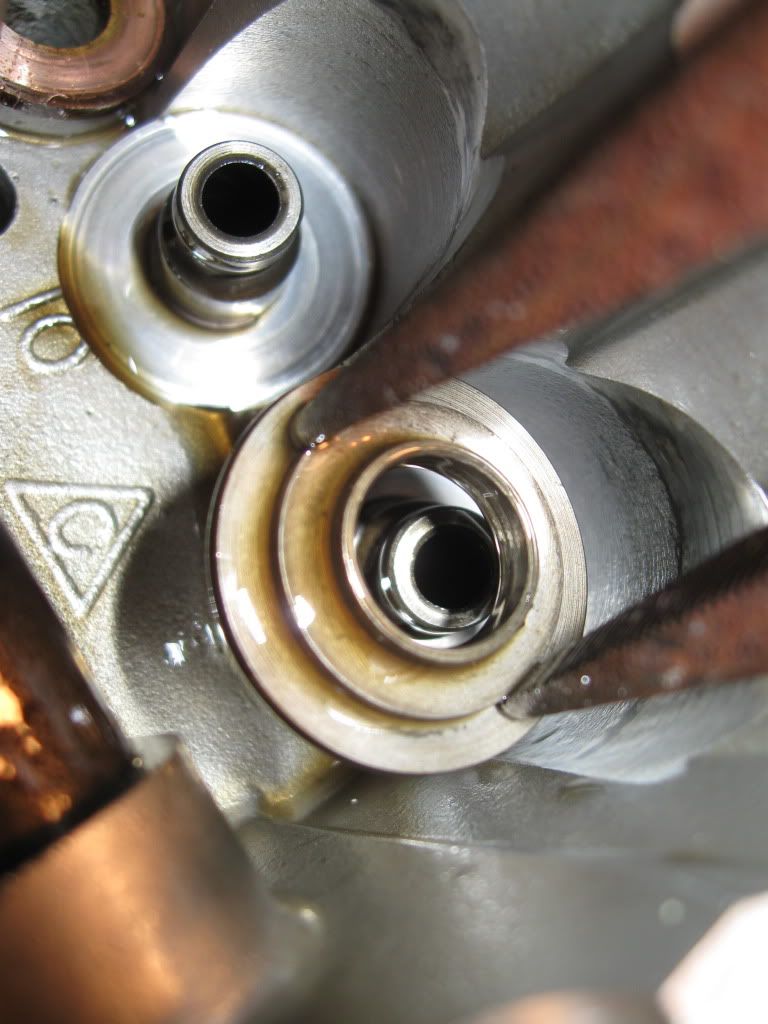
    Here's what we're replacing, valve stem seals. Grab it with the pliers and gently twist and pull.

    Larry D
    1980 GS450S
    1981 GS450S
    2003 Heritage Softtail

    Comment


      #3
      The final piece is some kind of retainer thingamabob. I found it easiest to grab it with the pliers, it comes right out.


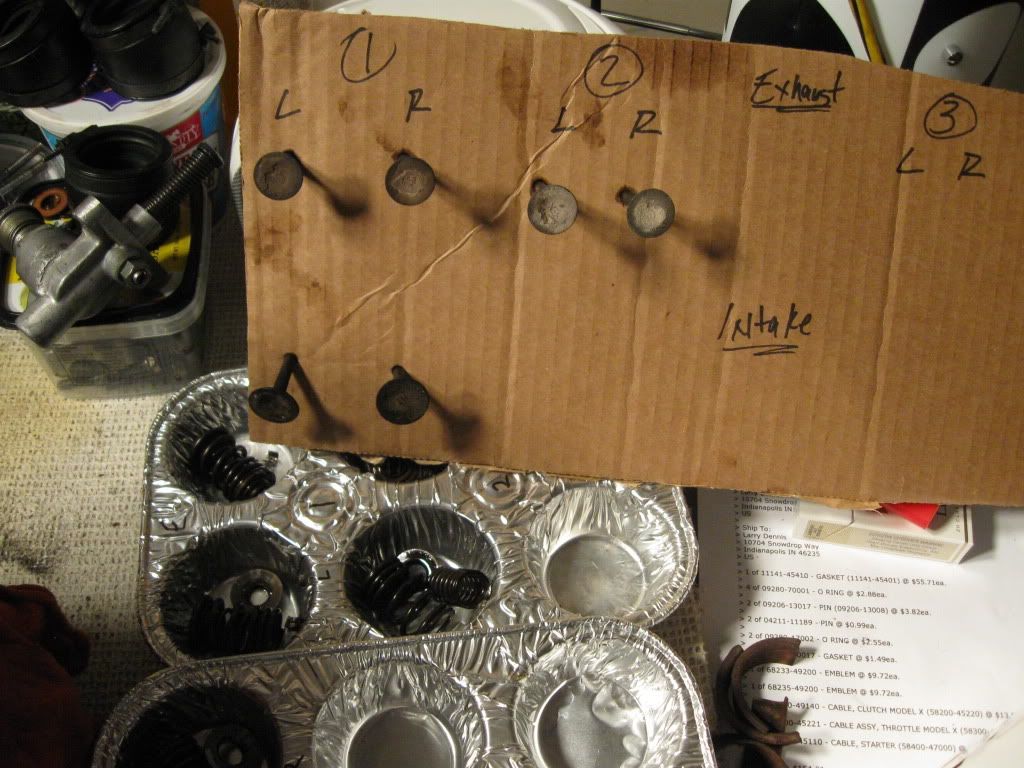
      Finally after a successful operation, it's important to stay organized. This is my method.

      Larry D
      1980 GS450S
      1981 GS450S
      2003 Heritage Softtail

      Comment


        #4
        It's easier to remove them with something like a spark plug socket and a small hammer. A quick wrap usually dislodges the valve keepers. You would need the C clamp for the reinstall...
        Last edited by Guest; 11-16-2009, 09:15 PM.

        Comment


          #5
          Where is the big F-ing hammer.
          82 GS850L - The Original http://s224.photobucket.com/albums/d...ePics067-1.jpg
          81 GS1000L - Brown County Hooligan http://s224.photobucket.com/albums/d...ivePics071.jpg
          83 GS1100L - Super Slab Machine http://s224.photobucket.com/albums/d...t=DCP_1887.jpg
          06 KLR650 - "The Clown Bike" http://s224.photobucket.com/albums/d...nt=SERally.jpg
          AKA "Mr Awesome"

          Comment


            #6
            Hi Mr. Larry D,

            That's some good shade tree engineering. It makes the job much easier when you have/make the right tools.

            Mr. Steve also has a procedure. He even made a little video to share with us:

            http://s25.photobucket.com/albums/c9...Compressor.flv


            Thank you for your indulgence,

            BassCliff
            Last edited by Guest; 11-16-2009, 09:57 PM.

            Comment


              #7
              So, just take a socket, place it over the spring, wack it with a hammer to release the keepers and the whole she-bang should just come out.......makes sense. I guess the keepers are contained in the spring.

              The way I am with tools, I think this is much safer for me. I'd have parts flying everywhere.
              Larry D
              1980 GS450S
              1981 GS450S
              2003 Heritage Softtail

              Comment


                #8
                thats wonderful

                Comment


                  #9
                  Steve is a movie star !! Very well done, Sir.

                  Thanks for the link Cliff, I'd never viewed that before.
                  Larry D
                  1980 GS450S
                  1981 GS450S
                  2003 Heritage Softtail

                  Comment


                    #10
                    Thanks, but the "movie star" can still learn.

                    I have only done one 16-valve head, but I like that idea of a cut-out socket. Much stronger than the electrical conduit I used for the smaller valves. The PVC works well for the 8-valve heads, though.

                    Also nice to see that someone else is using cardboard sheets and disposable muffin tins for organizing small parts. I line up five of them in front of me when I am doing a set of carbs. The first one gets all the mounting rail screws and other hardware that doesn't matter which carb it goes to, like the enrichener activators. The other four tins get the parts from a single carb each. This picture only shows four tins in use, but you get the idea.


                    .
                    sigpic
                    mine: 2000 Honda GoldWing GL1500SE and 1980 GS850G'K' "Junior"
                    hers: 1982 GS850GL - "Angel" and 1969 Suzuki T250 Scrambler
                    #1 son: 1986 Yamaha Venture Royale 1300 and 1982 GS650GL "Rat Bagger"
                    #2 son: 1980 GS1000G
                    Family Portrait
                    Siblings and Spouses
                    Mom's first ride
                    Want a copy of my valve adjust spreadsheet for your 2-valve per cylinder engine? Send me an e-mail request (not a PM)
                    (Click on my username in the upper-left corner for e-mail info.)

                    Comment


                      #11
                      Great "how-to" pics Larry, well done...
                      '85 GS550L - SOLD
                      '85 GS550E - SOLD
                      '82 GS650GL - SOLD
                      '81 GS750L - SOLD
                      '82 GS850GL - trusty steed
                      '80 GS1100L - son's project bike
                      '82 GS1100G - SOLD
                      '81 GS1100E - Big Red (daily rider)

                      Comment


                        #12
                        I used the same method with PVC instead of a socket on my 8v 1000. Works like a charm. My biggest problem was getting some VERY old valve seals off my salvage head. I wound up having to partially burn them off with a torch.

                        Comment


                          #13
                          One detail I forgot to mention is that for an 8 valve engine, I used a larger 13/16" spark plug socket with the same type of window cut in it. The smaller socket shown gets attached for 16 valve engines
                          1983 GS850G, Cosmos Blue.
                          2005 KLR685, Aztec Pink - Turd II.3, the ReReReTurdening
                          2015 Yamaha FJ-09, Magma Red Power Corrupts...
                          Eat more venison.

                          Please provide details. The GSR Hive Mind is nearly omniscient, but not yet clairvoyant.

                          Celeriter equita, converteque saepe.

                          SUPPORT THIS SITE! DONATE TODAY!

                          Co-host of "The Riding Obsession" sport-touring motorcycling podcast at tro.bike!

                          Comment


                            #14
                            How can one save these pics?? Those are great!! Never know when a rookie mechanic will have to do those things

                            Comment


                              #15
                              Originally posted by sscott View Post
                              How can one save these pics?? Those are great!! Never know when a rookie mechanic will have to do those things
                              Should be able to right click and "Save As" to your PC. Can also bookmark the thread, but first is forever.

                              Comment

                              Working...
                              X