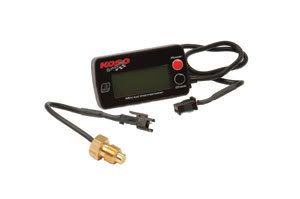
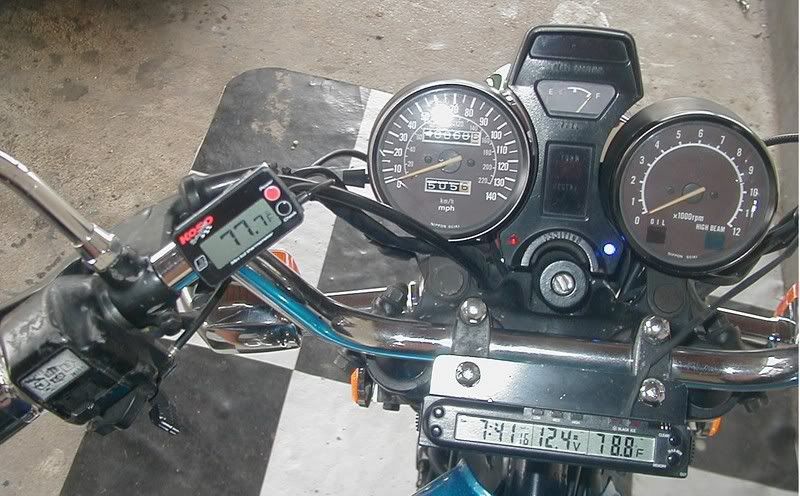
The unit is very small 2 1/8” x 1 1/8” x 3/8” and mounts to any clean flat surface with the supplied adhesive-backed Velcro pad.

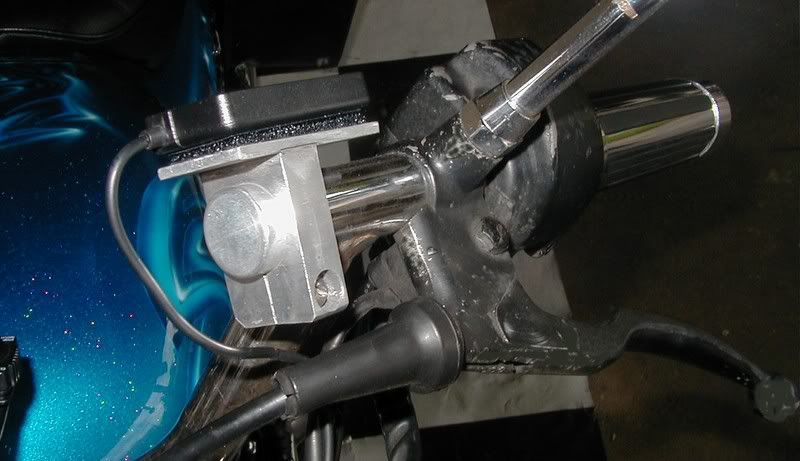
While waiting on the package to arrive I machined an adjustable handlebar mount for the unit from some aluminum bar-stock which I had laying around the workshop.


According to the skimpy instructions, the unit is powered by a CR2032 battery. There are no instructions for changing the battery and even with a degree in electrical engineering; I still cannot figure how to gain access to the battery, without breaking the case open, as it seems to be well sealed. The response from the factory yielded:
”Unfortunately on this item BA003001 we can't change the battery from the back, we did it that way because we want to have the instrument as small as possible (access to the battery from the back would make the instrument much bigger).
The way to change the battery is very easy, you just need to remove the facing sticker on the front of the gauge and you will have access to the battery. If you need to change the battery let me know and I will send you an extra facing sticker by mail”.
As an electronics engineer myself, that’s certainly not the way I would have designed this device.
The sensor is a short machined brass probe with a male 1/8 NPT thread.
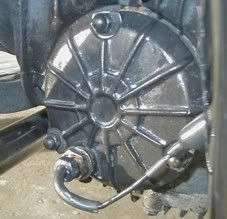
To mount this, I simply drained the oil, removed the oil plug fitted to the oil-filter cover and bored and threaded a hole through the plug to accept the fitting.

The unit cost US$75.00 and J&P Cycles saw it fit to pack this tiny device in a huge 12” x 8” x 7” corrugated box, resulting in huge shipping charges, as the shipping weight was calculated volumetrically by the air-freight forwarders.
The unit has two buttons Red=Power and Black=Check
The red button switches the unit on and off. The black button recalls memory of the highest temperature attained, on power off the memory is cleared for logging a new high point. The unit is shipped setup to read *C, to switch from *C to *F or vice-versa, simply power the unit off, hold down the black button while powering up with the red.
Sensor adapters are available according to the available literature:
Water temp adapters: M14, M16, M18, M22, M26
Cyl. Head Temp Sensor: M10, M14
There’s no indication as to where these sensors may be procured. But later research yielded this site: http://www.kosonorthamerica.com/
Some Road-Tests ('83 GS650GL):
TEST 1 -- 10-mile countryside run with 4-miles of highway stretch peaking at 60-mph, ambient temperature 77*F, max oil temperature while running 181.4*F, highest temperature recorded (at stop) 212*F, oil is new and this is the first run with it, Castrol GTX 20W-50
TEST 2 -- 3-mile city errand with stop and go traffic, one 5-minute stop, max speed 35-mph ambient temperature 91*F, max oil temperature while running 130.2*F, highest temperature recorded (at stop) 152.2*F, oil has 10-Miles on it, Castrol GTX 20W-50
TEST 3 -- 43-mile highway and country roads, max speed 70-mph ambient temperature 81*F, max oil temperature while running 180*F, at stop lights 212*F, highest temperature recorded (at shutdown) 240.2*F, oil has 102-Miles on it, Castrol GTX 20W-50
Positive Impressions
1. Works quite well
2. Small size
3. nice, neat appearance
4. Easy installation
5. Memory of highest temp feature useful
6. Accessories (sensor adaptors) available
Negative Impressions
1. Info from advertisements very limited
2. Optional accessories not advertised by the seller
3. Crappy instructions, but enough to accomplish the install
4. No info on changing the battery and the battery compartment, if there is one, is not apparent.
5. Later found out there’s no battery compartment and the faceplate/bezel has to be destroyed to accomplish this simple task.
6. This unit is very pricey for it’s limited functions.
7. No option for powering from the bike’s power source .....trust me, I'll find a way to fix that!
8. No backlight .....I intend to fix this too!
9. No contact info at all in the instructions or packaging.
10. The vendor (J&P Cycles) unnecessarily, way over-packed the unit resulting in much customer expense in shipping to the final destination.
.png)
Comment