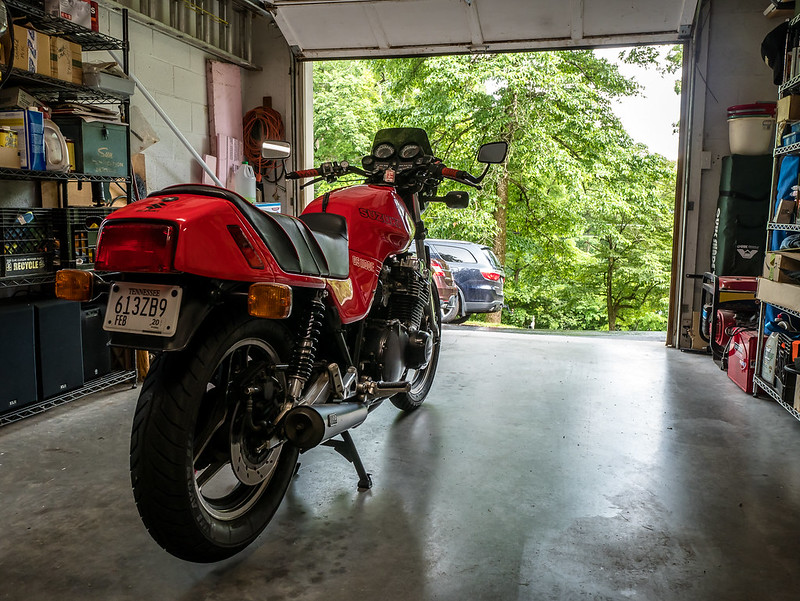
I have plenty of pictures but for some reason the site won't let me upload them. Says only one picture is allowed.
 So...if you want pictures you'll have to let me know and I can send them to you. Or we can find another way to post them.
The basic process is as follows:
Step 1: Remove the two screws on the bottom of the cap and pull it off.
Step 2: Remove the two screws that hold the big check ball in place.
Step 3: Remove the cap covering the big check ball being careful not to drop the bucket and ball under it. Set it aside.
Step 4: Remove the plate that houses the smaller check ball. Again, be careful not to drop the ball. This one is smaller, about the size of a BB.
Step 5: At this point you can use whatever cleaning method you prefer. I used brake cleaner and a q-tip to get into the nooks and crannies on the cap. I used fine steel wool and a small wire brush attachment on a Dremel to clean the brass base that covers the small ball and the rest of the internals. Be careful not to damage the rubber seal on the plate!
Step 6: After you get the internals of the check valve system clean you can move to the cap that you removed in step 1. This houses the latches for the gas cap. There are two small screws that hold it on place. I didn't have the nerve to pry the latch mechanism out for being afraid of breaking the plastic. If you want to remove it you'll need to remove the two small screws, retract the latches fully and then pry it out (somehow). I just cleaned it as best I could with q-tips, a toothbrush and some brake cleaner. I also dabbed a little lube on the latches to help them out.
Installation is just the reversal of disassembly.
Step 1. Place the small ball in the recessed area it came from and put the brass plate over it with the rubber seal facing upwards.
Step 2. Put the big ball in the brass cup and then put that inside the plastic housing it came out of. The ball should be able to roll around if you shake it.
Step 3. Carefully place the plastic housing with the big ball over the brass plate and tighten.
Step 4. If you disassembled the latch mechanism you'll need to obviously put that back together prior to putting the base back on.
After everything is assembled it should sound like a baby rattle when you shake the gas cap. I hope this helps future owners in cleaning something simple that can cause complicated problems. Again, if I can get pictures to post I will be more than happy to post them.
.png)


Comment