I just wanted to share with you all a brief selection of the photos of the rebuild that I did when I got the bike back in 2003.
Most of the work was done in the bedroom and bathroom of my old room I rented in Silver spring, Md over the course of that winter and spring.
I Picked up the bike from a shop in Md. It had been brought in for repairs to the carb which had a broken float post. The shop decided to JB-Weld the post back in place (They broke it) and of course the gas melted it right off...gummed up the carbs and the float messed up again.
The owner brought it back to them and the shop told him the lie that he would have to replace the carbs at stock pricing! The owner apparently balked and just left the bike at the shop when he moved.
There it sat for years out in the back of the shop.
Every now and then they would sell parts off of it that people needed.
Until it was no longer in shape to be sold to the "General Public".
Luckily I was looking for a project bike.

Bought the rolling mess for a small fee and u-hauled it home.
I sourced out some replacement parts on ebay and when they came in, the work began.
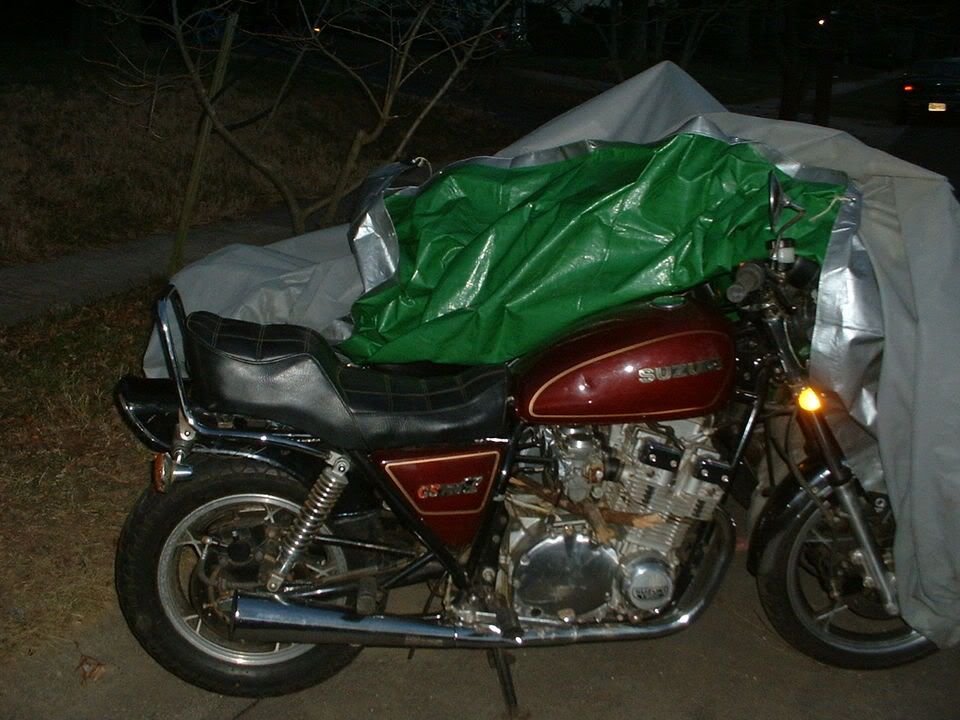
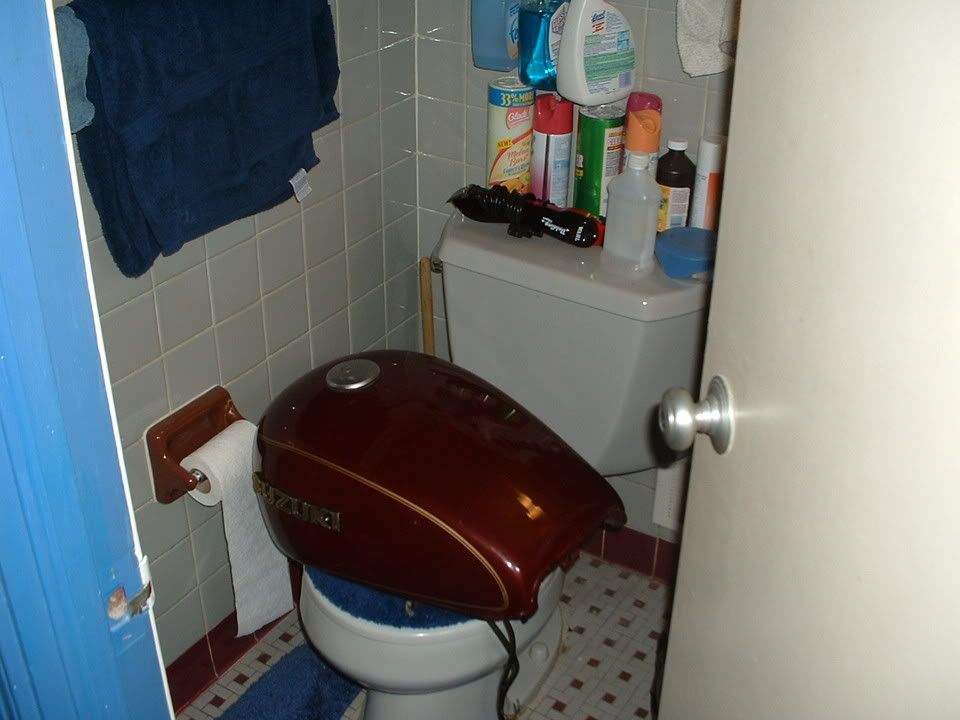
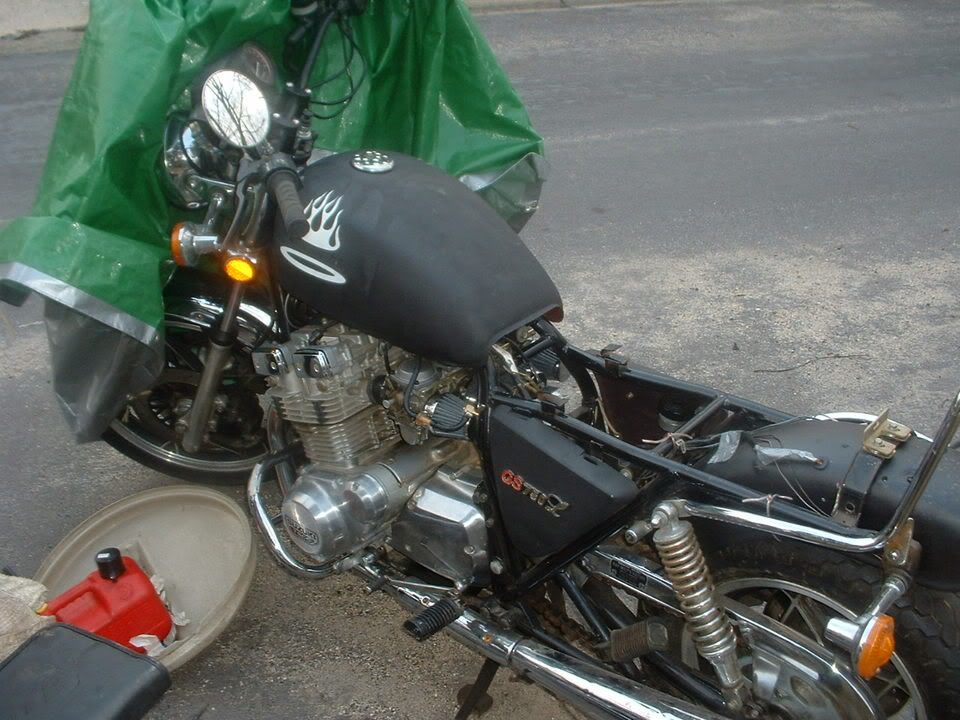
This is the bike with it's new tank, seat, side covers and Honda rebel fender on for a test fit.
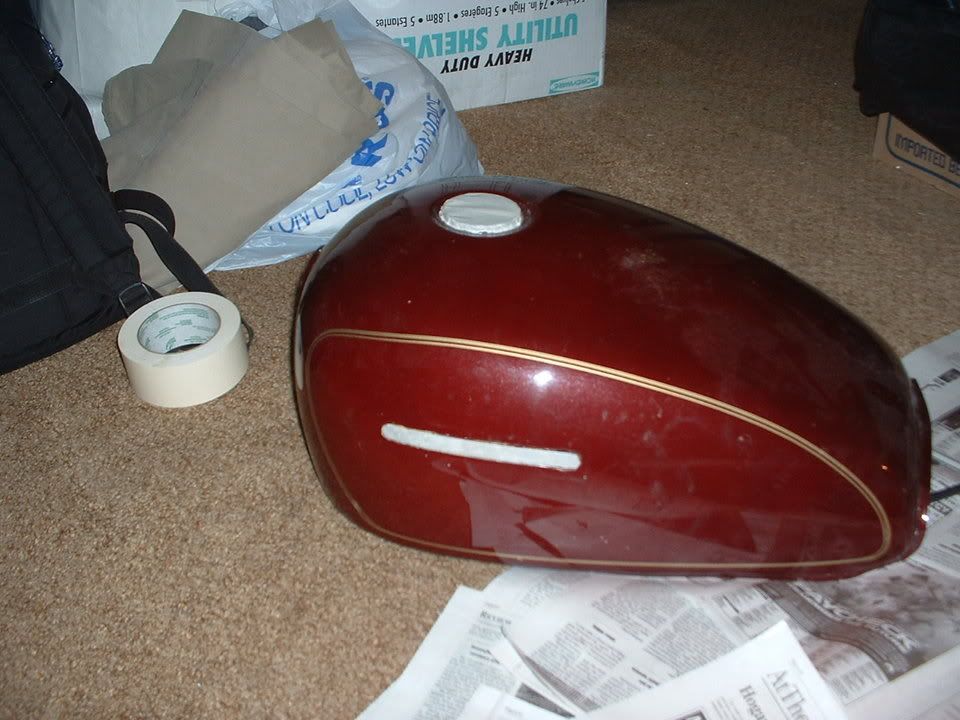
I taped off the tank and stripped it with paint dissolver/remover.
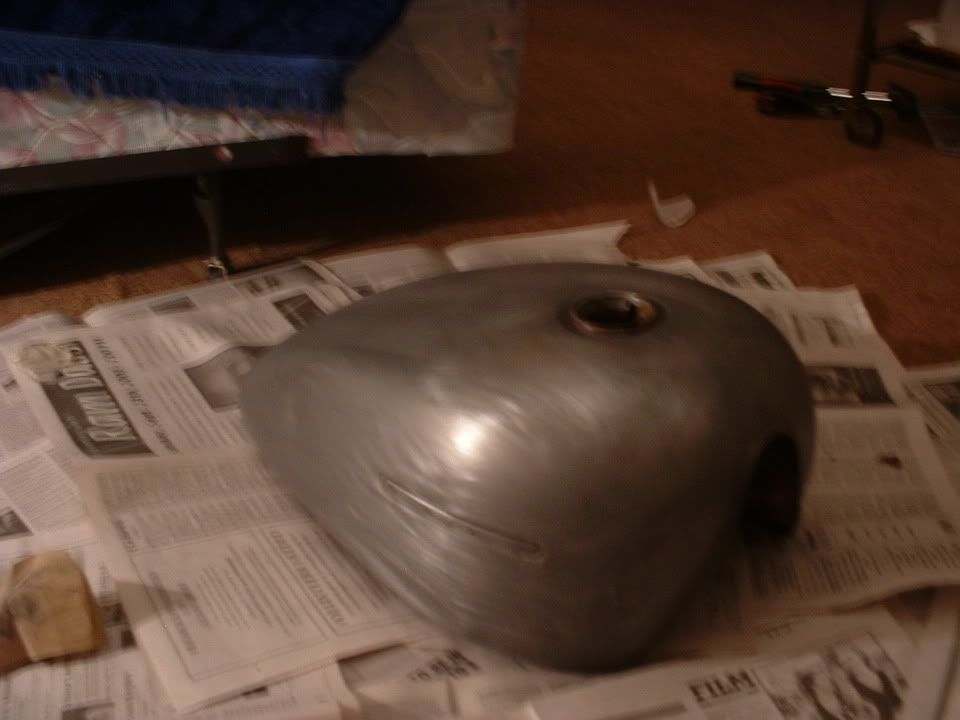
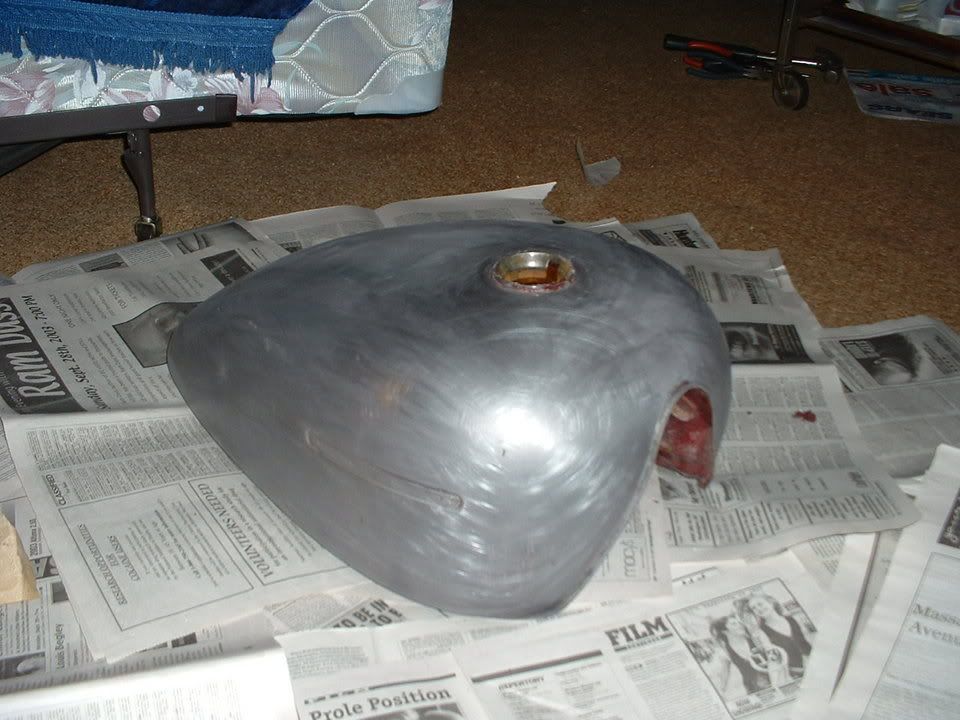
Then I attacked that honda rear fender!
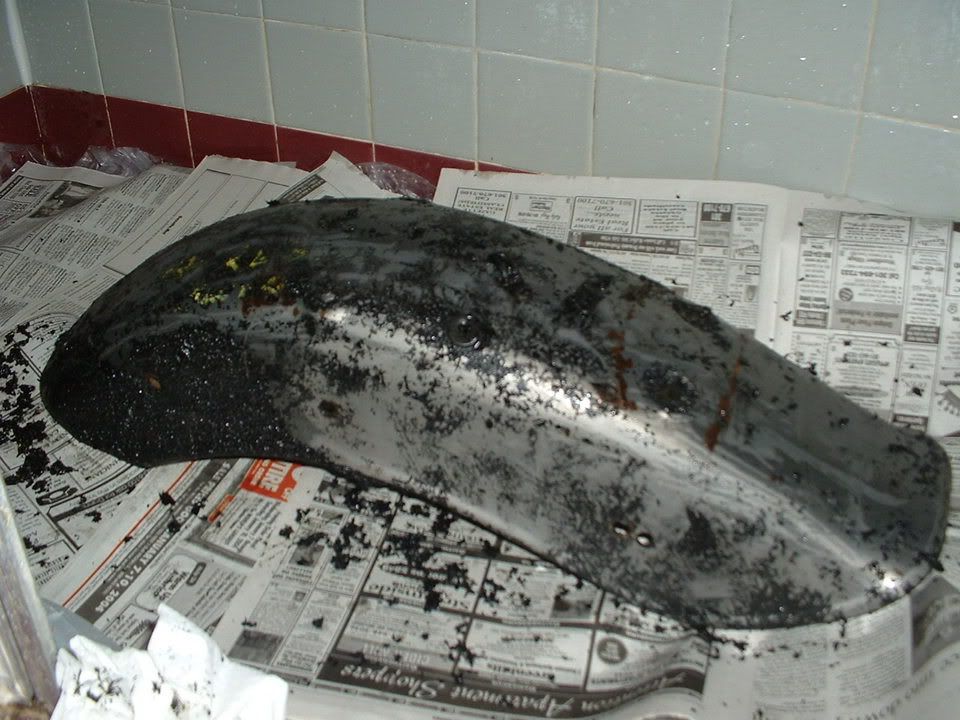
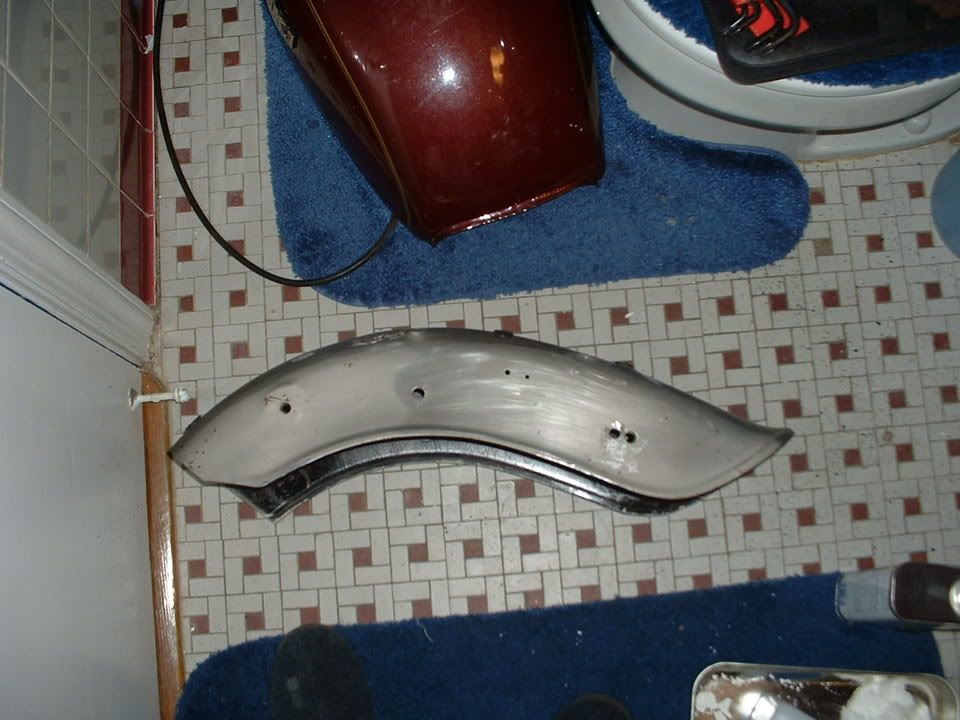
Then I primed and painted them both.
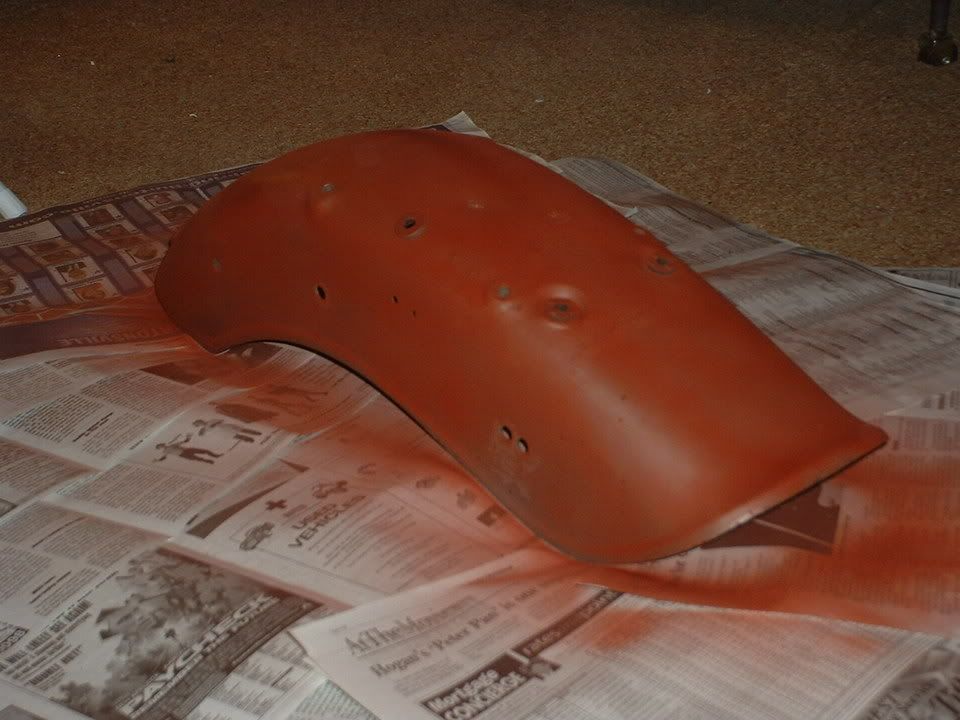
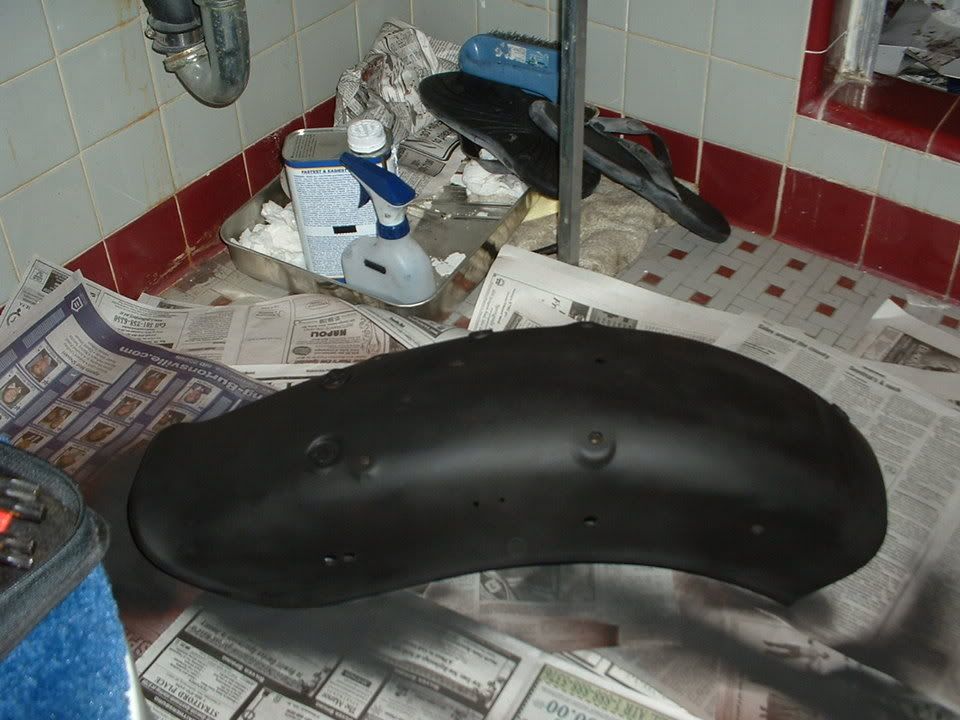
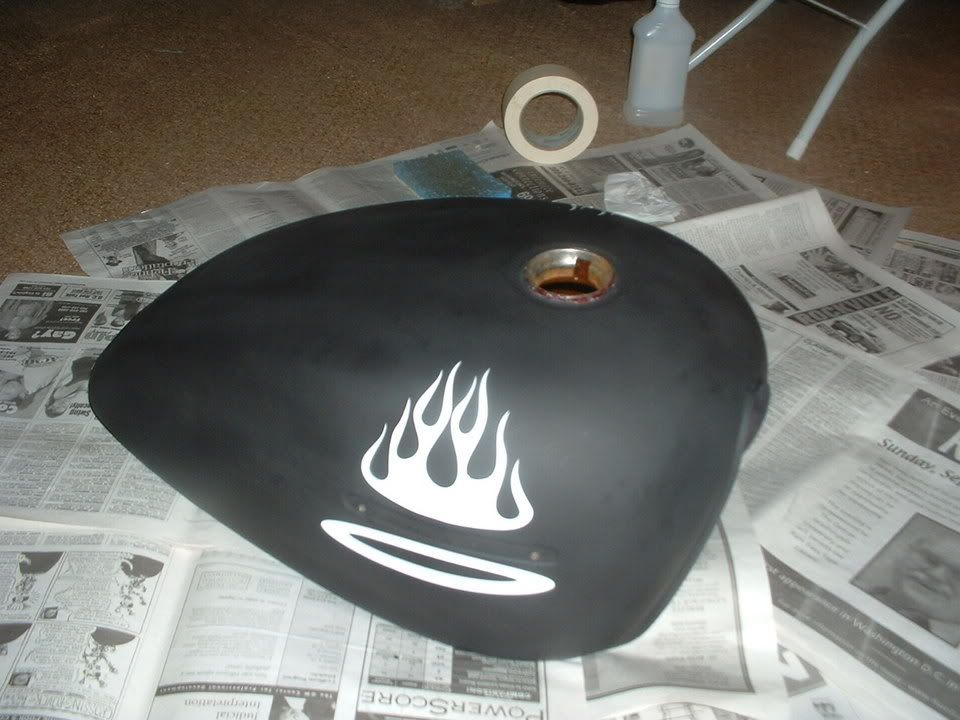
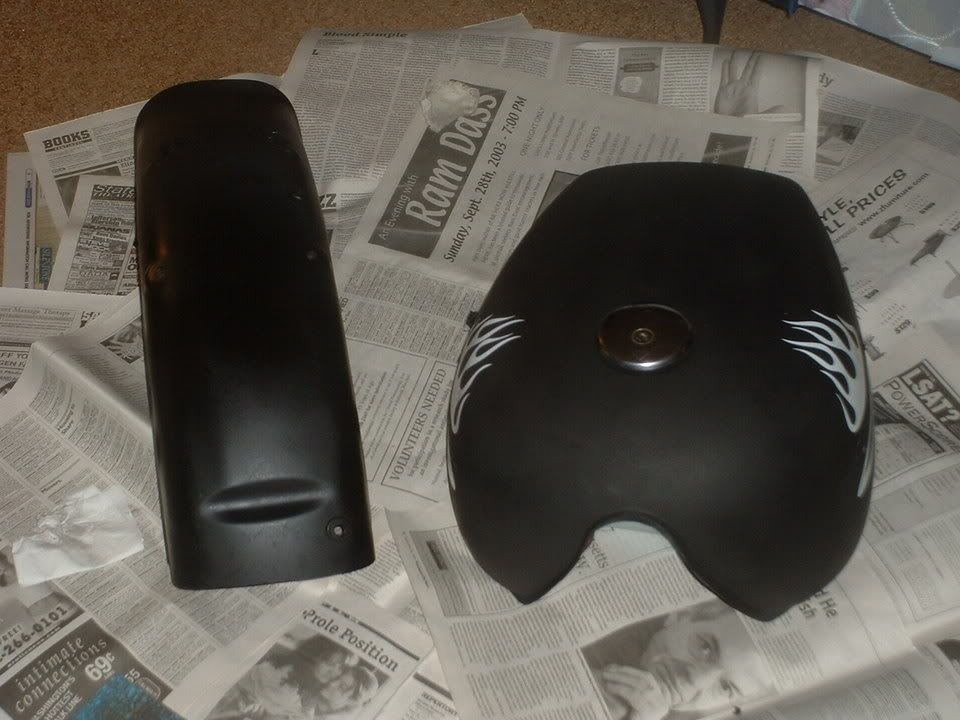
The looks were almost finished for the bike. All that was left was to paint the side cover. I moved on to the workings of the bike due to nice weather.
I installed the Dyna Coils that I got from Ebay.
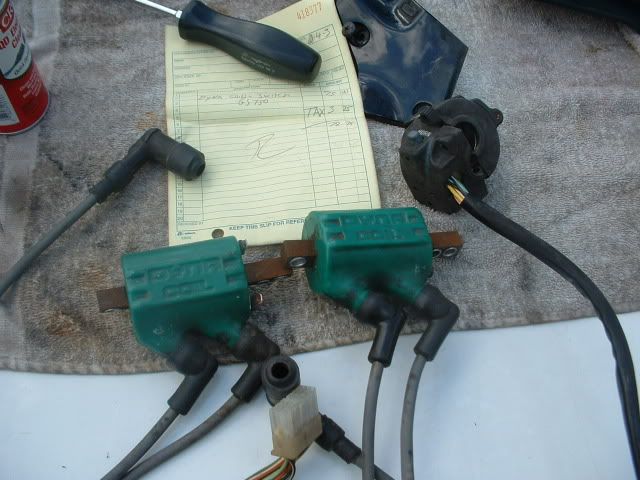
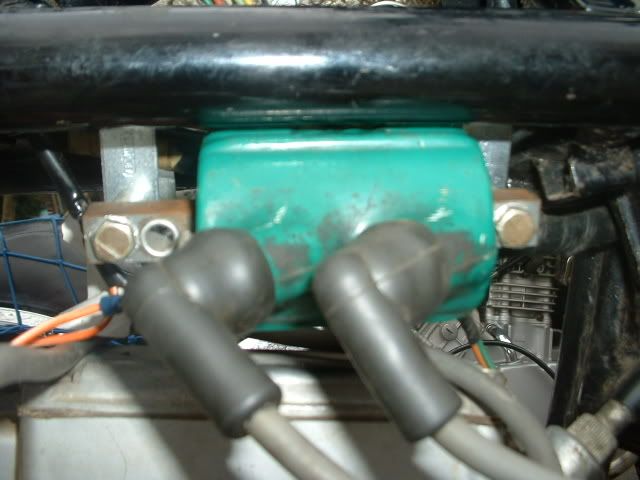
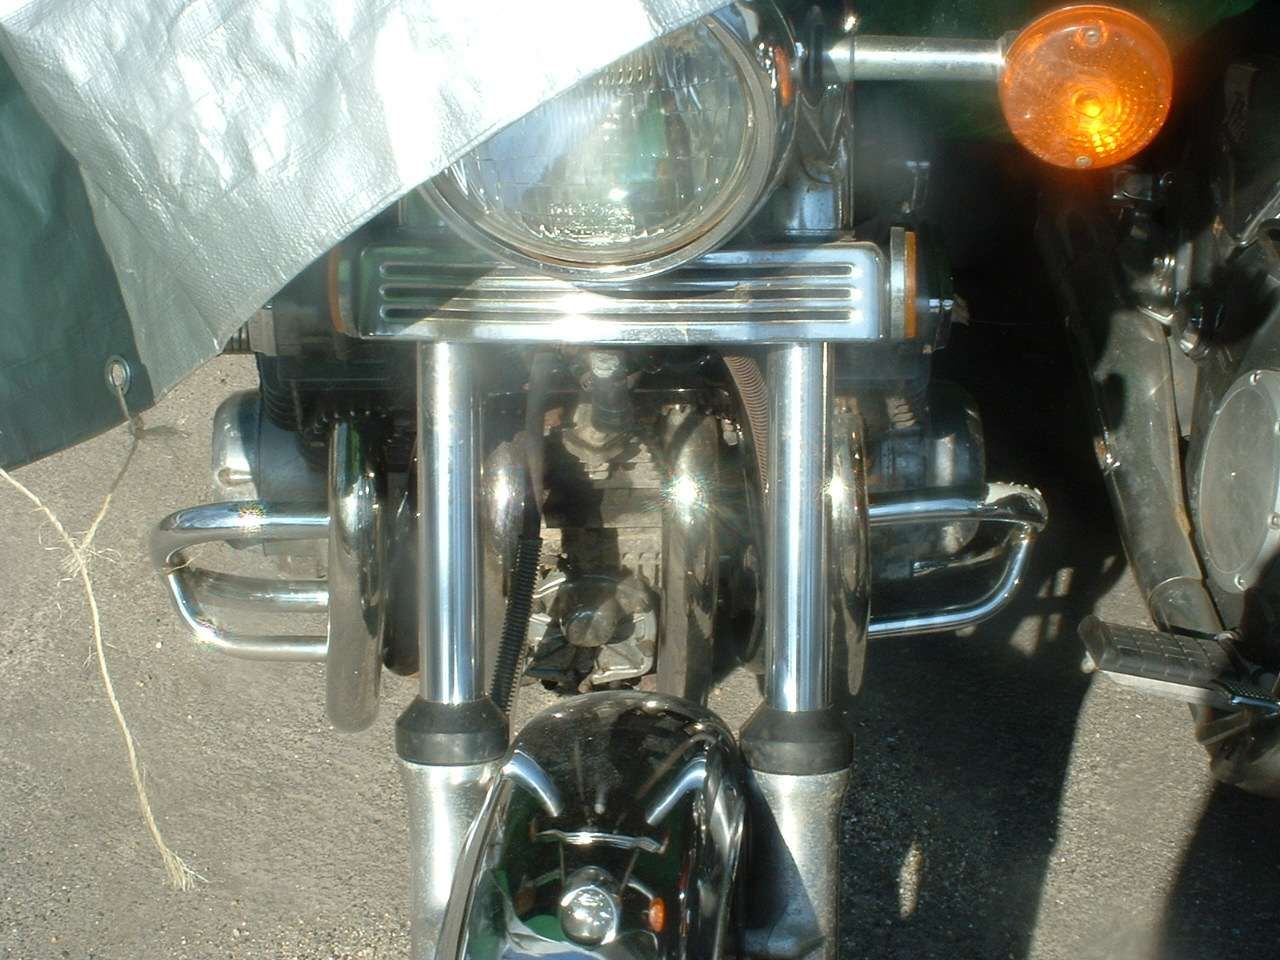
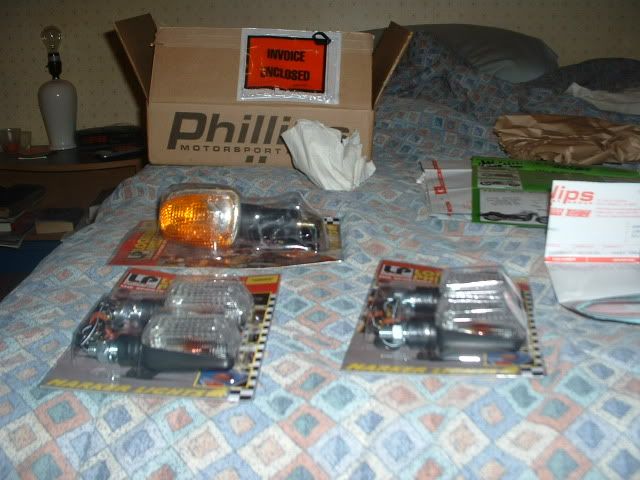
And installed caseguards and new smaller lights all around the bike along with my old Bar-end Mirrors which I sold to my friend Josh.
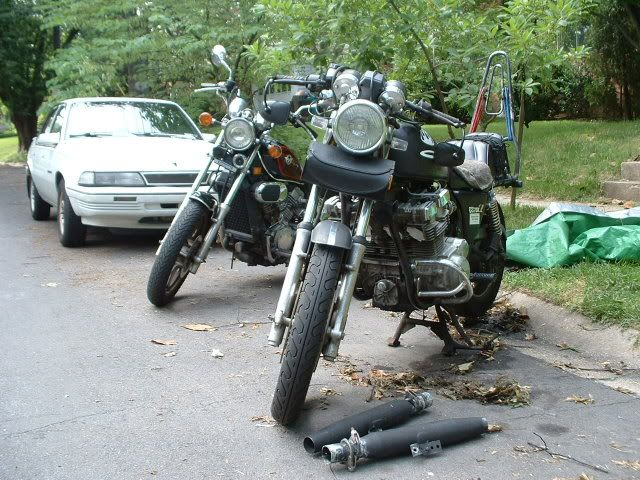
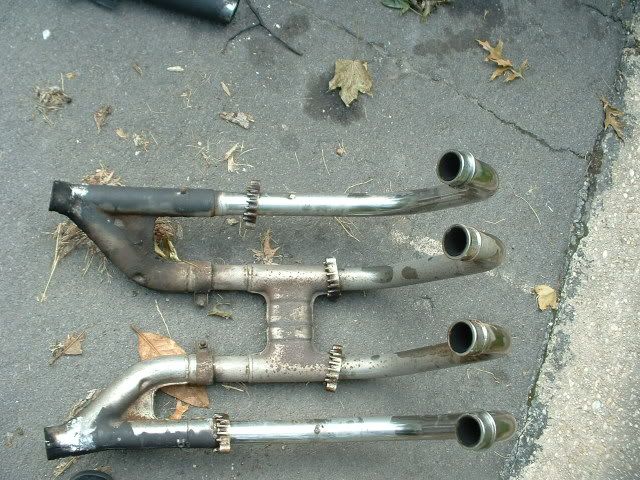
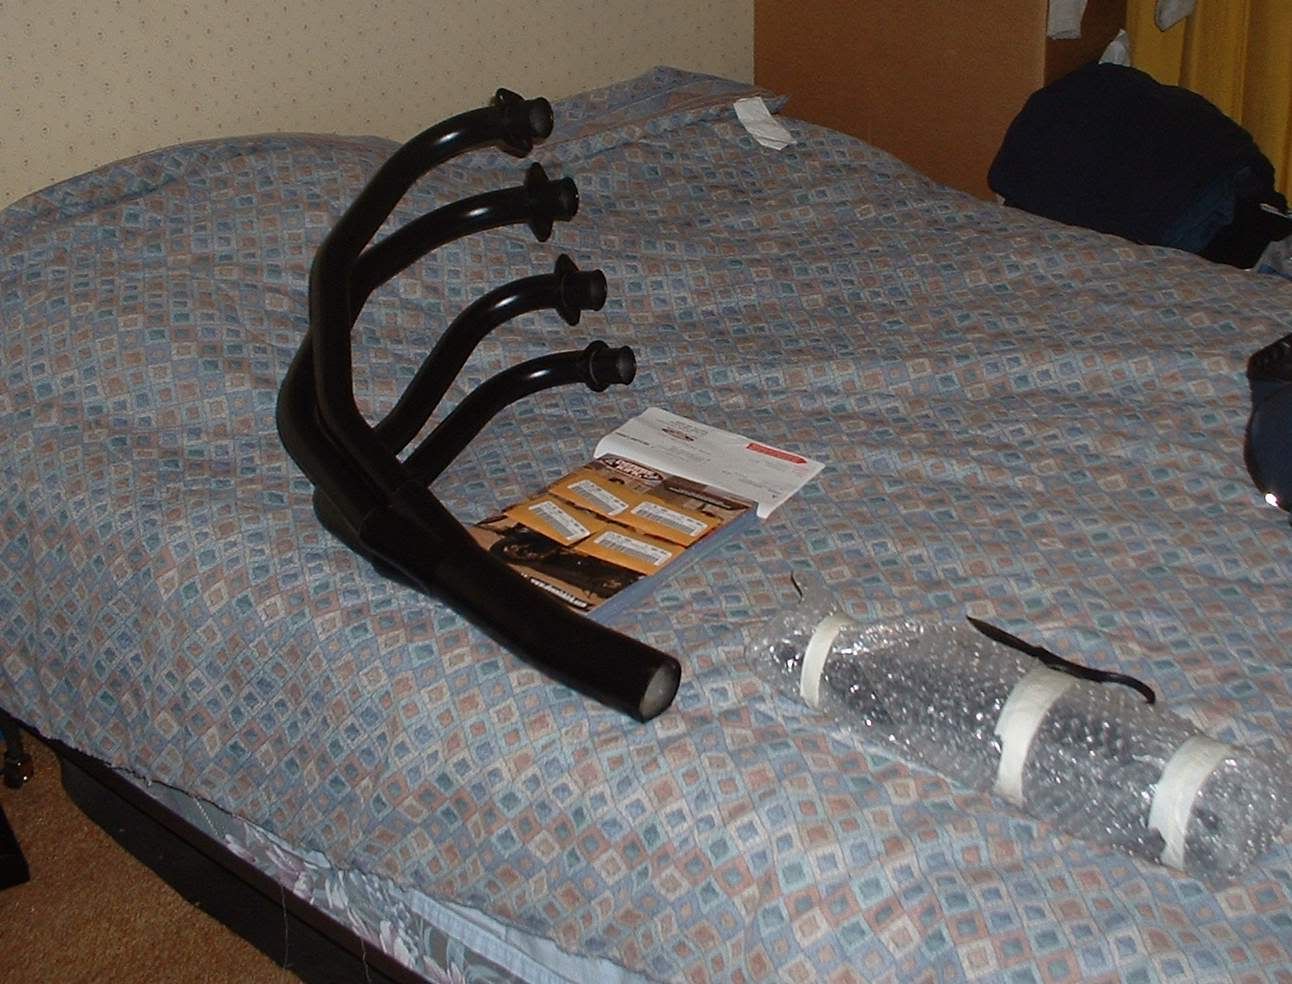
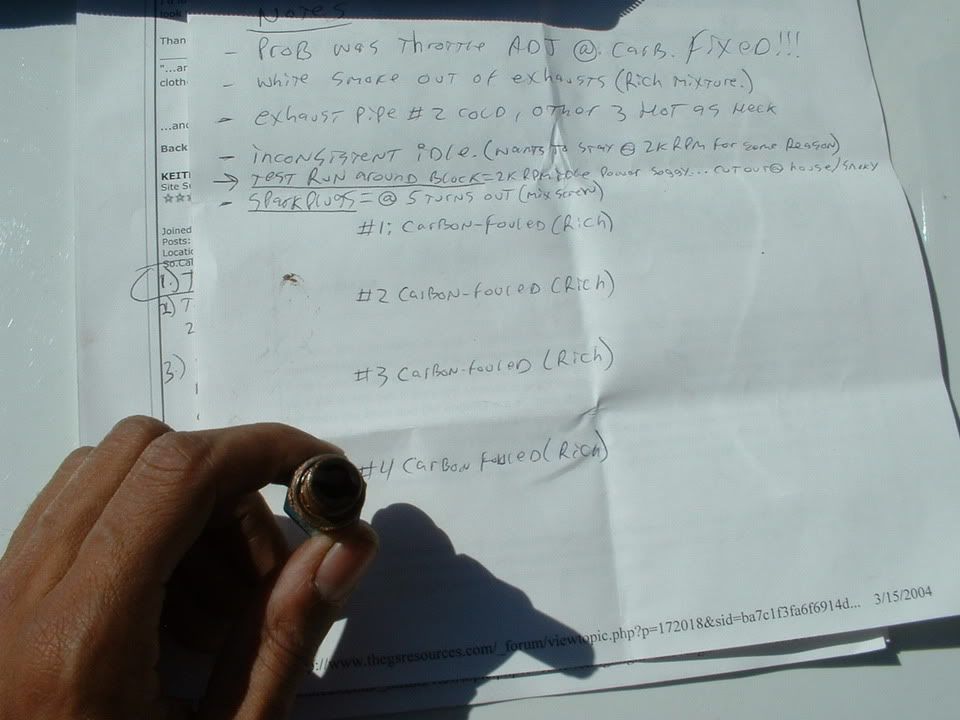
I then began work on the intake and exhaust. I installed new jets with guidance from this website and also installed a new MAC 4-into-one exhaust.
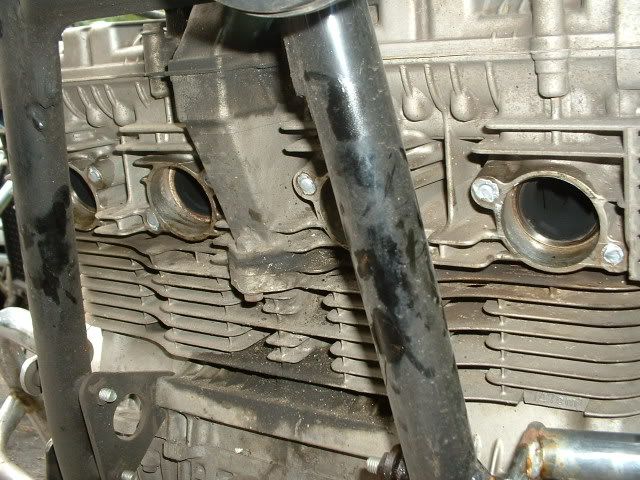
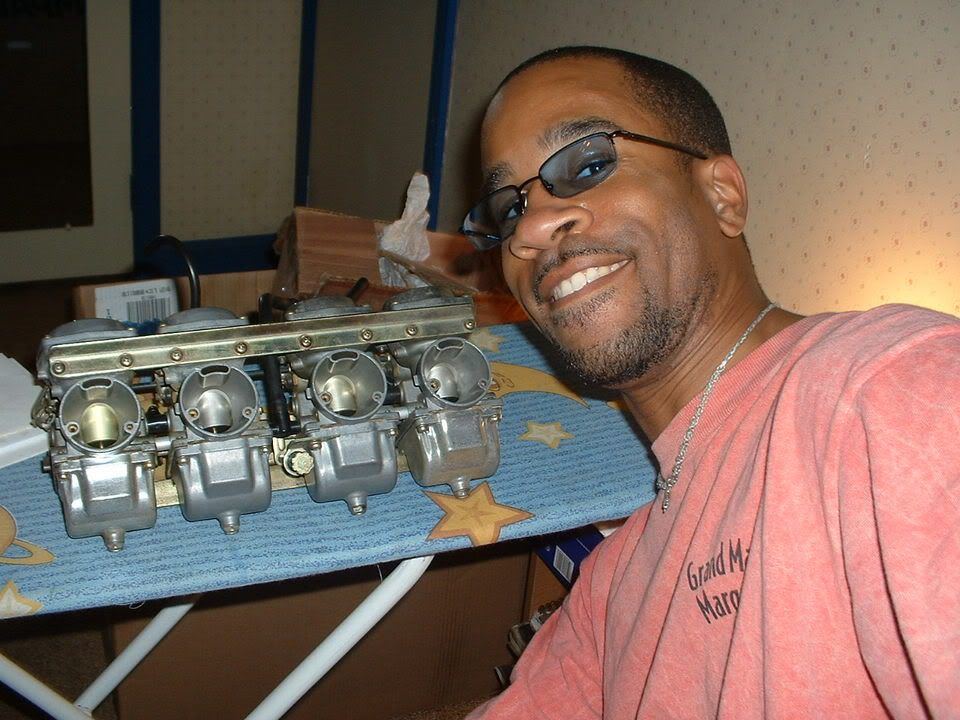
It was then that I understood that the carbs were completely dirty and needed to be cleaned so off came the pods and apart came the carbs for a thorough cleaning...which led to resetting all of the jetting (which was way off now due to the carbs being clean) all over again and the addition of pods since I couldn't get that stupid airbox back on the carbs.
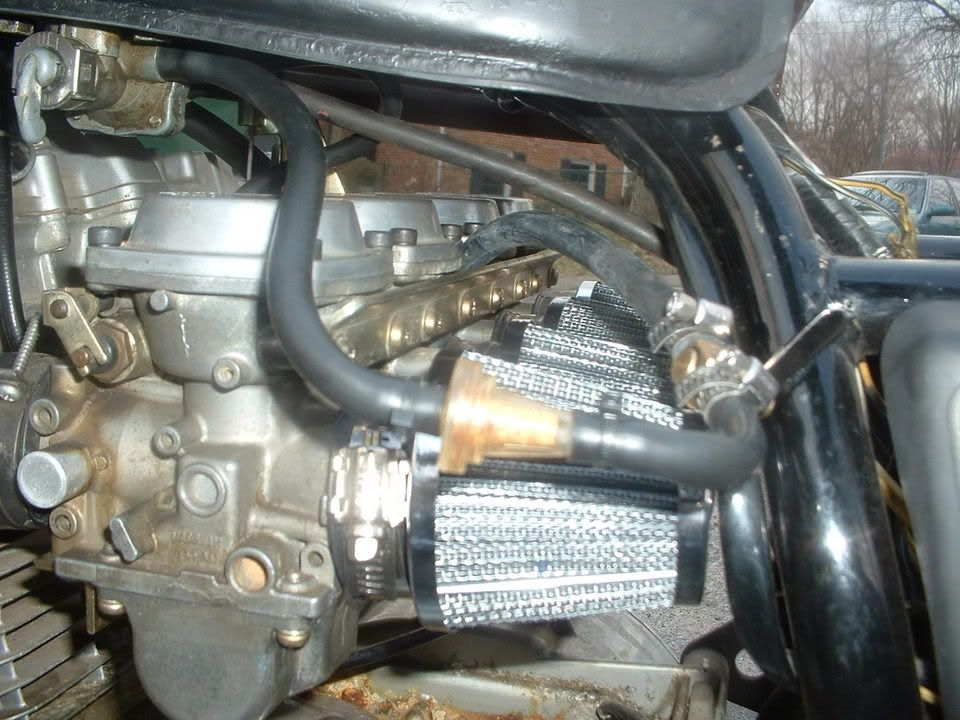
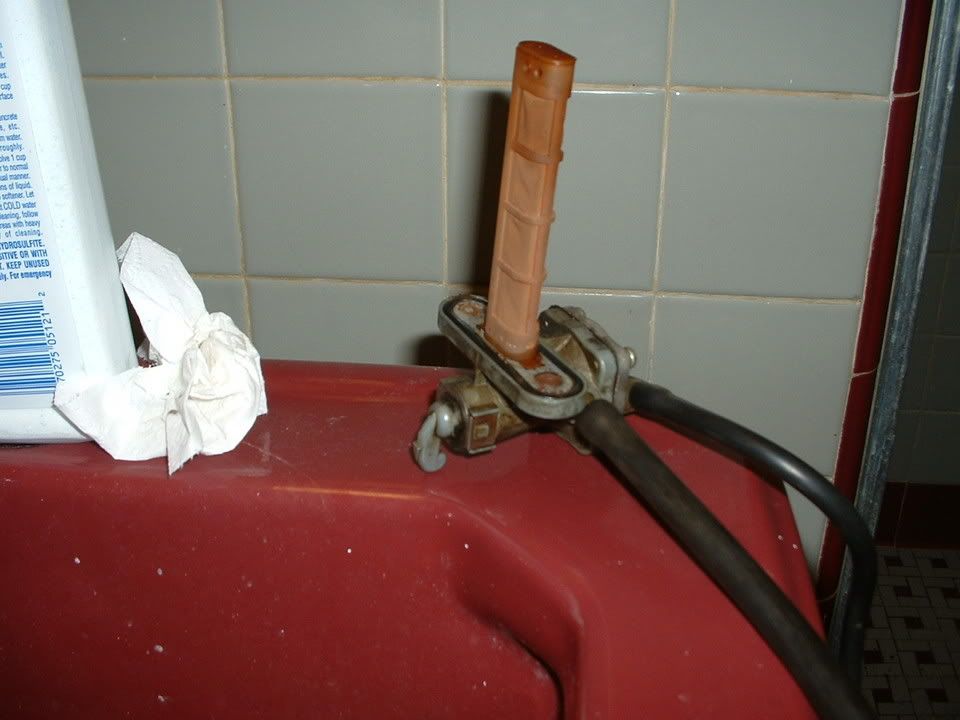
This is the wacky setup I had to use with my failing stock petcock. I had to install a shut-off valve in the line because the stock petcock would drain all of the tanks fuel into my engine. That didn't work either because the shut-off valve was about half the size diameter of the fuel line. The tank was also sending a lot of rusty gas to the carbs..clogging them up. So I had to add in a paper fuel filter from a car.

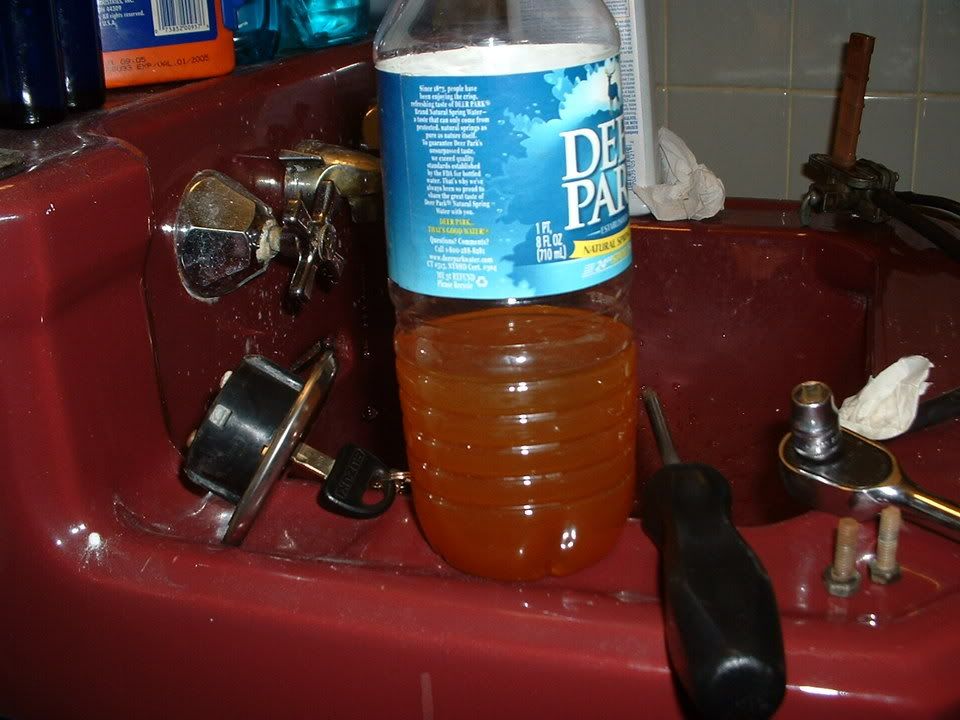
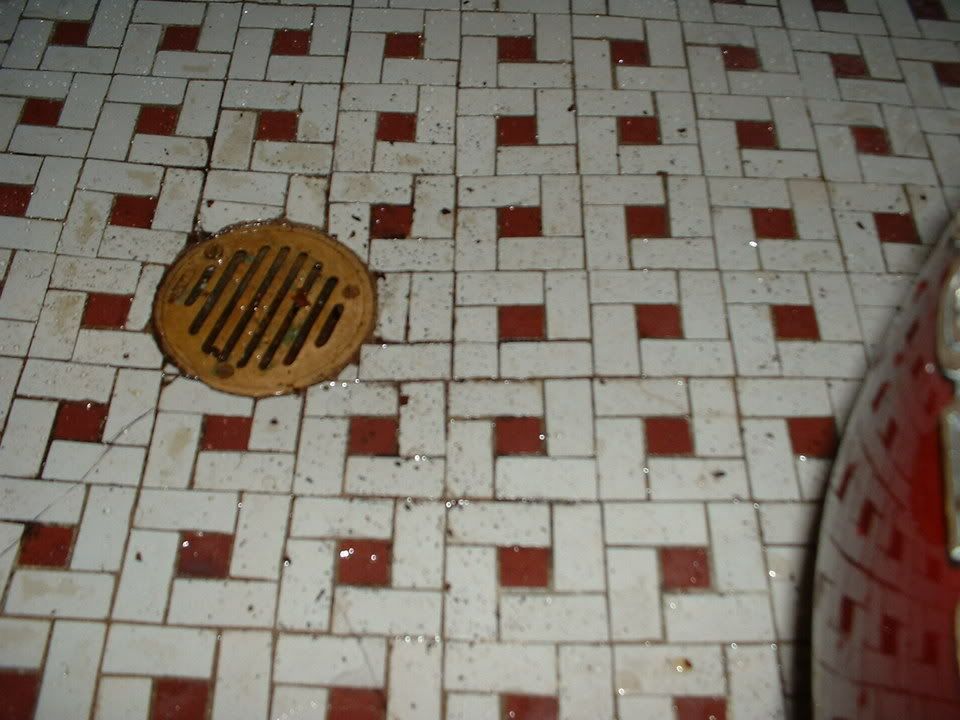
You can see the large flakes of rust from the tank.
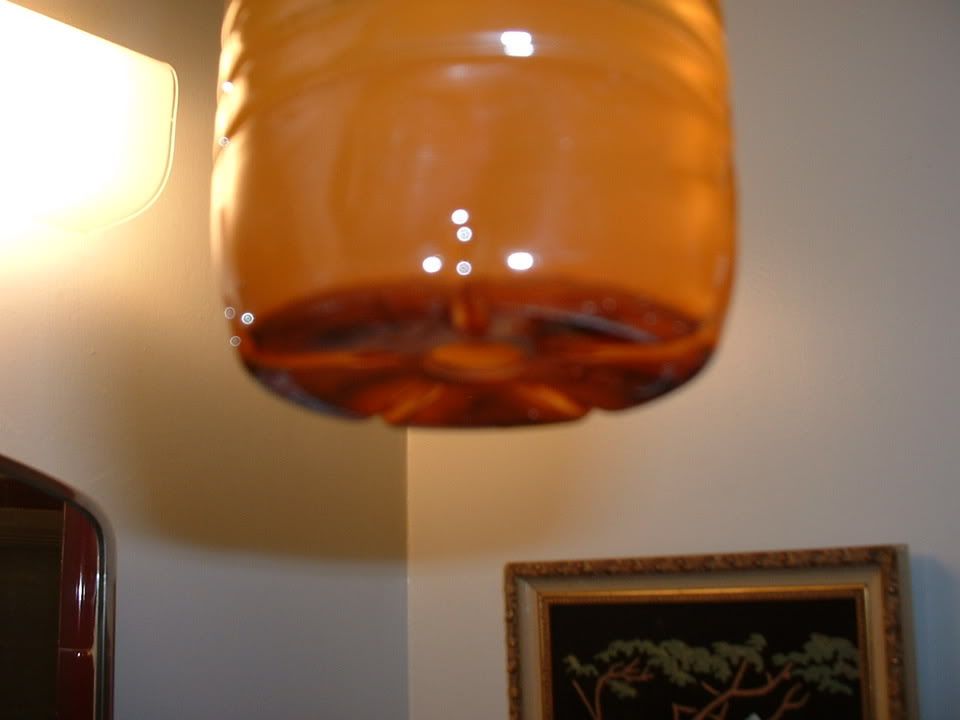
This is what the gas looked like coming from the tank. (Mind you, gas is regularly almost clear as water or a little reddish/pink.)
The Evil Stock Petcock
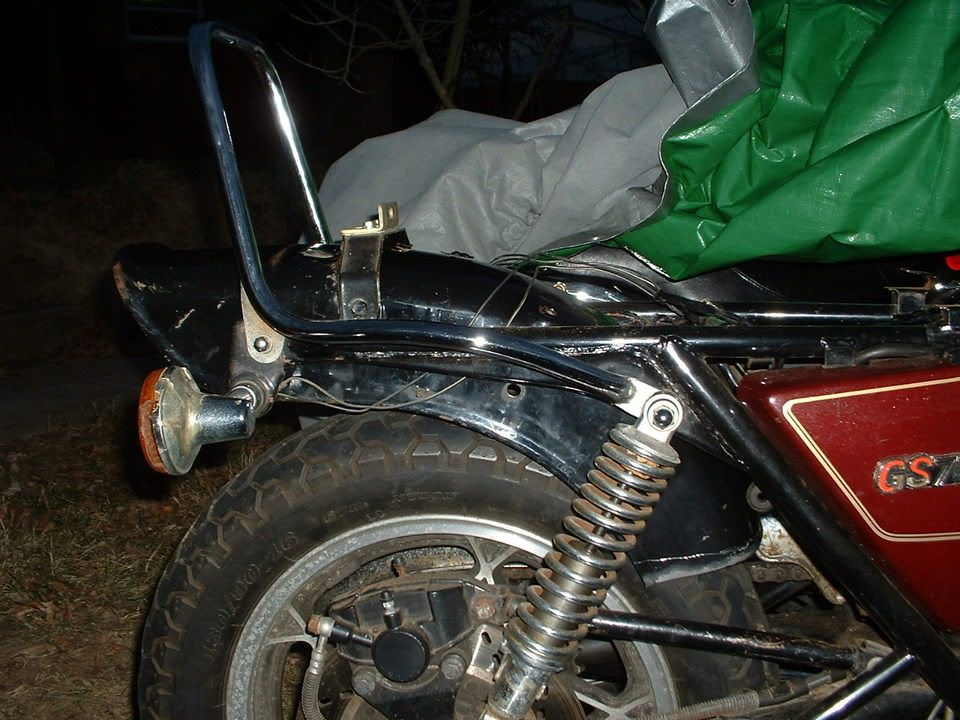
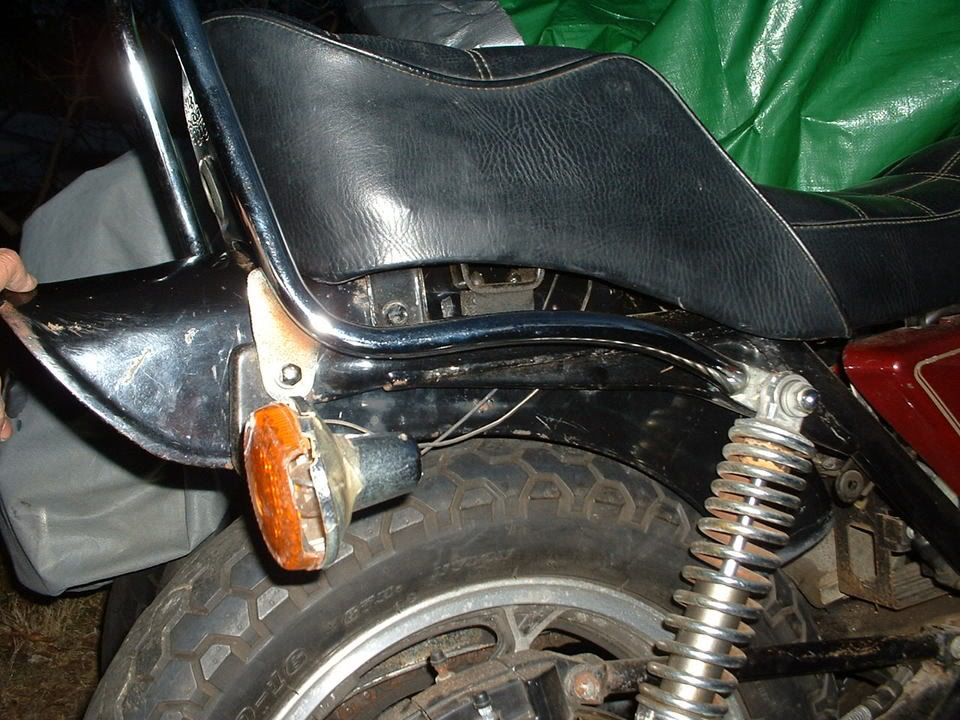
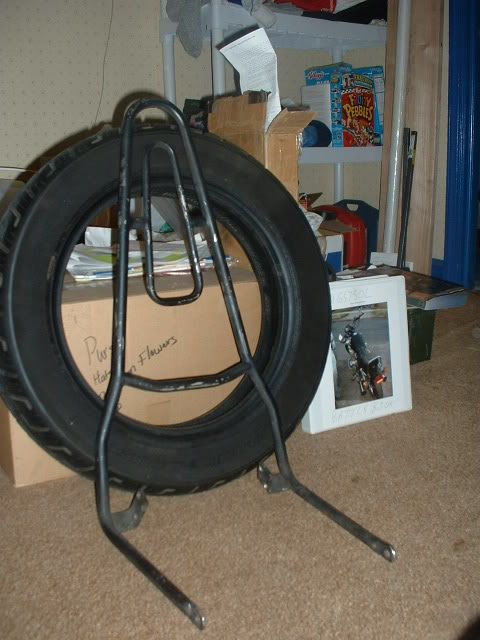
While working on the carbs I got my sissy bar in and painted it.
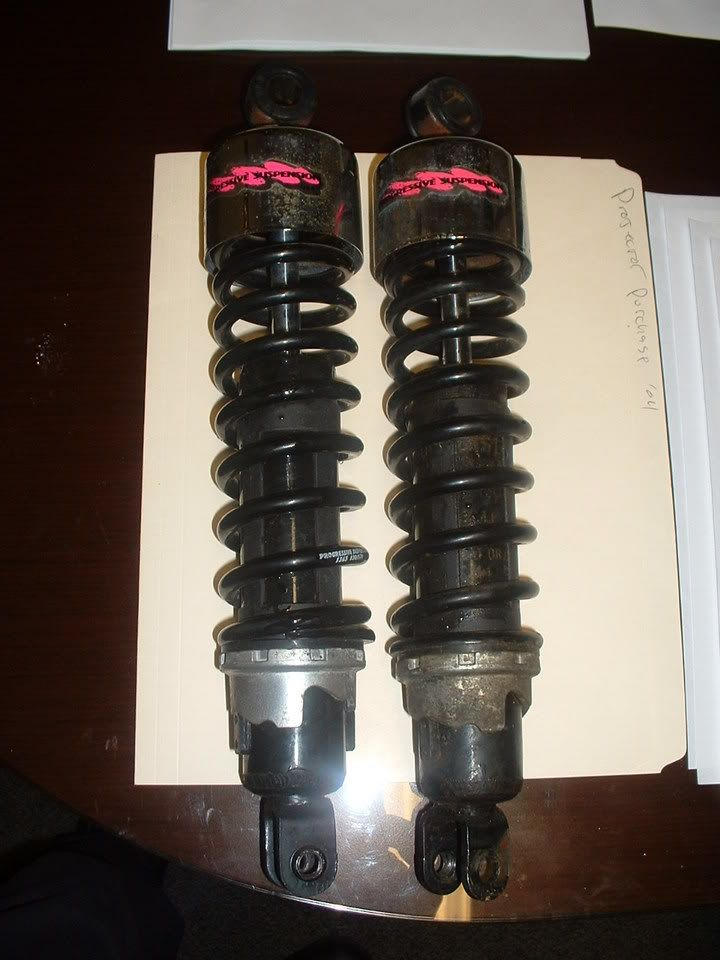
After sorting out the carbs over 3 maddeningly painful months... I moved on to the suspension and grafted on some modern rear shocks that handle better and are adjustable. You can see them in these photos.
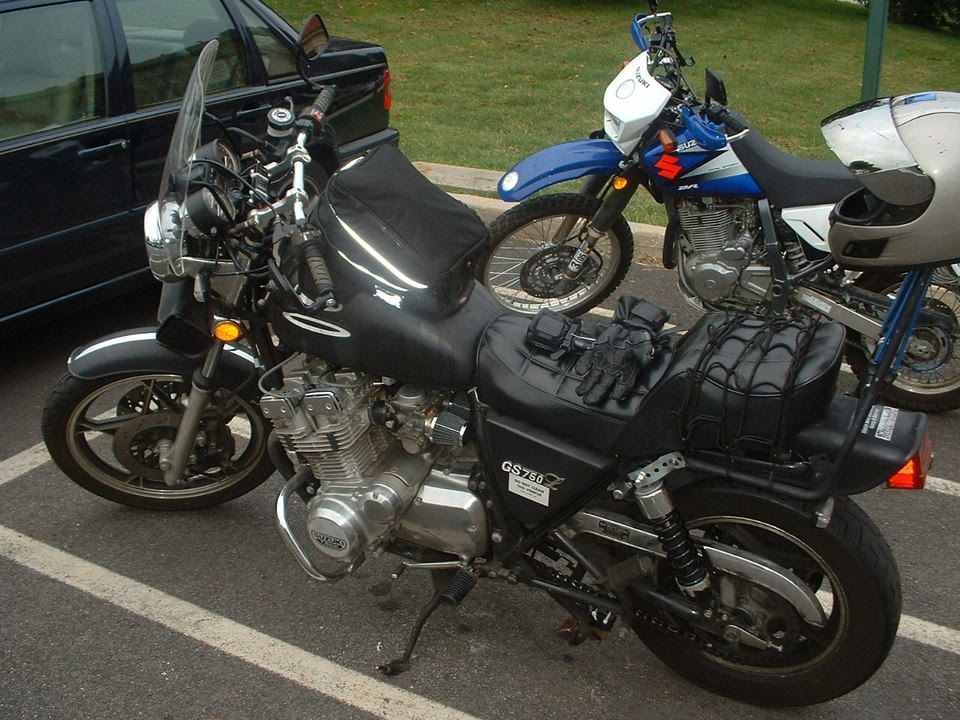
After getting the necessities out of the way I added pretty things like stickers, a windshield, an LED voltage monitor and LED lights under the tank.

Replaced the rear tire, tweaked the carbs a little more and then I commited to RIDING IT instead of working on it hehe.
Recently it's had the fork seals and steering stem bearing replaced but now it's all about riding out.
Well, I hope you enjoyed a little history about my bike.
Ride on
.png)


 at Radio shack.
Comment