Announcement

Collapse
No announcement yet.

Busy weekend wrenching

Collapse
X
 
  • Filter
  • Time
  • Show
Clear All
new posts

    Busy weekend wrenching

    Greetings! I hope everyone had a great weekend. I finally ran the valves on my 79 850. I first had to install new struts on the wife's Accord... but then I was given the green light to work on the bike.

    At very first I stripped the screw head off a valve cover cap while using an impact driver:
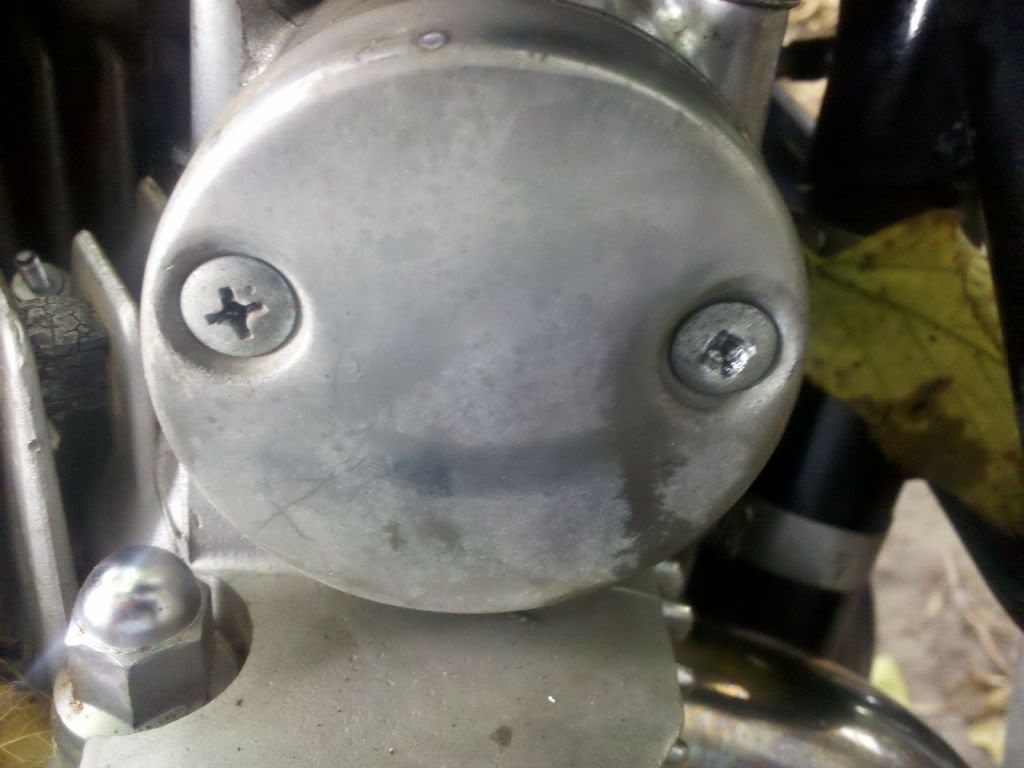


    So I grabbed my Craftsman roto and put a cut-off wheel on it and cut a notch in the screw head:
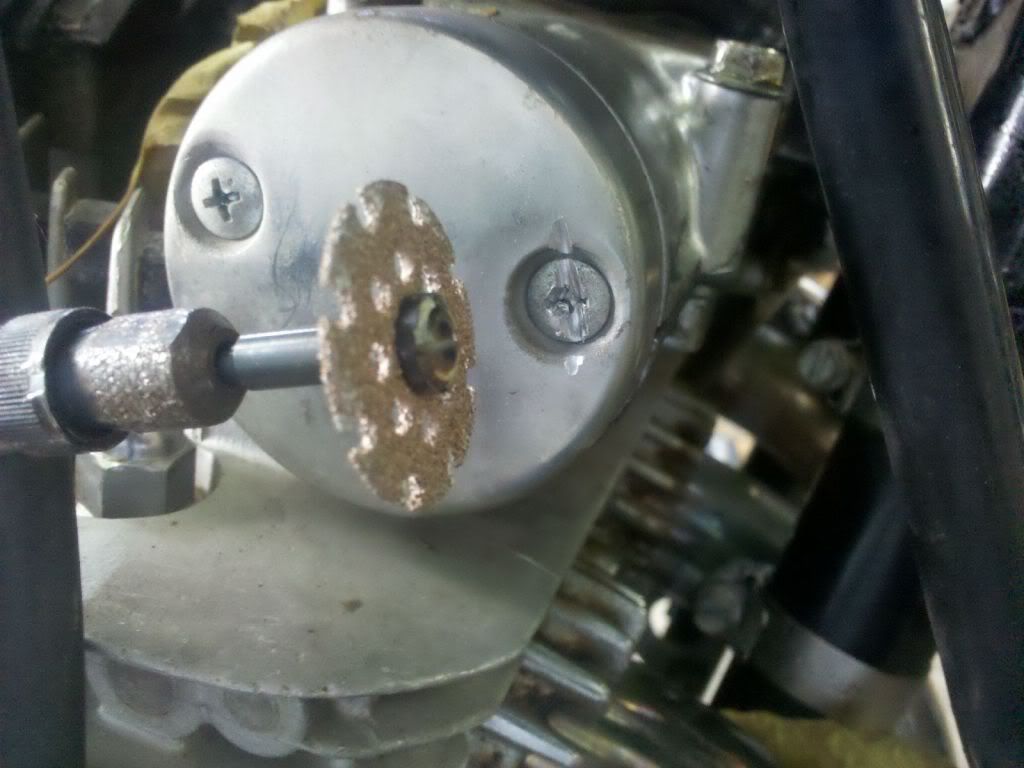


    Then switched the impact driver head to flat and finessed the screw out:
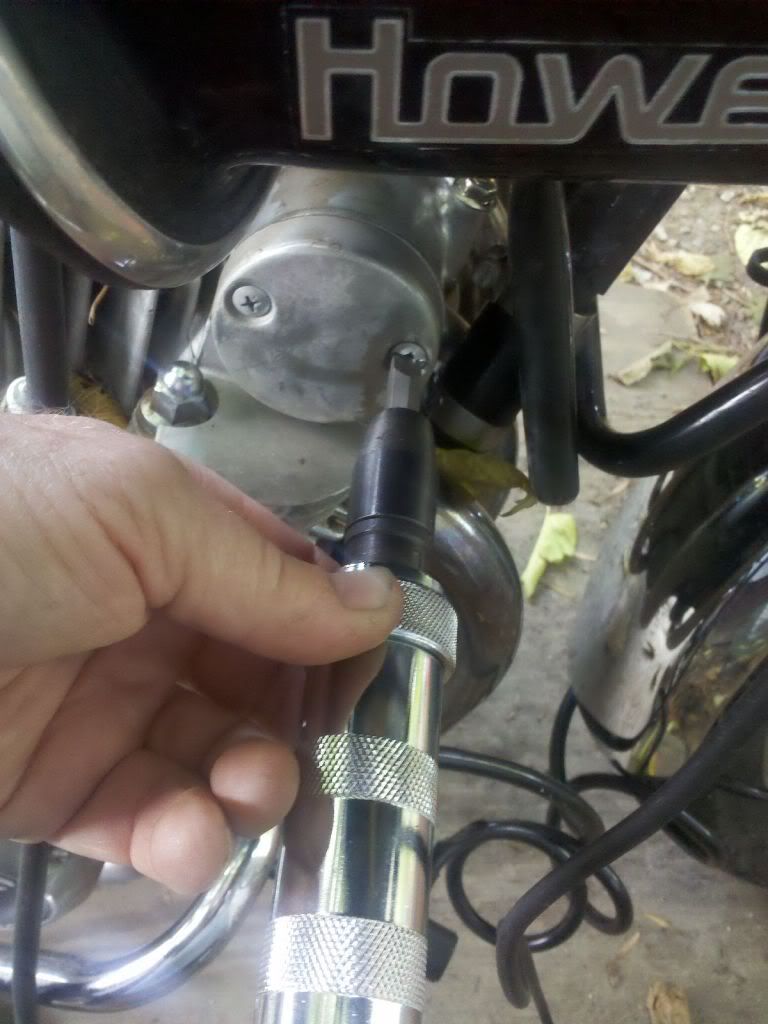


    All went well from that point on. I got the bike dissassembled to the point where I could get the valve cover off. I cheked the gap on all the valves... all are between .038 and .064. (my gauges are standard, but also list metric) I pulled the shim (using zip-tie method) from #1 Exhaust just to go see what size was in there.. a 2.75 shim .. and that gap is between .038 and .051... I would guess a .04-ish as the .038 gauge did not have much room. Anyway all valves are within specs, but before my next valve check I will get a true metric gauge.

    I think I read on here that the 2.75 shims were the approximate ones installed from factory... at <14k miles I would guess this sounds about right.

    The old gasket was a disaster... just came off in pieces... but at least most of it was stuck to the valve cover.
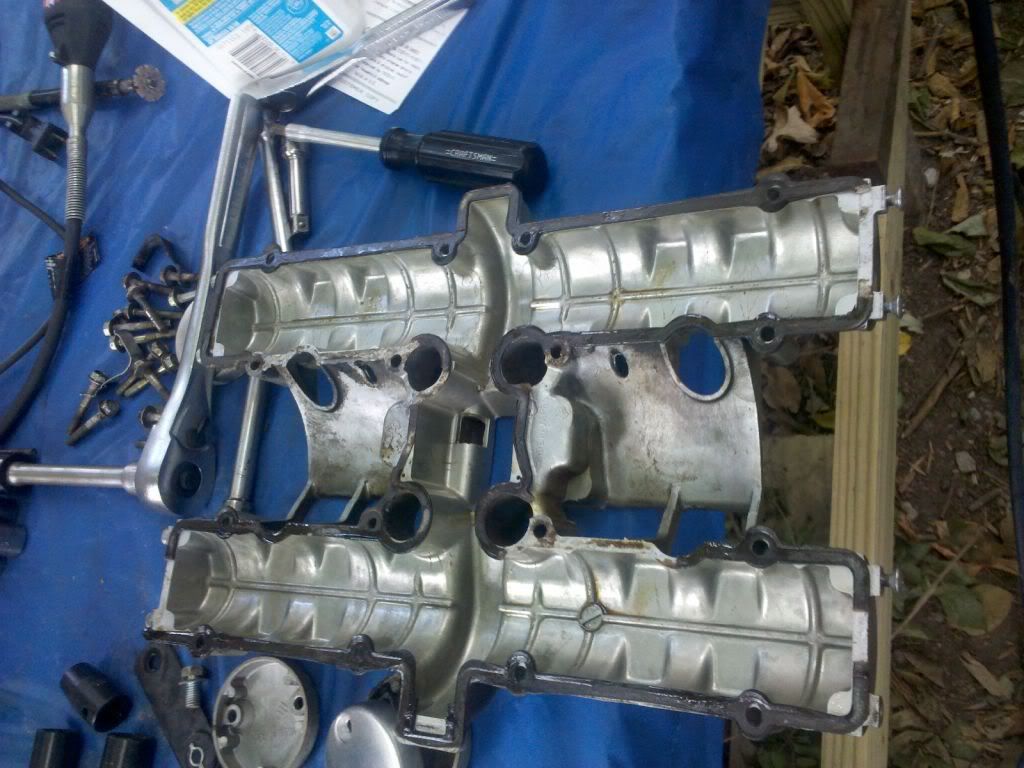


    Before putting it back together I cleaned up the interior and gasket surfaces. I also cleaned off the much of the baked on oil from the valve cover top ...I scrubbed like crazy and then got my Dremmel with a pad attachment and the job went much quicker... but it looks like it took some of the finish off the top of the valve cover... I thought it was just aluminum..
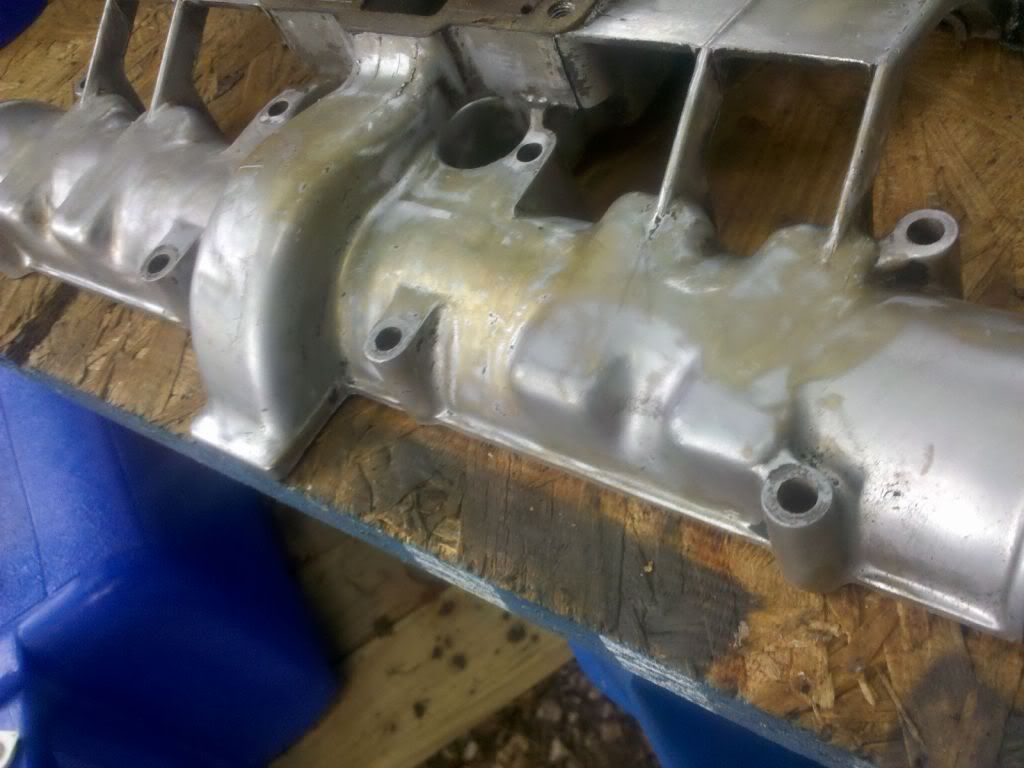


    I So I got it cleaned up and put back together and it still runs (I havn't broken it yet) .. I Now I need a matching valve cap screw.


    Thanks to all on this forum... a great help to me in learing about my bike.

    TP

    #2
    Nice and don't you love old gaskets!

    Comment


      #3
      Impact drivers are destructive tools. I've had much better luck using just the correct size Phillips or Japanese Phillips bit and wacking it carefully with a hammer directly. Then the screw can be removed normally.
      NO PIC THANKS TO FOTO BUCKET FOR BEING RIDICULOUS

      Current Rides: 1980 Suzuki GS1000ET, 2009 Yamaha FZ1, 1983 Honda CB1100F, 2006 H-D Fatboy
      Previous Rides: 1972 Yamaha DS7, 1977 Yamaha RD400D, '79 RD400F Daytona Special, '82 RD350LC, 1980 Suzuki GS1000E (sold that one), 1982 Honda CB900F, 1984 Kawasaki GPZ900R

      Comment


        #4
        Replace those screws with these:
        Flat head socket Cap Screw
        M5 Size 12 mm length 80 mm pitch
        http://i632.photobucket.com/albums/u...00080021-1.jpg
        1978 GS1000C
        1979 GS1000E
        1980 GS1000E
        2004 Roadstar

        Comment


          #5
          Originally posted by Rover View Post
          Replace those screws with these:
          Flat head socket Cap Screw
          M5 Size 12 mm length 80 mm pitch
          Ditto. And don't forget to use some blue lok-tite on the threads.

          Daniel

          Comment


            #6
            I am going to try to convert the screws to hex... might as well start with these.

            I did not use a electric/air imact driver.. just the old fashion one that you put the screw driver bit in a whack it with a hammer. I tried a standard screw driver on them all first... only got 5 to break loose. Three were really tight.. I don't think they were ever removed in the 13k miles/30+ years since it was built.

            thx,

            tp

            Comment


              #7
              One of the stupidest thing Suzuki ever did was put phillips head screws all over these engines. Definitely replace them when you get the chance. I still have some on my bike but only because they've come off easily up to now. I'm sure one day I'll strip one and curse myself for not replacing it yet.
              Current Bikes:
              2001 Yamaha FZ1 (bought same one back)

              Comment


                #8
                If you just drilled the head off from the stripped screw and unscrewed the rest after removing the plate,you wouldn't demage the plate with the dremel....
                Current bikes: '83 GPZ 750(shipped to Europe)and The one and only '81 GS 1000G,BOM 2/11.
                Past bikes: '84 MZ ETZ 250
                '84 Honda VFR 500
                '86 GSXR 750
                http://s1202.photobucket.com/albums/bb362/caligs/

                http://i1202.photobucket.com/albums/..._DSC0127-1.jpghttp://i1202.photobucket.com/albums/...amamatsu-1.jpg

                Comment


                  #9
                  Hind sight!!! Yep... I thought the same thing after I got in to the cover...

                  Comment


                    #10
                    That's why I always save my worn down cutting wheels, for the dremel.
                    Because you can use em for small precise cuts like that!

                    Comment

                    Working...
                    X