-
If you use a 75 degree and a 15 degree seat cutter you can narrow the 45 degree seating surface to any width you want and make it consistent as well. -
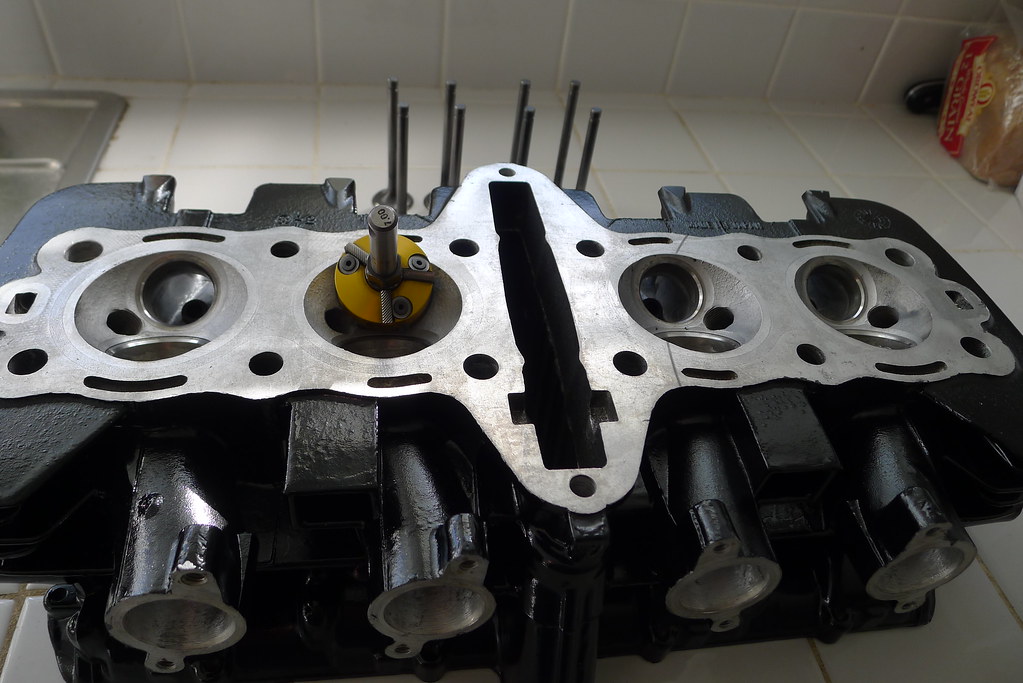
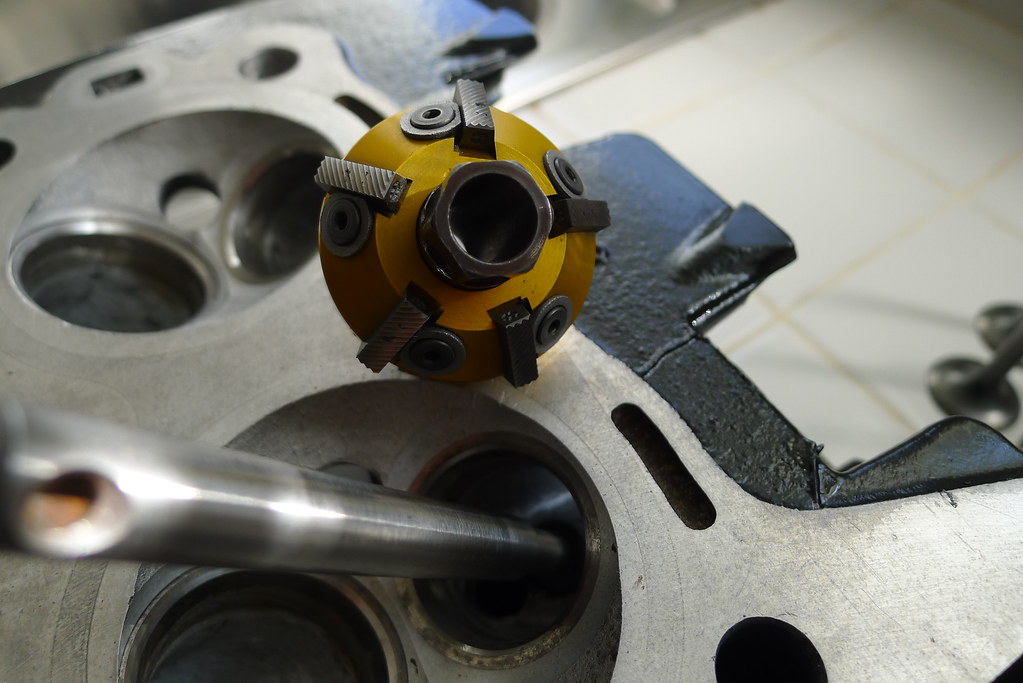
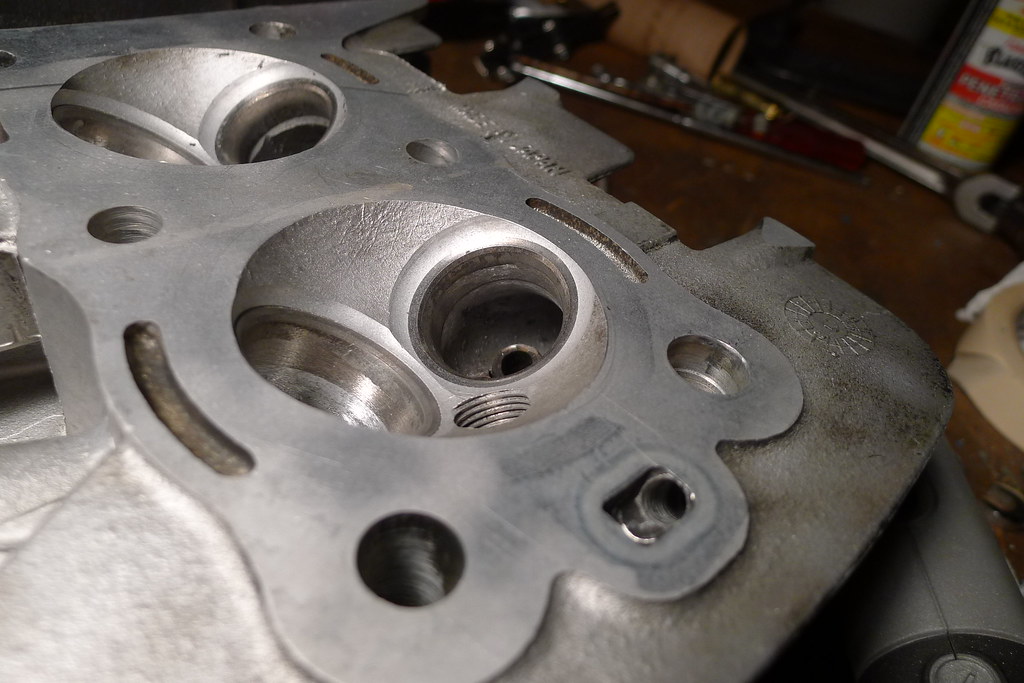
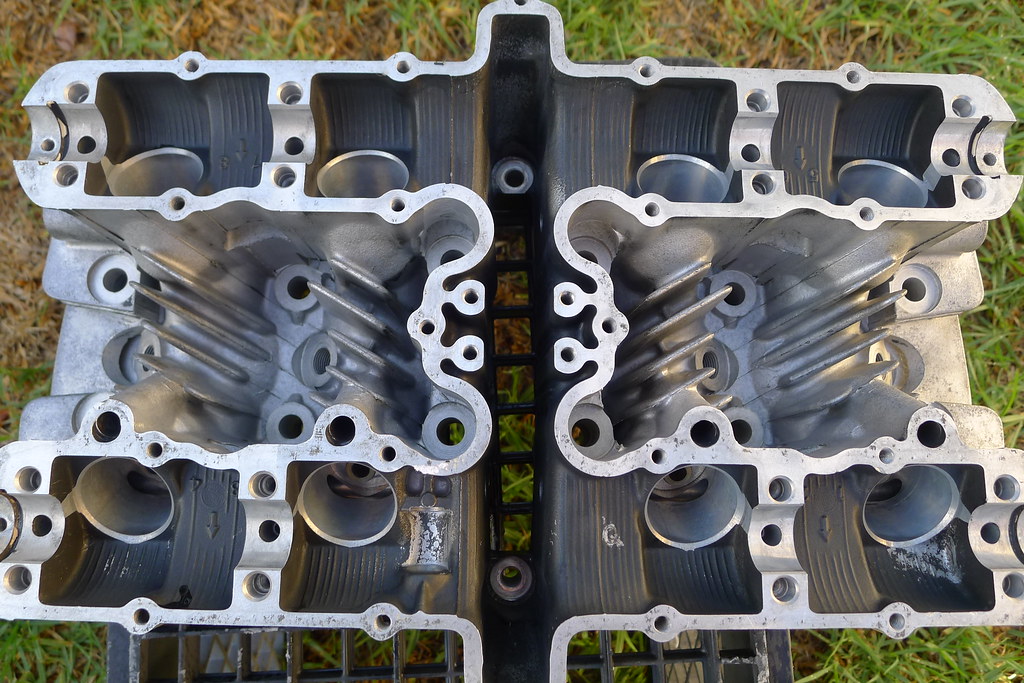
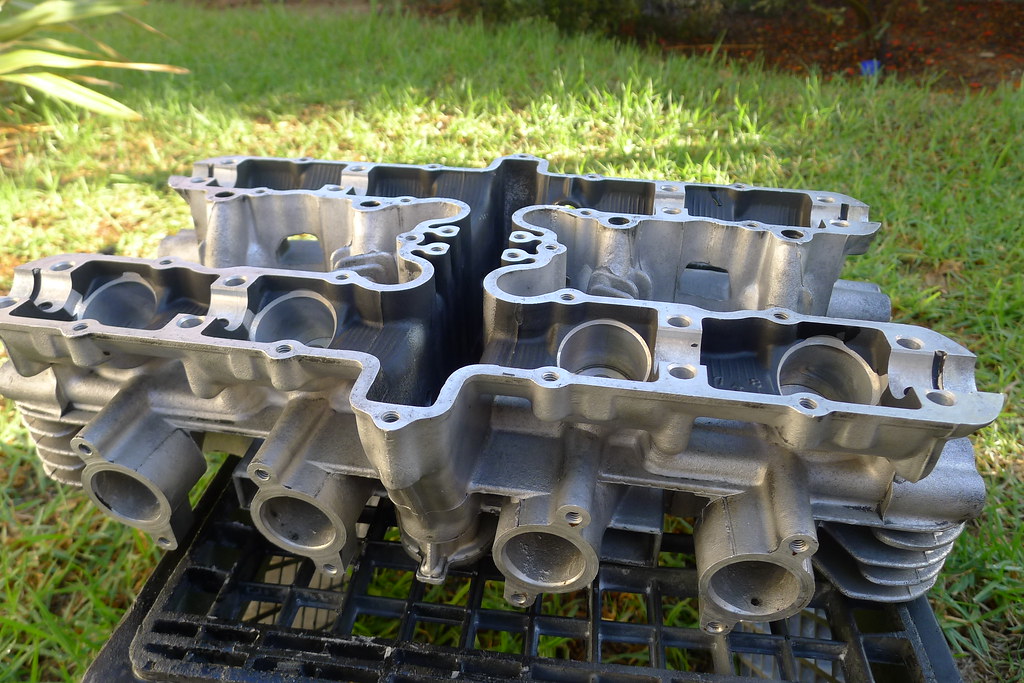
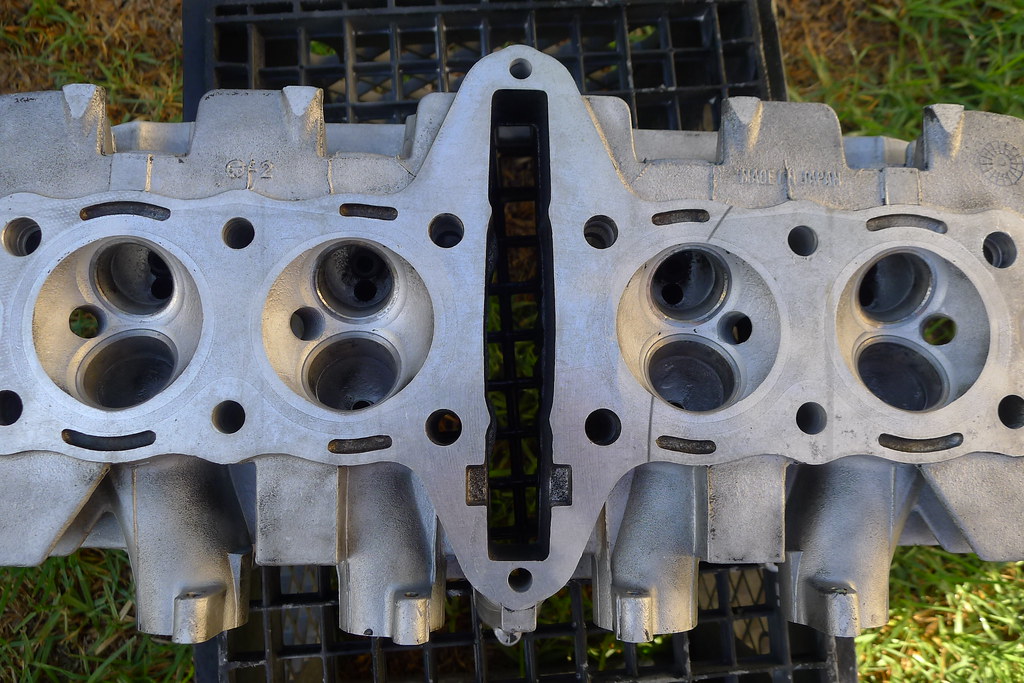
Did a little more work on the head. Painted it of course, and touched up the valve seats with a Neway cutter.
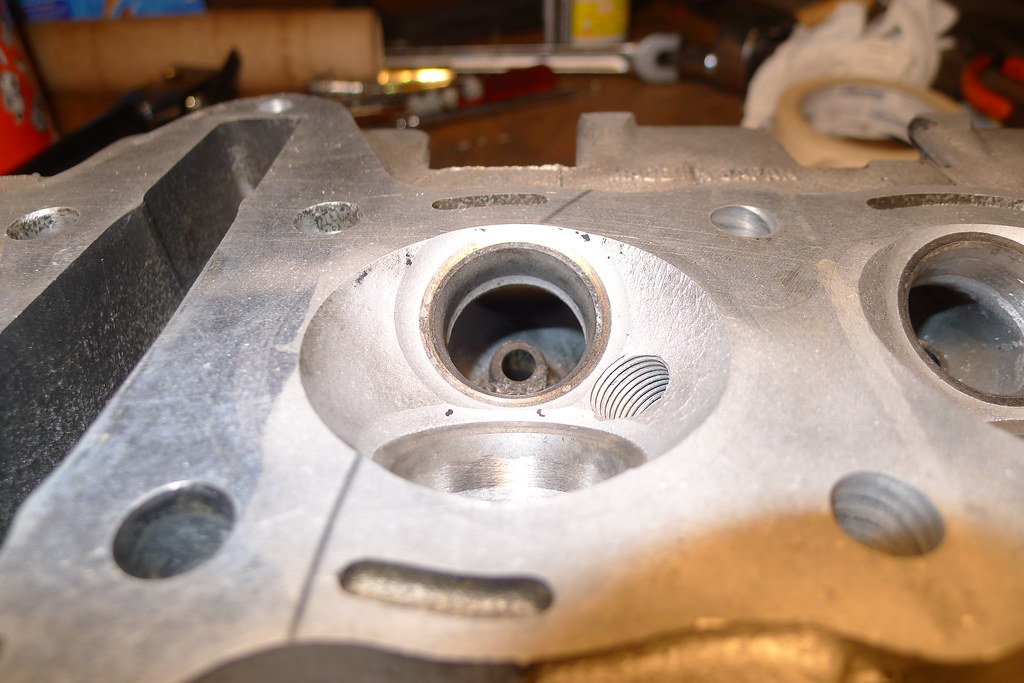
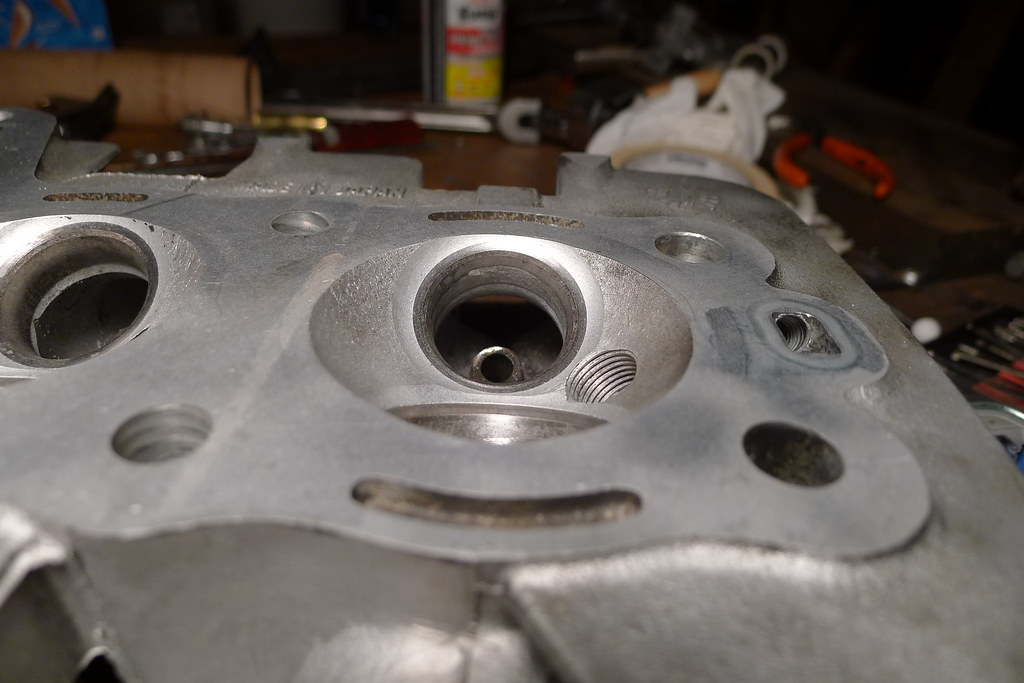
Less than thrilled about how the seats look (mostly the intakes). In particular, the seat width is wider than ideal. The seat width isn't the most consistent either. Kawasaki apparently isn't overly particular about such things. I'm pretty sure this isn't a big deal, but it sort of bugs me. I think Suzuki is better about things like this, or at least my GS1000 engine didn't have this issue.
 P1020057 by nessism, on Flickr
 P1020061 by nessism, on Flickr
 P1020062 by nessism, on Flickr
 P1020063 by nessism, on Flickr
Last edited by Nessism; 07-30-2017, 10:33 PM.
P1020063 by nessism, on Flickr
Last edited by Nessism; 07-30-2017, 10:33 PM.Leave a comment:
-
Originally posted by Kiwi Canuck View Post
Hi David,
Thanks for the props. I've learned a thing or two through the years, mostly by making mistakes. At any rate, I've painted quite a bit using a 20 gallon 2 hp (15 A) compressor and a small touch up spray gun. I wouldn't try to paint a car using such a setup, but a motorcycle is no problem. I currently have a huge monster of a compressor (80 gallon and 5 hp), having acquired it through a partial trade. Didn't go looking for such a unit, but have to admit it comes in handy.
If you have any specific questions about painting or whatever, don't hesitate to PM me.Leave a comment:
-
I just read this entire thread from the start, all I can say is WOW, you sure do nice work and are such an inspiration to myself and many others on this forum.
I remembered that you discussed your spray painting setup in this thread and once I'd read that part I couldn't stop, so I just re-read the whole thing, I'm tired just thinking of all the work you've done.
I've just purchased a DeVilbiss spray gun kit and a Campbell Hausfeld Filter/Dryer unit and looking at what else I need, just trying this out to see if it's something I can get the hang of.

I have a small 20 gallon Snap On brand compressor, Costco special, that probably gets max 5CFM at 30PSI, so I'll probably need to go bigger.
What compressor do you have? and does it serve your purpose or would you recommend something else.
Thanks again for your fantasic reports.
DavidLeave a comment:
-
Trying my hand at a little pocket porting. Just trying to smooth the sharp edges in the bowl. The short side radius was particularly poorly done and sharp.
The last two photos show the after.
 P1020027 by nessism, on Flickr
 P1020023 by nessism, on Flickr
 P1020025 by nessism, on Flickr
 P1020028 by nessism, on Flickr
Last edited by Nessism; 07-30-2017, 10:31 PM.
P1020028 by nessism, on Flickr
Last edited by Nessism; 07-30-2017, 10:31 PM.Leave a comment:
-
 Guest repliedIf you haven't already found some, perhaps you could use these: http://www.ebay.com/itm/1982-Kawasak.../300784208482?
Leave a comment:
-
Soda blasted the head. Trying to avoid grit in the blind oil galleys. The soda worked great, but it's not just a simple rinse with water and you are done aftermath. I scrubbed this head to within an inch of it's life before being confident of no more grit remaining behind. Glad it's done. Cross another thing off the list of sucky (messy) projects.
 P1020016 by nessism, on Flickr
 P1020015 by nessism, on Flickr
 P1020014 by nessism, on Flickr
 P1020017 by nessism, on Flickr
Last edited by Nessism; 07-30-2017, 10:21 PM.
P1020017 by nessism, on Flickr
Last edited by Nessism; 07-30-2017, 10:21 PM.Leave a comment:
-
Guest repliedStunning EdLeave a comment:
-
Ed,Originally posted by Nessism View Post
Your engine case turned out great. Its going to be awesome whether you polish the aluminum pieces. I am betting you will
No comment on engine casting quality because these bikes (Suzukis or Kawis) were never intended to last thirty or forty years but I would add be carefully when you retighten those front engine mount bolts. The nuts on the inboard side are kinda of a loose fit and when you start tightening the corner of the nut rotates against the casting before it stops . . . so all the force is concentrated along a single line instead of the flat of the nut. Luckily the torque is pretty lowLeave a comment:
-
Everything you've done looks top-shelf, for sure. I've found that anything aluminum can be brought back with enough sanding..even if you have to start with a file. It's just how much time and effort one wants to spend on it. 80 grit will take just about any pitting problems away, followed by 180, 400, 600, 800, 1,000, followed by aluminum polish. It's a pain, but the results can be had by persistence..which you have proven to have time and again with the projects you've shown us.Leave a comment:
-
How much work would be involved to sand bead blasted engine covers with 800 grit and clear coat them? You could also throw money at the problem and buy ones that aren't pitted so heavily.Leave a comment:
-
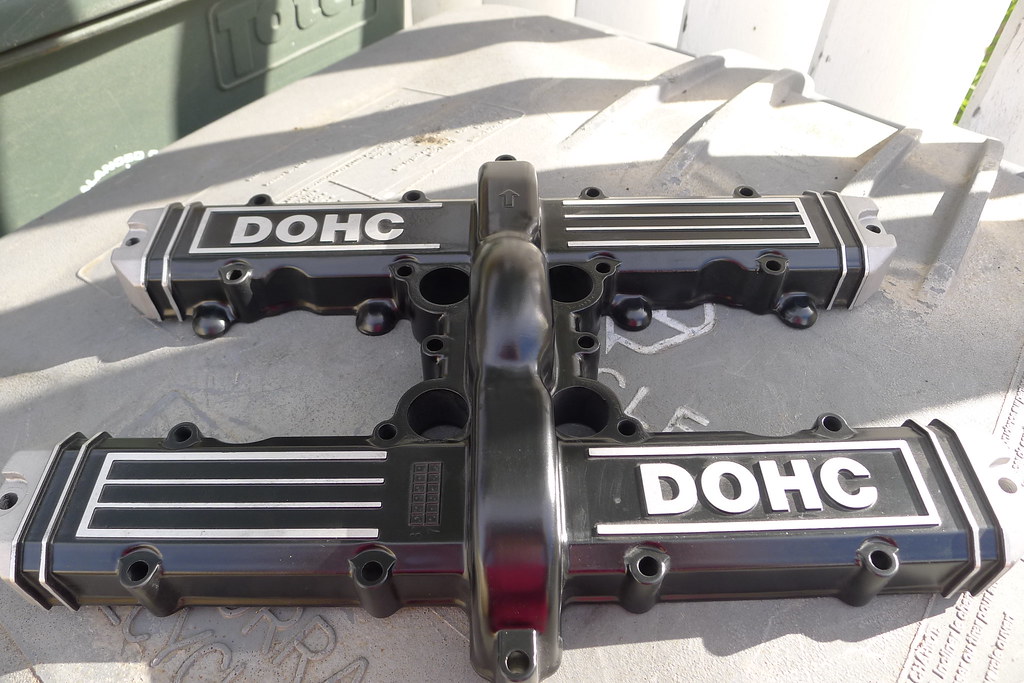
Thanks for the positive feedback Dale.
The valve cover highlights the quandary I'm facing: to polish or not to polish (the aluminum bits).
This bike had/has a lot of corrosion damage. Engine covers for example are pitted pretty deeply. Kawasaki didn't clear coat the engine covers and various aluminum parts the way Suzuki did. I bead blasted the valve cover end caps (so to speak) but would prefer a polished look. Polishing everything is going to be a LOT of work though. Not sure I'm up to it.Leave a comment:
-
This is going to be one awesome looking machine when it's finished. Love the way the valve cover came out.Leave a comment:
-
I put the jugs on a cookie sheet head side on the sheet. This keeps them setting all the way down when the case expands and loosens them up. Leave them as is and let them cool on the sheet and they dont move. Learned that lesson when I suddenly heard what I thought was the oven rack collapsing when I baked the 73 TX 750 jugs. Sat the jugs on the bottom of the liners and then they just popped up the top about 4 inches. Thought WTF!!!!!!
Grabbed the hot mits and sat the jugs on some 4X4s and then pushed the liners back down. Lessons learned.Last edited by chuck hahn; 11-01-2014, 12:11 PM.Leave a comment:
.png "Powered by vBulletin")
Required reading for all forum users!!!
Welcome!
Register to access the full functionality of the GSResources forum. Until you register and activate your account you will not have full forum access, nor will you be able to post or reply to messages.A note to new registrants...
All new forum registrations must be activated via email before you have full access to the forum.A Special Note about Email accounts!
DO NOT USE sbcglobal.net, att.net, bellsouth.net or email.com email addresses when registering for the forum! Email that our system sends out to these email servers is treated as SPAM and you will never receive your activation email, or any other email that our system may send out. Use an email address from gmail.com or some other email server.A note to old forum members...
I receive numerous requests from people who can no longer log in because their accounts were deleted. As mentioned in the forum FAQ, user accounts are deleted if you haven't logged in for the past 6 months. If you can't log in, then create a new forum account. If you don't get an error message, then check your email account for an activation message. If you get a message stating that the email address is already in use, then your account still exists so follow the instructions in the forum FAQ for resetting your password.Have you forgotten your password or have a new email address? Then read the forum FAQ for details on how to reset it.
Any email requests for "can't log in anymore" problems or "lost my password" problems will be deleted. Read the forum FAQ and follow the instructions there - that's what we have one for...
New users should be sure to read the FAQ as well as the posts in the Announcements forum. This will answer many of the questions you may have about how this forum works.
Before posting questions in the forums be sure to use the forum search function!!! Odds are your question has already been asked and answered before. And when posting, please make sure that you post to the correct forum.
Finally, be sure to check out BassCliff's website here. He has useful information that can't be found on this site. His welcome page containing useful GS information can be found here. Be sure to check it out!
If you are a returning visitor to the forum and can't log in using your old forum name and password, chances are your account is deleted. Just create a new forum account and you should be all set.


Leave a comment: