

Another masterpiece in the making.
Kinda makes Jennifer look like a shade tree hack job.
Required reading for all forum users!!!
Welcome!
Register to access the full functionality of the GSResources forum. Until you register and activate your account you will not have full forum access, nor will you be able to post or reply to messages.
A note to new registrants...
All new forum registrations must be activated via email before you have full access to the forum.
A Special Note about Email accounts!
DO NOT USE sbcglobal.net, att.net, bellsouth.net or email.com email addresses when registering for the forum! Email that our system sends out to these email servers is treated as SPAM and you will never receive your activation email, or any other email that our system may send out. Use an email address from gmail.com or some other email server.
A note to old forum members...
I receive numerous requests from people who can no longer log in because their accounts were deleted. As mentioned in the forum FAQ, user accounts are deleted if you haven't logged in for the past 6 months. If you can't log in, then create a new forum account. If you don't get an error message, then check your email account for an activation message. If you get a message stating that the email address is already in use, then your account still exists so follow the instructions in the forum FAQ for resetting your password.
Have you forgotten your password or have a new email address? Then read the forum FAQ for details on how to reset it.
Any email requests for "can't log in anymore" problems or "lost my password" problems will be deleted. Read the forum FAQ and follow the instructions there - that's what we have one for...
New users should be sure to read the FAQ as well as the posts in the Announcements forum. This will answer many of the questions you may have about how this forum works.
Before posting questions in the forums be sure to use the forum search function!!! Odds are your question has already been asked and answered before. And when posting, please make sure that you post to the correct forum.
Finally, be sure to check out BassCliff's website here. He has useful information that can't be found on this site. His welcome page containing useful GS information can be found here. Be sure to check it out!
If you are a returning visitor to the forum and can't log in using your old forum name and password, chances are your account is deleted. Just create a new forum account and you should be all set.


 Bodies and chrome pieces were really pitted so couldn't get rid of all that. Oh well, they will do for now.
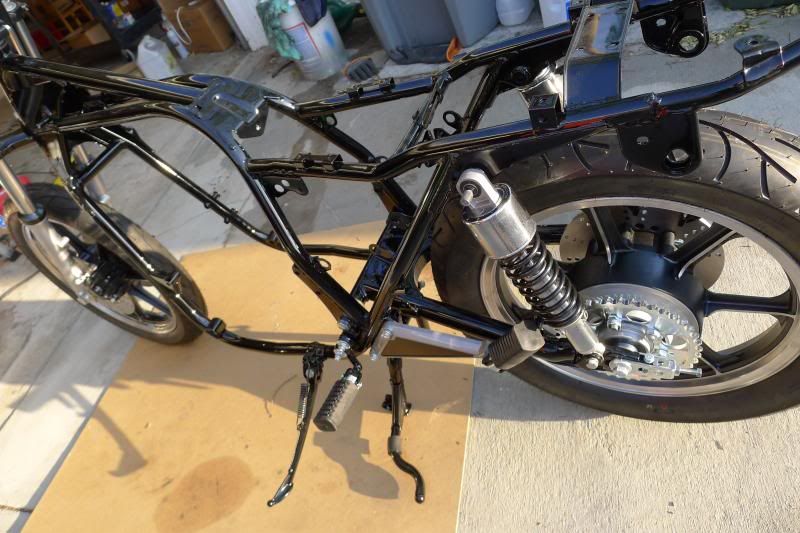
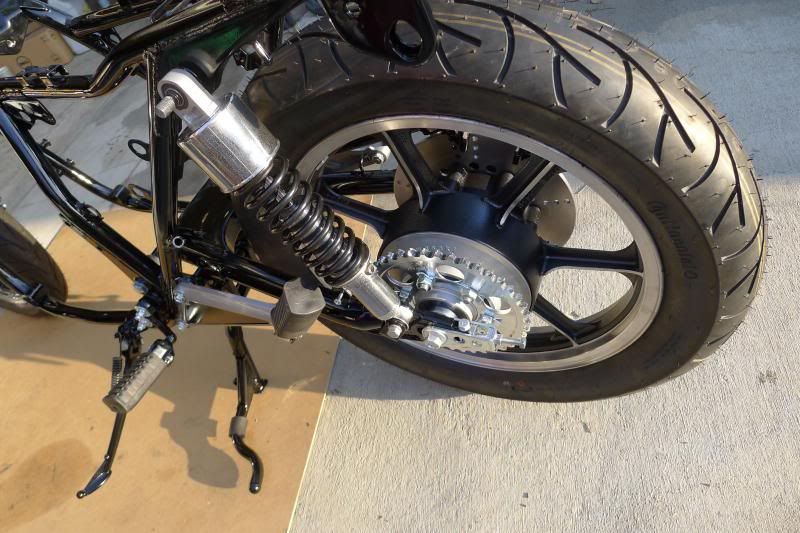
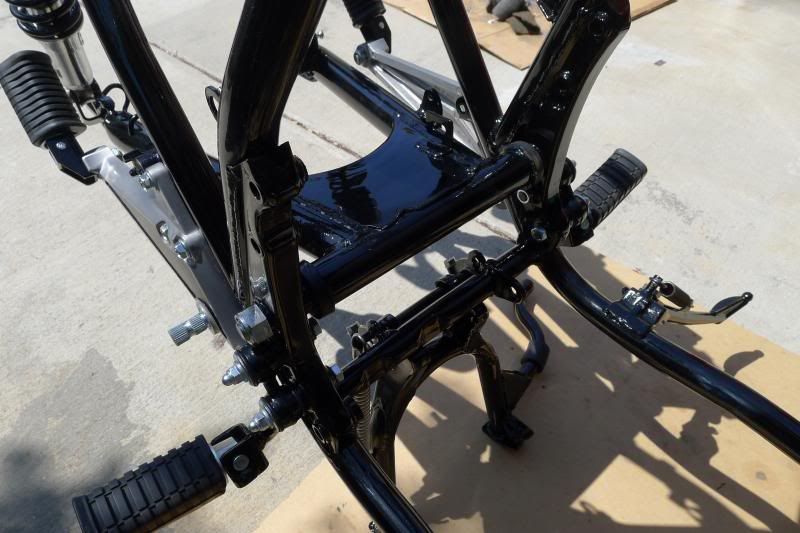
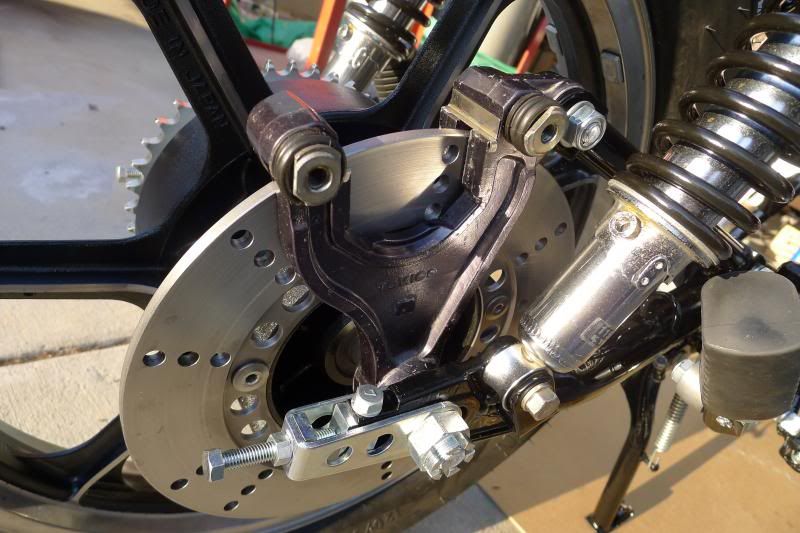
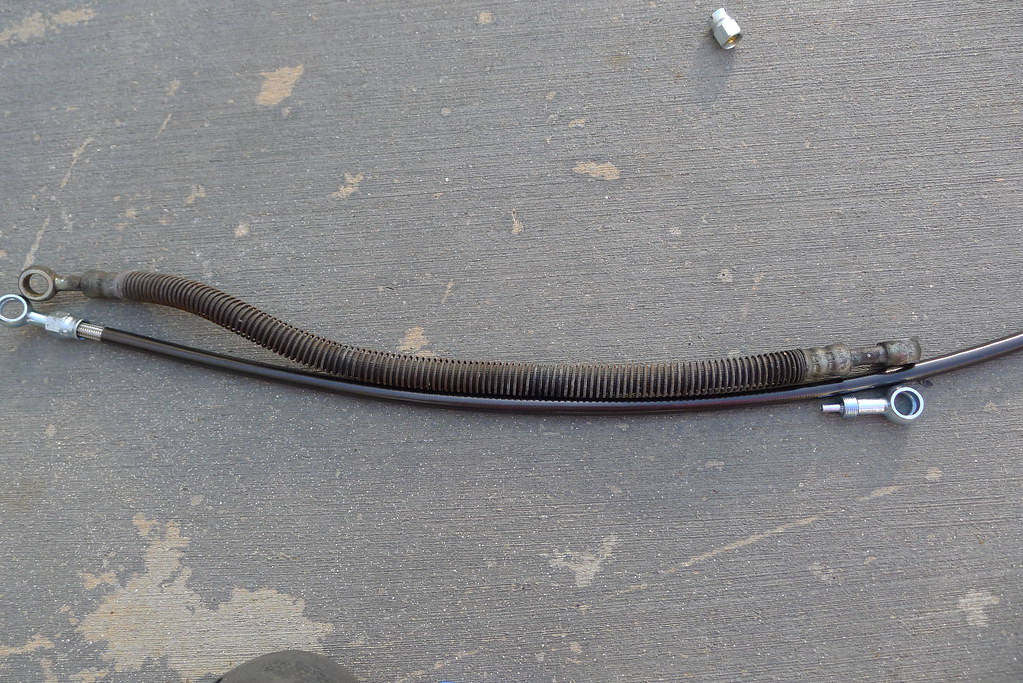 P1010678 by nessism, on Flickr
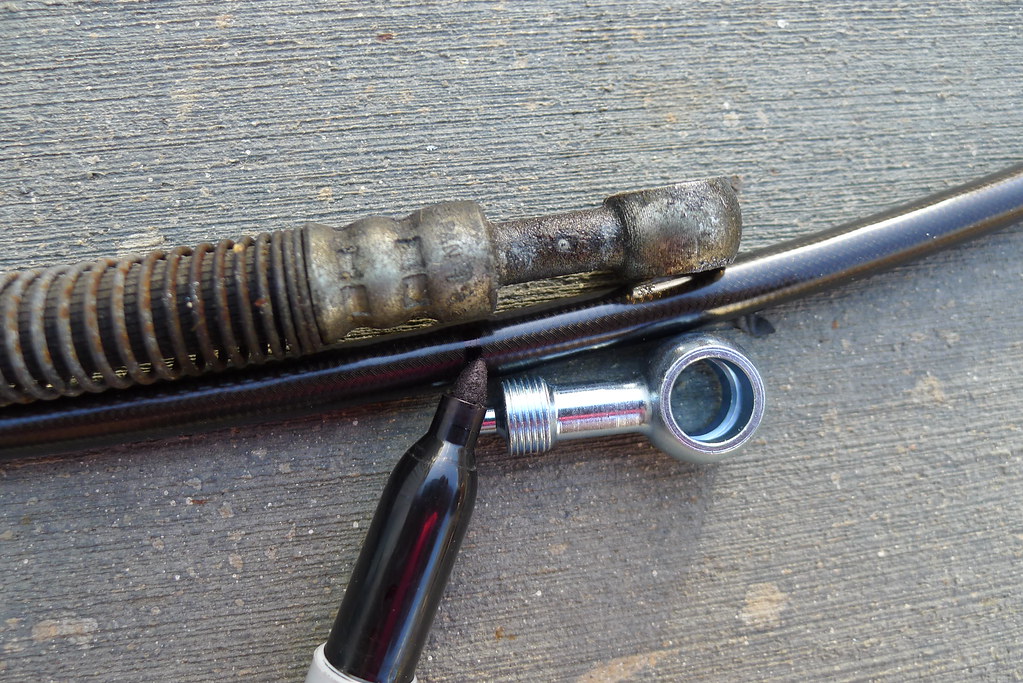 P1010679 by nessism, on Flickr
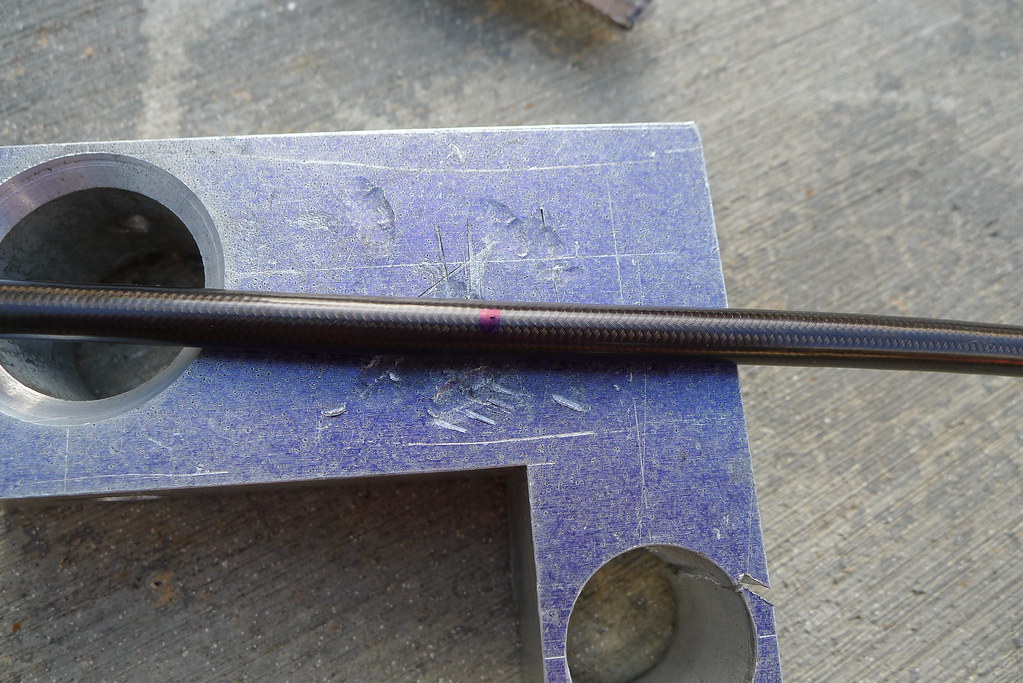 P1010701 by nessism, on Flickr
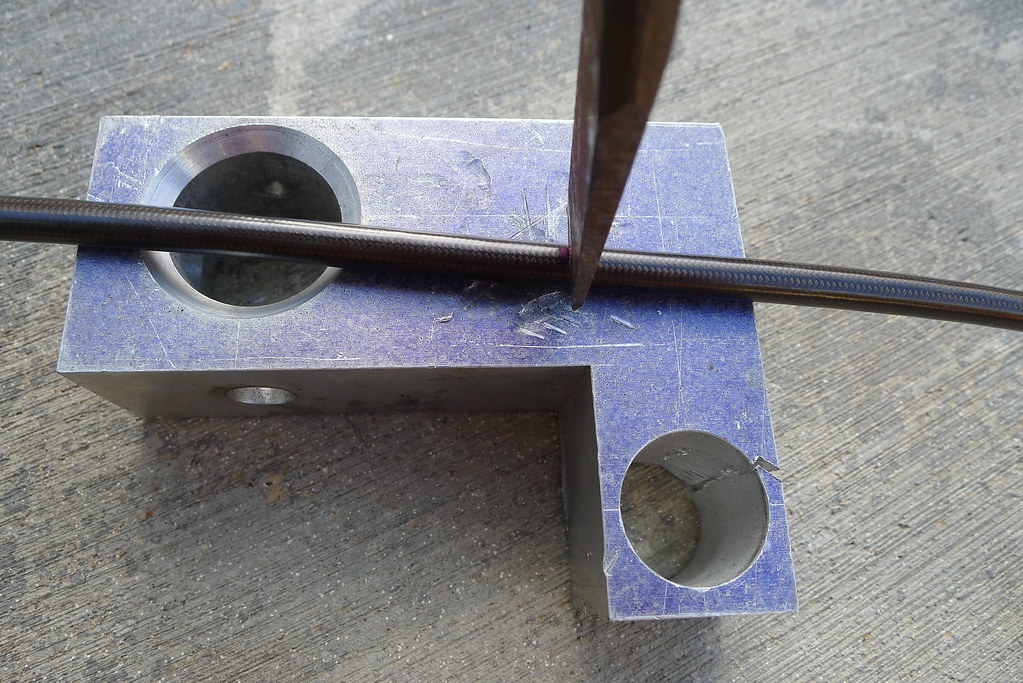 P1010702 by nessism, on Flickr
 P1010704 by nessism, on Flickr
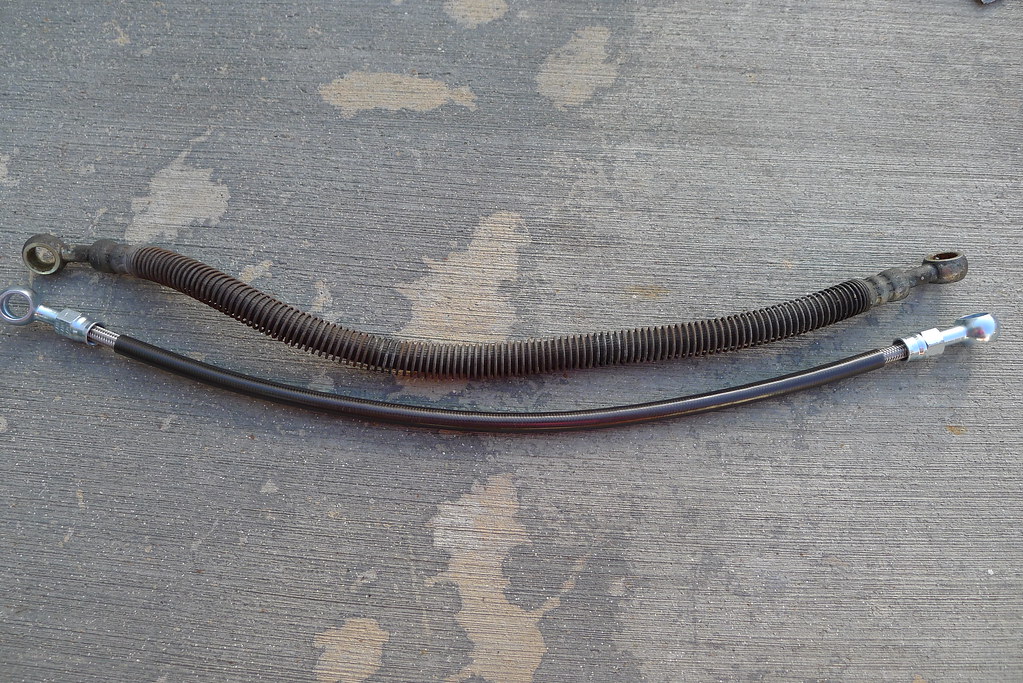 P1010688 by nessism, on Flickr
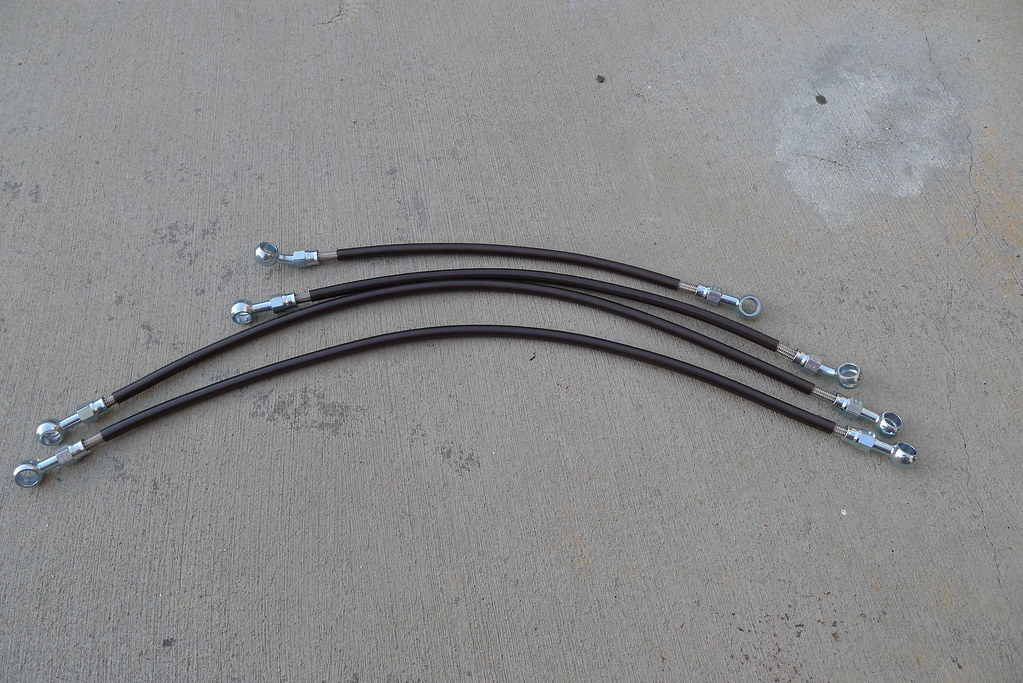 P1010705 by nessism, on Flickr
 P1010706 by nessism, on Flickr
 P1010672 by nessism, on Flickr
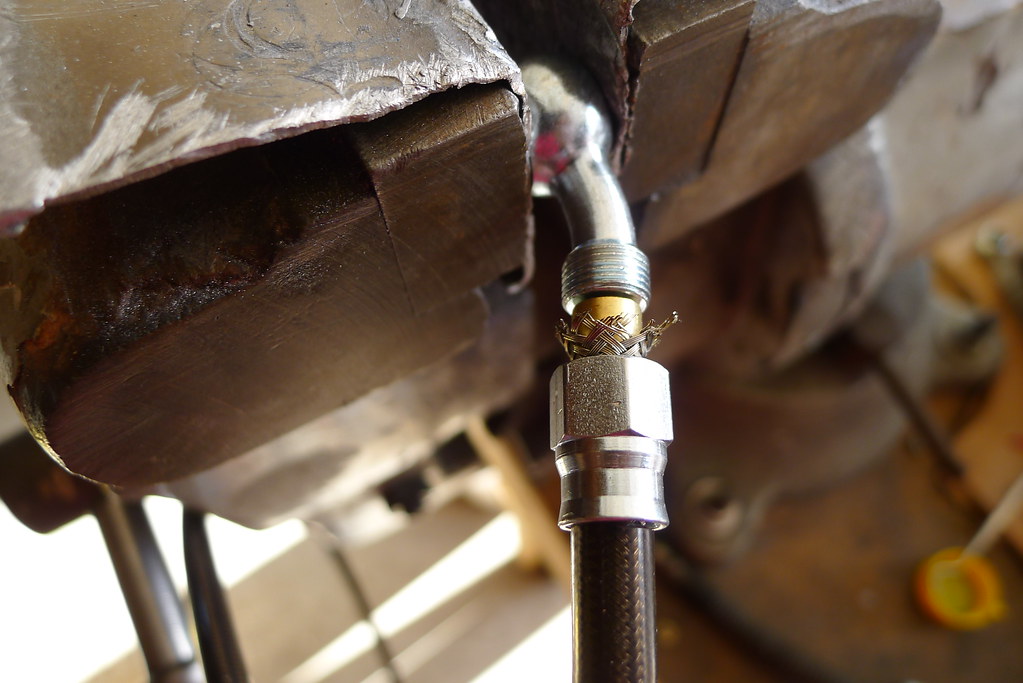 P1010674 by nessism, on Flickr
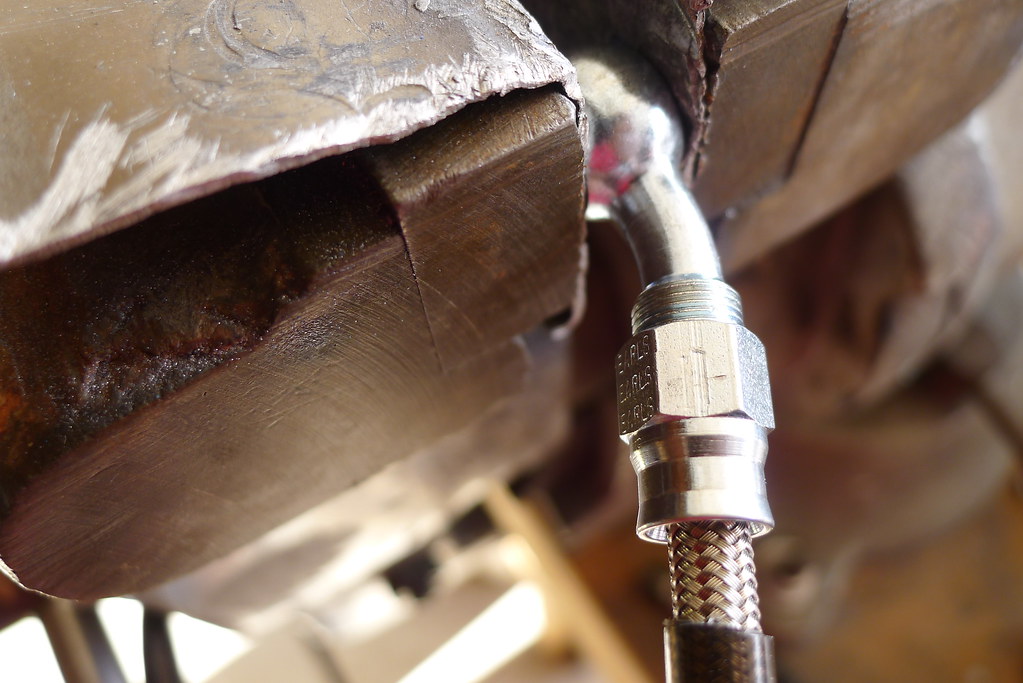 P1010675 by nessism, on Flickr
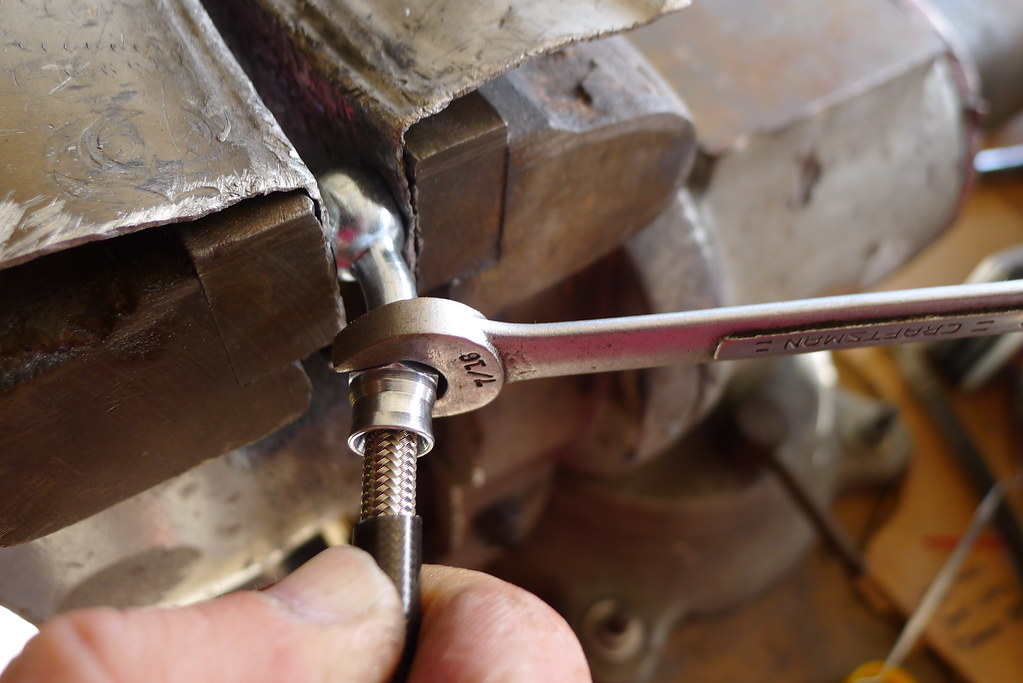 P1010676 by nessism, on Flickr
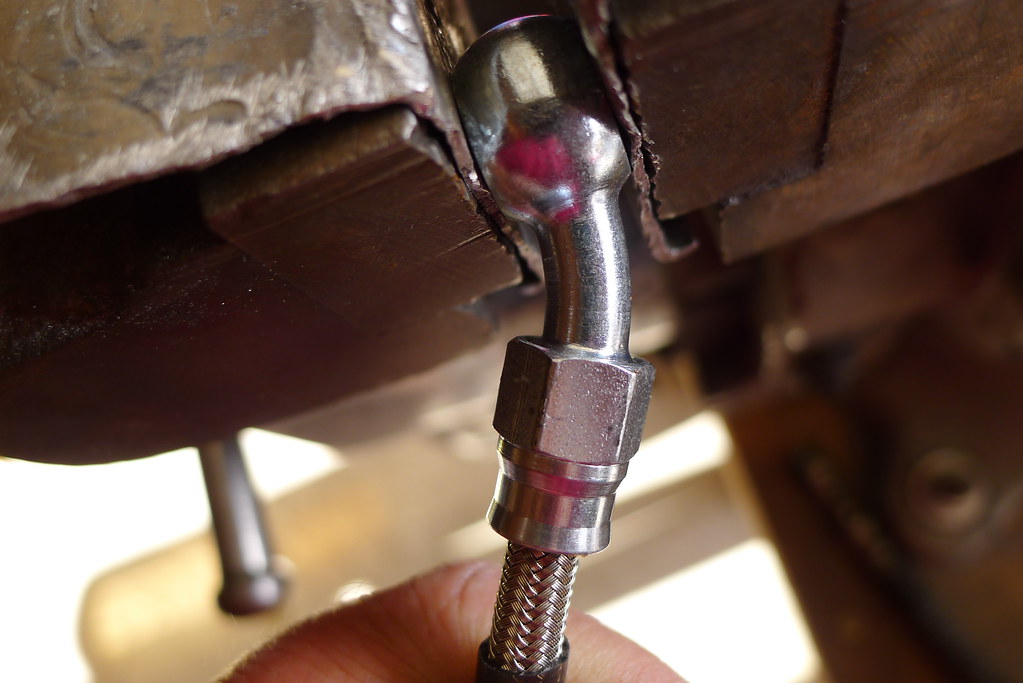 P1010677 by nessism, on Flickr
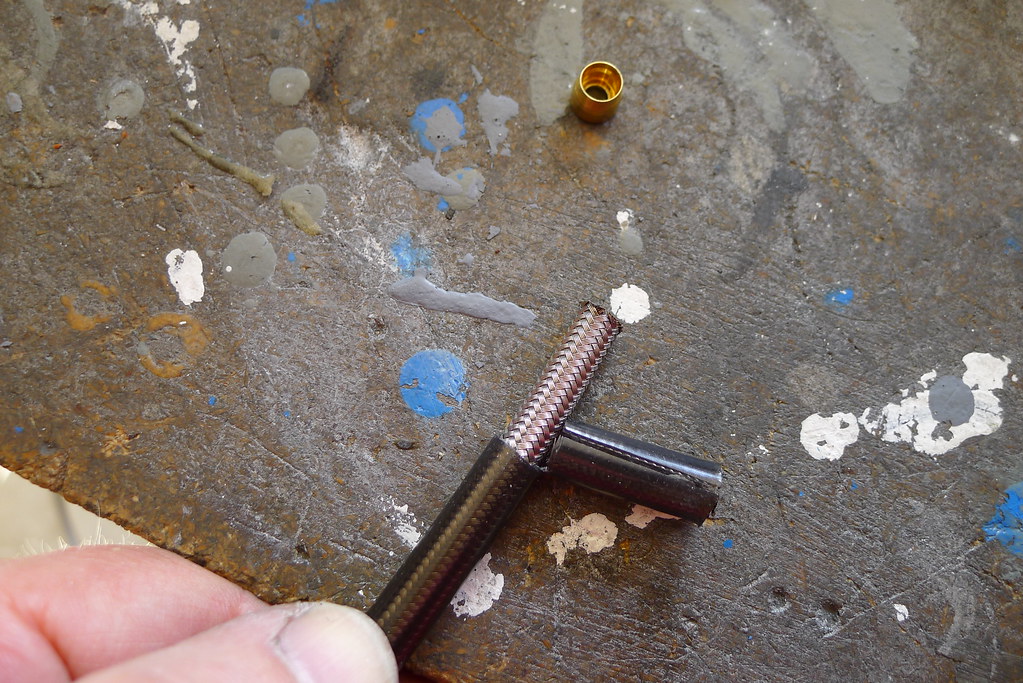 P1010660 by nessism, on Flickr
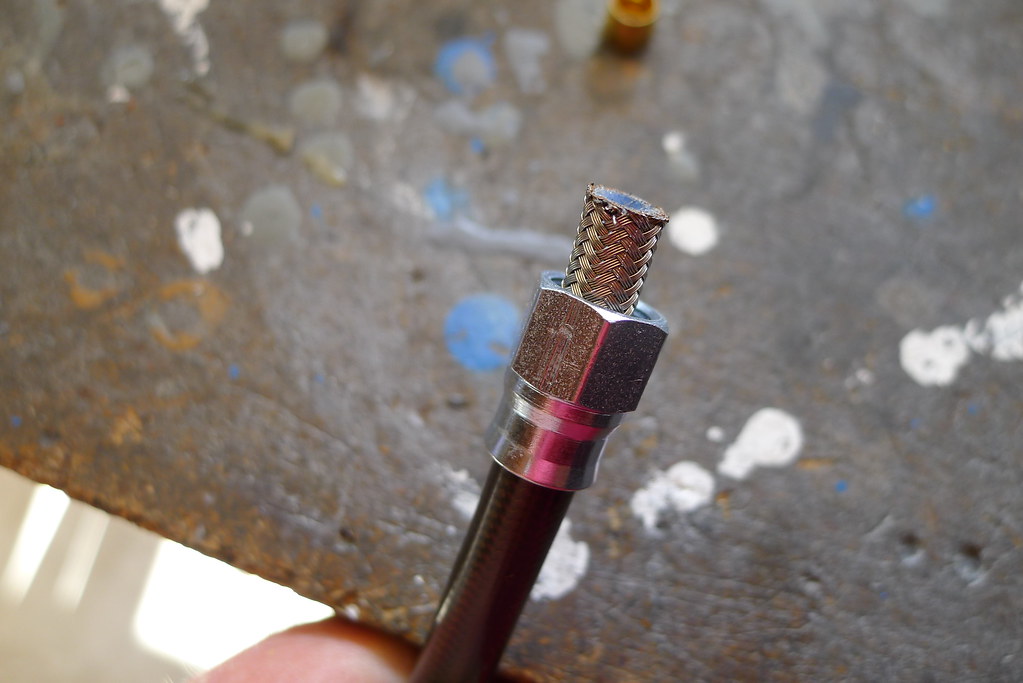 P1010663 by nessism, on Flickr
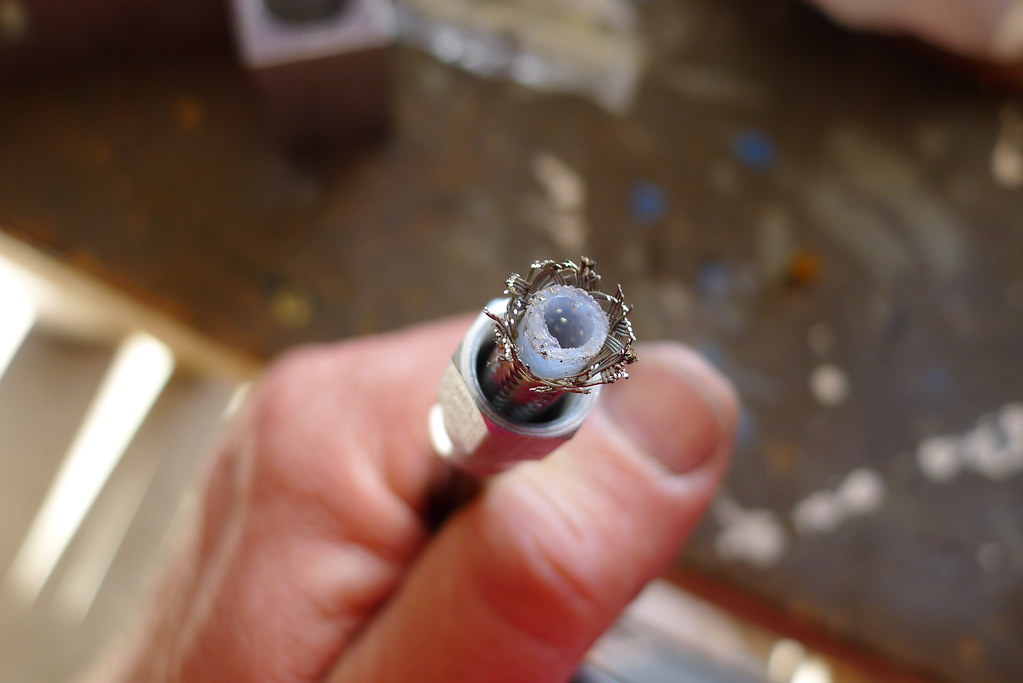 P1010664 by nessism, on Flickr
 P1010666 by nessism, on Flickr
 P1010667 by nessism, on Flickr
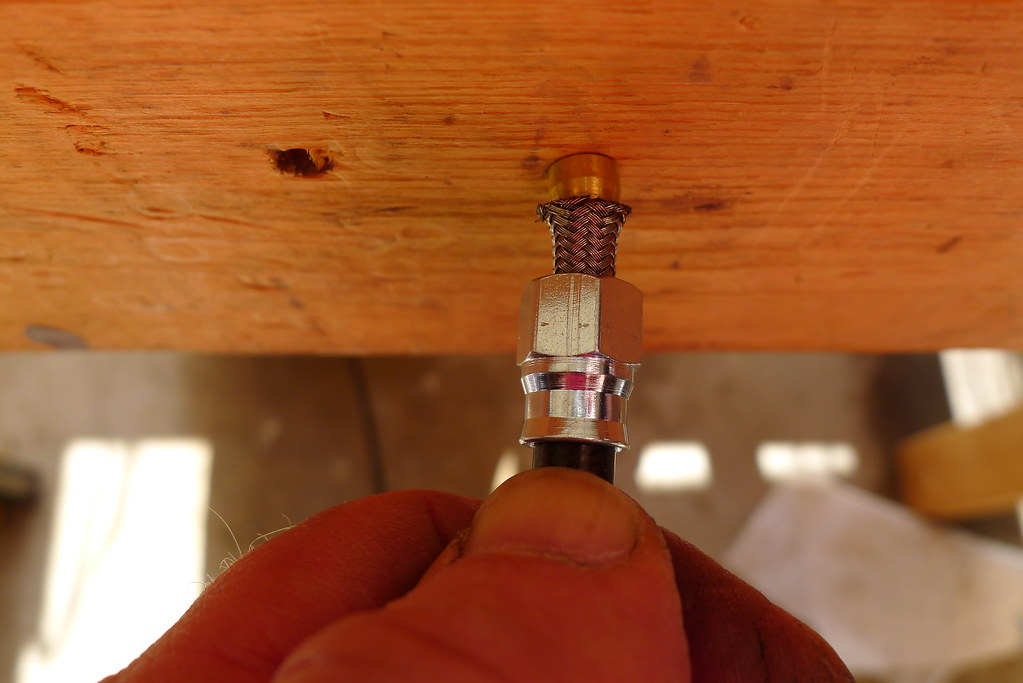 P1010695 by nessism, on Flickr
 P1010698 by nessism, on Flickr
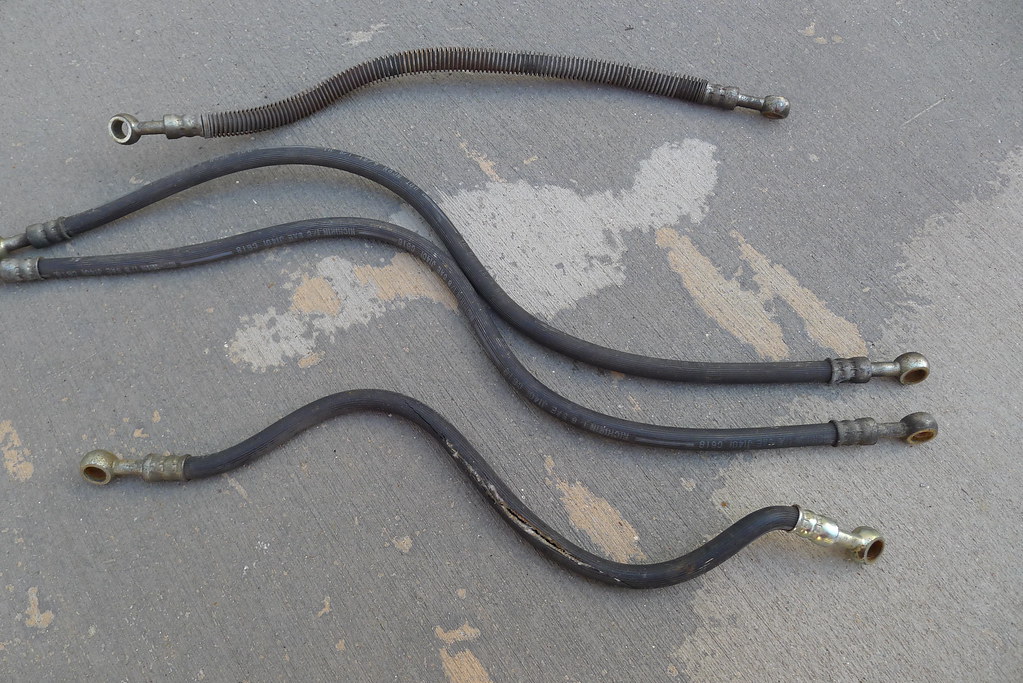 P1010650 by nessism, on Flickr
 P1010652 by nessism, on Flickr
 P1010654 by nessism, on Flickr
 P1010657 by nessism, on Flickr
 P1010656 by nessism, on Flickr
.png)
Leave a comment: