Announcement
Collapse
No announcement yet.
1981 Kawasaki KZ750 Resurrection
Collapse
X
-
Sounds like it needs some precision honing. To make round and remove the taper.
No Ball stuff.
-
Measured the cylinders last night with a bore gauge. Stock bore size is 66.0mm and service limit is 66.1mm, with no more than .05mm difference between the three measurement positions speced (total of six measurements since each position was measured at 90 degrees).
Set the bore gauge at 66mm (2.5985") then went to work. All the measurement points were consistently between .0018" and .0024" below the standard. Oddly, measuring at the very top and very bottom of the cylinder (where the piston doesn't even swipe) and only found a couple points where the cylinder was nominal, most were still at .0010" below. Bottom line is all cylinders are showing about .0010" of out of round and taper, which is about 1/2 way to the service limit. Will measure the pistons next to determine if they are worn and to determine the piston to cylinder clearance.Last edited by Nessism; 01-23-2014, 11:06 AM.
Leave a comment:
-
Thanks for the offer Tom, but I want to do the painting myself. Would love to set up powder coating like you did...some day, but for now it's going to be liquid paint.Originally posted by tkent02 View PostEd, do you want these pieces powder coated or are you in a hurry to get it done??
Leave a comment:
-
is the 650 master 1/2" or 5/8" bore?Originally posted by Nessism View PostOrdering up parts, paint, and various supplies to keep this project moving forward. Member of the year Rustybronco (Dale) helped me select some suitable chassis paint and primer, which is inbound as I type.
Finding a decent stock master cylinder has proved difficult, since everything on ebay looks hammered. Found a late model EX650 master for $35 shipped so grabbed that instead. Thinking I might upgrade the hand controls too, since my current units are heavily weathered. The RH side should be easy enough; there are only three wires to deal with (kill switch, starter, and ground). The LH side is going to require more study.
is you have dual disc....you may not be happy if it's a 1/2" bore.
Leave a comment:
-
I was in my local autoparts last night picking up a few quarts of trans fluid. Low and behold what do they have in stock? Nason's paint system. If you can't find that flattening agent locally let me know.
Tom, that Transtar mixes 1:1. You get a 1/2 of material for around (less than?) the same price as 1 quart of PPG's DPLF and a pint of the appropriate activator. ($70'ish IIRC)
No induction time, tintable, 72 hour pot life and very close to DPLF's % of solids.
One of my local body shops uses Transtars products and can't say enough good things about them.
Leave a comment:
-
Transtar epoxy primer...http://www.ebay.com/itm/350772839591...84.m1497.l2649Originally posted by tkent02 View PostWhich paint/primer are you going with?
Nason black urethane...http://www.ebay.com/itm/181280759145...84.m1497.l2649
Need to get some semi gloss next, or some flatting agent for the Nason. Have a few parts that need semi gloss.
Leave a comment:
-
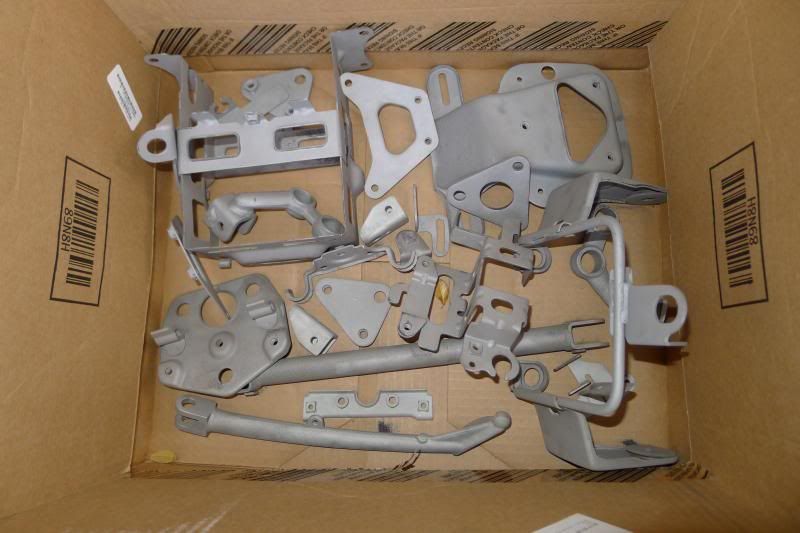
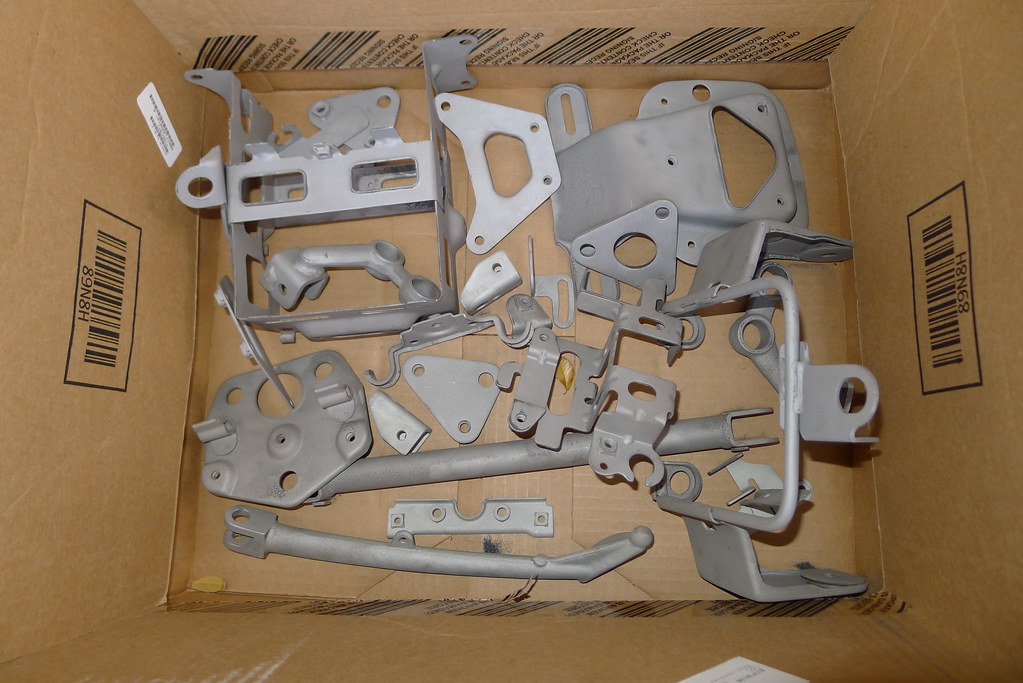
Ordering up parts, paint, and various supplies to keep this project moving forward. Member of the year Rustybronco (Dale) helped me select some suitable chassis paint and primer, which is inbound as I type.
Finding a decent stock master cylinder has proved difficult, since everything on ebay looks hammered. Found a late model EX650 master for $35 shipped so grabbed that instead. Thinking I might upgrade the hand controls too, since my current units are heavily weathered. The RH side should be easy enough; there are only three wires to deal with (kill switch, starter, and ground). The LH side is going to require more study.
Leave a comment:
-
 Guest repliedJust take your time with it. The linkage on mine was pretty buggered up when I got the bike. It's pretty easy to bend it but once its all straight and adjusted it works pretty well. Z1 sells jets for the carbs if you need them, there are 3 in there primary main, secondary main and pilot jets. My bike has a V&H 4-1 and the it was pretty easy to jet the carbs for the exhaust. I left the linkages attached when I soaked the carb bodies. Used a rubber safe biodegradable cleaner so I didn't have to worry about damaging any of the rubber parts.Choke is totally different - a real choke with butterfly and everything. A whole bunch of linkages to make it work.
Leave a comment:
-
Tore down the carbs tonight. 34mm Keihin's, which are a fair bit different than the GS Mikuni's. The pilot screws have a very fine and delicate tip, as does the slide needle. Float valve seat doesn't come out and float valve is rubber coated for a positive seal. Choke is totally different - a real choke with butterfly and everything. A whole bunch of linkages to make it work. Sort of a pain to try to remember where things go so I'm going to dunk the carb with the linkages attached. Will post up some photos soon...
Leave a comment:
-
Okay, my opinion.
If you can, remove the pistons from the rods. This will help ease the cleaning of the cases and such. I would NOT remove the rings from the pistons. Leave them on. Lightly sand the scuff marks on the piston's skirts. 320 is okay. Just to remove the high spots and smooth it out. The varnish above the top ring and other places is just fine. You can get at it with a wire brush, hand held, to remove the easy to remove carbon on top. And close to the ring land as you don't want it escaping when you reassemble the engine. It does NOT need to sparkle clean. When it runs, it will put more carbon back. Now for the cylinders, Funny wear pattern for sure. So, no ball hone. You need a precision hone to make it truly round again. I would try for 400 maybe 600 as the rings were already broken in once. And don't be afraid to run it hard after 25 miles. It will need it. Everything has already been heat cycled. You want to leave the rings on but can clean them ring and piston assembly in gasoline so you do not want to risk breaking any rings. Or tweaking them.
Have you though about porting the head? Maybe a factory ported GPZ750 head with Mikuni carbs instead of the off branded ones?
Laters
Greg
Leave a comment:
-
 Guest repliedI would hesitate to remove any of the rings except for the top one. If you break one it will cost you $45. Think of the cost vs. benefit.
Leave a comment:
-
 Guest repliedUnfortunately those were all destroyed when bike was wrecked. If you need anything else let me know.Originally posted by Nessism View PostHey Joe, I want to swap over to the black rectangular Gpz turn signals. If you have a clean set please let me know.
Leave a comment:
.png)


Leave a comment: