.png "Powered by vBulletin")
 P1010747 by nessism, on Flickr
-
Nothing overly special going on so just took some random photos...
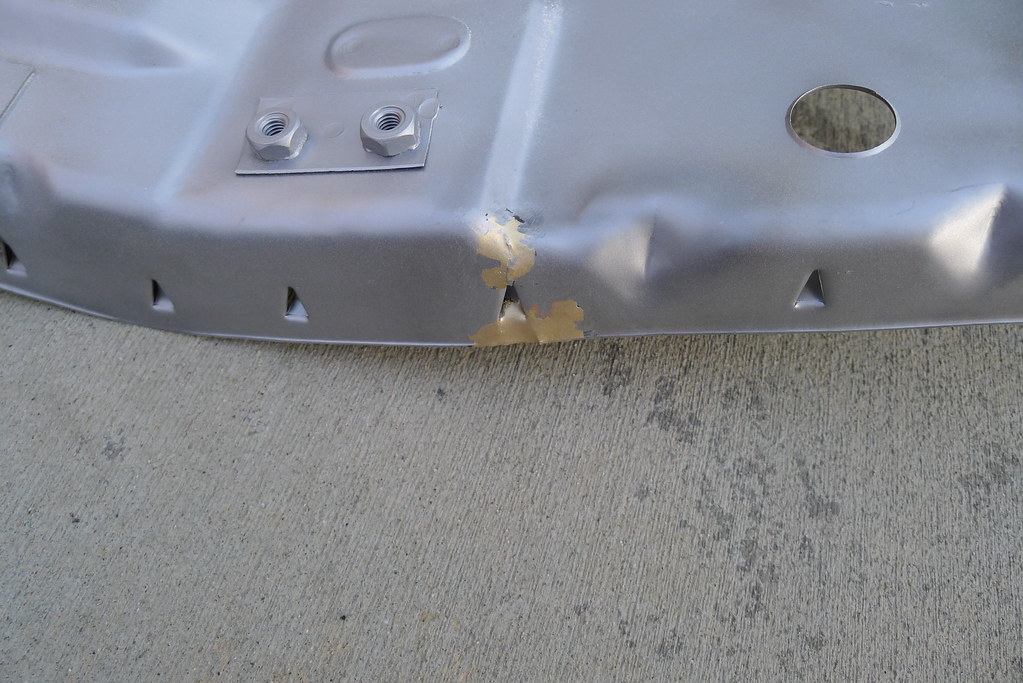
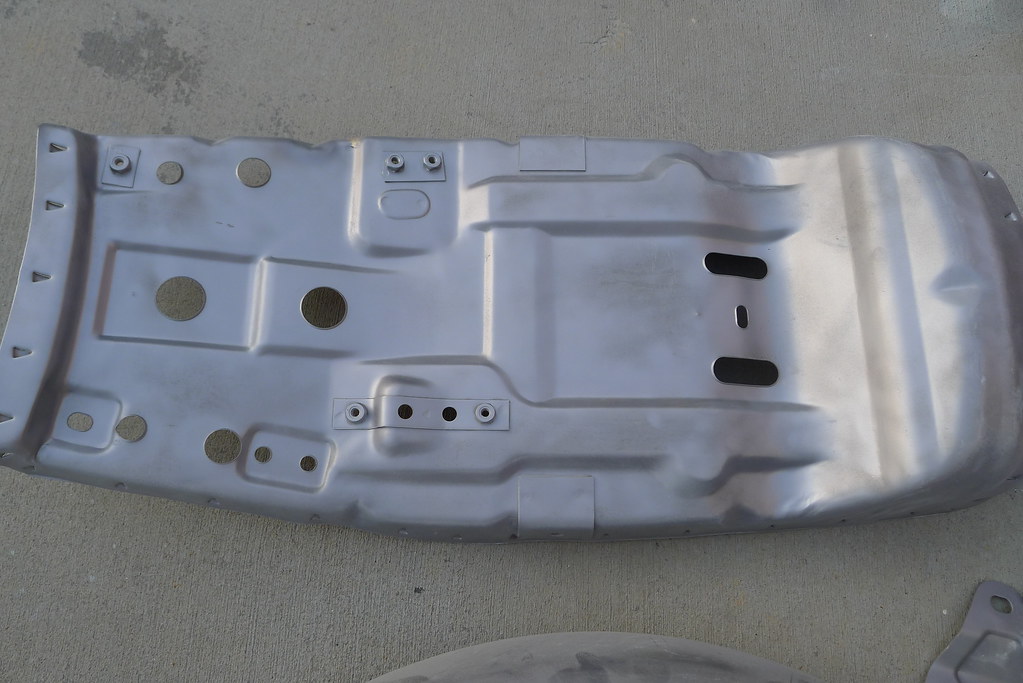
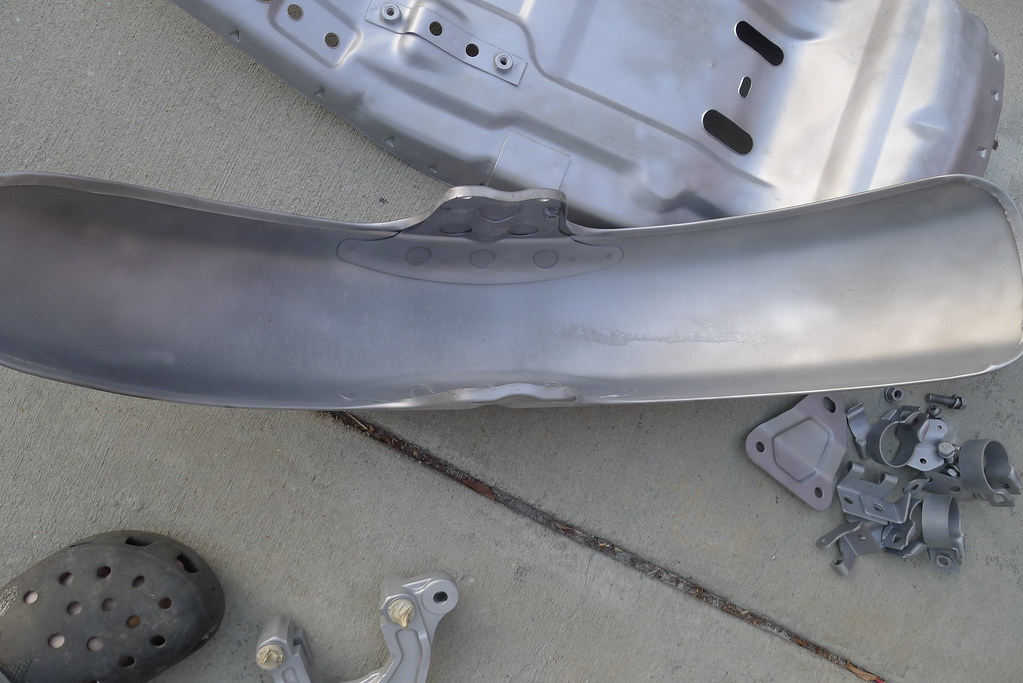
Preped seat pan for paint. Had to fix one crack but otherwise it's in great condition. Bead blasted the underneath side of the front fender too to remove some light rust.
 P1010750 by nessism, on Flickr
 P1010749 by nessism, on Flickr
 P1010748 by nessism, on Flickr
 P1010752 by nessism, on Flickr
Last edited by Nessism; 07-30-2017, 08:21 PM.
P1010752 by nessism, on Flickr
Last edited by Nessism; 07-30-2017, 08:21 PM.Leave a comment:
-
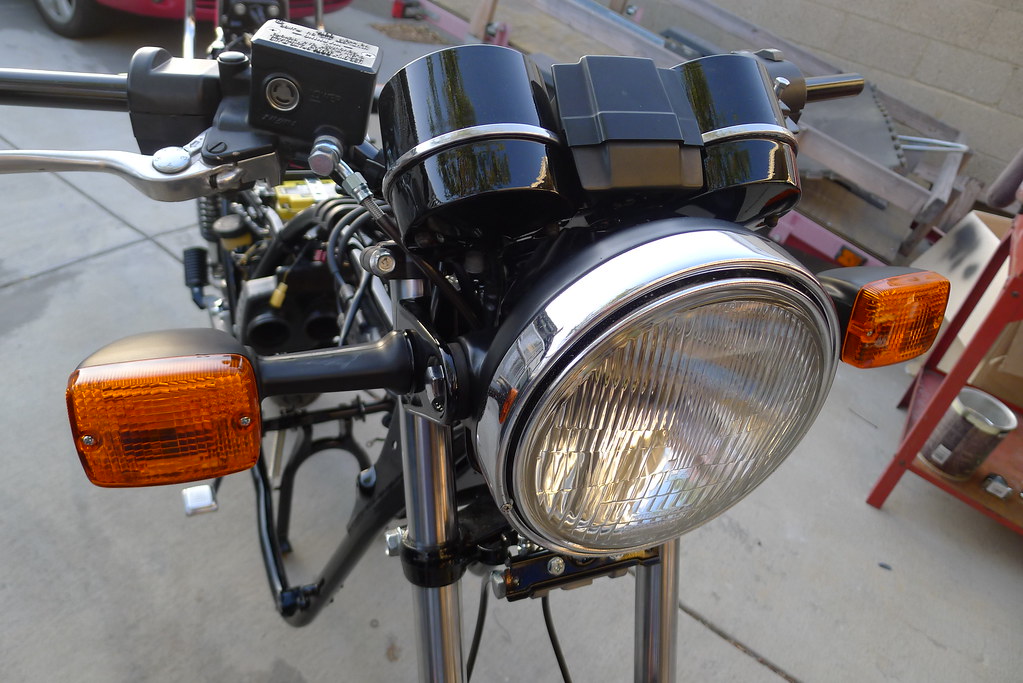
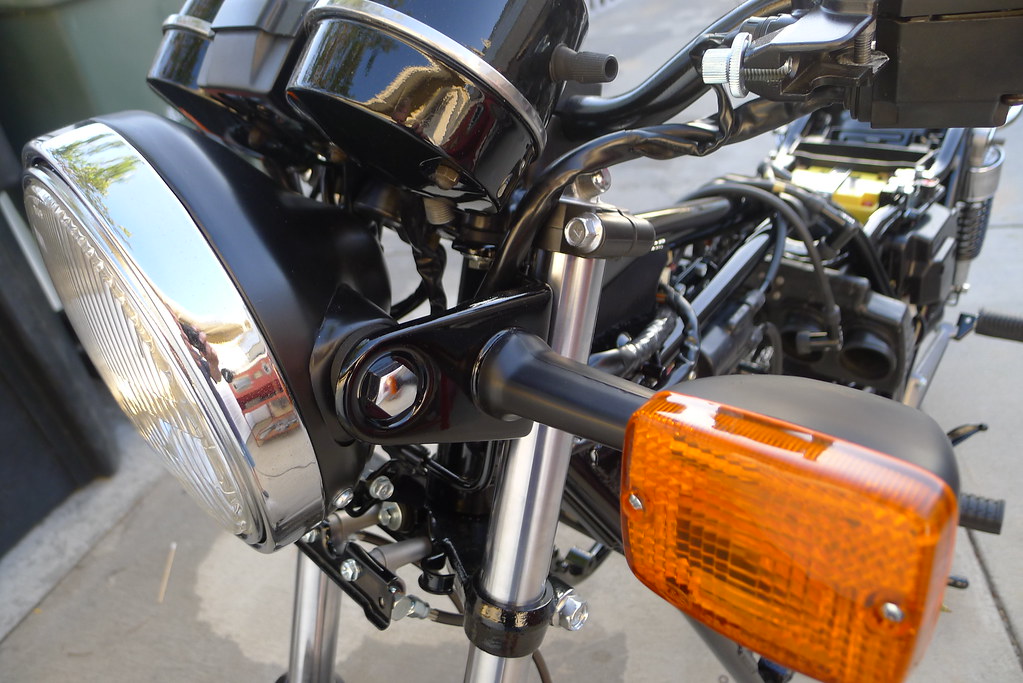
Chassis electrical is all hooked up and working. Struggled with the turn signals; had to mod the fronts to fit since they weren't intended for this model bike. K&S brand. They look decent but are real junky on the inside (electrical socket). Couldn't get both the hazzards and turn signals to work at the same time until I changed out one of the relays. The bike came with two different types, but the signals wouldn't work properly until they were both the same. I blame the turn signals again, they must have a different impedance than the original signals. At any rate, it's all good now...
 P1010741 by nessism, on Flickr
 P1010740 by nessism, on Flickr
 P1010739 by nessism, on Flickr
 P1010743 by nessism, on Flickr
 P1010742 by nessism, on Flickr
Last edited by Nessism; 07-30-2017, 08:20 PM.
P1010742 by nessism, on Flickr
Last edited by Nessism; 07-30-2017, 08:20 PM.Leave a comment:
-
 Guest repliedAgain, spectacular build Ed. Your threads are the most thorough and informative of anyone on here, I always take away something from everyone of your projects that I eventually use on my own. Anxiously waiting to see this little gem completed.Last edited by Guest; 05-26-2014, 07:54 PM.
Leave a comment:
-
I need to get a pair of those myself.
What do think of the quality of those particular crimpers?Last edited by rustybronco; 05-26-2014, 10:11 AM.Leave a comment:
-
Been keeping up with this resurrection since you started and have to say just impeccable as always Ed.Leave a comment:
-
A little behind on the update...
Cleaned up the harness best I could and re-wrapped it with Elliott Tape EE 201 non adhesive tape. Good stuff. The 201 flavor is the high temp stuff so heat shouldn't be an issue. Non adhesive like the stock harness wrap so the harness doesn't turn into a sticky mess.
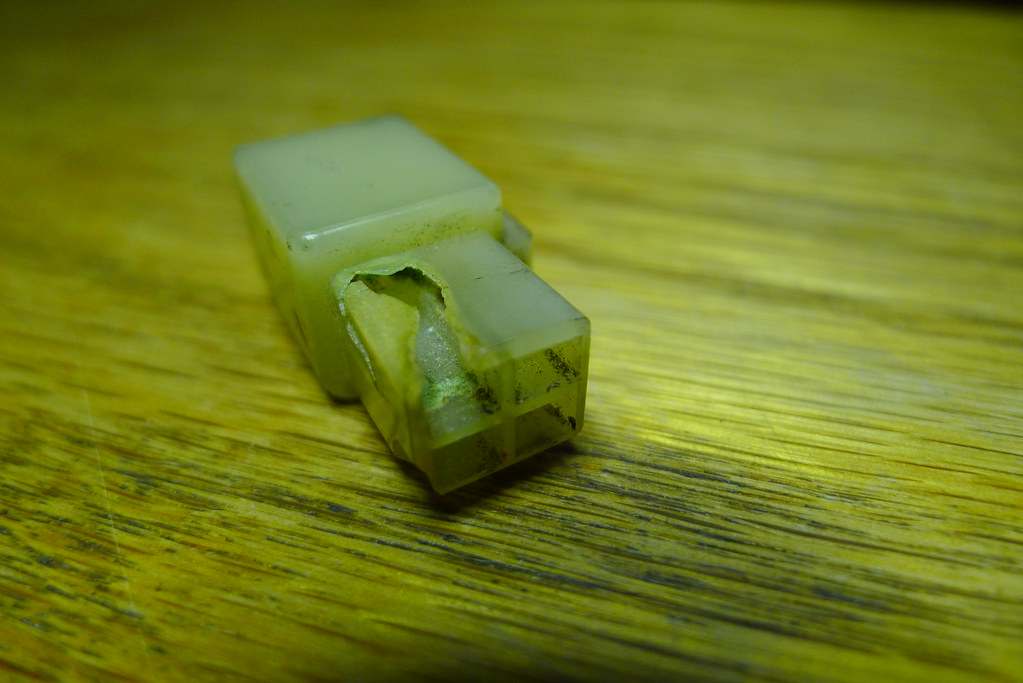
Used a combination of Deoxit, Scotchbrite, stainless steel wire brush, and a dremel tool to clean corrosion off the electrical contacts. Pinched closed the female terminals where ever possible.
Bought some new electrical terminals and crimping pliers from Vintage Connection. These things roll over the edges over on the terminals just like the OEM terminals. They seem more secure than the smash flat terminals that are so common these days.
Snuck in a SH-775 R/R under the battery box. Had to make a bracket first but it turned out pretty well.
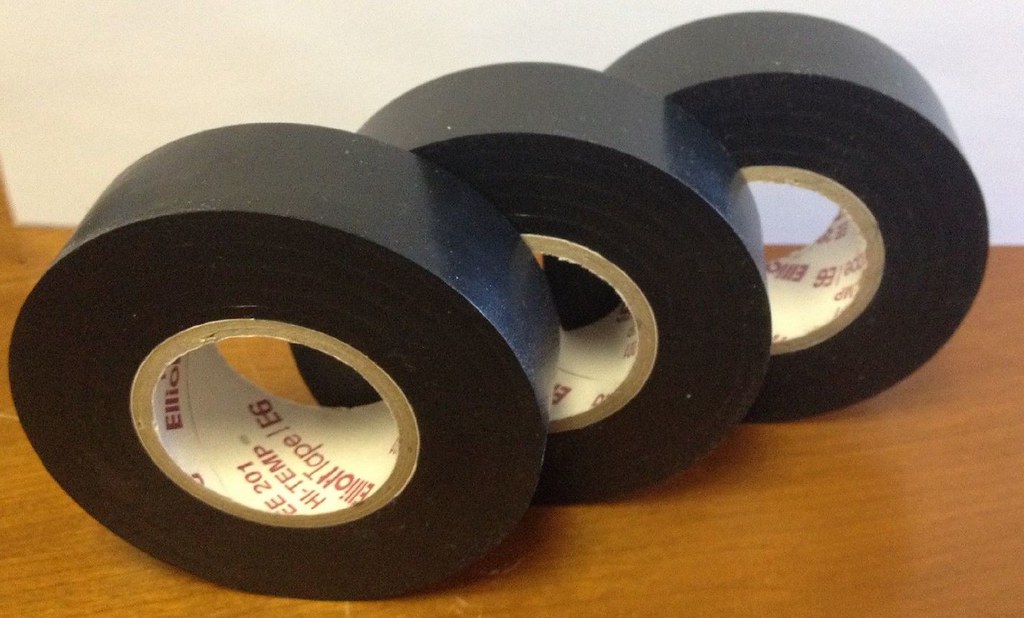 Elliott Tape EE 201 by nessism, on Flickr
 P1010643 by nessism, on Flickr
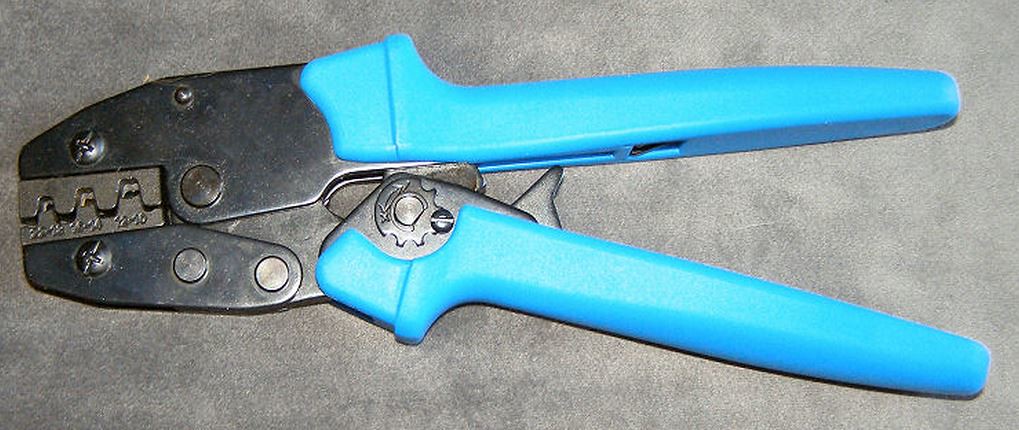 Crimping tool by nessism, on Flickr
Last edited by Nessism; 07-30-2017, 08:13 PM.
Crimping tool by nessism, on Flickr
Last edited by Nessism; 07-30-2017, 08:13 PM.Leave a comment:
-
Hi Steve,Originally posted by srsupertrap View Post
If you go back in this thread to post 175 there are details of how the parts were refinished. Basically, I stripped the old plating, polished the metal, then use a caswell's zinc plating kit to refresh the hardware.
Regarding the caliper hanger, I believe the finish as shown is correct - dark gray. I'm not happy with the amount of pitting in the metal on mine and bought a replacement off ebay, but when it arrived the front side is a lighter color and there is some spotting. Not happy with that one either so staying with the original. Reason I mention this is because I think the anodize fades or something. The 750 and 550 share the same part I believe, but finding a clean one can be a challenge. The guy I bought mine from refunded me, because I asked him specifically about the finish before buying and he said it's clean (which was wrong). At any rate, hope this helps...Leave a comment:
-
Originally posted by Nessism View Post
Ed,
A couple of questions about the details shown in this photo. Did you buy new chain adjusters, hardware etc or did you opt to refinish the all the shiny hardware shown here? If you did refinished the hardware what is the process steps you used?
Second question, I have the same Tokico rear brake bracket shown. Any idea what the original color or finish was? Mine has a gold hue by the Tokico name then changes to black
TIA
SteveLeave a comment:


Leave a comment: