Announcement
Collapse
No announcement yet.
Camshaft Top End Rattle
Collapse
X
-
 mlinder
 -
 BadBillyB
Hey there Don. You didn't mention how thick the current base gasket is. I'm guessing it's probably .020" to .022" thick. If you make a gasket out of the .031" material, and leave out the other gasket (one gasket is preferred for better sealing), that should give you around .038" clearance on the piston. This would be a much better number than 50 something........Do you have a dial indicator ???...This needs to be measured accurately before and after. Take your measurement directly above the wrist pin as the piston can rock in the bore....Is shipping real costly from a place like Bike Bandit ???...They have base gaskets for around 11 dollars US......Billy
Comment
-
 mlinder
OK. Billy is right, you could just cut yourself a new base gasket out of the gasket material and be close to the right height. It will compress a bit, too, though. You'll be very close to .035".
That said, cometic can cut you a gasket to varying thicknesses.
I think a good micrometer can give you the measurements you need, not sure why a dial gauge is necessary. IMO, all you need to know here is distance from shoulder to head.
Comment
-
 Suzuki_Don
OK Guys I have measured the 650 OEM base gasket and head gasket again. The head gaskets, both new and used (the one I pulled off the motor with only 100 miles on it) measured .048". The OEM base gasket (new OEM) measured at .020". So if I replace the OEM base gasket with my home made .031" base gasket, I will pick up .011" extra clearance. Which should push the clearance at deck height from .028" to .039". So everything should be OK. Thoughts.Originally posted by BadBillyB View PostHey there Don. You didn't mention how thick the current base gasket is. I'm guessing it's probably .020" to .022" thick. If you make a gasket out of the .031" material, and leave out the other gasket (one gasket is preferred for better sealing), that should give you around .038" clearance on the piston. This would be a much better number than 50 something........Do you have a dial indicator ???...This needs to be measured accurately before and after. Take your measurement directly above the wrist pin as the piston can rock in the bore....Is shipping real costly from a place like Bike Bandit ???...They have base gaskets for around 11 dollars US......Billy
Billy could you explain in detail how to do the dial gauge measurements, I don't understand the bit about the wrist pin. I can't get to the wrist pin with the cylinders in place.
As far as freight from the US goes, the costs have gone way over the top in the last 12 months or so. As an example I was going to buy a 2" volt meter to mount on my instrument panel to monitor the rectifier output. The gauge cost $12.50 and the freight was $42.
Thanks again guys for your help.Last edited by Guest; 10-08-2010, 09:06 PM.
Comment
-
Originally posted by Suzuki_Don View Post
Billy could you explain in detail how to do the dial gauge measurements, I don't understand the bit about the wrist pin. I can't get to the wrist pin with the cylinders in place.
Don, if the carb and exhaust are at 6 and 12 o'clock measure the clearance at 3 or 9 o'clock. You will have some,albeit small, movement of your piston at the front and back but not at the sides - i.e. above the wrist pin.79 GS1000S
79 GS1000S (another one)
80 GSX750
80 GS550
80 CB650 cafe racer
75 PC50 - the one with OHV and pedals...
75 TS100 - being ridden (suicidally) by my father
Comment
-
 mlinder
I'm not sure why you need a dial gauge, but you could measure piston height to deck with a good mic. Hampshire explained what Billy meant about measuring at the wrist pin.
Comment
-
 Suzuki_Don
OK so I have bitten the bullet and decided to do a proper internal measurement of the deck height rather than guessing how much gaskets will compress etc.
This is what I did with the original factory base gasket in place and the cylinders fitted.
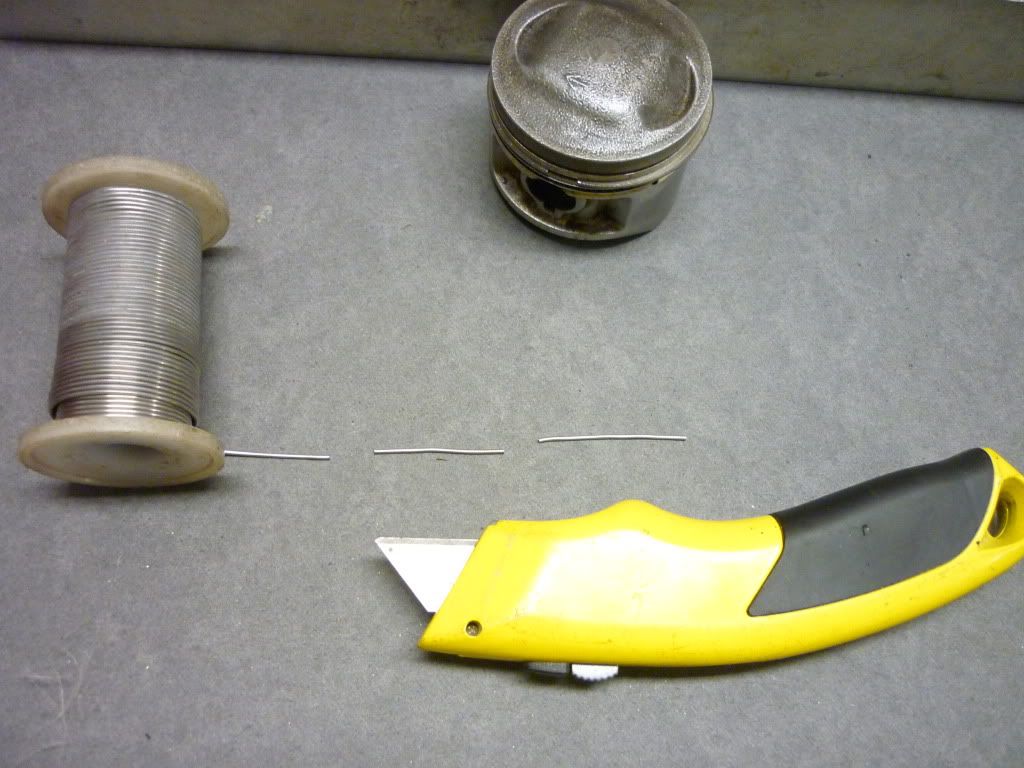
1. I cut two pieces of resin core solder about an inch long with my stanley knife which I glued with crankcase sealer to the top of the #1 piston running directly above the wrist pin.
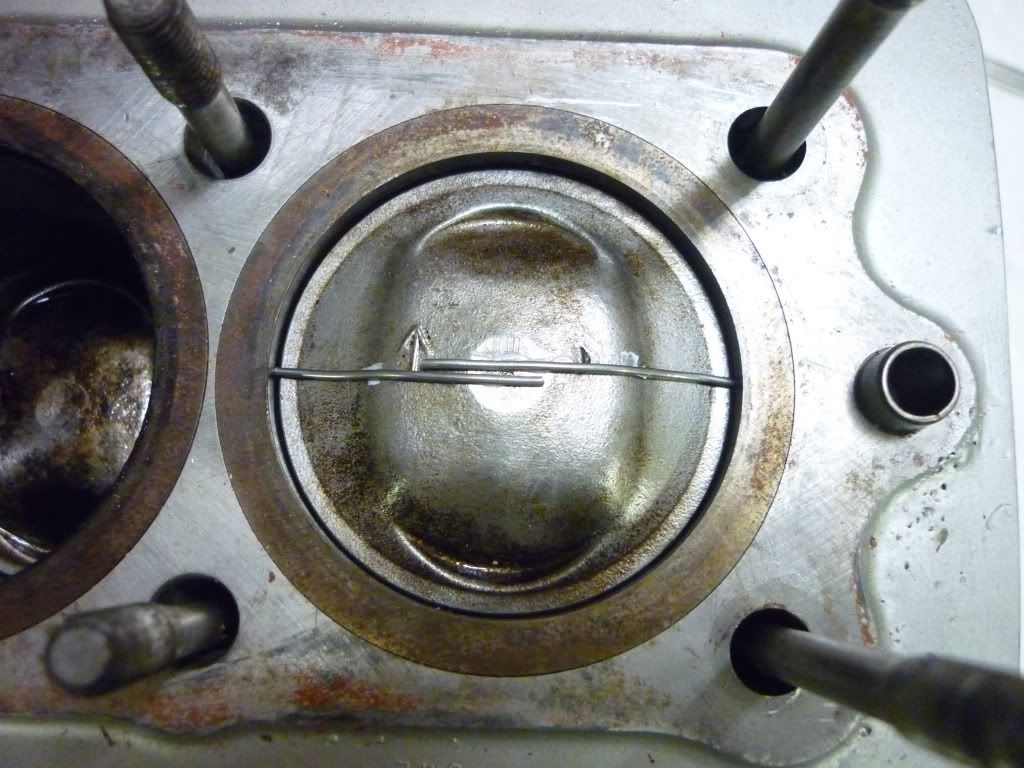
2. I pushed the square ends of the solder against the cylinder walls and placed the piston a couple of mm before top dead centre.
3. I then fitted the old head gasket, did not want to ruin the new one by crushing it down.
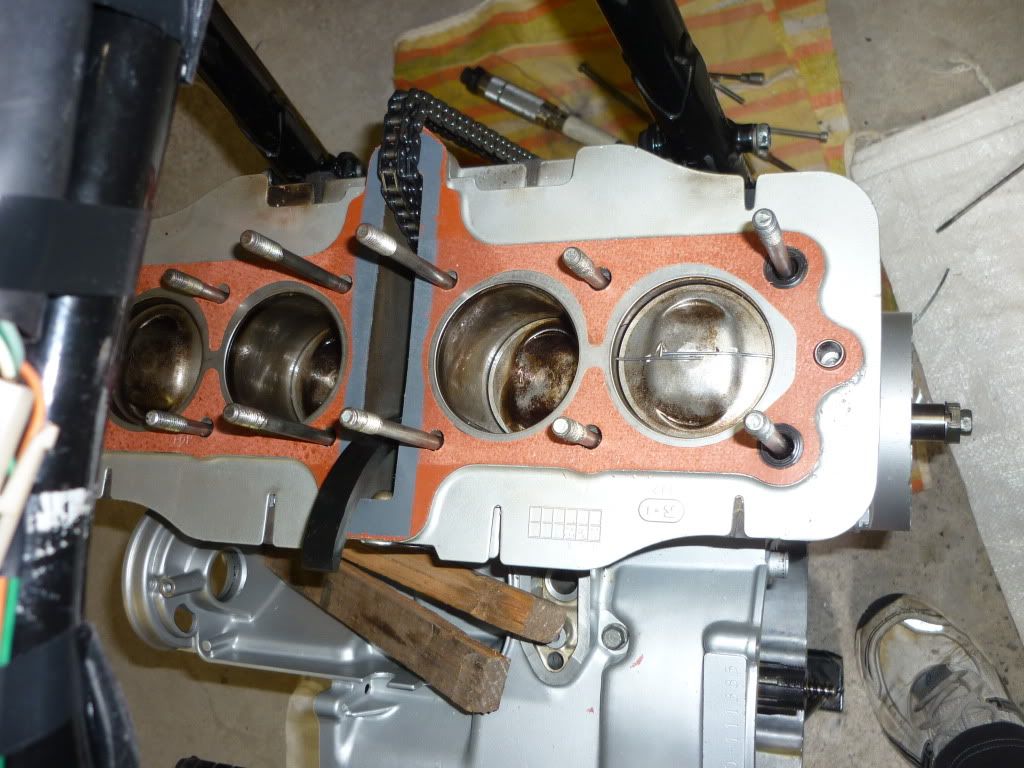
4. I then fitted the cylinder head and torqued it to specification.
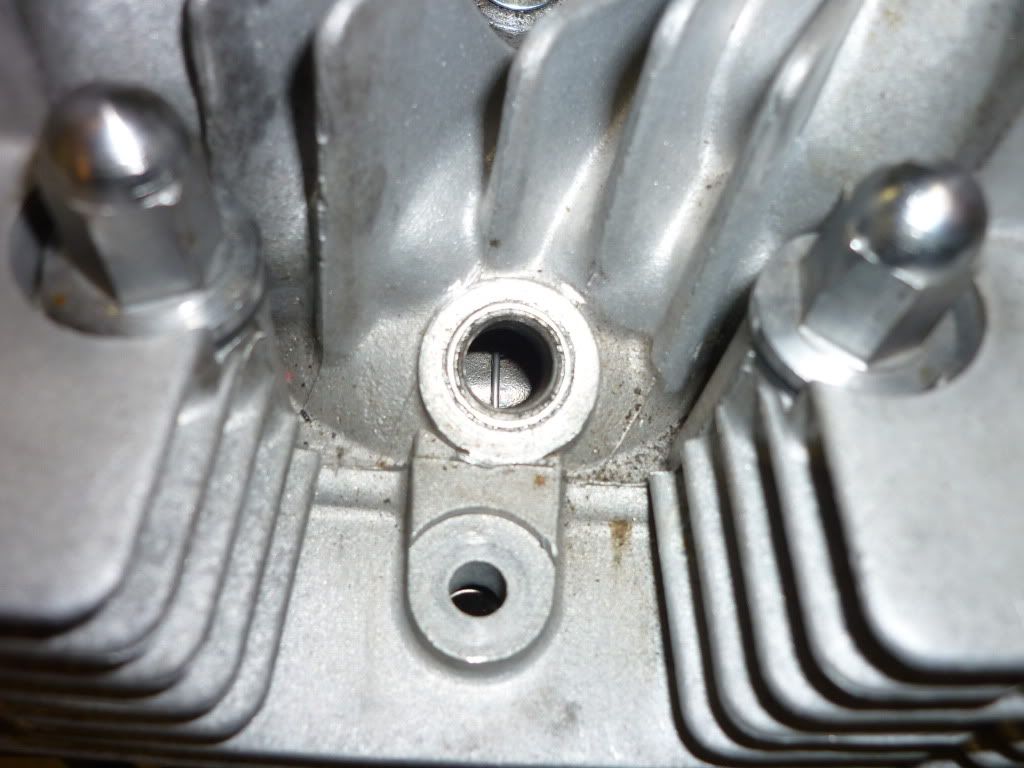
5. I then turned the piston past TDC so the solder would crush to the required space between swish band on the piston and head surface. This is view through #1 plug hole.
6. Then I removed the head and removed the pieces of solder and took the measurements.
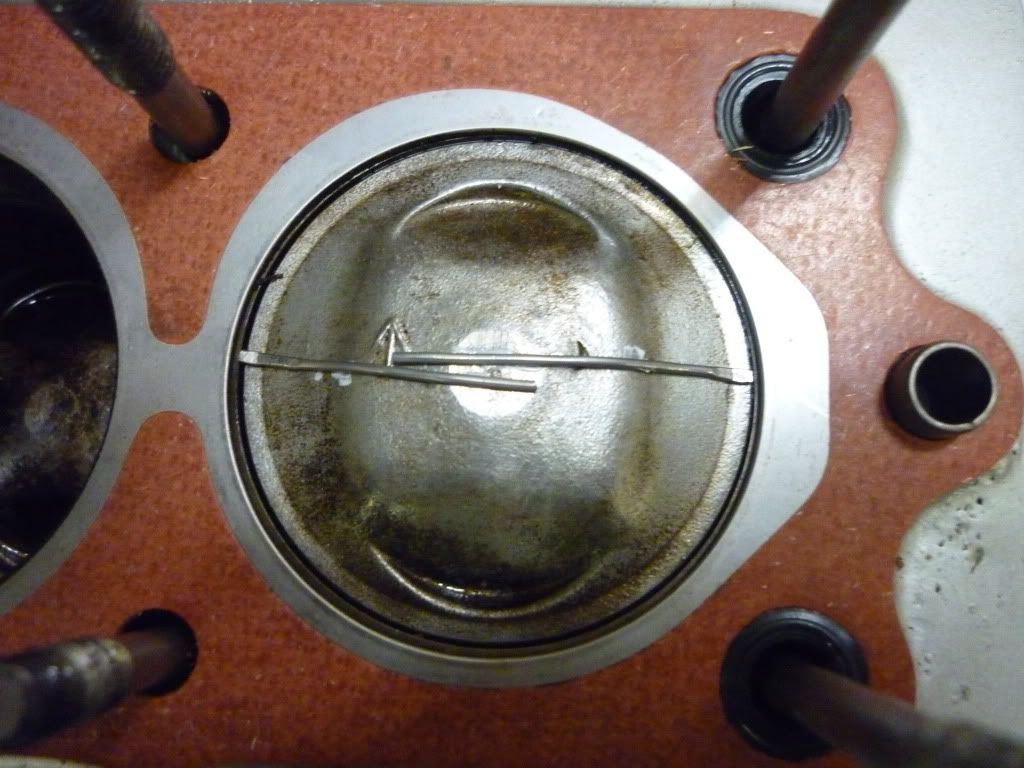
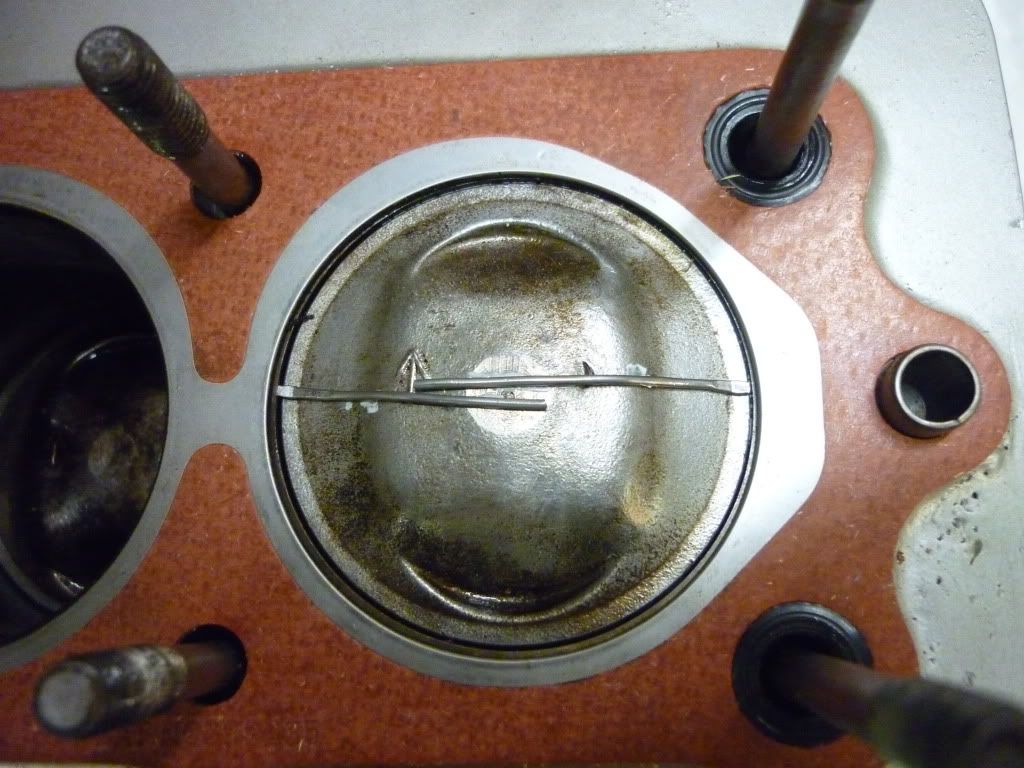
Project not finished yet. I have to do the maths on the new deck height measurement and determine which size thickness base gasket material I will need to use and purchase some stout hole punch tools to do a reasonable job on making a new base gasket.
BTW I used the original base gasket that I had in there previously so I could compare measurements between the solder method and the vernier caliper method.
.
Comment
-
Forum LongTimerGSResource Superstar
Past Site Supporter
Super Site Supporter- Mar 2006
- 35624
- Torrance, CA
Hey Don, nice work measuring the clearance...BTW, how much is there?
After my experiences with base gasket failure with the Athena gasket material I'd be leery of cutting my own gasket for that application unless you can be assured you have the proper stuff. Sorry to be negative, and let me know if I can help you in any way - shipping you a gasket for example.Ed
To measure is to know.
Mikuni O-ring Kits For Sale...https://www.thegsresources.com/_foru...ts#post1703182
Top Newbie Mistakes thread...http://www.thegsresources.com/_forum...d.php?t=171846
Carb rebuild tutorial...https://gsarchive.bwringer.com/mtsac...d_Tutorial.pdf
KZ750E Rebuild Thread...http://www.thegsresources.com/_forum...0-Resurrection
Comment
-
 Suzuki_Don
Sorry Ed I forgot to put the most obvious detail in the post didn't I. Had a long day, getting very tired.Originally posted by Nessism View PostHey Don, nice work measuring the clearance...BTW, how much is there?
After my experiences with base gasket failure with the Athena gasket material I'd be leery of cutting my own gasket for that application unless you can be assured you have the proper stuff. Sorry to be negative, and let me know if I can help you in any way - shipping you a gasket for example.
When measuring the compressed solder I came up with .026" on one end and .028" on the other end. So I could average it out at .027" or go with .028" to allow a bit more clearance for a margin of safety.
So if I can make my own gasket from the .031" (.8mm) sheet of gasket material I bought to replace the .020" OEM gasket I should end up with .039" clearance between the piston swish band and the head surface. The ideal apparently is between .035" and .040" so this puts me in the correct range and should eliminate any chance of the piston kissing the head. Just in case that was my knocking noise in the motor previously.
BTW from what I have read quench is non-existent past .060", so I would still be well below this figure at .039".Last edited by Guest; 10-10-2010, 04:08 PM.
Comment
-
 BadBillyB
Hey there Don, although you seem to be on the right track, I am going to have to agree with Ed. If you are going to make your own gasket, I would be real careful about what type of material you use. Most of the stuff we have locally here in the parts store is crap.....Do you have any options ???.....Billy
Comment
-
 Suzuki_Don
Billy I bought a roll of gasket material from the auto parts store last week, it is .8mm thick and I specifically asked the guy if it was oil resistant and he said it was.
What are my other options? I don't have any.
Someone said that there was a company in the US that could make a custom gasket to my specifications.
EDIT: A custom height base-gasket from cometic was the suggestion.
Is that true. Are there any other suggestions?
The cylinders have quite a large surface area that bears on the crankcase so wouldn't a gasket made by myself work OK. Where would the oil get through? How would the gasket fail?Last edited by Guest; 10-10-2010, 08:19 PM.
Comment
-
 BadBillyB
Hey Don, I know its hard to find good gasket material. I saw this stuff on the net and wondered if this is what you have, looks decent to me, probably better than what my auto part store carries......Billy.....http://www.amazon.com/Mr-Gasket-9614...=pd_sim_auto_3
Comment
-
 BadBillyB
Typically the failure would be from the gasket shifting or squeezing out. I like to install them bone dry with clean surfaces both sides. The tendency varies with different gasket materials......BillyOriginally posted by Suzuki_Don View PostThe cylinders have quite a large surface area that bears on the crankcase so wouldn't a gasket made by myself work OK. Where would the oil get through? How would the gasket fail?
Comment
-
 Suzuki_Don
Thanks Billy & Ed for your replies.
I went through the process of checking if any of my valves were bent tonight. I set each valve up in the drill chuck (only finger tight) and spun them with a dial gauge stand set up next to them as a reference to see if there was any wobble in said valve.
They all appeared to be OK. No run-out or issues with the head of the valve.
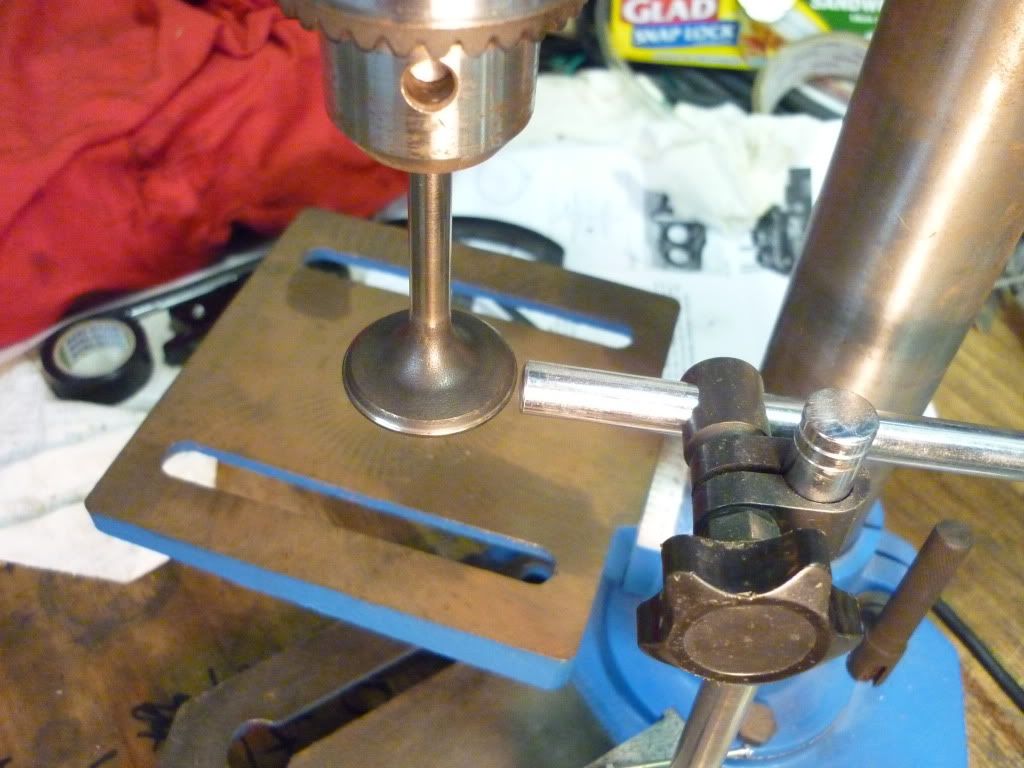
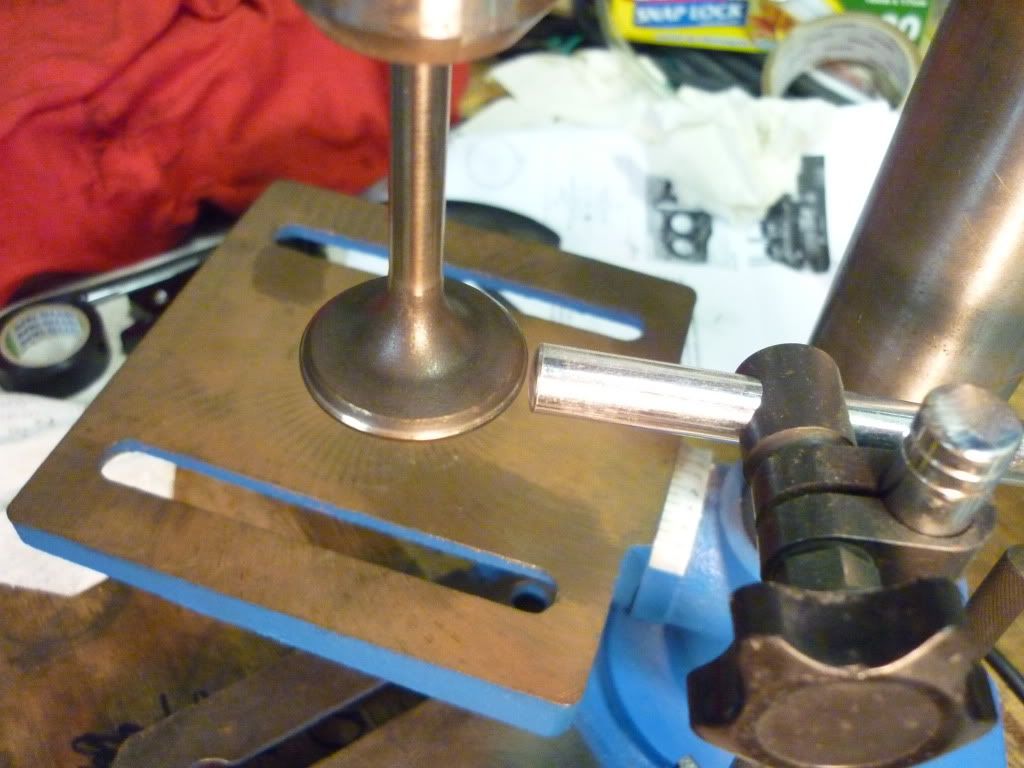
Store your photos and videos online with secure storage from Photobucket. Available on iOS, Android and desktop. Securely backup your memories and sign up today!
.Last edited by Guest; 10-11-2010, 07:16 AM.
Comment
-
 mlinder
So Don, hows the re-assembly going?
I'm glad you ran into this problem before I did so I make sure to check.
Keep us updated.
Comment
.png)

Comment