.png "Powered by vBulletin")
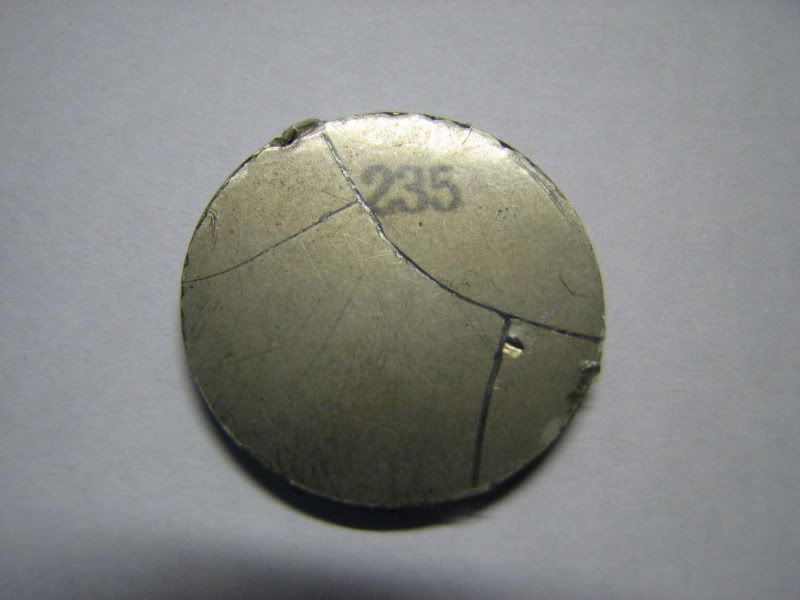
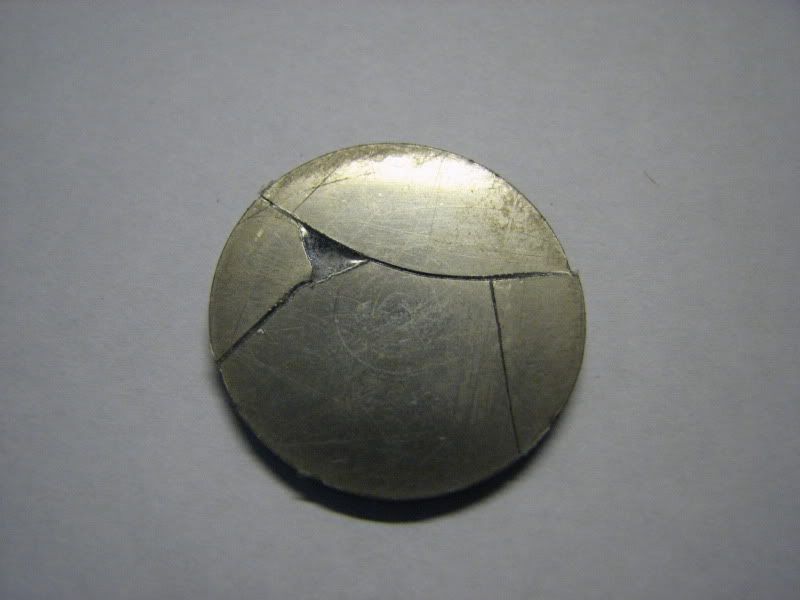
My 1978 GS750 has had some trouble with cold starts lately. I would usually end up draining the battery cranking it over before it would fire. When it finally would start it would smoke a little at first but went away as it got warmed up. Figuring the valves were getting tight, I picked up a set of feeler gauges and a valve tool from motion pro. I was a little nervous since I have never done this procedure before. The first shim I checked was tighter than all of my feeler gauges (smallest it goes is .0015/.038, Do I need a smaller set?) While removing I realized it was split in half! Its was a 2.65 so I replaced it with a 2.50 (still too tight) that I had and continued to check the rest. Only #2 and #3 exhaust valves are within spec. Everything else is too tight, most tighter than .0015/.038 but still spin freely. So I am not really sure where to start as far as purchasing new shims. All clearances were checked with the cam lobe facing straight up but after further research I am not sure if this was the proper position. I kept a detailed log of everything I will try to upload later. In the meantime...
Is the broken shim something I should be seriously concerned with?
Do I need a smaller set of feeler gauges?
What is the proper cam positioning for taking measurement?
Is the broken shim something I should be seriously concerned with?
Do I need a smaller set of feeler gauges?
What is the proper cam positioning for taking measurement?


Comment