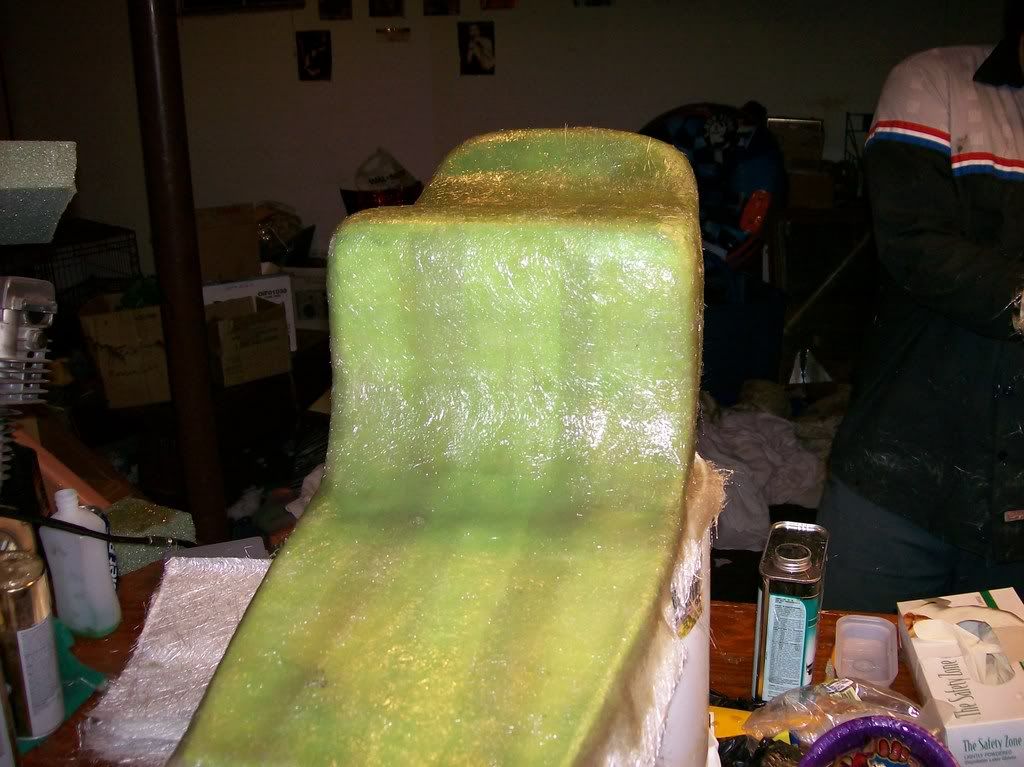
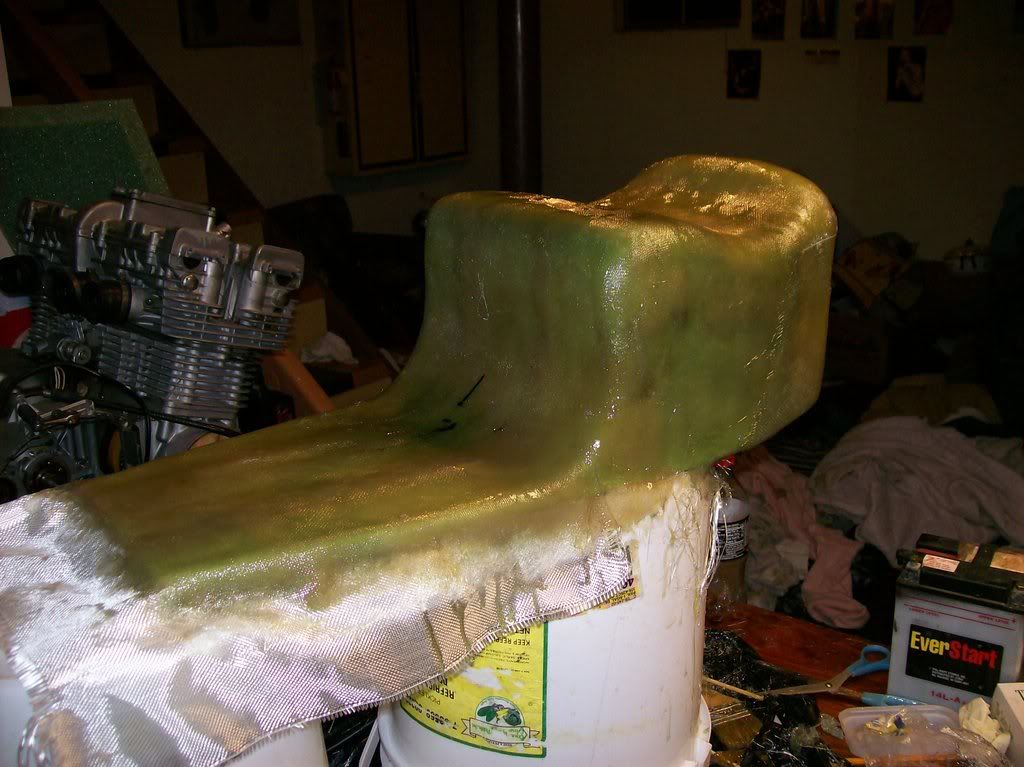
Cover it with blue painters tape if you still can. This will keep the resin from eating the mold. The tail looks great BTW. Don't worry - where ever you get any sags you can fill with Dynaglass. I would recommend skim coating it with Dynaglass anyway and then a final light coat of Bondo (Bondo is easier to sand and finish). Also, use the fiberglass mat instead of the woven stuff on the bends and angles - it lays down better. Getting the woven stuff to conform to compound angles with out getting a wrinkle can be a pain.
That tail section is going to set that bike off man :-D
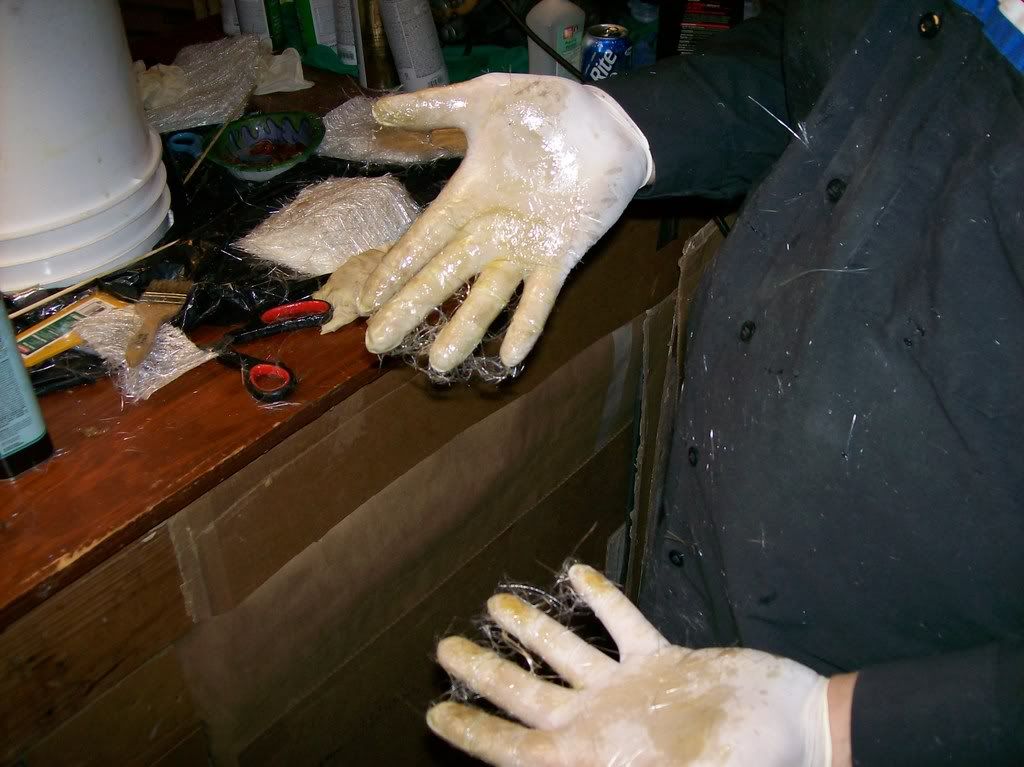
BTW if your worried about fumes igniting, watch out for when your sanding that thing in an enclosed area with flames present. It will look like a dust bomb went off if you use any kind of power tool to sand down the form. Dust can be flammable...:shock:
That tail section is going to set that bike off man :-D
BTW if your worried about fumes igniting, watch out for when your sanding that thing in an enclosed area with flames present. It will look like a dust bomb went off if you use any kind of power tool to sand down the form. Dust can be flammable...:shock:
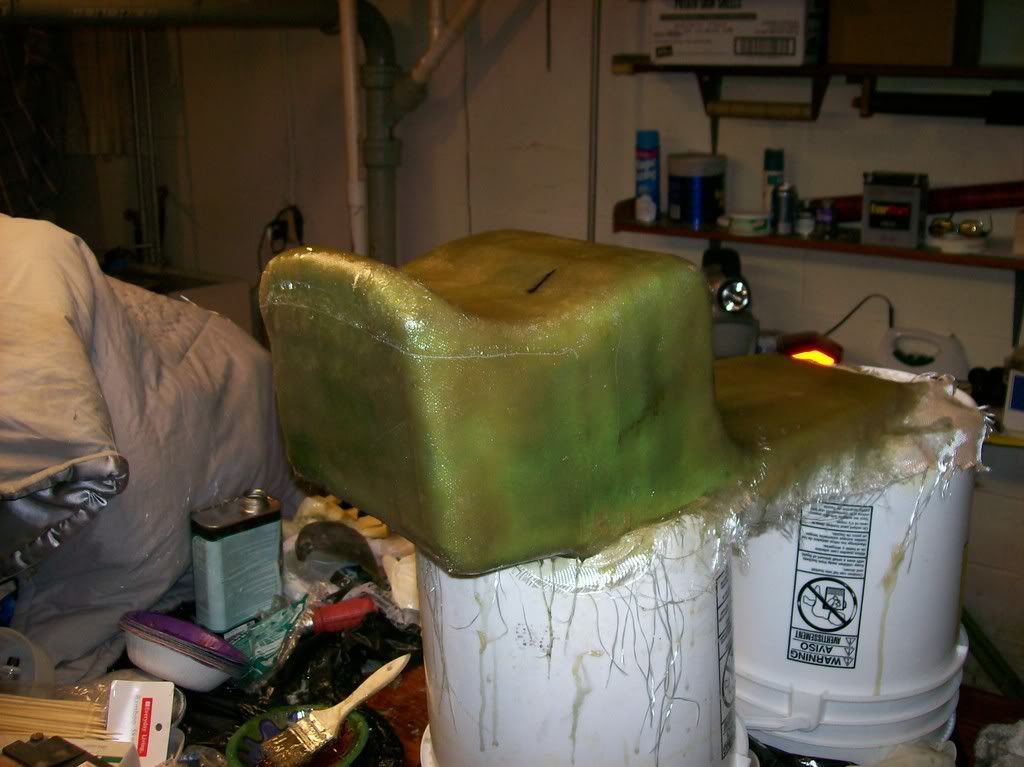
 Forgive my ignorance, but you spoke of filling in with Duraglass. What is that exactly, and where can i get it? Is it like that Bondo Hair stuff??

Comment