Announcement

Collapse
No announcement yet.

Another cafe racer........

Collapse
X
 
  • Filter
  • Time
  • Show
Clear All
new posts

    #31
    Thanks for the advice Guy's

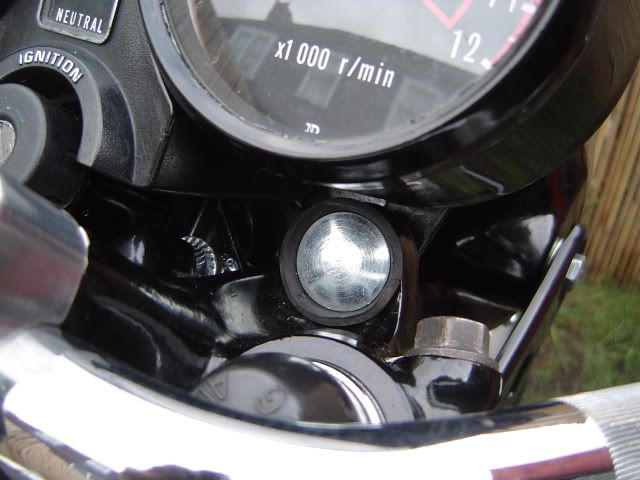
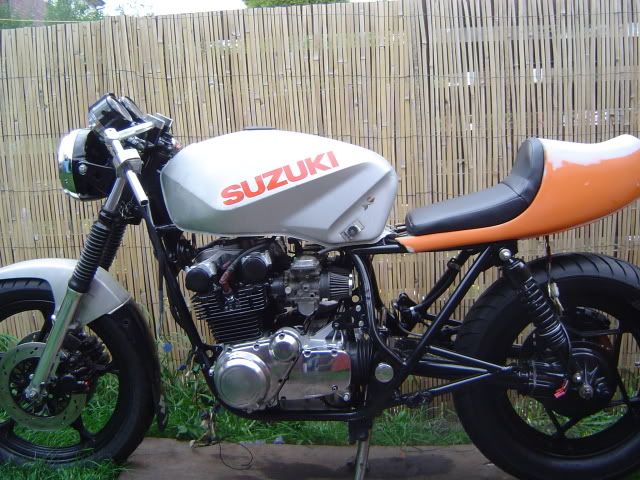
    I wasn't able to knock the studs out, I cut the end flush and drilled a 10mm hole right through the middle of the stud to allow bolts to pass through. I used two zinc plated round head bolts that are used on timber (you know the ones with the domed head and square shank that bites into the wood?), dunno what theyre called. They fit perfect into the rubber mount and top yoke, allowing me to keep the rubber mounts.
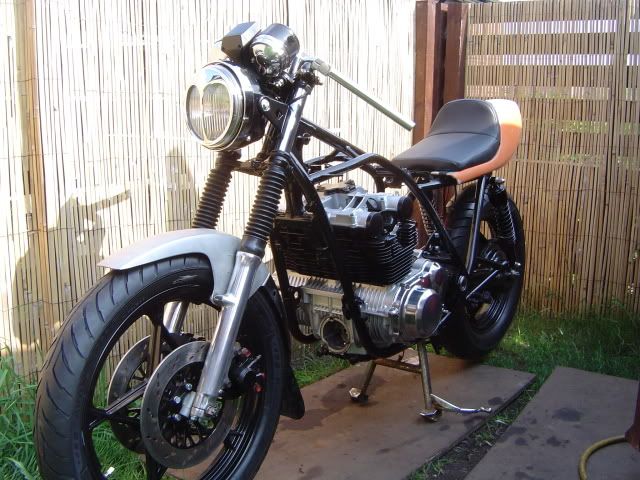
    I flipped the headlight brackets over and dropped the gauges to 15mm above the headlight to allow for any movement in the rubbers. Had to drop the ignition to suit as well.

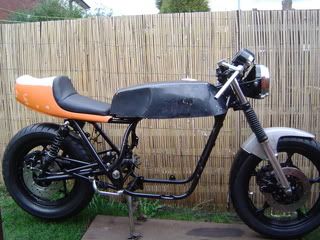
    This is a subtle change to the appearance of the bike but in my opinion, it was well worth it. Cheers for the hints n tips, much appreciated.


    Comment


      #32
      Lowered gages

      Funny thing about the high or low look of the gages. When I put drop bars on my 550T I liked the new look of high gages. Now hearing you guys disliking that look is a curiosity to me, but it's your bike do what you like. It's cool to see a different way to do stuff.
      1982 GS1100G- road bike
      1990 GSX750F-(1127cc '92 GSXR engine)
      1987 Honda CBR600F Hurricane

      Comment


        #33
        Originally posted by yaddy View Post
        I used two zinc plated round head bolts that are used on timber (you know the ones with the domed head and square shank that bites into the wood?), dunno what theyre called.

        coach bolts

        Comment


          #34
          Carraige bolts in Missouri. Just to be informative....
          '
          Any others???

          Comment


            #35
            Hahahahaha,
            Thems the chaps, i had to run a die down mine so i could lop the extra length off, then i dipped them in my galv paint.


            Couldn't resist a quick google, came up with "Cup bolts", any more?

            Comment


              #36
              Update

              So then, been more than a couple of weeks since i updated the build project. Here are a few more pics showing the engine in place. This for me at least, is a huge leap forward. Things will really start to take shape now, i can get on with positioning a fuel tap into the tank and glassing up the holes in the underside where i had to cut out for the ignition coils. Carbs should be rebuilt in the next couple of weeks or so, with a bit of luck (no pressure there Bribird! 
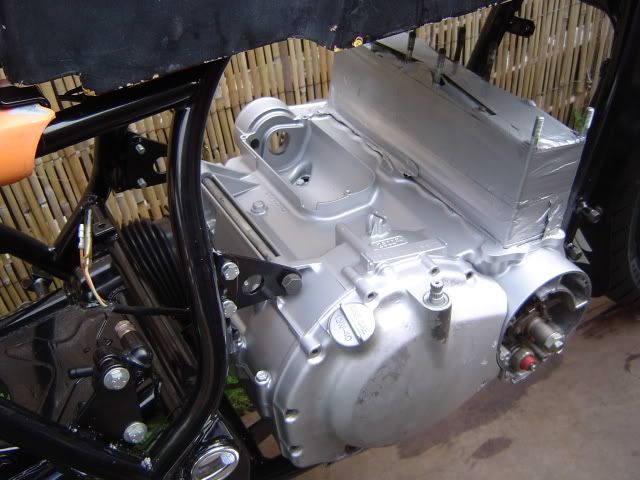
. Custom wiring loom can now progress too. The rebuilt head was at a standstill until my good friend Bribird came to the rescue with the two inner exhaust valves and a full set of springs, he's supplying some bits for the carbs too, ohhh, and a master cylinder (again, hopefully). He's got nearly as much in this project as me now, cheers Bribird, you are a star!


              Comment


                #37
                Update

                Thought i'd best turn the bike around and take a couple of pics from the left side to prove i'm on with both sides, hahahahah. The bikes been stripped, and now being rebuilt all on the same piece of 4'x2' plywood, getting quite attached to that now. Casings need a final polishing but i'll get to them nearer the end.


                Comment


                  #38
                  wow she coming out great!!!!!

                  Comment


                    #39
                    Originally posted by schlyme View Post
                    wow she coming out great!!!!!
                    I'll second that. Nice job.

                    Comment


                      #40
                      DUDE! That is starting to look like something!! That motor looks great. I am excited for you...
                      And dont worry about that stuff I got to do, I am on top of it...I would imagine you will have the box of stuff in like 2 weeks if shipping goes ok. Still waiting on the box of parts to show up on my end...maybe tomorrow or Monday???

                      Keep up the good work there Yaddy!!

                      Comment


                        #41
                        nice work 
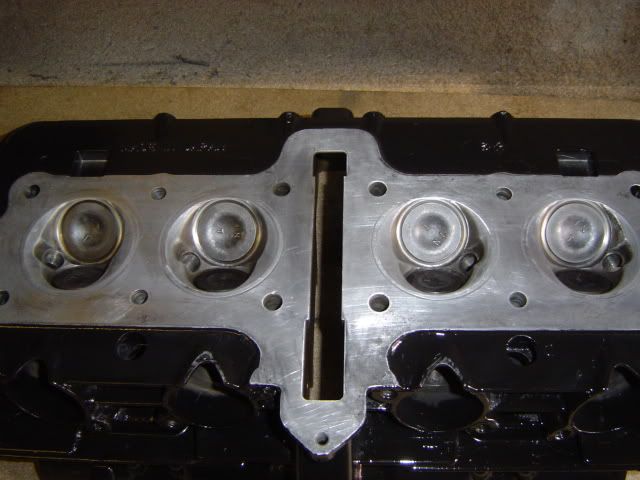
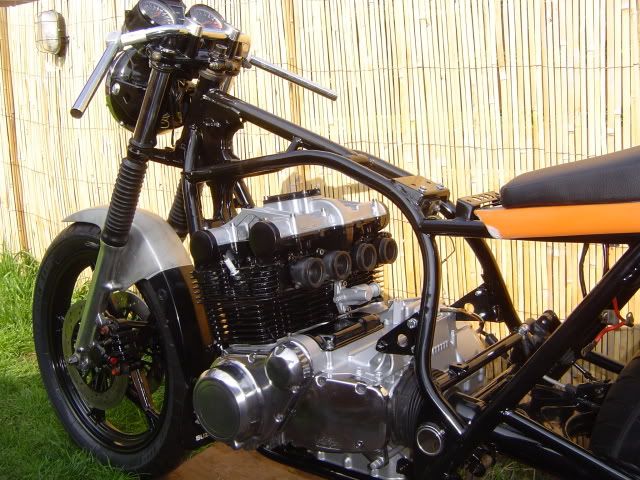
i love how you hid the batt/electrics in the seat

                        Comment


                          #42
                          Very-nice, my friend!

                          Comment


                            #43
                            Thank's for the support people, i'm on with the electrics at the minute. Next update will be in a couple of months time, hahahahahahah


                            Seriously though, this project is only coming together through the advice and tips from other members on this forum, without that, i'd be lost. Thanks a bunch for keeping this project alive, much appreciated.

                            Comment


                              #44
                              Hi Guy's

                              i was looking over the net at other cafe styled bikes and came across a cafe racer forum. I thought what the hell, and posted a couple of pics of my project for some constructive comments. I took a couple of hits on my tank choice so i thought i'd put it to a poll and see what you guy's think. I can swing either way on this as the moment, the standard tank requires nothing other than paint a nd a little filler around the back to smooth the bumps out where the original seat would fit. The fibreglass tank needs holes sealing underneath where i cut out for the coils and also, some sort of fuel tap putting in and of course, mountings to fab for the frame.

                              I'm not bothered about the work side of it but obv the overall finished look is important so what do you think?

                              Stock or not?


                              Comment


                                #45
                                The fiberglass as long as your willing to do the work. The stock tank just doesn't look right. Just my opinion since you asked.
                                Last edited by Guest; 04-25-2009, 12:21 PM.

                                Comment

                                Working...
                                X