Announcement
Collapse
No announcement yet.
Another cafe racer........
Collapse
X
-
 Bribird
Hey Yaddy, That looks great!! You have done a great job of blending the tank down to the seat! I cant wait to see the finished project....if it looks good now, it will look great when paint hits it.
-
 midnightcafe
 -
 reddirtrider
 -
 midnightcafe
are you running a 4-1 exhaust? I see your frame still has the tubing for the left side can; did you powdercoat your frame?
Comment
-
 yaddy
yaddy
Cheers Bribird!
Originally posted by midnightcafe View Postnice tank! what's your budget going to be on the final bike?
Lol, that's like asking a hooker how many c*cks she's had, she would probably have a good idea but decline from telling, .
.
Seriously, when i bought the bike it had like, 12 minutes left on egay and after a few jars of giggle juice, i quite naively thought "a pair of ace-bars and a tail unit and it's finished", 11 mins and 200 quid later, i own it but have to drive 100 miles to pick it up. That's when the "budget" flew out the window, the day i picked it up, hahahahahah. Although it ran, that was it, everything i've stripped or looked at has required "repair or replace", so it's a matter of head down and get on with it. It's no show bike, but i do hope it's gonna be a nice tidy ride when it's finished.
It's a good job i aren't building to sell, as with most projects, it will cost me more than the worth of a good standard example.
*Rebuild it to ride it, paint it for profit*
I think i will be using a totally different front mudguard, but if i do keep this one, the mudflap won't be staying, that's a given.
I have a marshall deeptone in pretty much minted condition, i also have one on the way which is "not so good", i'm toying with a 4-2 system with straight through pipes coming up to high level and using the rear footpeg mounts as brackets. Frame is powdercoated yes.
Cheers for the comments so far, much appreciated
Comment
-
 Zooks
Zooks
To attach anything fibreglass you should have a nutplate embedded deep within the glass.
Nutserts like this -

will pull out.
You need a nutplate like this -
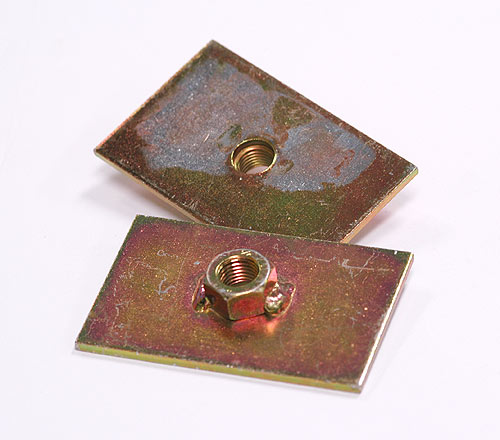
to do the job properly. You can buy them from an engineers suppliers or make them yourself (if you can weld). I'd put a 1/4" hole in each corner (of each nutplate) so the resin can 'bite' into them and they definitely won't move around.
Comment
-
 Zooks
Zooks
Guys that do a lot of custom and vintage car work make their own nutplates and they often just tap a small piece of round bar with the required thread.
Like this -

If you have a panelbeater near you, ask them if they can help you out.
Edit: you do call them panelbeaters in the UK don't you? Not like those crazy 'mericans.
Comment
-
 yaddy
yaddy
Hey Zooks,
yeah i can weld, i'm an apprentice trained sheet metal worker but haven't done it for a while and don't have a workshop. I do have a mig, bottles and a tig though, i'll probably knock something up like those plates you showed me, that's a dead easy job and as you say, should work a treat. I have the "other" nutserts and i don't have much confidence in them lasting any length of time into fibreglass but with the plates as well, should be sound enough.
Cheers for the pics there, i was gonna go with the hook and strap method but that looks much easier to sort out and will be a better fit once done.
Comment
-
 snowbeard
very nice work! I just saw the thread. while I like the fiberglass tank, I also like what you've done with the stocker.
a suggestion for your battery breather issue, I've heard of folk running the tube into a small vial of baking soda. neutralizes any acid that drips, and if you check it occasionally, you could simply hide that under the cowl with the battery and still not have acid down your tire, or a hose down your frame.
course you still have to route the brake lines, but it's a thought!
great job so far!
Comment
-
 Zooks
Zooks -
 Bad Kaw
 -
 yaddy
yaddy
Here's a couple of pics of my tank mount. I made a plate, drilled a hole in it and welded a bolt through it, then i welded the plate to the bottom of the tank (to the original round mounting tabs), before laying three sheets of fine fibreglass mesh over everything to keep it looking smooth. The rubber mount is made from the two original rubber mountings that held the tank, i have also got two spare front rubber tank mounts which will be glued to the frame to take out any exaggerated sideways flex.
Cheers Zooks for the pointer which led me in this direction and thanks to all for the comments overall. Got some paint pics coming later too
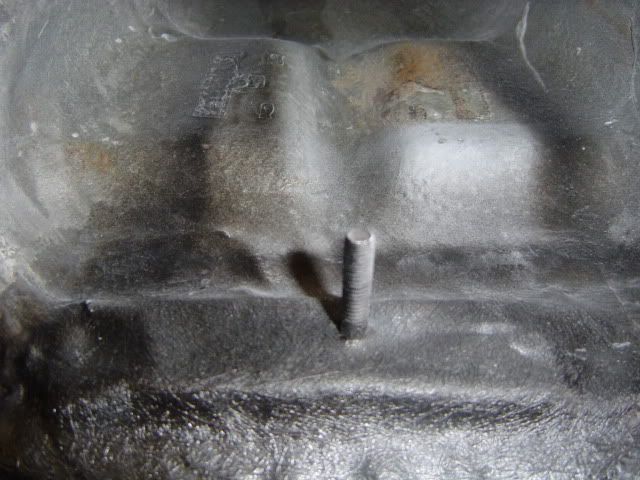
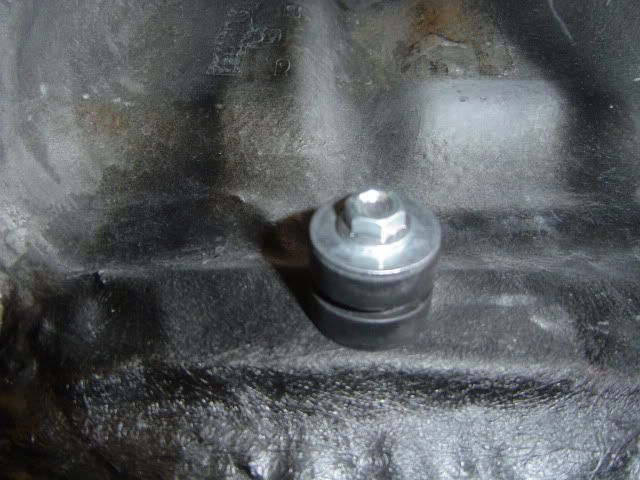 Last edited by Guest; 05-14-2009, 02:24 PM.
Comment
-
 yaddy
yaddy
Paint! Paint! Paint!
Whooohoooo, another milestone passed.
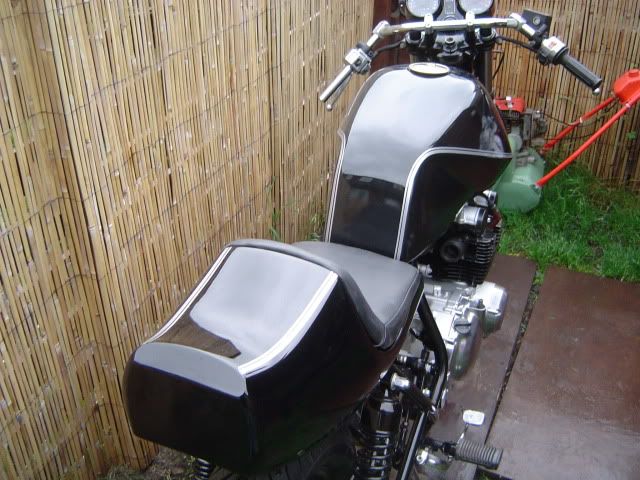
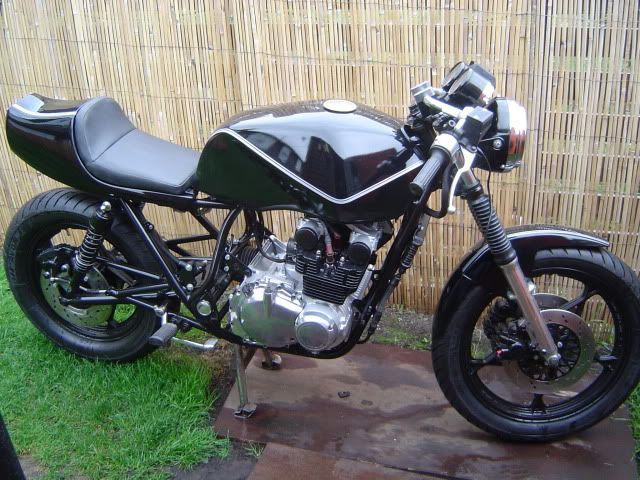
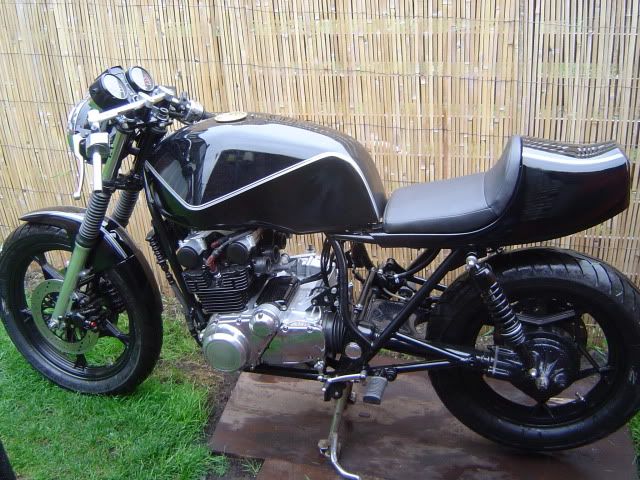
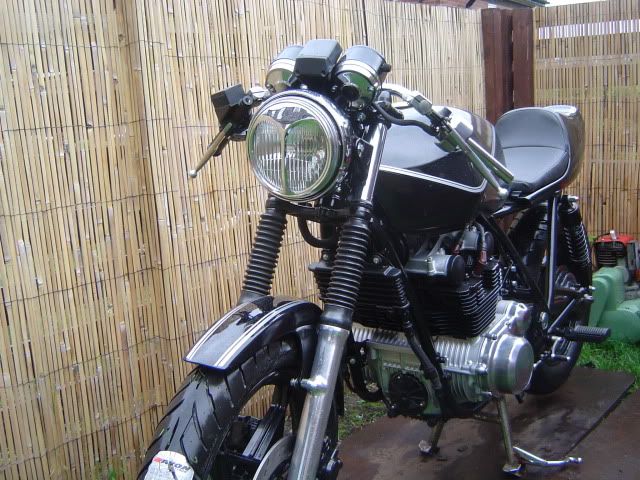
It's not perfect, it does need a little cut n polish once it's fully cured but overall, i'm loving the scheme. I have some very early Suzuki tank stickers in the process of being reproduced, they didn't make it in time for the paint so i'll have to put them on top of the clear but it aint no biggie.
I didn't like the tank at first but with the extension and paint, i'm actually warming to it very quickly, thought i'd update the thread and hear your comments please? I do intend to put a glass tank on there but for now, this one will serve me well for the rest of the build process.
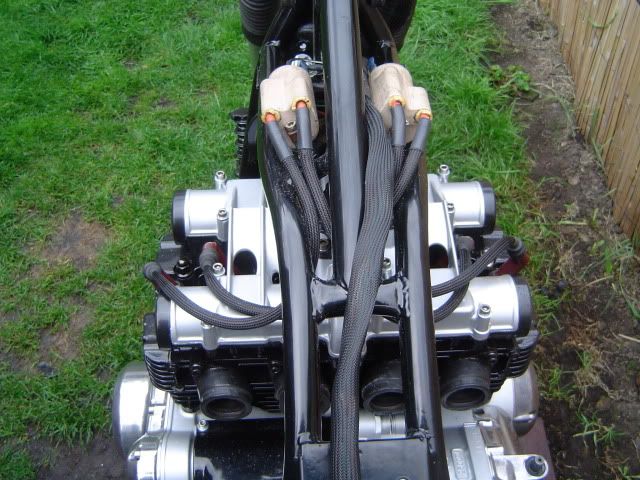
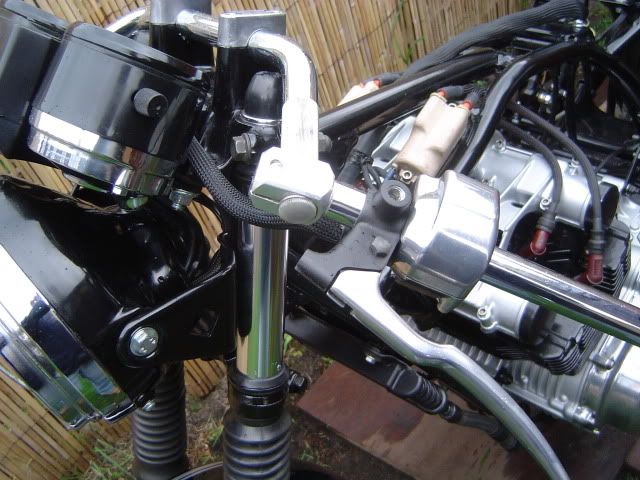
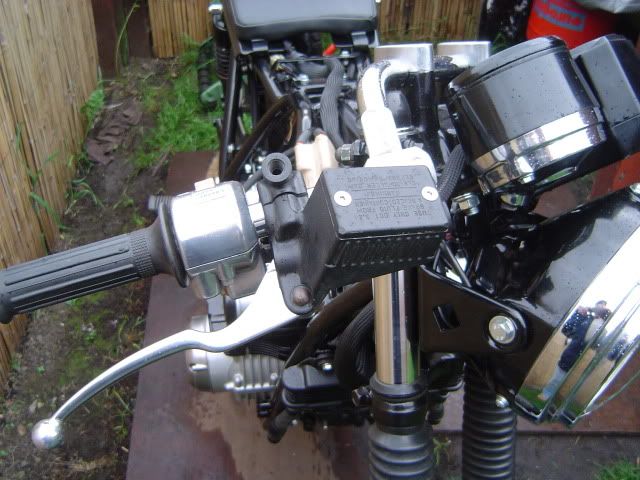
Thanks to all for getting me to this stage in what i consider a fairly quick time, i dismantled the bike in February and have invested most of my spare time since. Extra kudos points to Bribird who donated yet more parts! The master cylinder and clutch perch which he plastic coated and shipped over to me. And also, he suggested i should cover all my wiring and new cables with black braid, i'm on with that and love the little detail, cheers matey.
So here's the overall look, a katana / cafe / streetfighter / whatever else you want to call it.
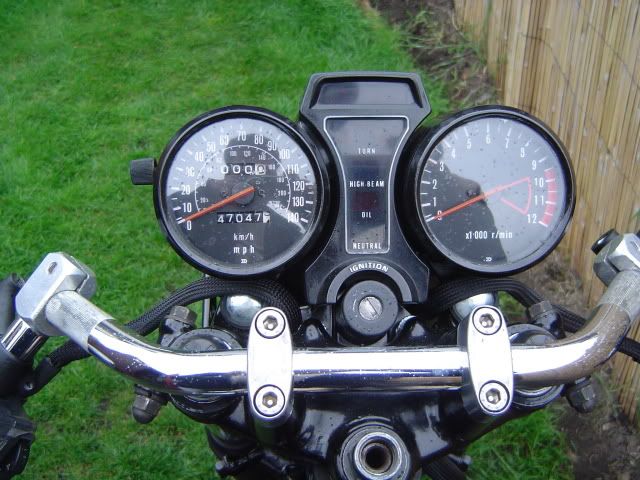
Comment
-
 yaddy
yaddy
.png)

Comment