I might use some Loctite bushing-glue to fix them in place just in case though.
Announcement
Collapse
No announcement yet.
Yoshimura GSX1135R (EFE) Project
Collapse
X
-
 Mindless
Nope, no need for it really. 99% of the stress is taken up by the lower yoke, steering stem and lower bearing. The top yoke is just there for stability, and the fit of the extensions is super-snug so it can't really move around a whole lot (a fraction of a millimeter).Originally posted by posplayr View Post
I might use some Loctite bushing-glue to fix them in place just in case though.
-
Originally posted by Mindless View PostNope, no need for it really. 99% of the stress is taken up by the lower yoke, steering stem and lower bearing. The top yoke is just there for stability, and the fit of the extensions is super-snug so it can't really move around a whole lot (a fraction of a millimeter).
I might use some Loctite bushing-glue to fix them in place just in case though.
Well I believe you have well fitting pieces there, and you obviously beefed up the lower but if there is any wear in the upper extension, then it will continue to open more and waller out. Is it made of stainless or aluminum; hard to tell?
If it is under bolt tension then the load stretches the bolt , but it just returns to it's original length after the load is gone. A tight fit can just wear a larger hole if there is any movement. Once its starts it has to get bigger.Last edited by posplayr; 02-04-2010, 08:37 PM.
Comment
-
 Mindless
High quality dural aluminium. Doubt there will be any noticeable wear.Originally posted by posplayr View PostWell I believe you have well fitting pieces there, and you obviously beefed up the lower but if there is any wear in the upper extension, then it will continue to open more and waller out. Is it made of stainless or aluminum; hard to tell?
If it is under bolt tension then the load stretches the bolt , but it just returns to it's original length after the load is gone. A tight fit can just wear a larger hole if there is any movement. Once its starts it has to get bigger.
Comment
-
 Mindless
Got some minor work done today on the bike. Got some footrests for it the other week so todays mission was to figure out where I wanted them on the bike.
After some measuring yesterday we went back to the workshop today and cut out some plates in 4mm stainless steel and drilled a few holes. Kind of nailed it on the first try.
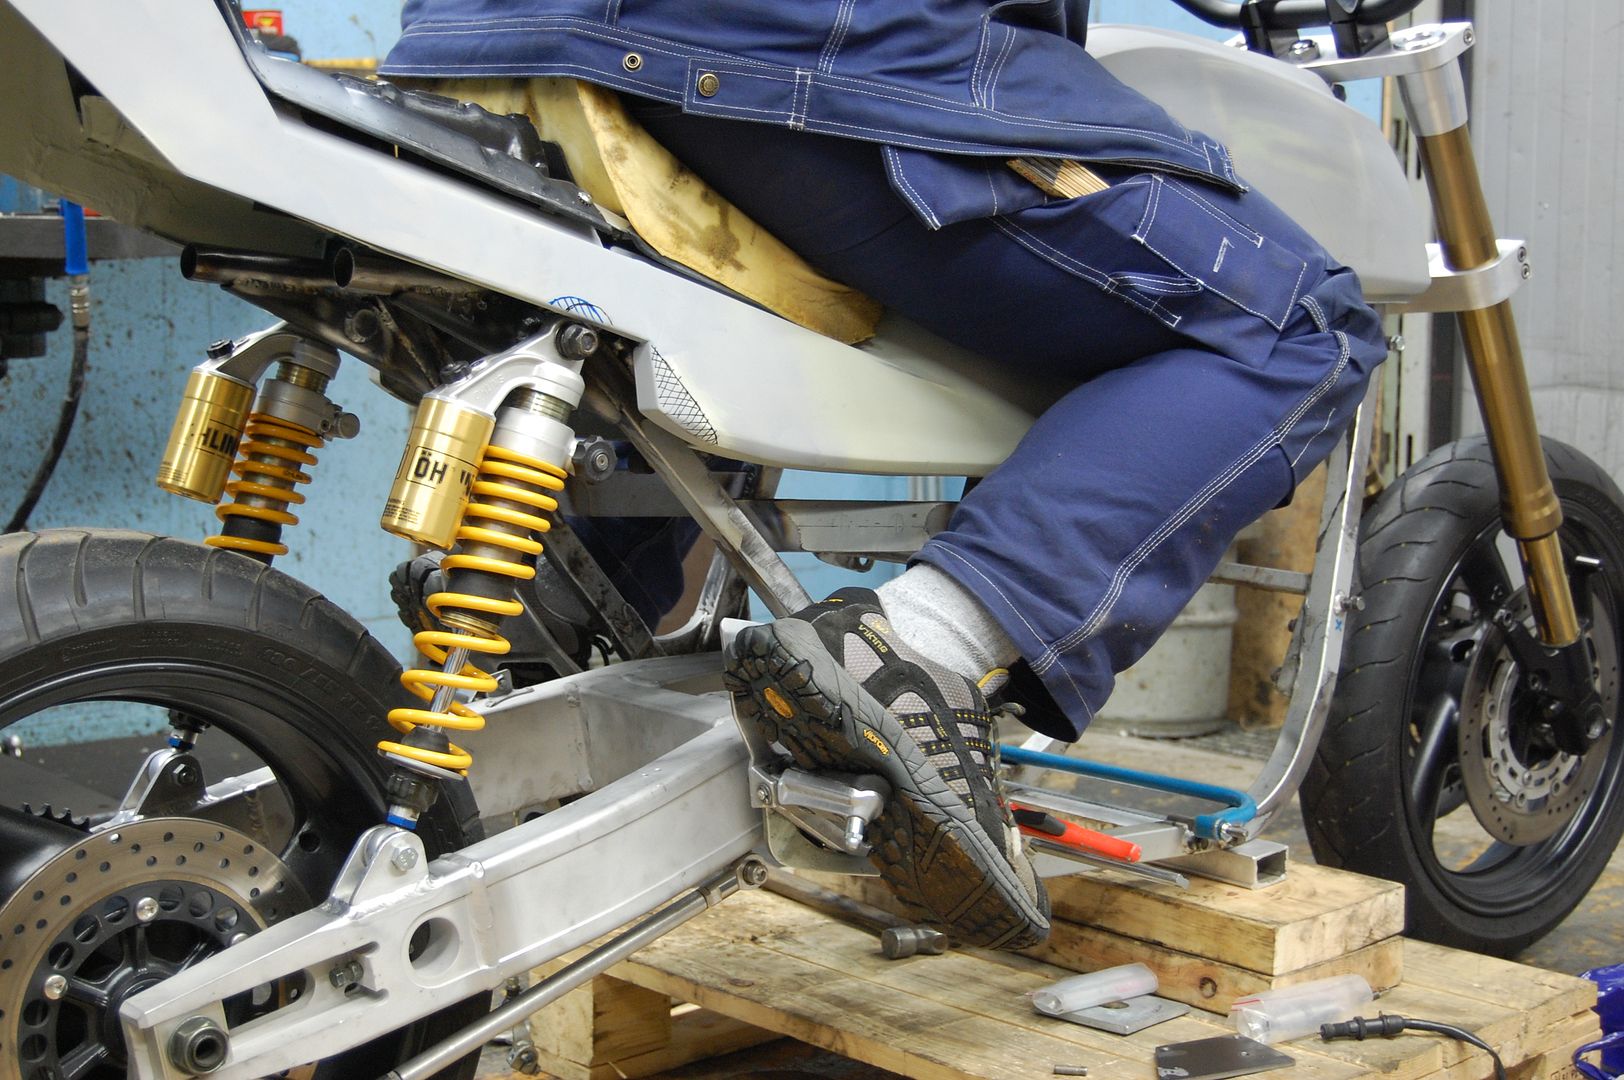
Offset about 10mm downwards and 40mm backwards from the center of the frame tube. Didn't feel bad at all.
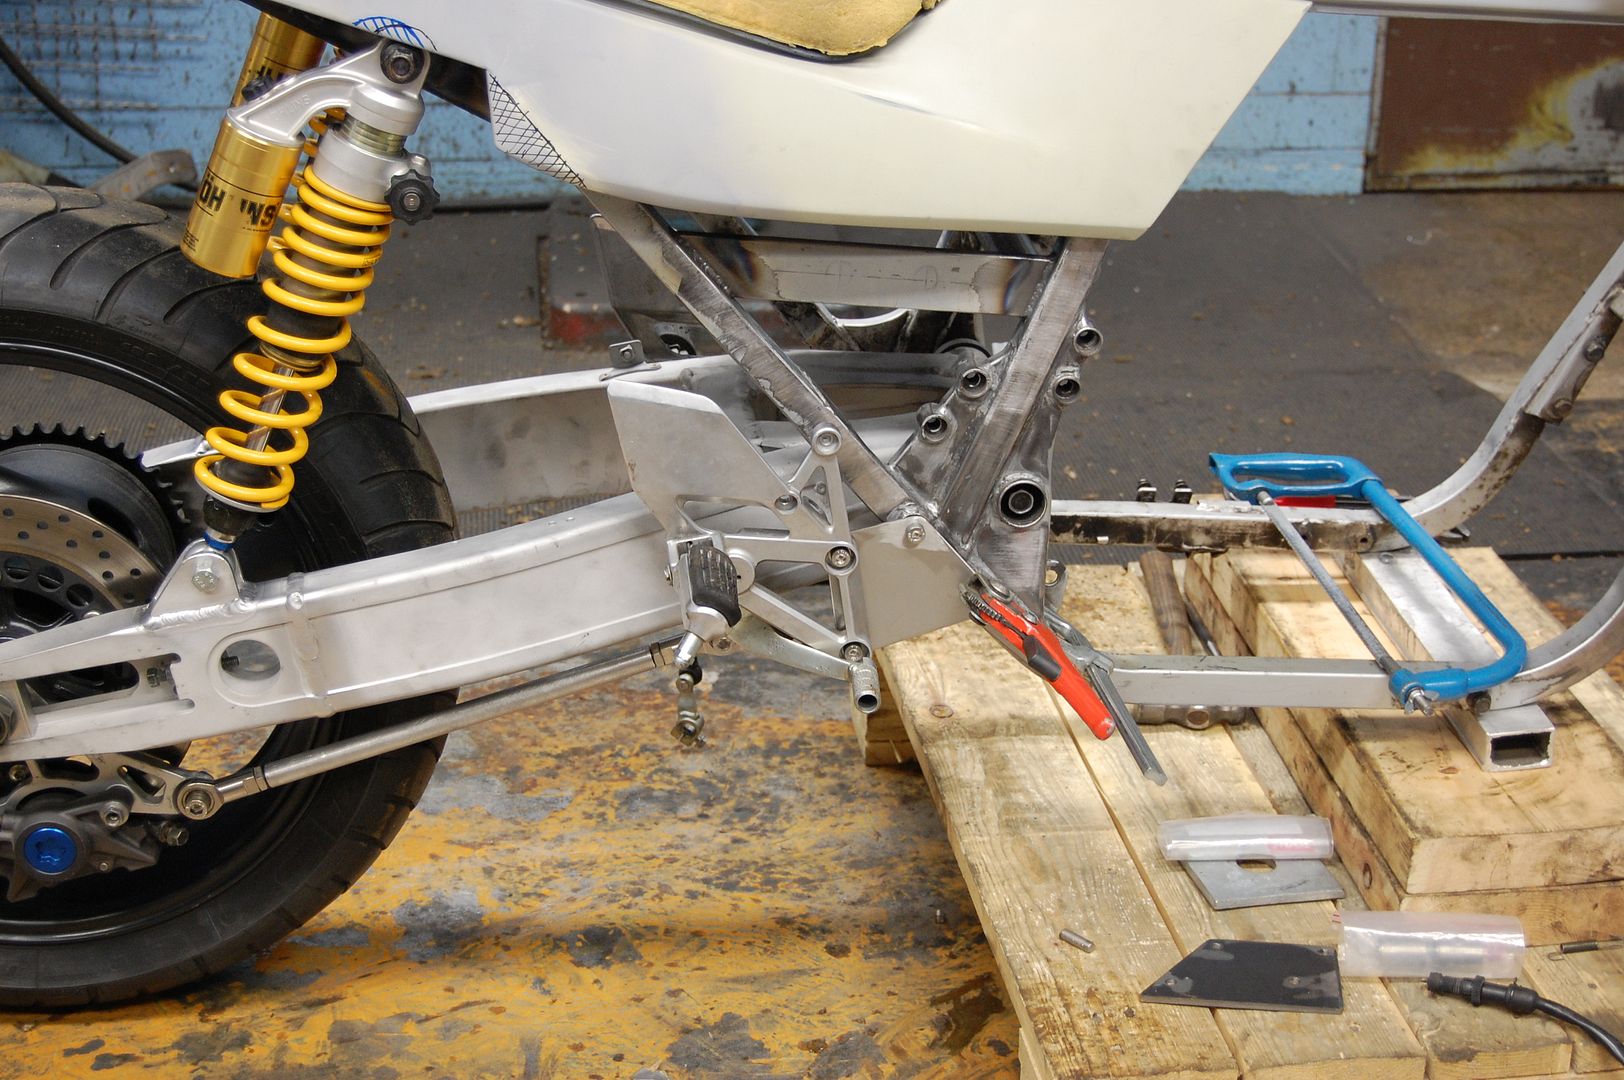
These plates were just for mock-up and trying to figure out a good angle for the footrests. The real deal will be some beefed up aluminium plates.
Here's a side view of the bike with the fork extensions on. Made all the difference for the riding position and stance of the bike.

Now all that's left to do is some more frame bracing and finish up the subframe. After that it's just a matter of sending it off for blasting and then to the powdercoaters.
More progress to come in a few days.
Comment
-
 Mindless
Small update. Went to the workshop to weld in the last two frame braces.

Took a while to work out how I was going to weld the insides, but after a while I managed to figure it out and get it looking pretty good.

However, after welding it all in place, my dad stepped back and said "Wait... can you see something wrong?". I was like "What? No?", but upon closer inspection, the left side brace was turned upside down (the wrong way). The brace on the right side has a 45 degree angle to the frame tubes, the left one is abour 60 degrees.
Oops...
Oh well, no big deal. You can hardly tell it's wrong. If anything, it'll make putting the engine in easier.
Comment
-
 Bad Kaw
See that!? You know you're having a "blessed" build when even your mistakes are cool and work!
-KR
Great build!
Comment
-
 Mindless
Hahaha, you might have a point there!Originally posted by Bad Kaw View PostSee that!? You know you're having a "blessed" build when even your mistakes are cool and work!
-KR
Great build!
Went down to the workshop again to do some of the last welding and fabricating on the frame. From the start I intended to make a cross-brace (an X) in the frame where the airbox was, but for some reason I forgot all about it. Well, yesterday I remembered it so I got to work and after a while I had something looking like this.
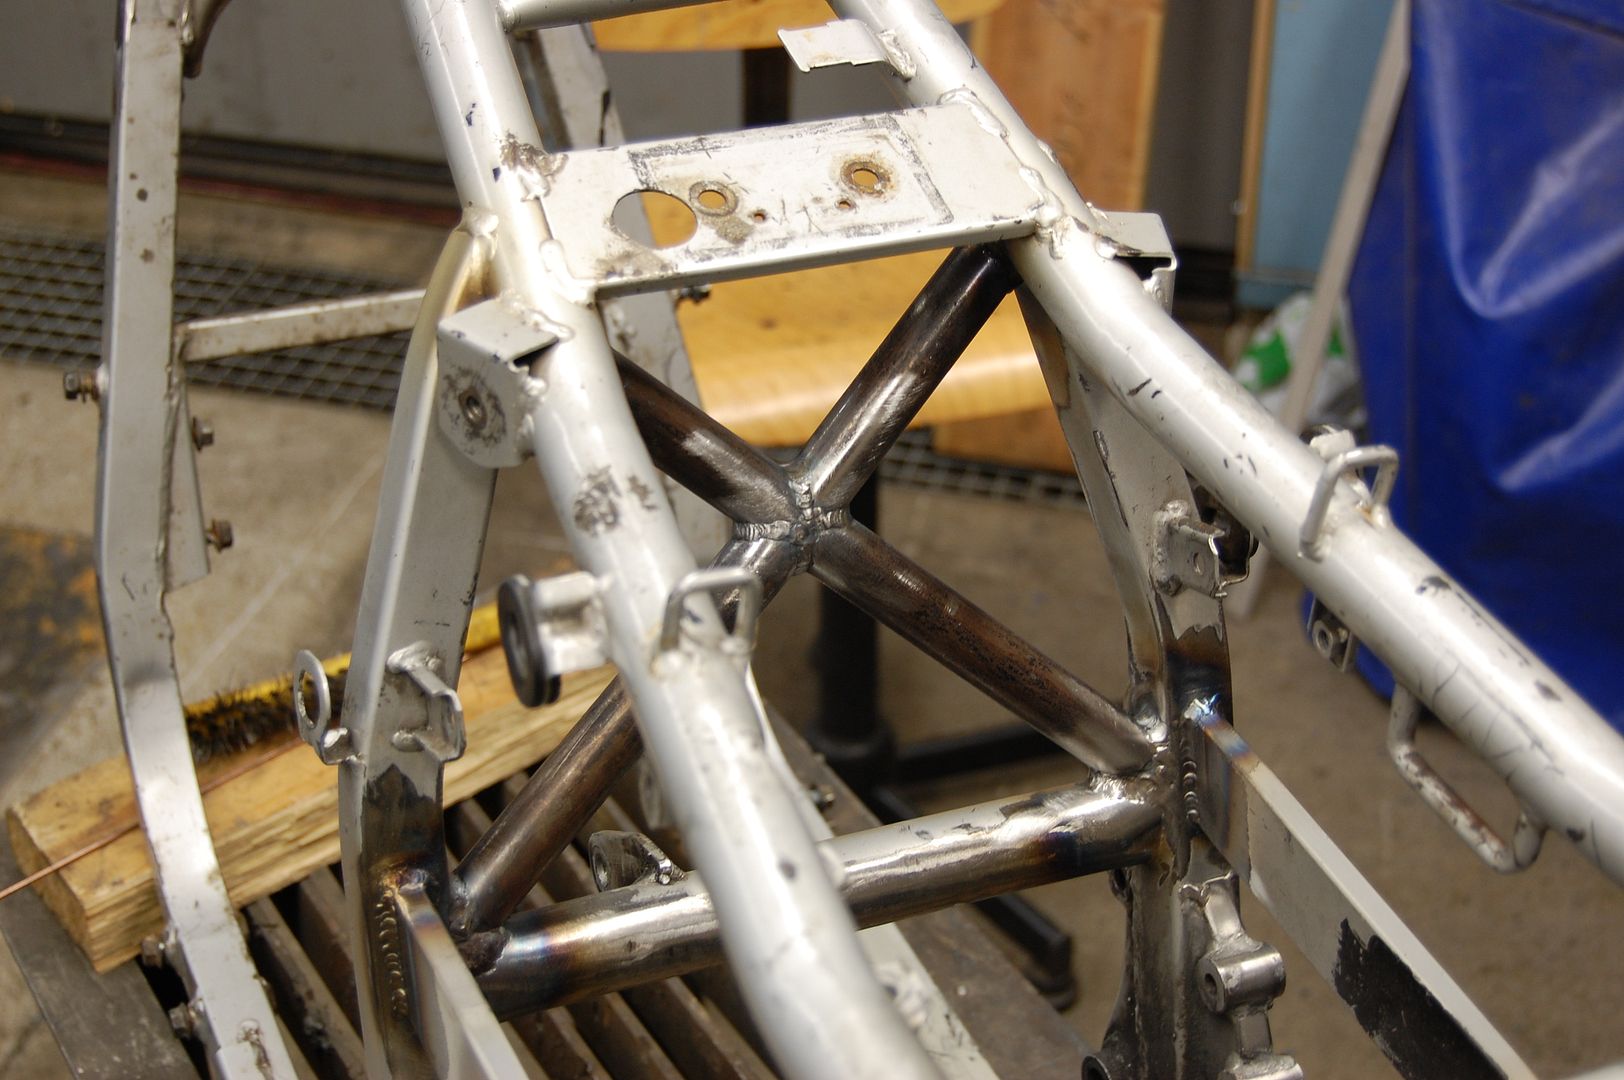
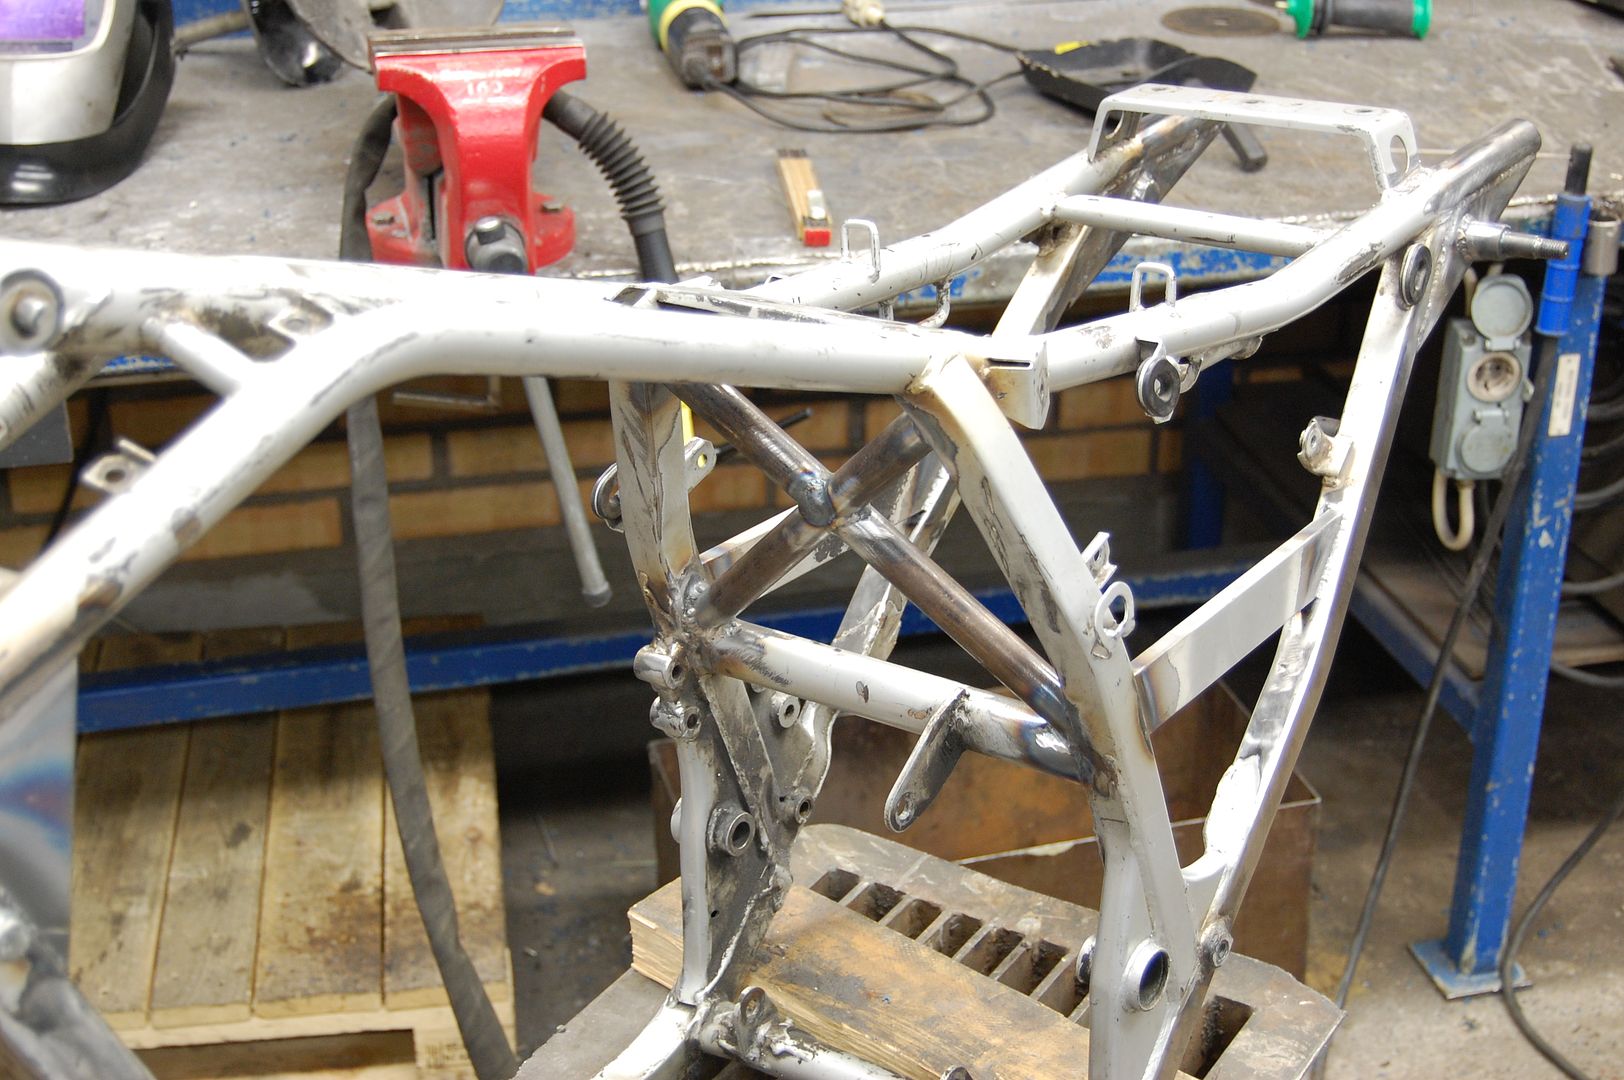
Was a real pain to weld some spots and the protective gas (Argon) was acting up for some reason. Oh well, got it looking pretty good in the end. Will see if I go back down tonight or tomorrow to try and finish everything up.
Also got some packages in the mail today. The exhaust and the ever elusive quarter fairing. Custom fee on the fairing was huge (in addition to the massive shipping cost) so it turned out kinda pricey in the end, but the final product was very nice. Can't say I'm unhappy with it.
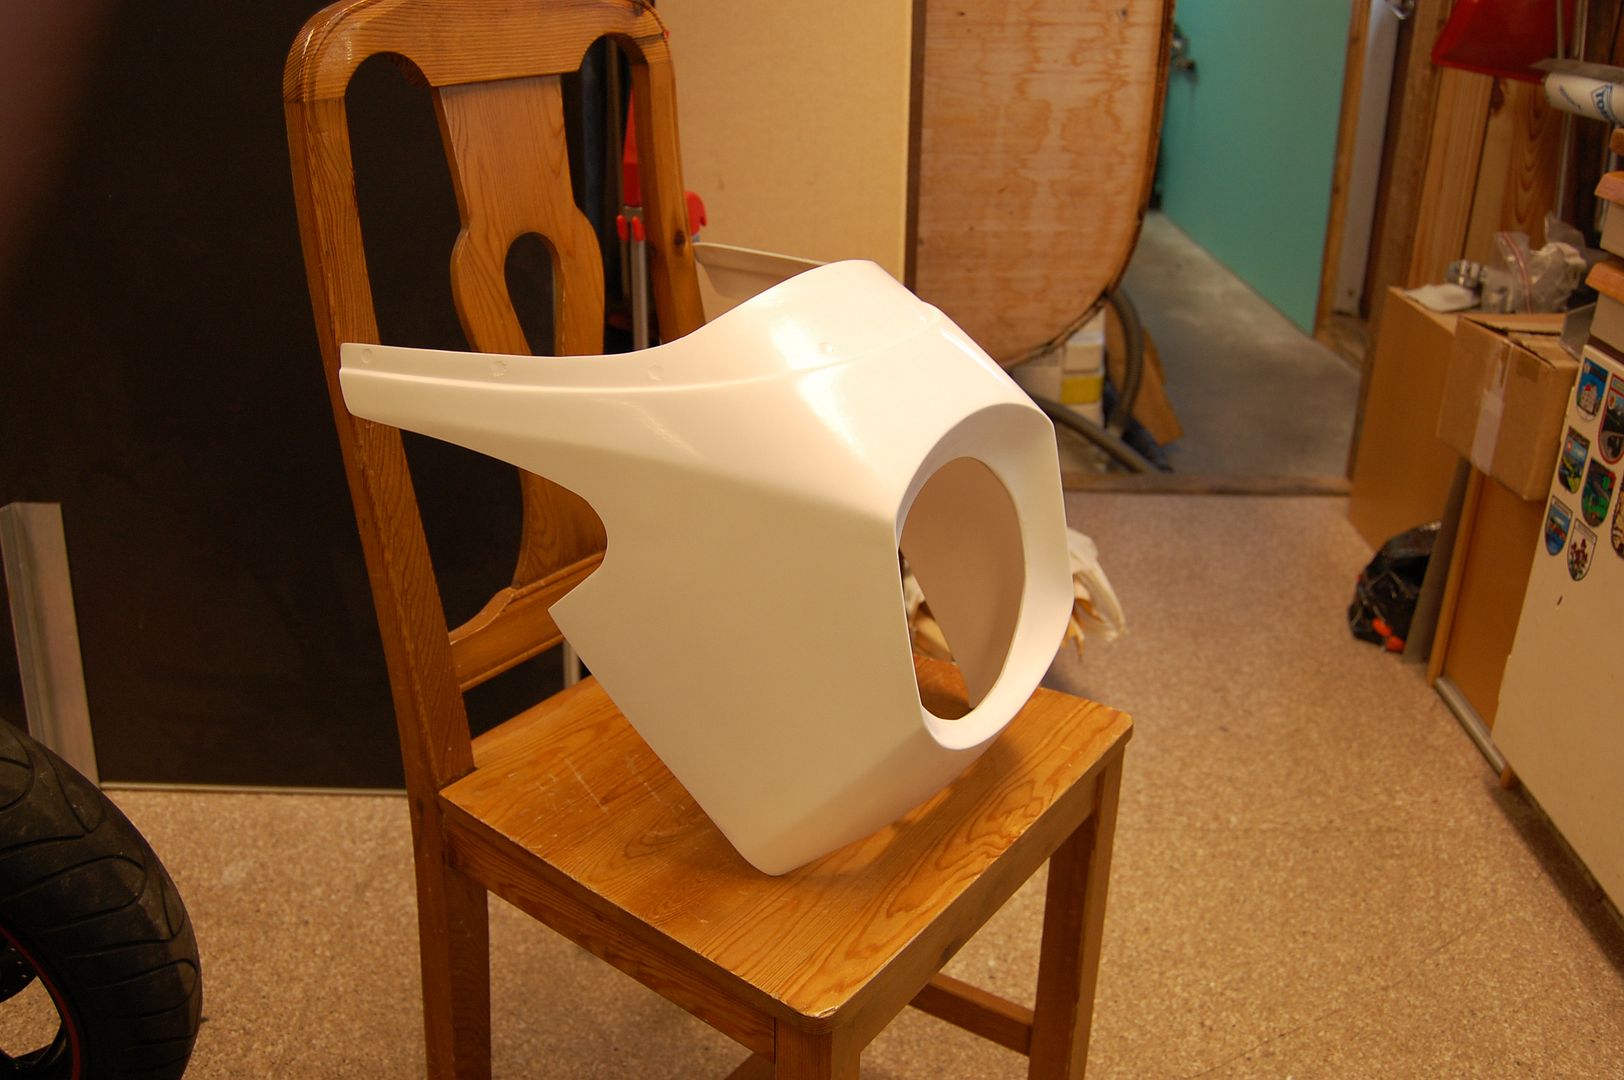
And yes, that's the Z1R's fairing if you're wondering.
And now for the exhaust. Excellent build quality and finish, well beyond my expectations. However, there was a slight problem.

It's in carbon.Last edited by Guest; 02-15-2010, 10:06 AM.
Comment
-
 Mindless
I wasn't really angry about it. It still looks great, but it wasn't what I had ordered. So, I shoot the guy a mail, explaining the situation and asking what we should do in order to resolve the situation.
Within an hour he replied, apologizing for his mistake when packaging it. In order to make it up to me, he's gonna send me the stainless exhaust I ordered free of charge with EMS (Express Mail) and let me keep the carbon exhaust. Now that's good customer service.
Despite this mishap, I highly recommend him. The exhaust is quality through-and-through. No loose rivets or sloppy welds. If you want a cheap and nice exhaust - contact him.
For the exhaust I had ordered a Yoshimura foil sticker (looks cooler, period).
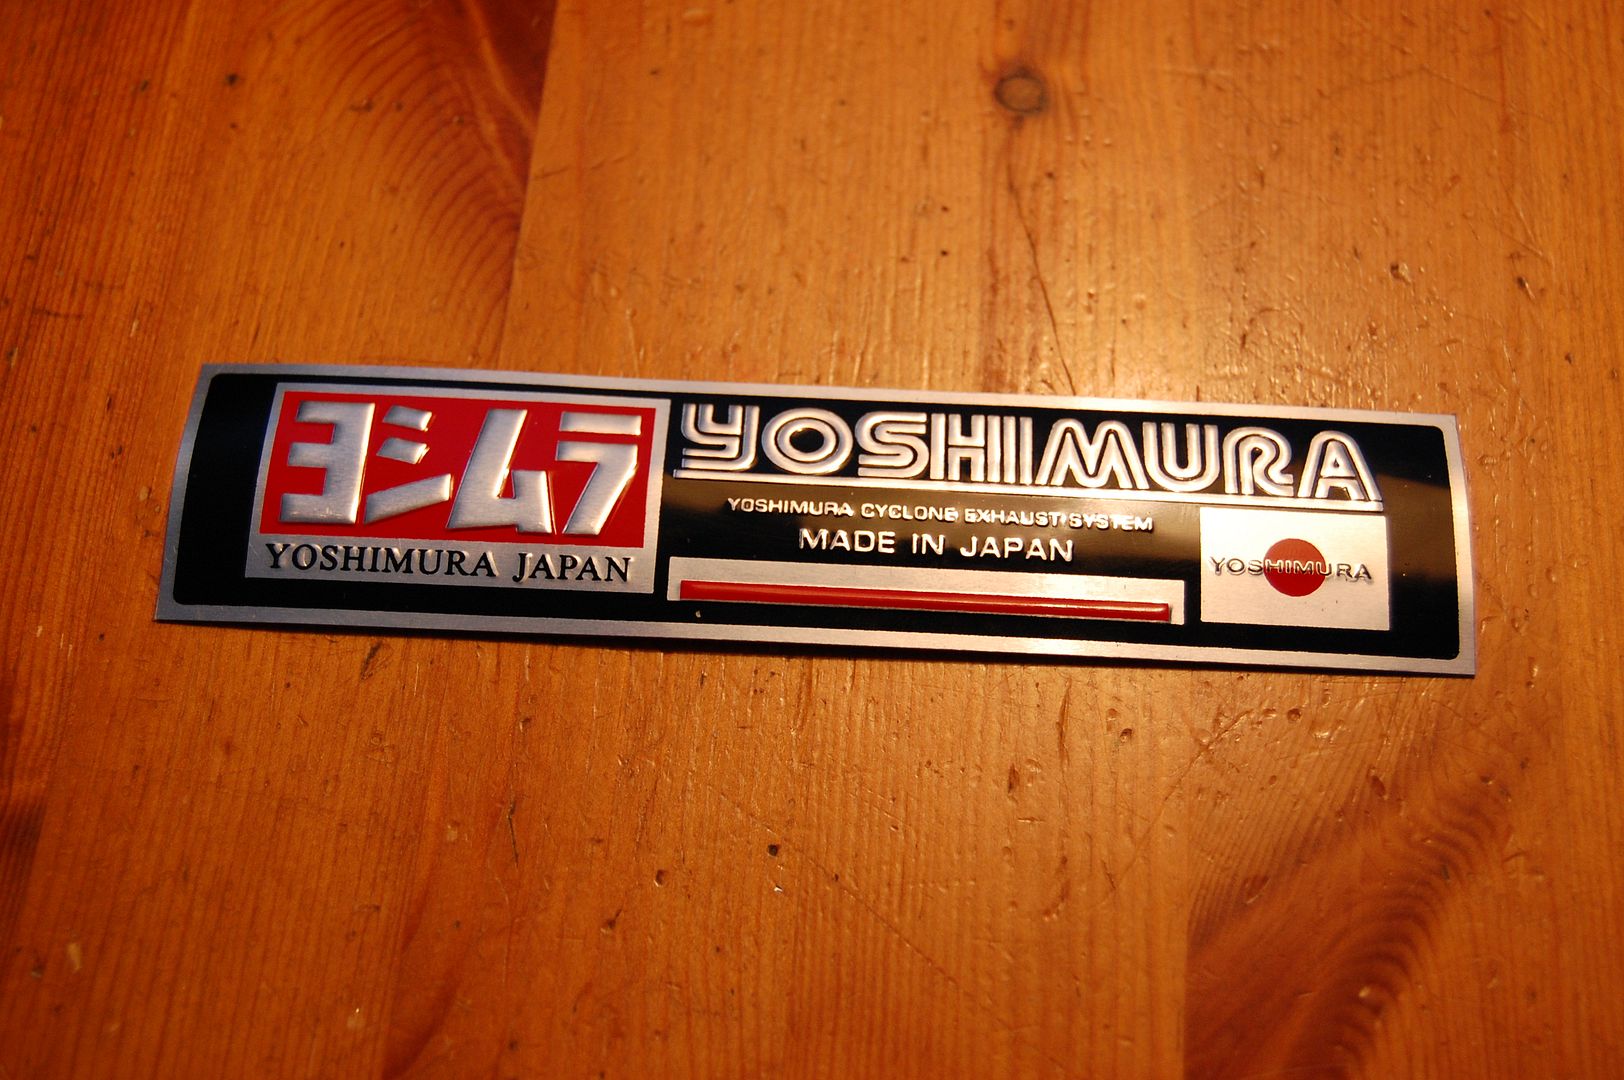
Hm... shouldn't look half bad on the exhaust I thought... well, I was right.
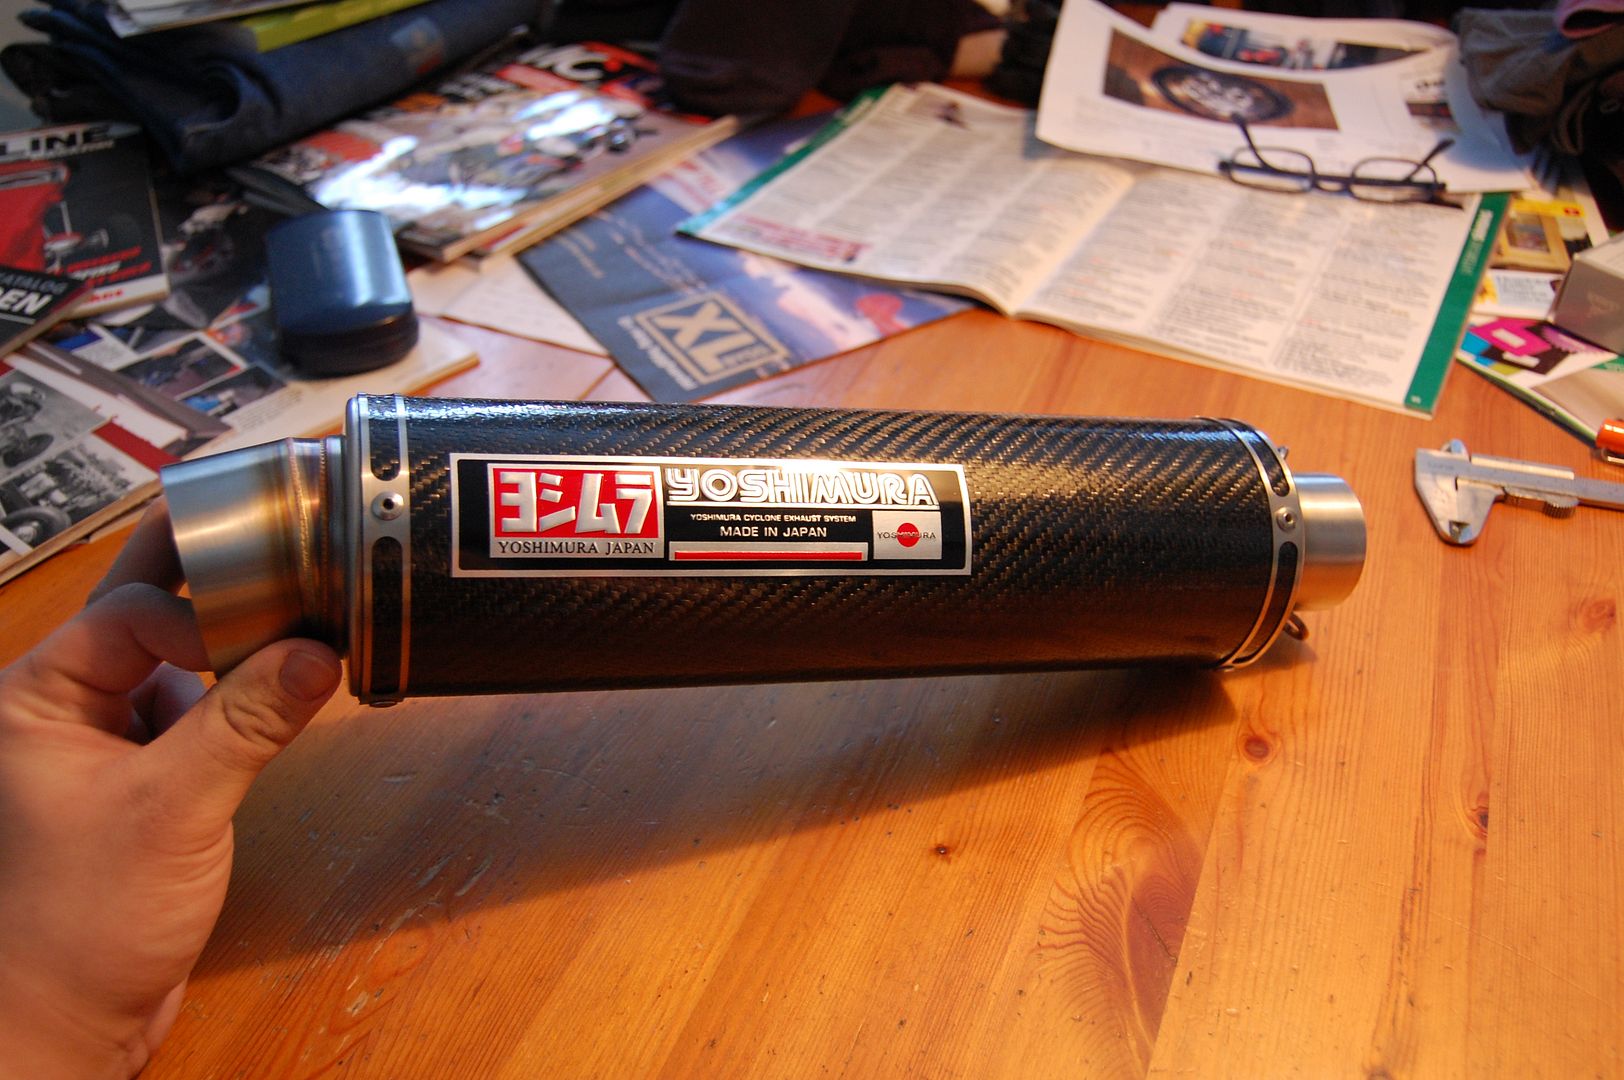
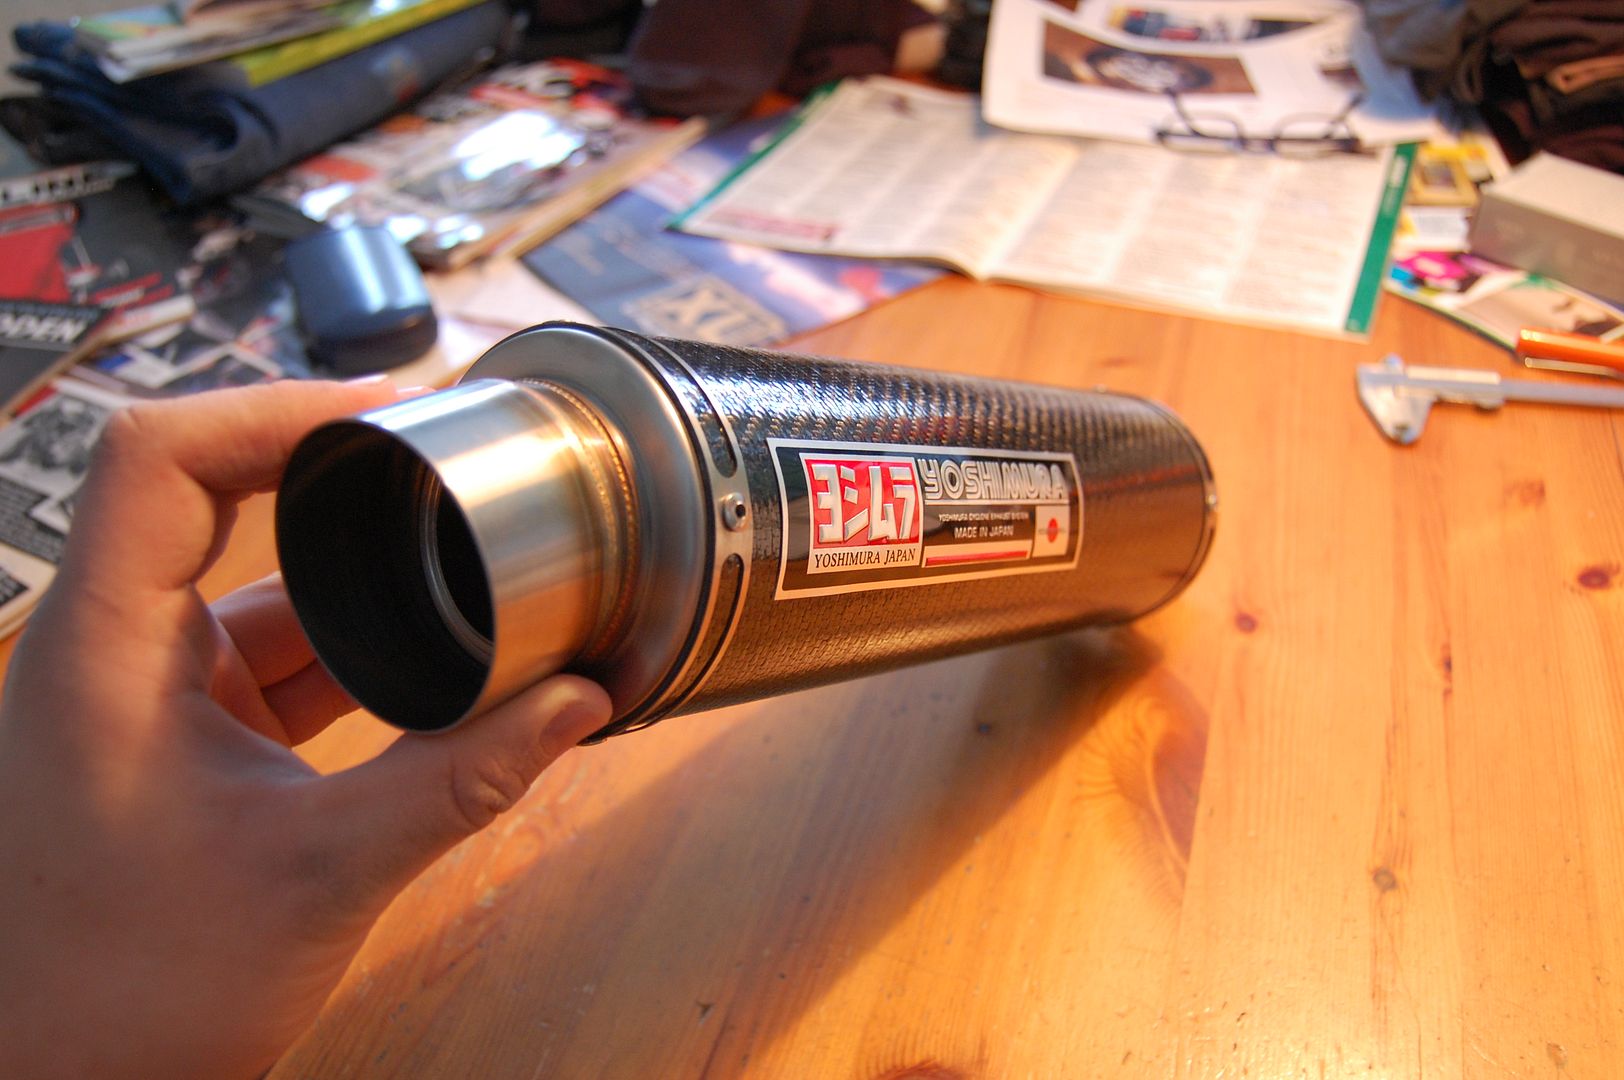
I think I'll be using the carbon exhaust.
Comment
-
That looks very nice. I have some of those in raised lettering that I was going to add the two rivets as well.Originally posted by Mindless View PostI wasn't really angry about it. It still looks great, but it wasn't what I had ordered. So, I shoot the guy a mail, explaining the situation and asking what we should do in order to resolve the situation.
Within an hour he replied, apologizing for his mistake when packaging it. In order to make it up to me, he's gonna send me the stainless exhaust I ordered free of charge with EMS (Express Mail) and let me keep the carbon exhaust. Now that's good customer service.
Despite this mishap, I highly recommend him. The exhaust is quality through-and-through. No loose rivets or sloppy welds. If you want a cheap and nice exhaust - contact him.
For the exhaust I had ordered a Yoshimura foil sticker (looks cooler, period).

Hm... shouldn't look half bad on the exhaust I thought... well, I was right.


I think I'll be using the carbon exhaust.
It is also pssible to also find a period NOS one as well but they are pretty few and faw between.
Nice work finding that pair of cans.
Comment
-
 tejasmud
I have a couple of the Chinese canisters for one of my other bikes, 3 bolt flange type, one oval carbon fiber, and another stainless/iridium color. Cost me around $100 USD each. The Yoshi badges/stickers came with them as well. Not bad quality at all.
I agree with the rivits, better yet, the sticker needs to be put on a thin piece 0.025" thick or so of stainless nameplate material, drill some holes and then rivited to the canister.
Comment
-
 alocker
 -
Yea F the glueOriginally posted by tejasmud View PostI have a couple of the Chinese canisters for one of my other bikes, 3 bolt flange type, one oval carbon fiber, and another stainless/iridium color. Cost me around $100 USD each. The Yoshi badges/stickers came with them as well. Not bad quality at all.
I agree with the rivits, better yet, the sticker needs to be put on a thin piece 0.025" thick or so of stainless nameplate material, drill some holes and then rivited to the canister.
Comment
-
 Mindless
Minor update.
Almost finished with the frame now. A few minor incisions here and there and it's done. Did a small cross-brace for the rear frame tubes which will also hold the tail light and license plate.

To this I welded two short metal pegs to align and hold the plastic in place. Worked like a charm. Almost 110% straight now.
After that we made some neat caps for the frame tubes which I then welded on. Turned out really nice I think. My old man has his moments every now and then.
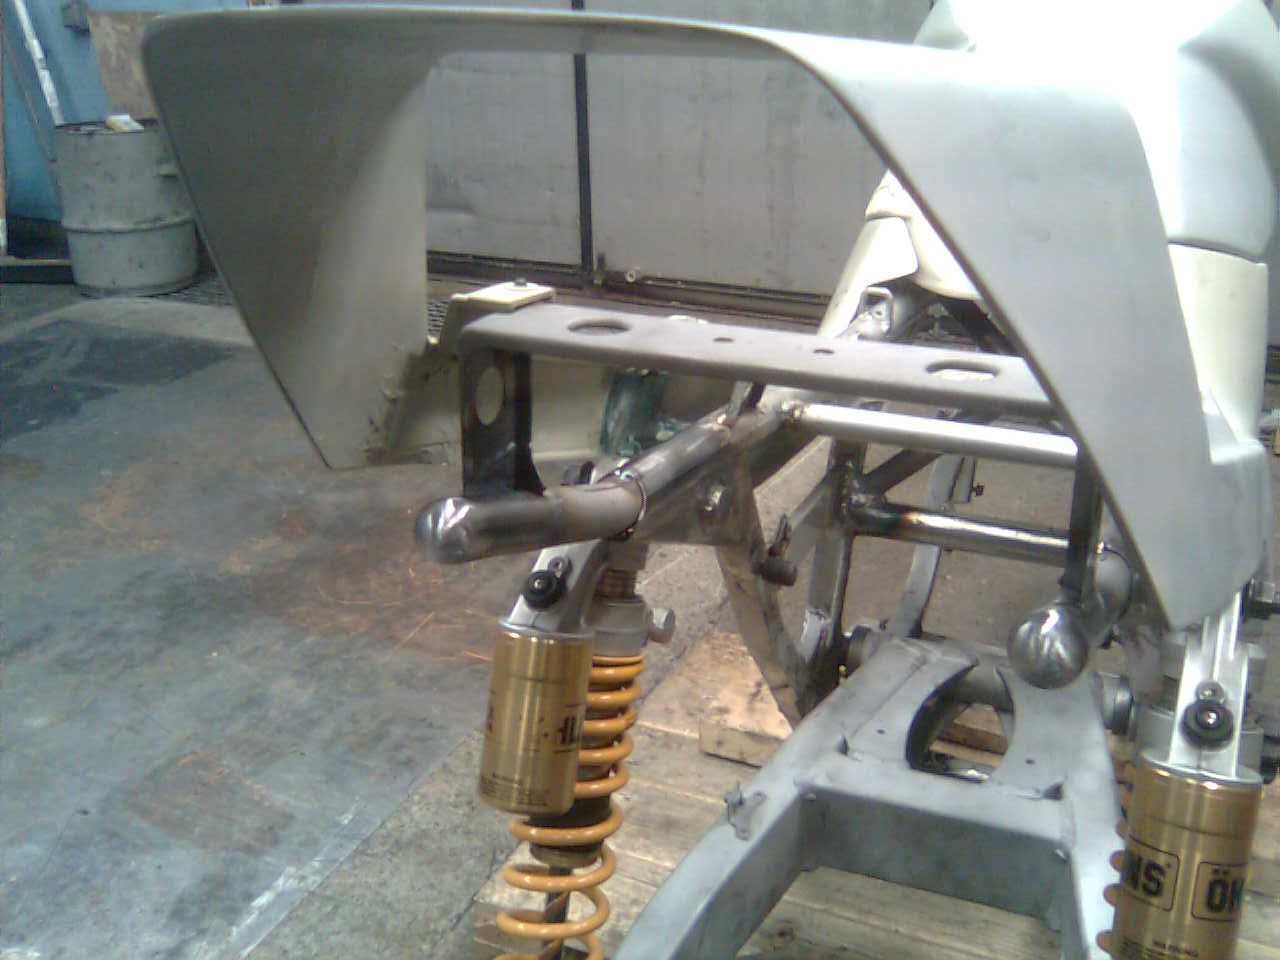
All the supports for the seat is also finished just need welding on but I held that off until I've welded the frame tubes in place.
After that's done, all that remains is getting the footpeg mounts welded up and sending it off to the blasters and powdercoaters. Hopefully the frame will be blasted sometime next week.
Comment
-
 Ogri
Ogri
.png)
Comment