just my opinion but as ya asked ......
Announcement
Collapse
No announcement yet.
Yoshimura GSX1135R (EFE) Project
Collapse
X
-
sparki
Originally posted by Mindless View Post
just my opinion but as ya asked ......
-
Originally posted by sparki View Postpersonally.... i'd have used clip-ons and a clean top yoke... imho it would look a lot cleaner and less "busy". the bars just have "too much to them... angles, bolts and area".
just my opinion but as ya asked ......
Tony.'82 GS1100E
Comment
-
Mindless
Originally posted by Mysuzyq View PostThe beauty of the Laverda bars have more to do with function than form....they offer virtually infinite adjustability. I think once they've been PC'd black, they should blend in just fine...the fairing will cover it from most angles anyway.
Tony.
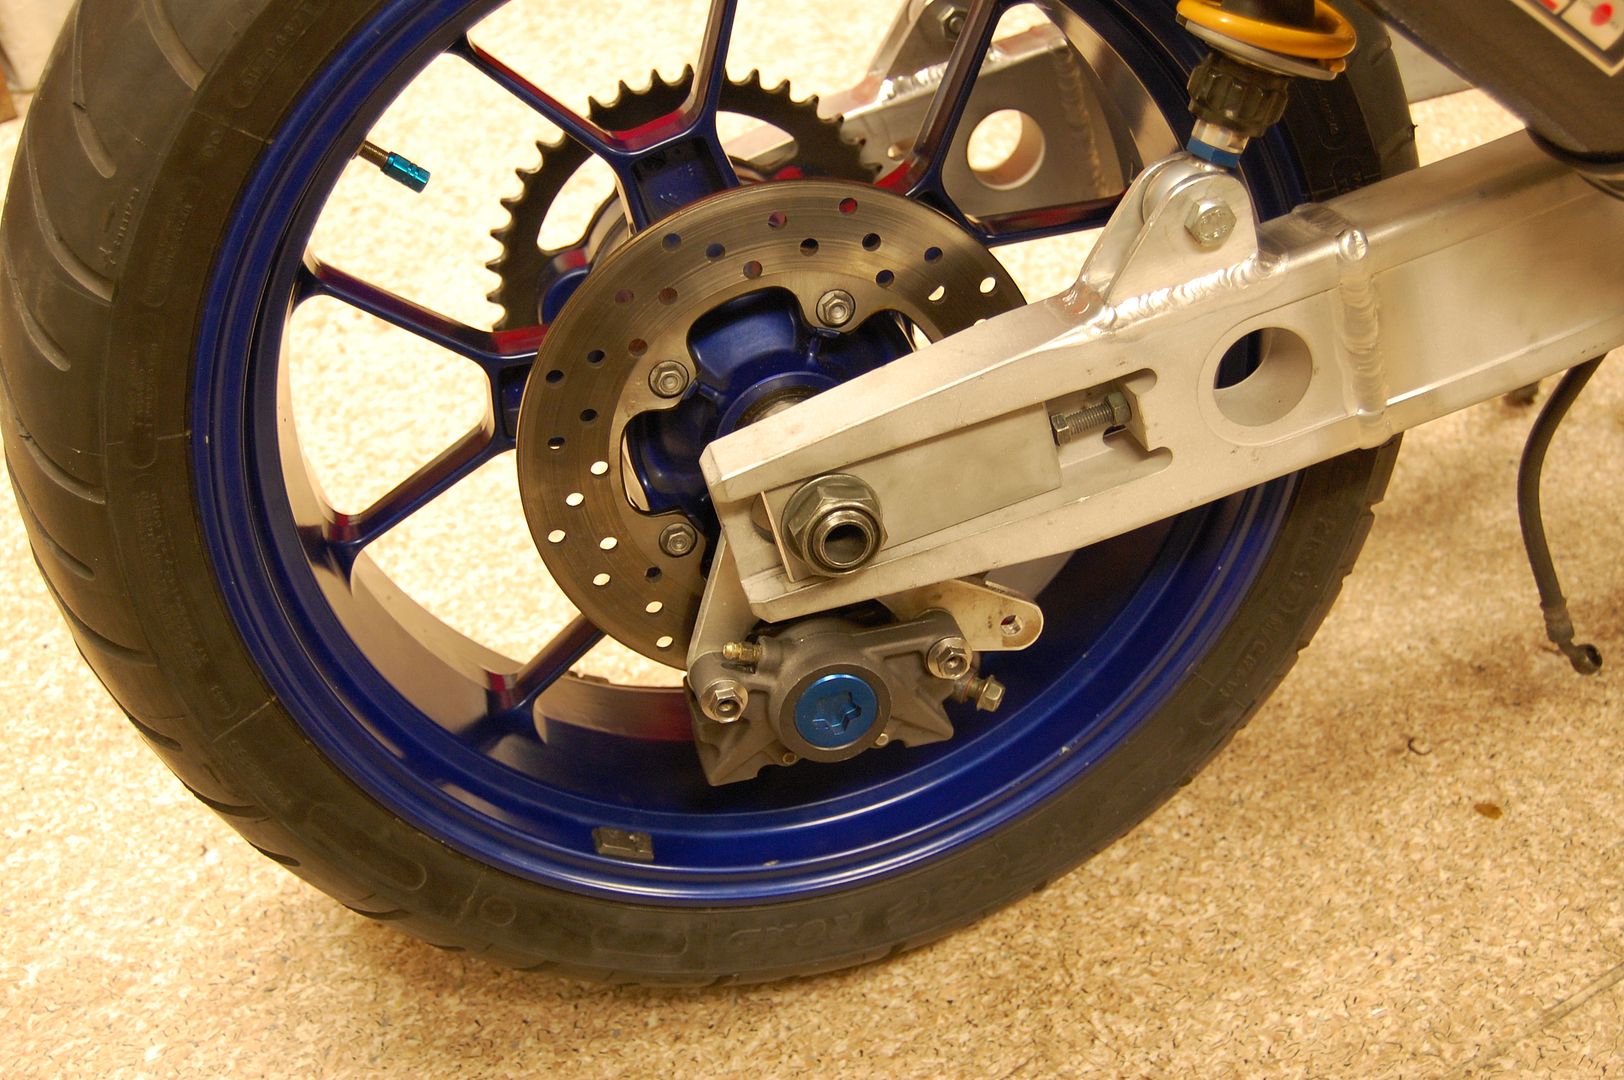
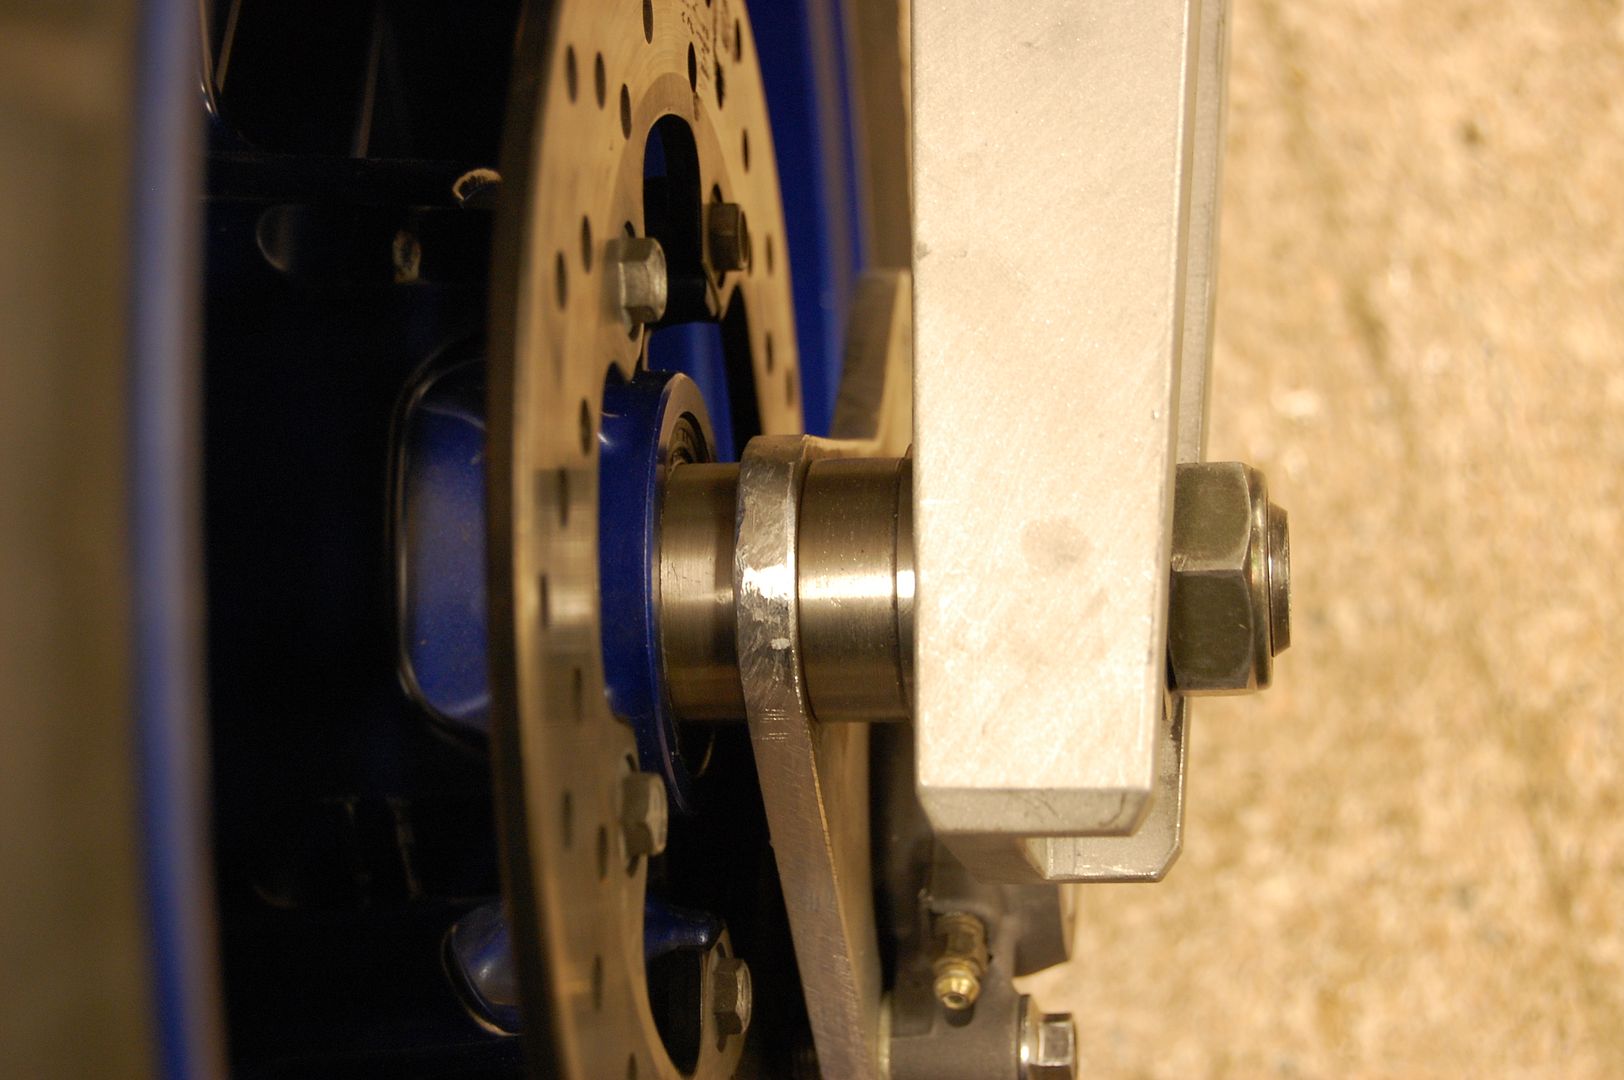
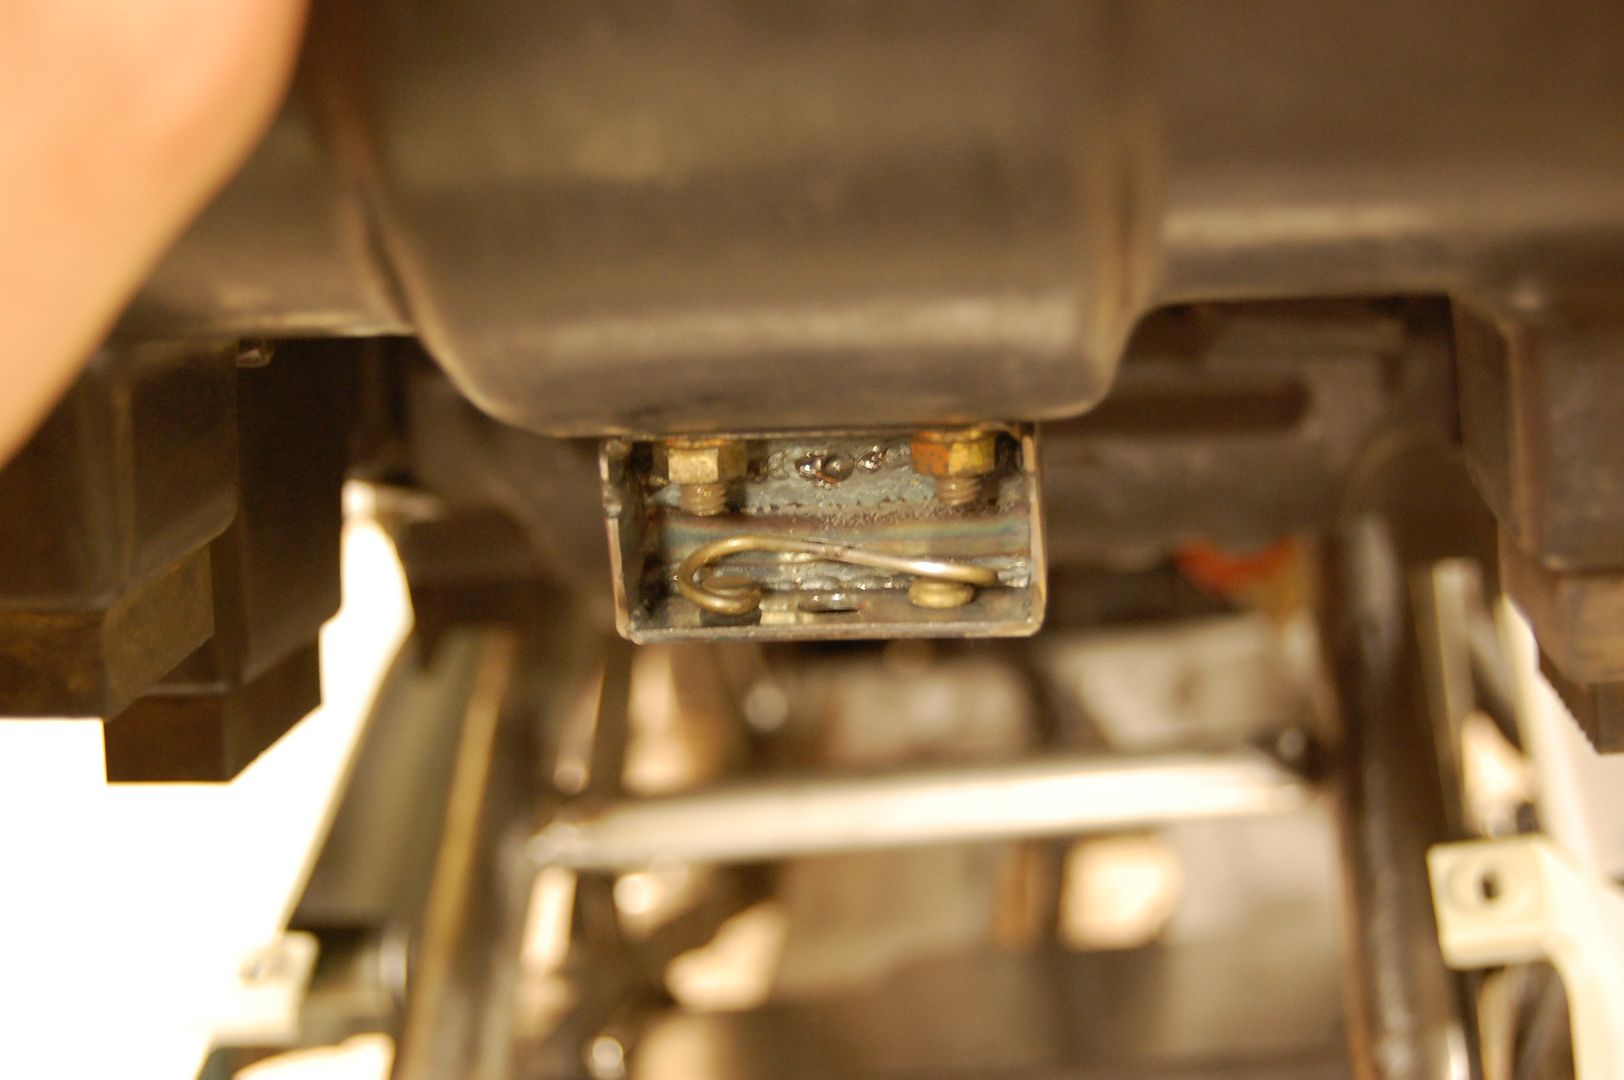
Here's some pictures of the new adjuster blocks, caliper mount and the rear wheel bushings.
From what I could gather when I measured, the front and rear wheel are in line with eachother, maybe off by a millimeter or two, but nothing major.
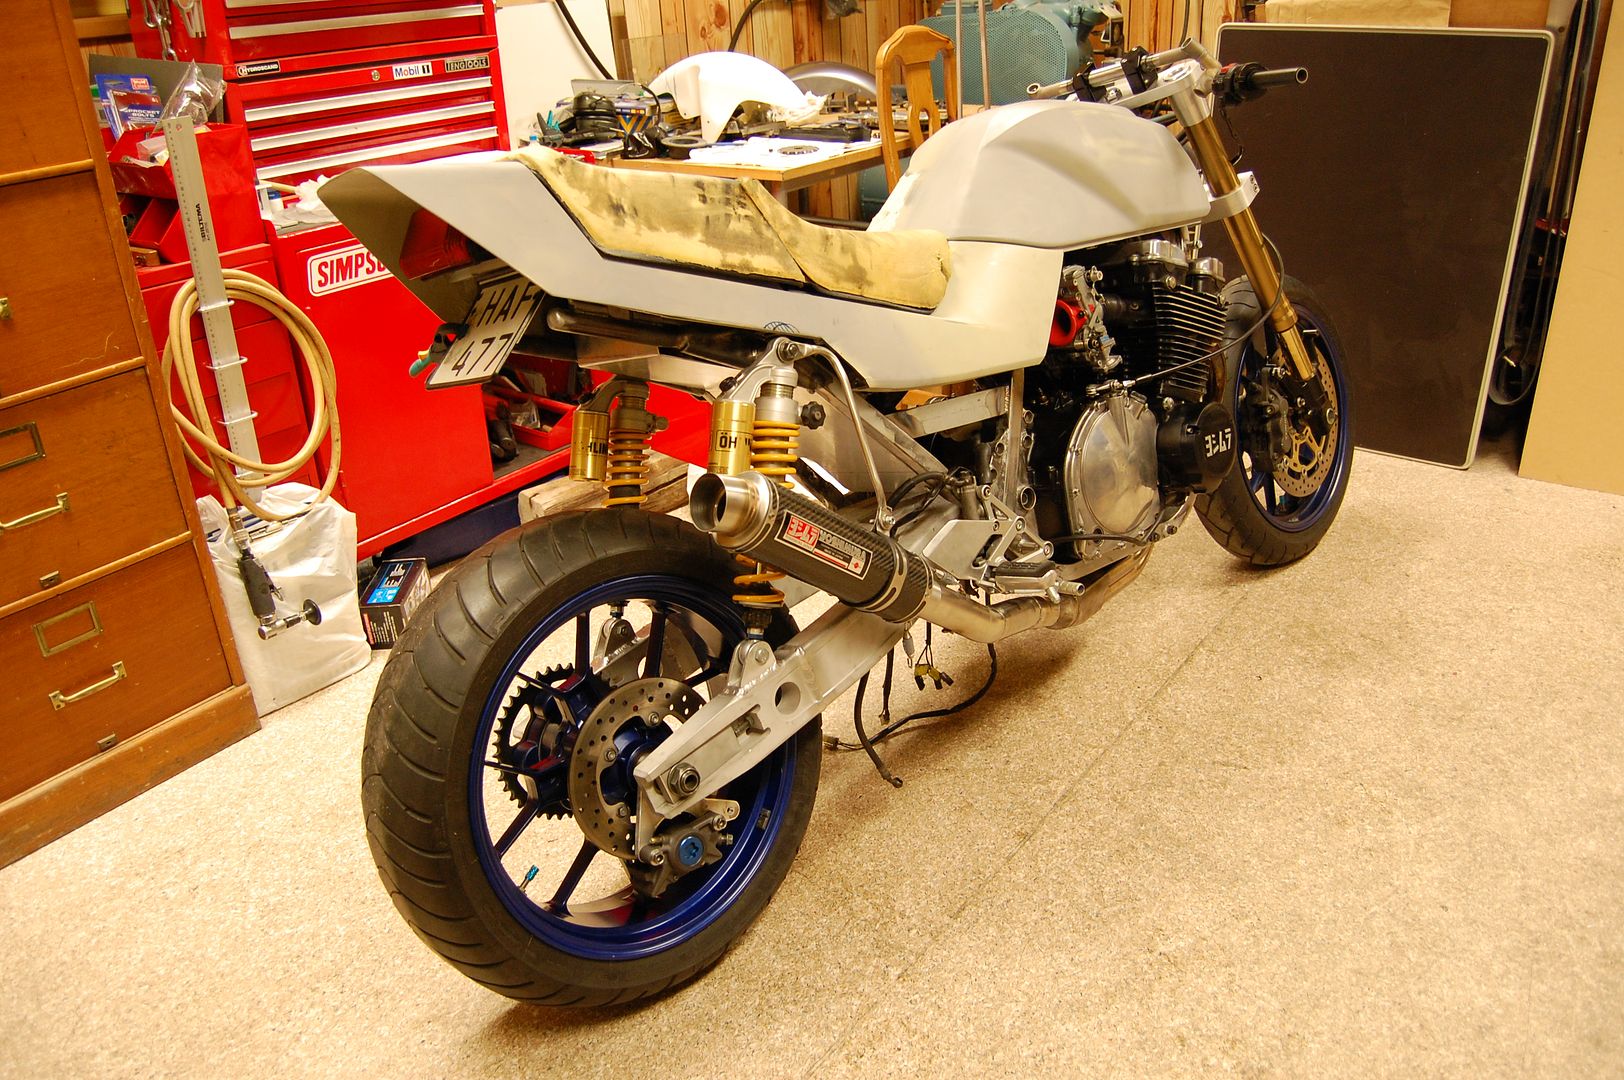
Caliper mount still needs some work, but overall, it's pretty much finished. Now I need to sort out all the minor things that are left on the bike. Gonna start working on some mounts for the headlight and fairing today, start cutting some cardboard.
Comment
-
sparki
Originally posted by Mysuzyq View PostThe beauty of the Laverda bars have more to do with function than form....they offer virtually infinite adjustability. I think once they've been PC'd black, they should blend in just fine...the fairing will cover it from most angles anyway.
Tony.
Comment
-
Mindless
Originally posted by sparki View Postyes, i completely understand the function/form argument.... it was my opinion as i prefer the bare bones look and felt there was "too much going on" above the yoke.... the rest is so well worked/thought out i'm sure mr mindless will do an admirable job or taking care of the asthetics as well as the function...
I hope...
Hopefully I'll have the frame off to the powdercoaters by the end of the week so from there the project is on the home straight.
Comment
-
Mindless
'bout time I did an update...
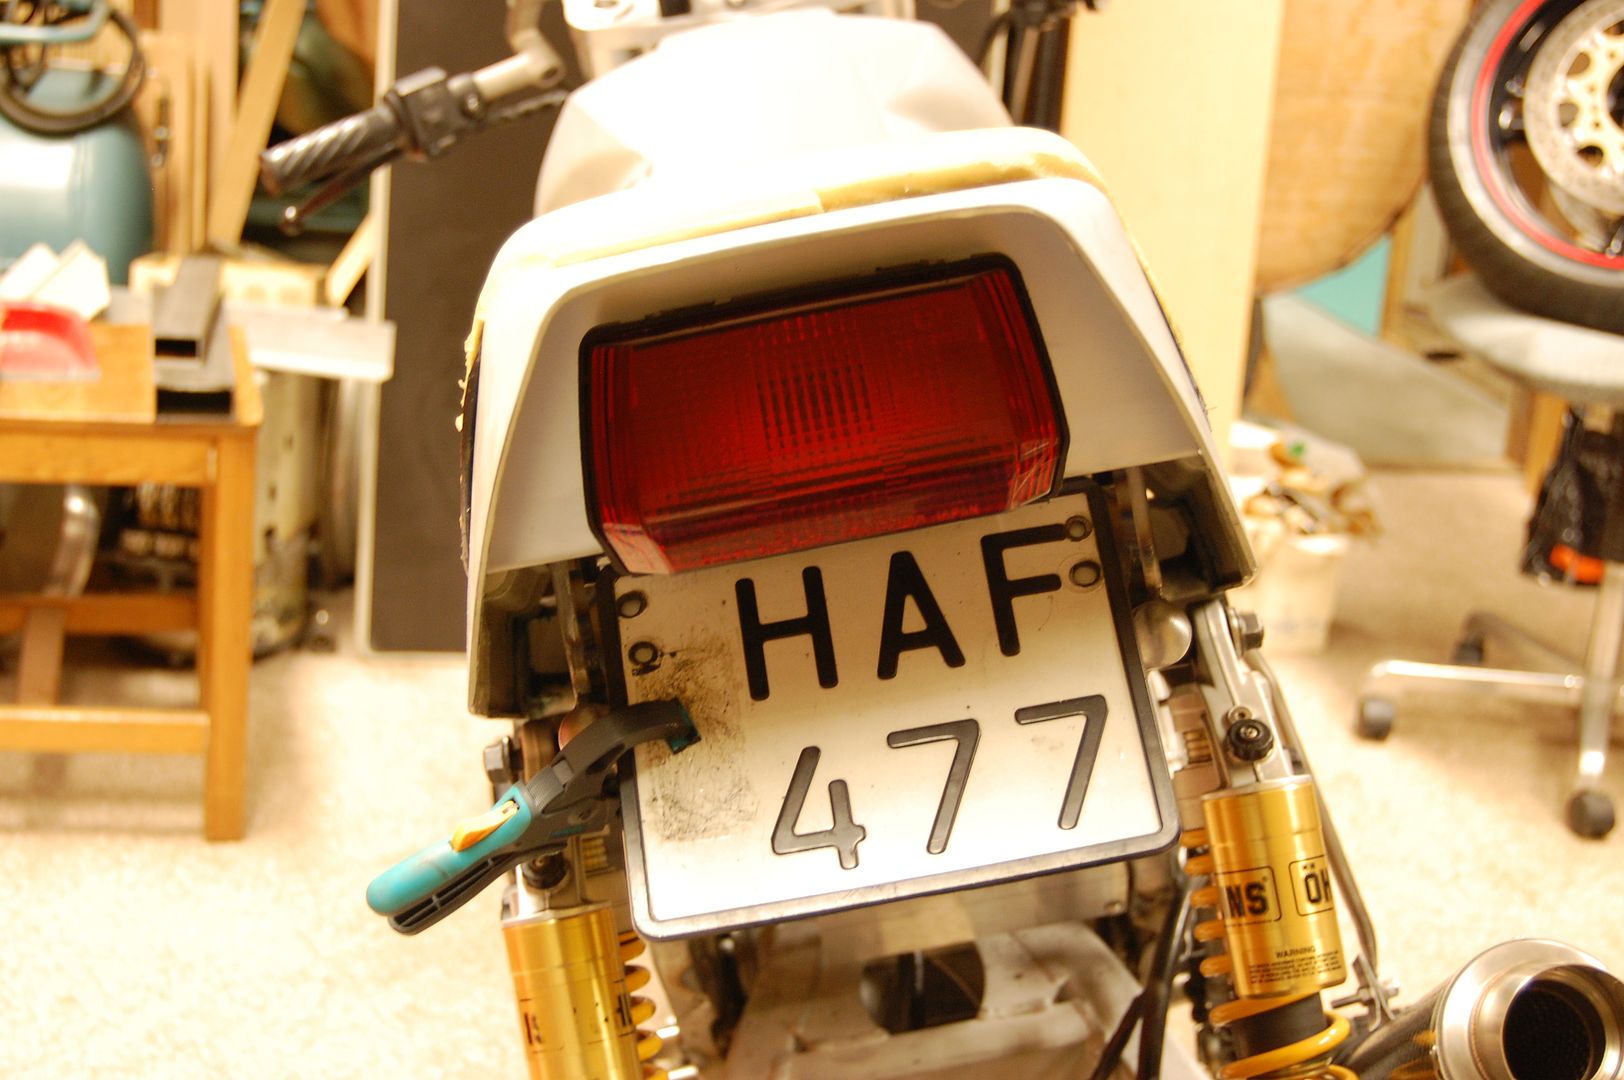
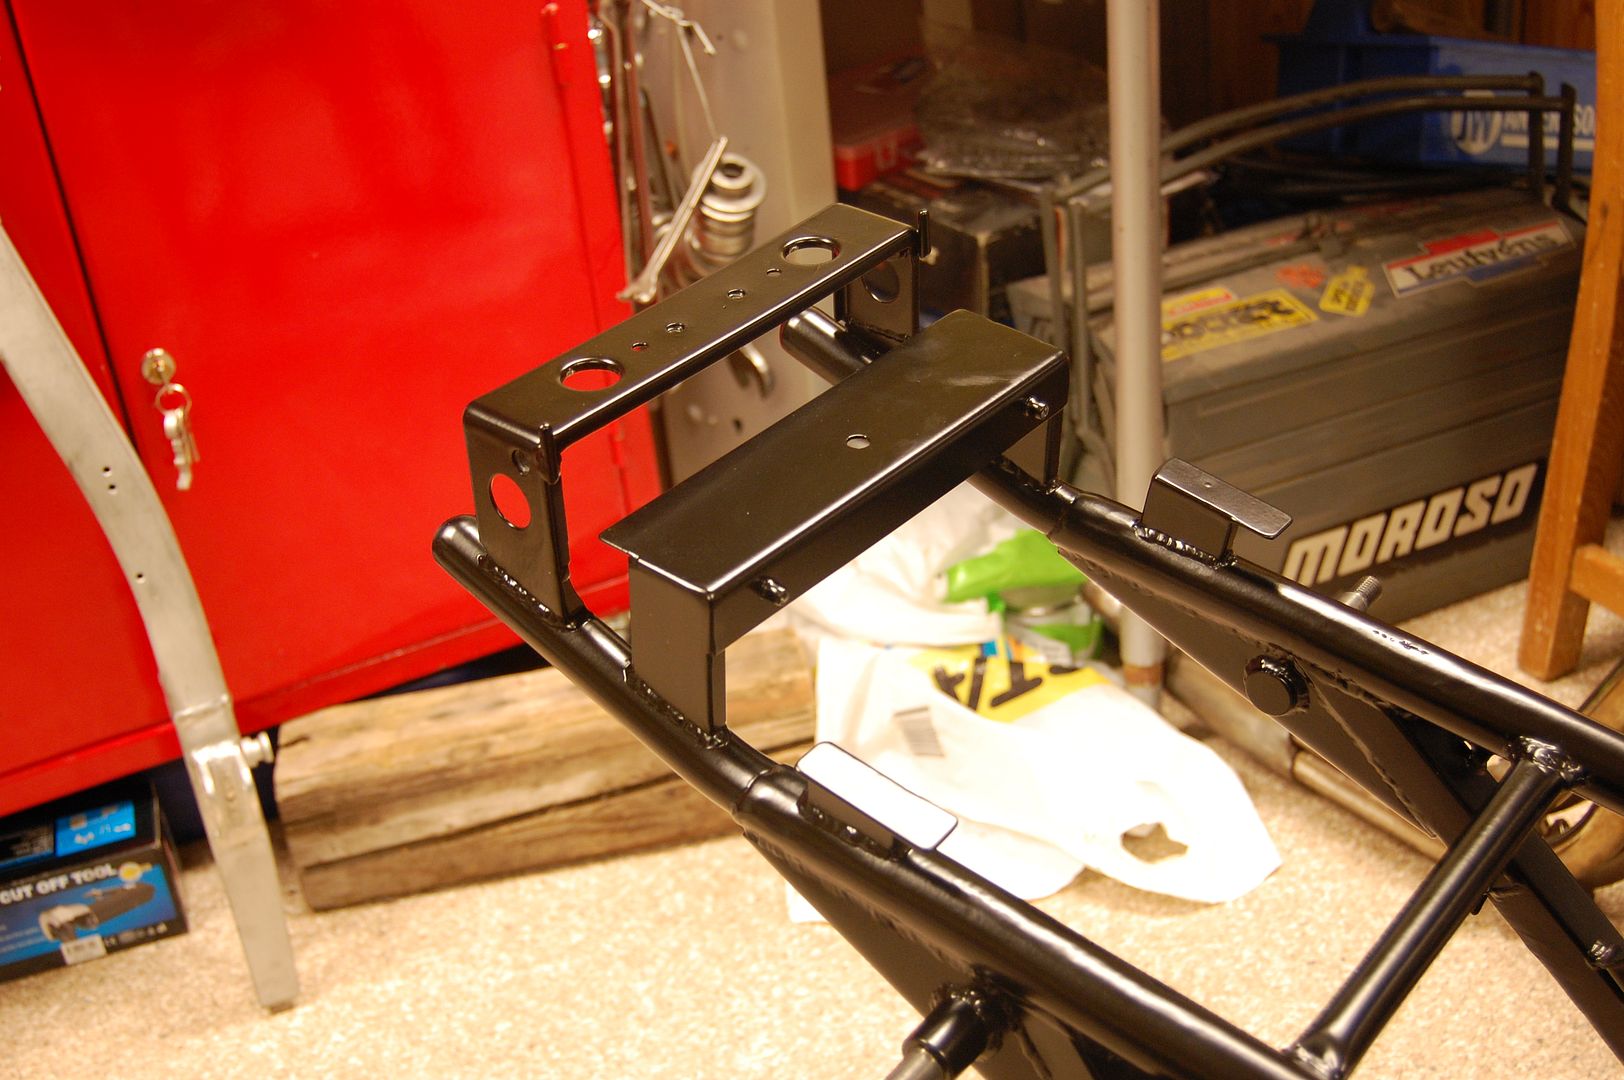
Today I managed to finish up all the small bits that were left. Fit the rear light and made a dirt guard for it, fitted the license plate mount and finished up the lock / fastening mechanism for the seat.
Made the dirt guard behind the light out of some 1.5mm alu-sheet. Just drilled some holes through it so it fits between the bracket for the rearlight and the rearlight itself. Didn't want to start making separate mounts for it so this saved some work. Looks better too.
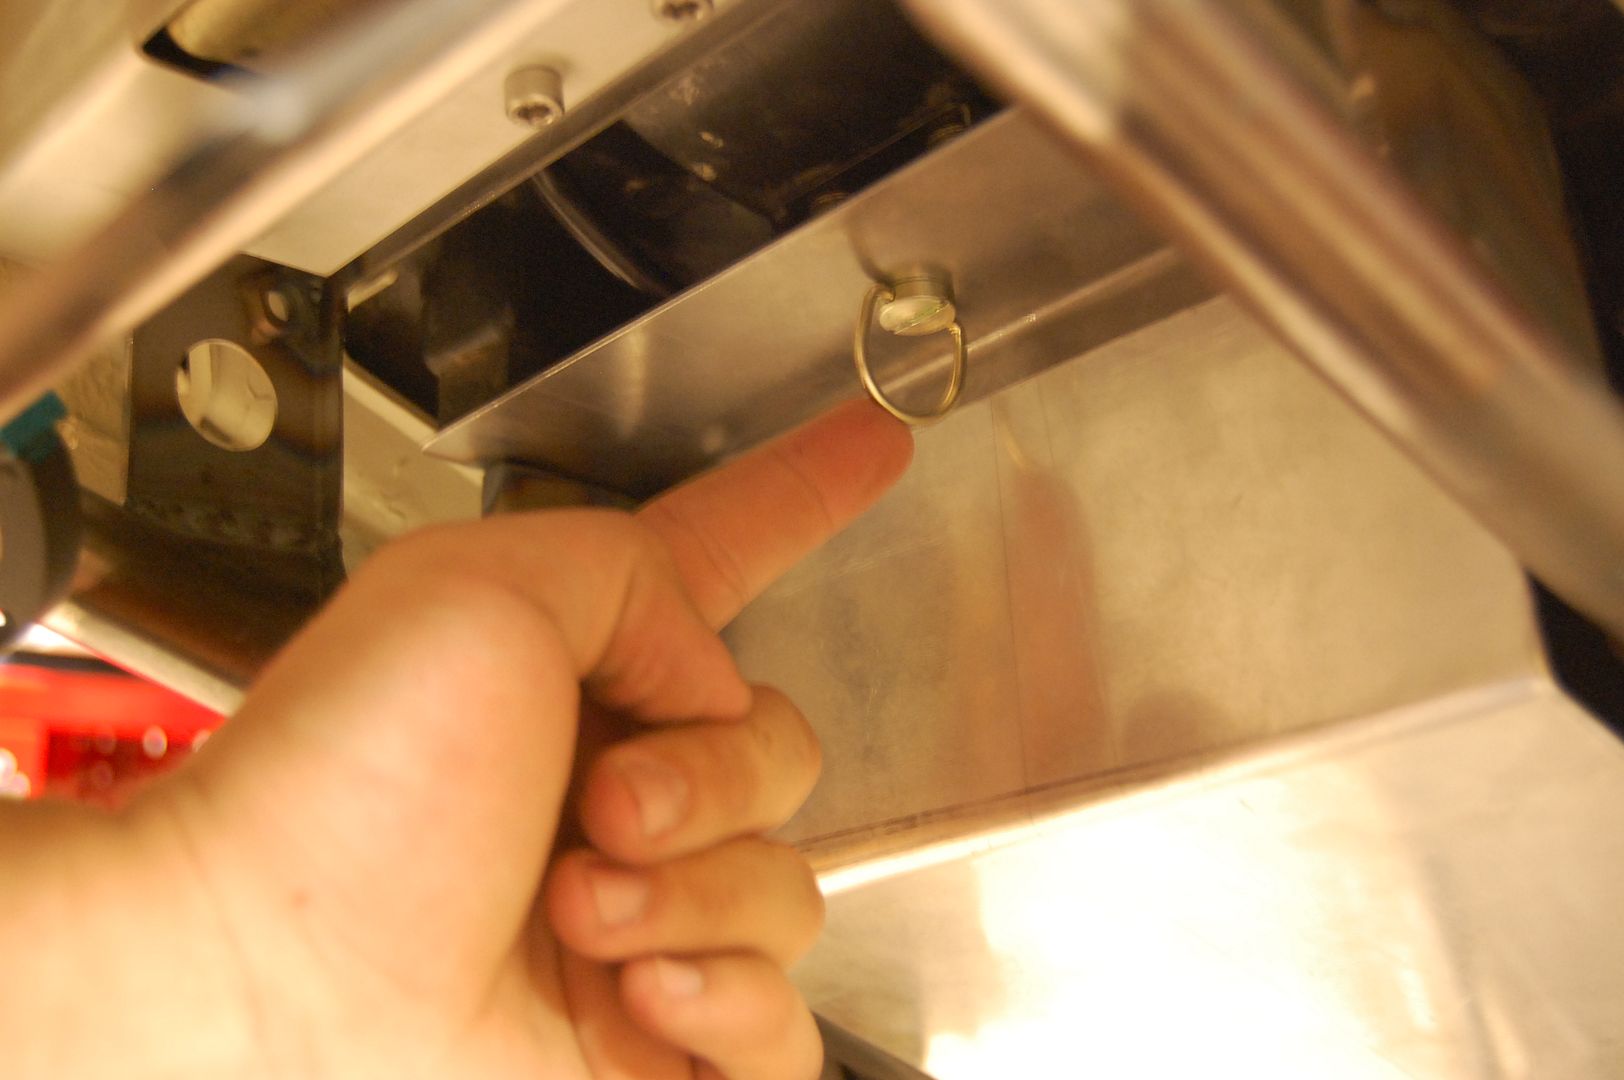
Next up was the fastening mechanism for the seat. While I say "mechanism" it's actually just a dzus-fastener.
This is elegantly tucked in under the seat like this.
Pull the loop down, twist it around and it pops out. Voilŕ, the seat is loose. Fits like a glove and very rigid. Also drilled the final holes for the dirt guard under the subframe and fitted some pop-nut threads. No pictures of that though I'm afraid.
That was what I did earlier today. Tonight I tore the bike apart again and started plugging all the threads and holes in the frame. Why you ask? Off to the blasters tomorrow and the powdercoaters on Monday. I'll probably get back with some pictures of the result tomorrow.
Comment
-
tejasmud
When are you going to paint this machine already???!!
Gezzzzz!!!!
I like the idea of the "dzus" fastener on the seat. Nice to be able to pop the seat off without having to kill the bike. Say if access was only a keyed latch and one key in the ignition.
Comment
-
Mindless
Originally posted by tejasmud View PostWhen are you going to paint this machine already???!!
Gezzzzz!!!!
I like the idea of the "dzus" fastener on the seat. Nice to be able to pop the seat off without having to kill the bike. Say if access was only a keyed latch and one key in the ignition.
Gonna fix the tools I need for the head tomorrow so I can start tearing it apart (and put it together again). Tried fitting the intake cam in the head and there sure is a difference in lift, I can tell you that.
More pictures during the weekend.
Comment
-
sparki
-
jwhelan65
-
suzu650
Comment
-
Mindless
Sorry about the lack of updates guys.
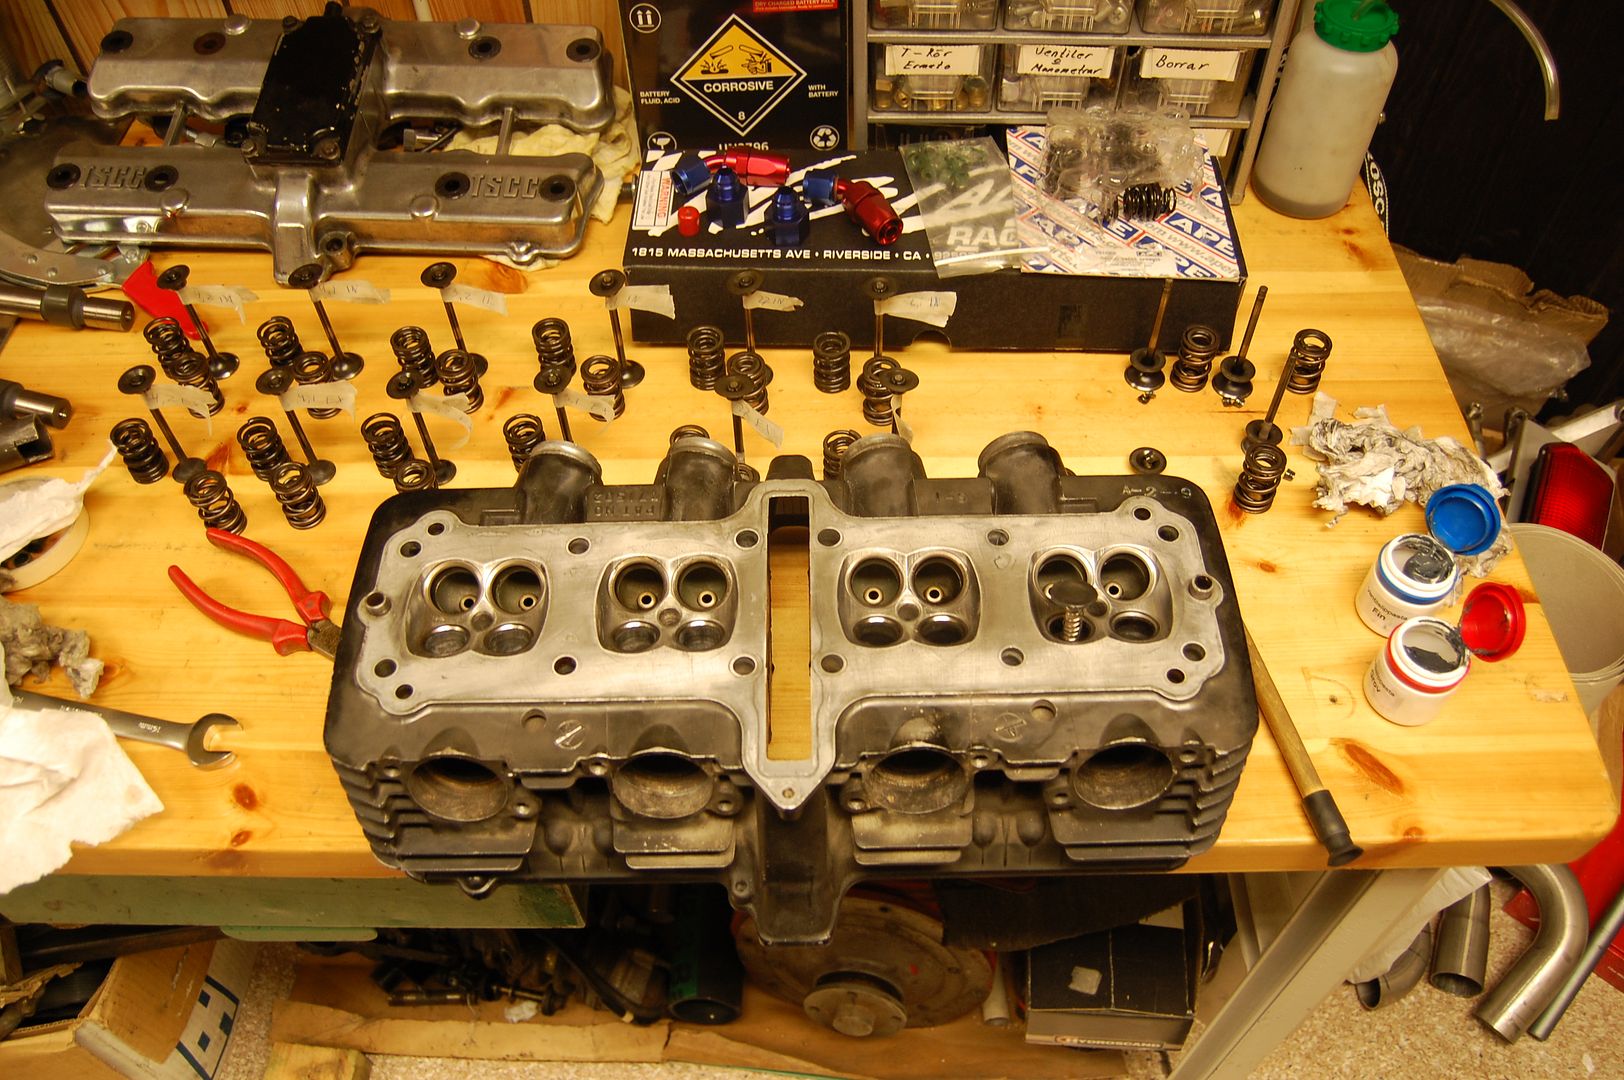
Frame is painted and ready but I wont be able to pick it up until tomorrow. Also been sorting out the engine with some new valve seals, springs and fixing the valve seals. Just need to grind some bigger slots on the cam sprockets so I can adjust them for more correct cam timing.
Gonna go give the swingarm another round in the blasting booth tonight as we might not be able to be at the workshop for a few weeks. They're going on a strike so they will be locking everyone out, even on off-hours.
Originally posted by suzu650 View Postyour build amazes me! you do some quality work. will be tuning in waiting for more updates
Originally posted by jwhelan65 View PostWhat's the plan on the seat?
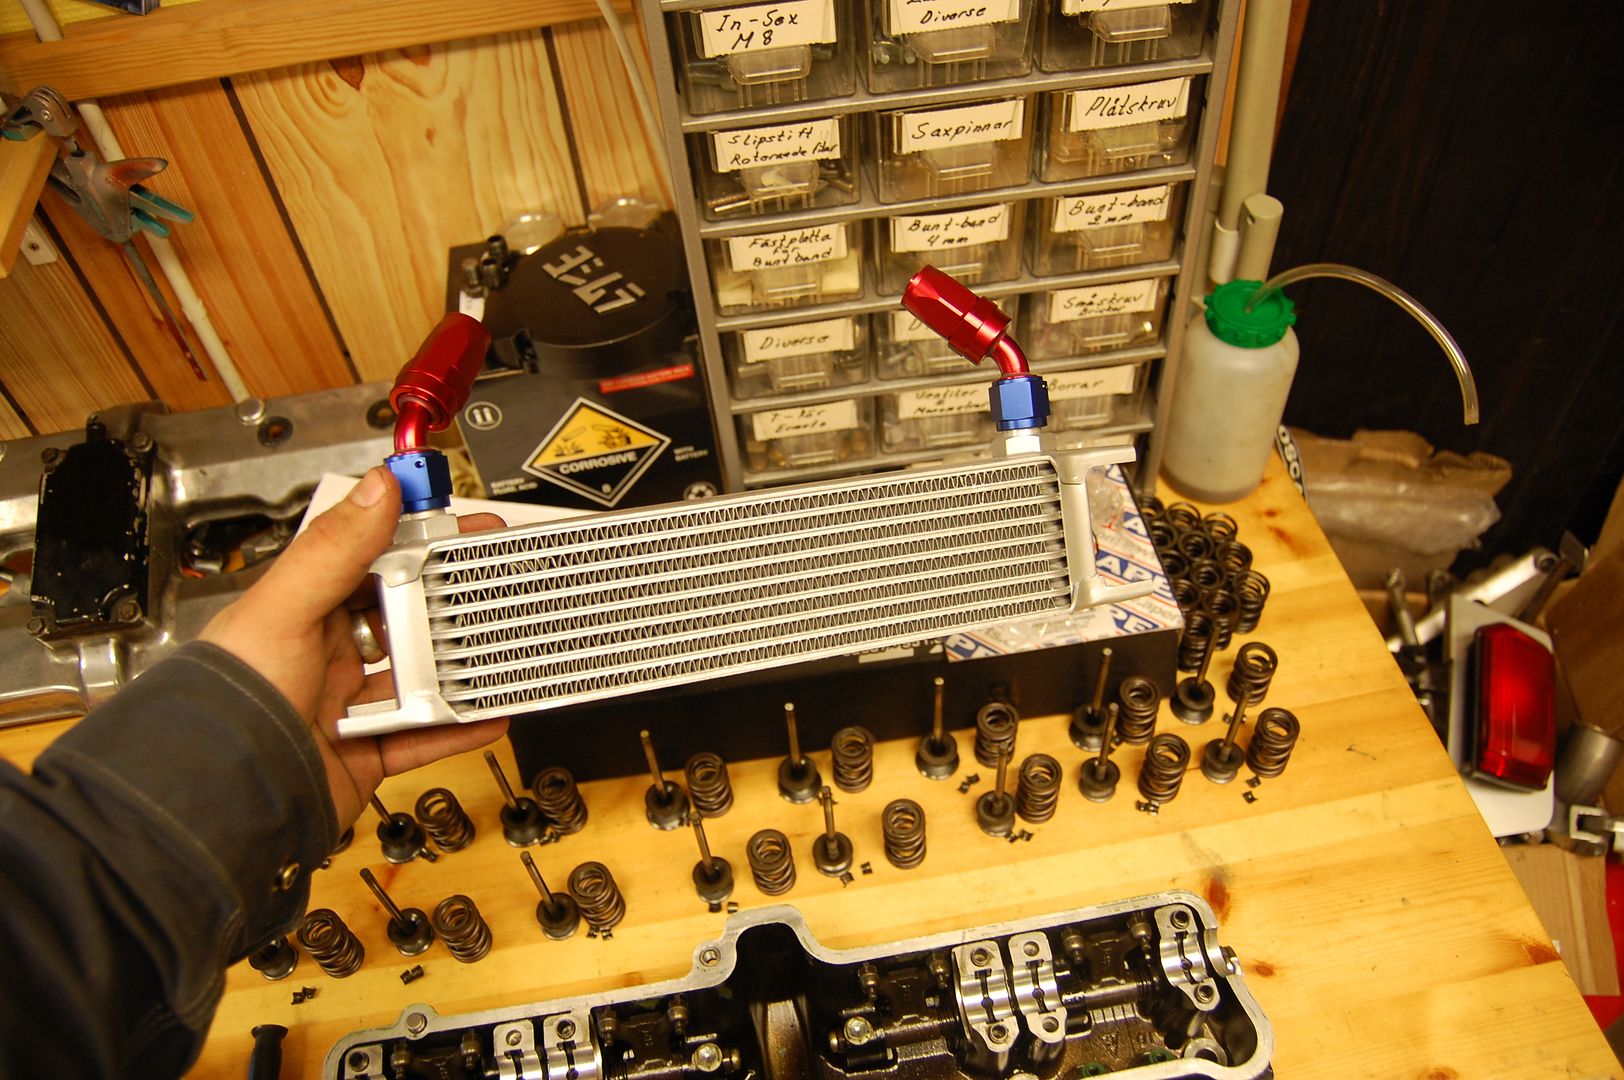
Only thing new on the bike this week was a set of fresh tyres as well as this oilcooler.
I'll upload some pictures of the head-work later.
Comment
-
Mindless
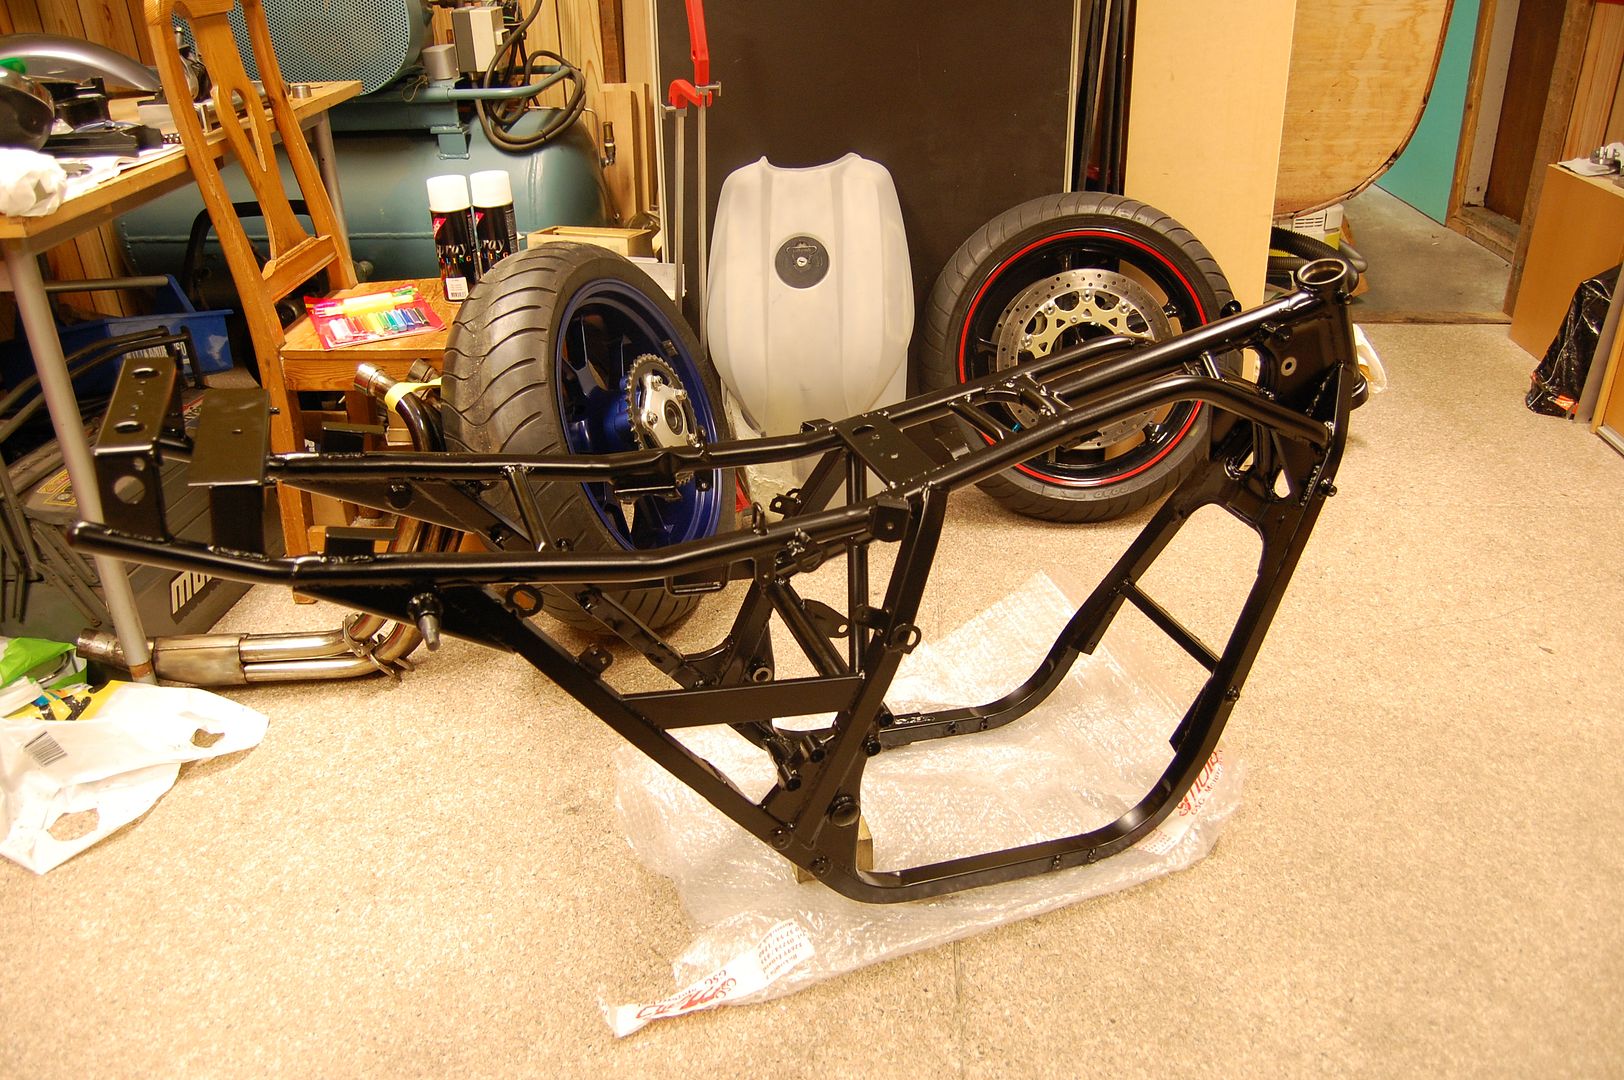
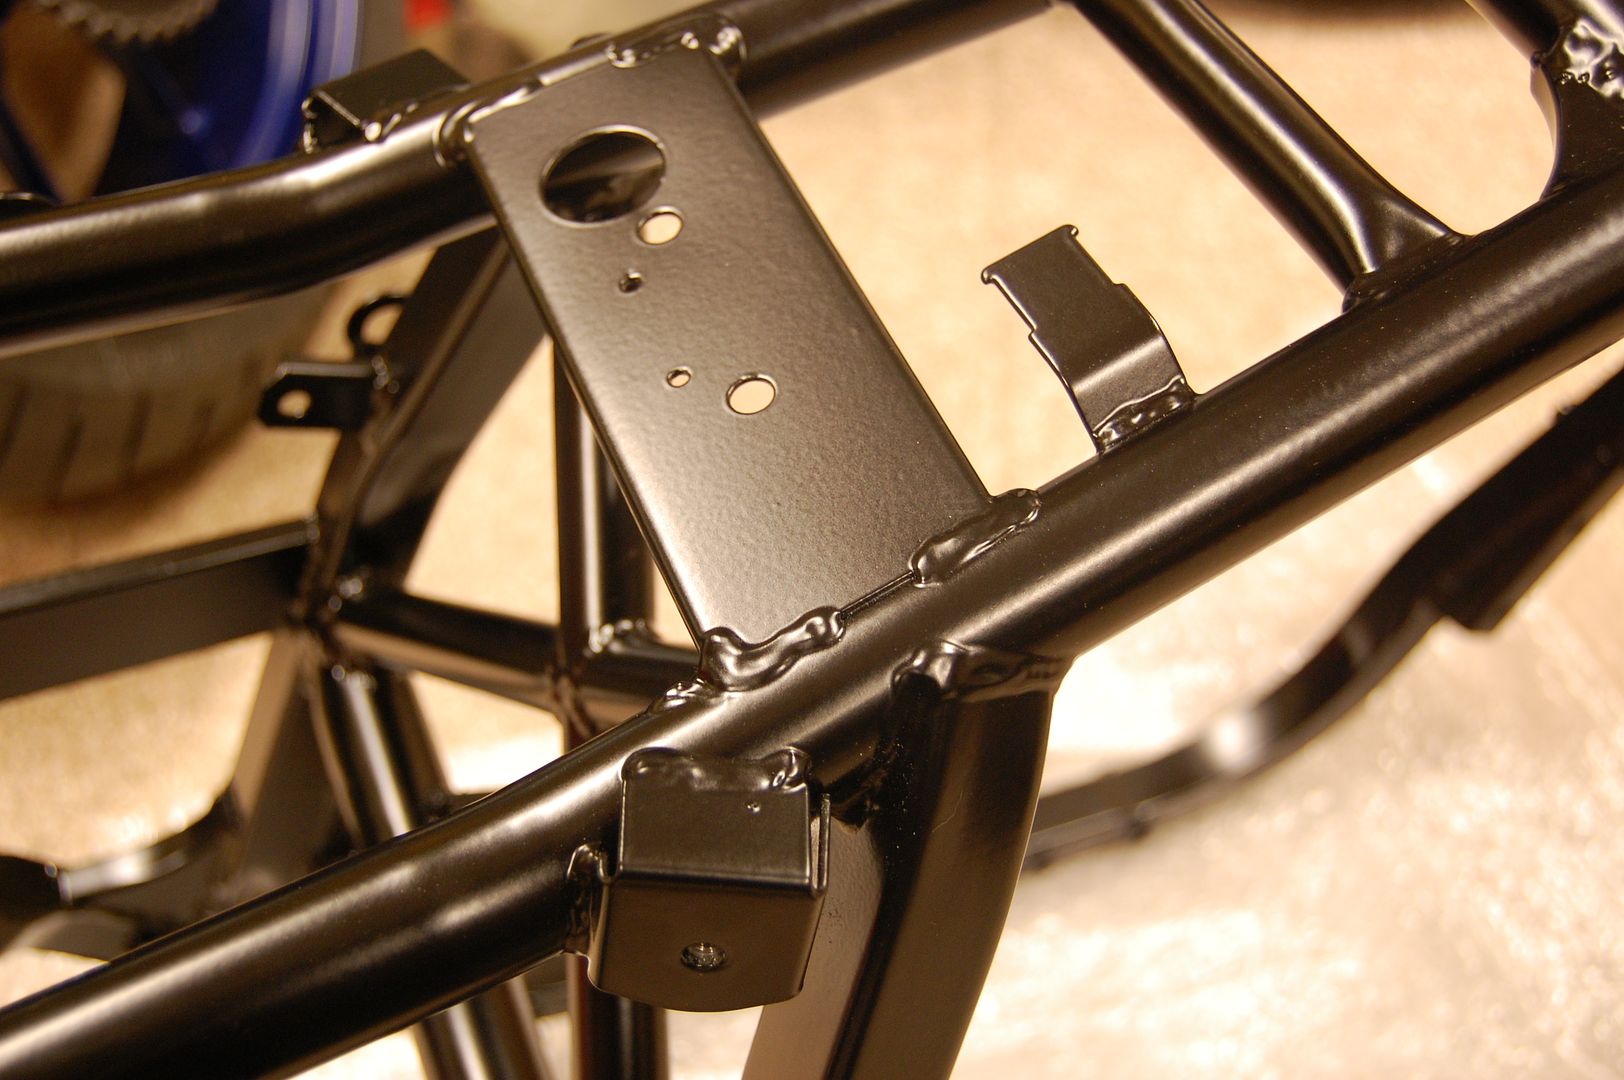
Forgot to take pictures of the head but I did remember to take some of the freshly painted frame.
God bless powdercoat - and I'm not even a 'believer' in the guy up above.
Love the finish of the 30% gloss.
I think the contrasts with the gold forks, Ohlins shocks, stainless exhaust and so on will look great.
Gonna be awesome to start putting it together again in the coming weeks. Got all the final bits ordered so now it's just a race against the clock. Must be done by the 20th of May and that's just over a month away.
Comment
-
Bad Kaw
-
Mindless
Long time since I did any update. Nothing major going on since it's all about putting things together at this state of the build.
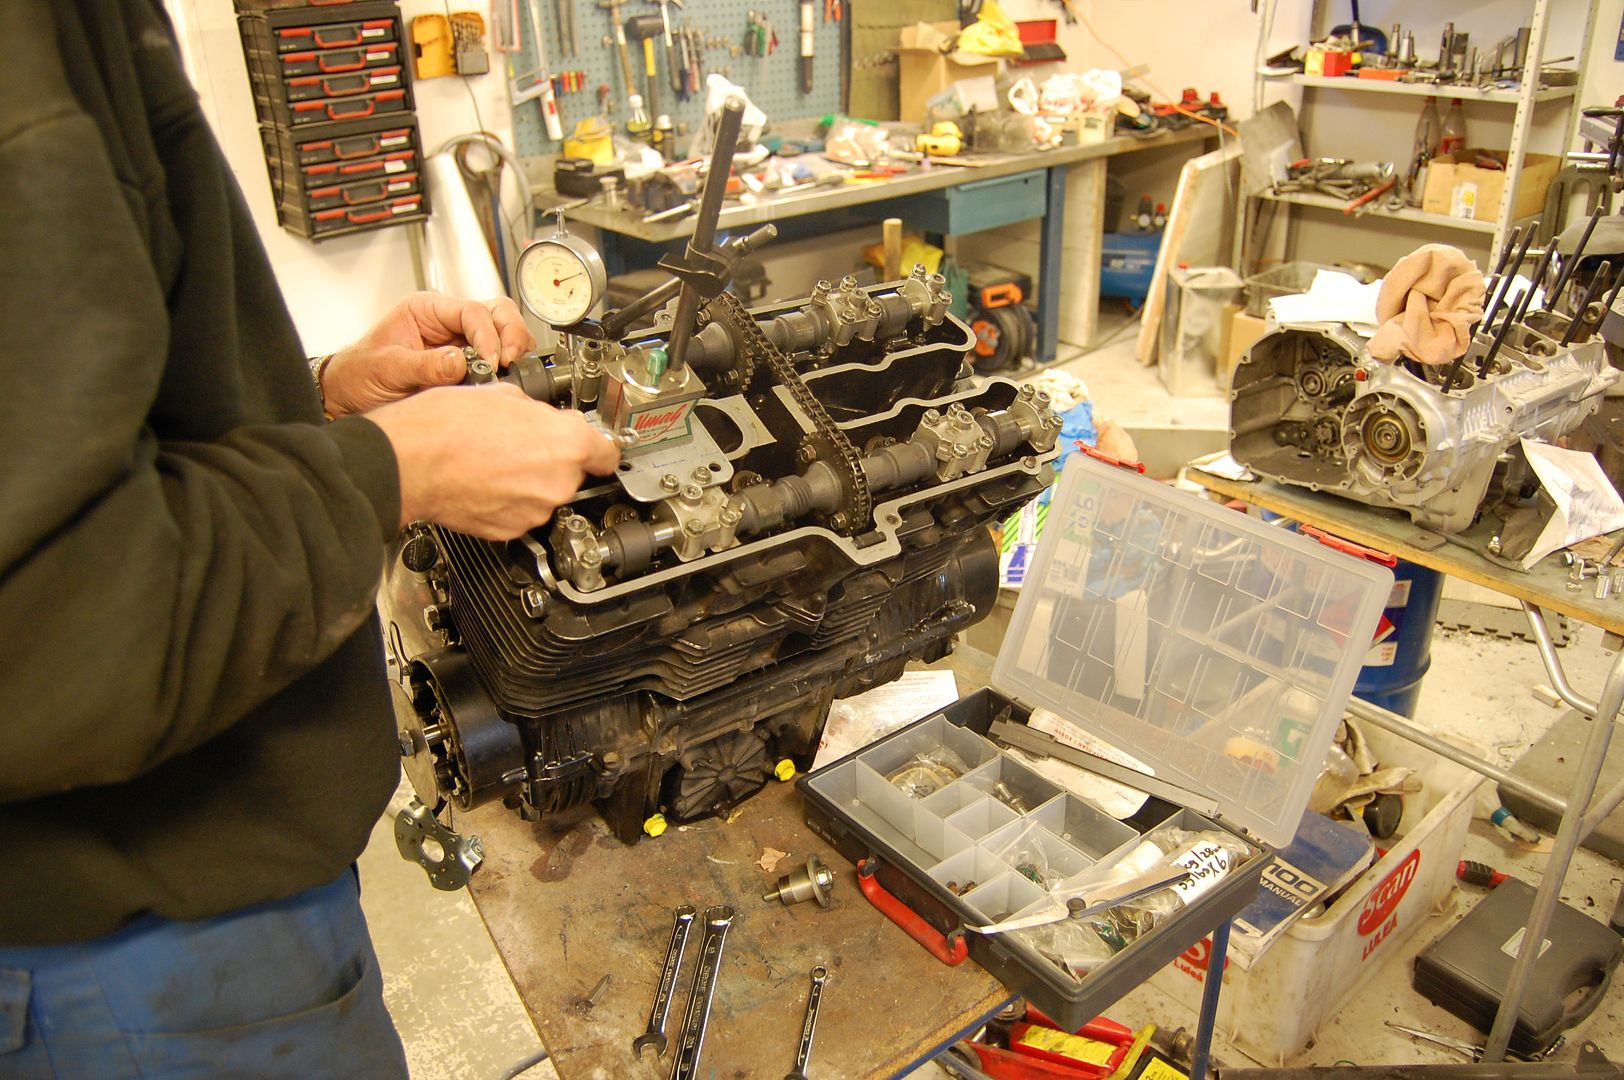
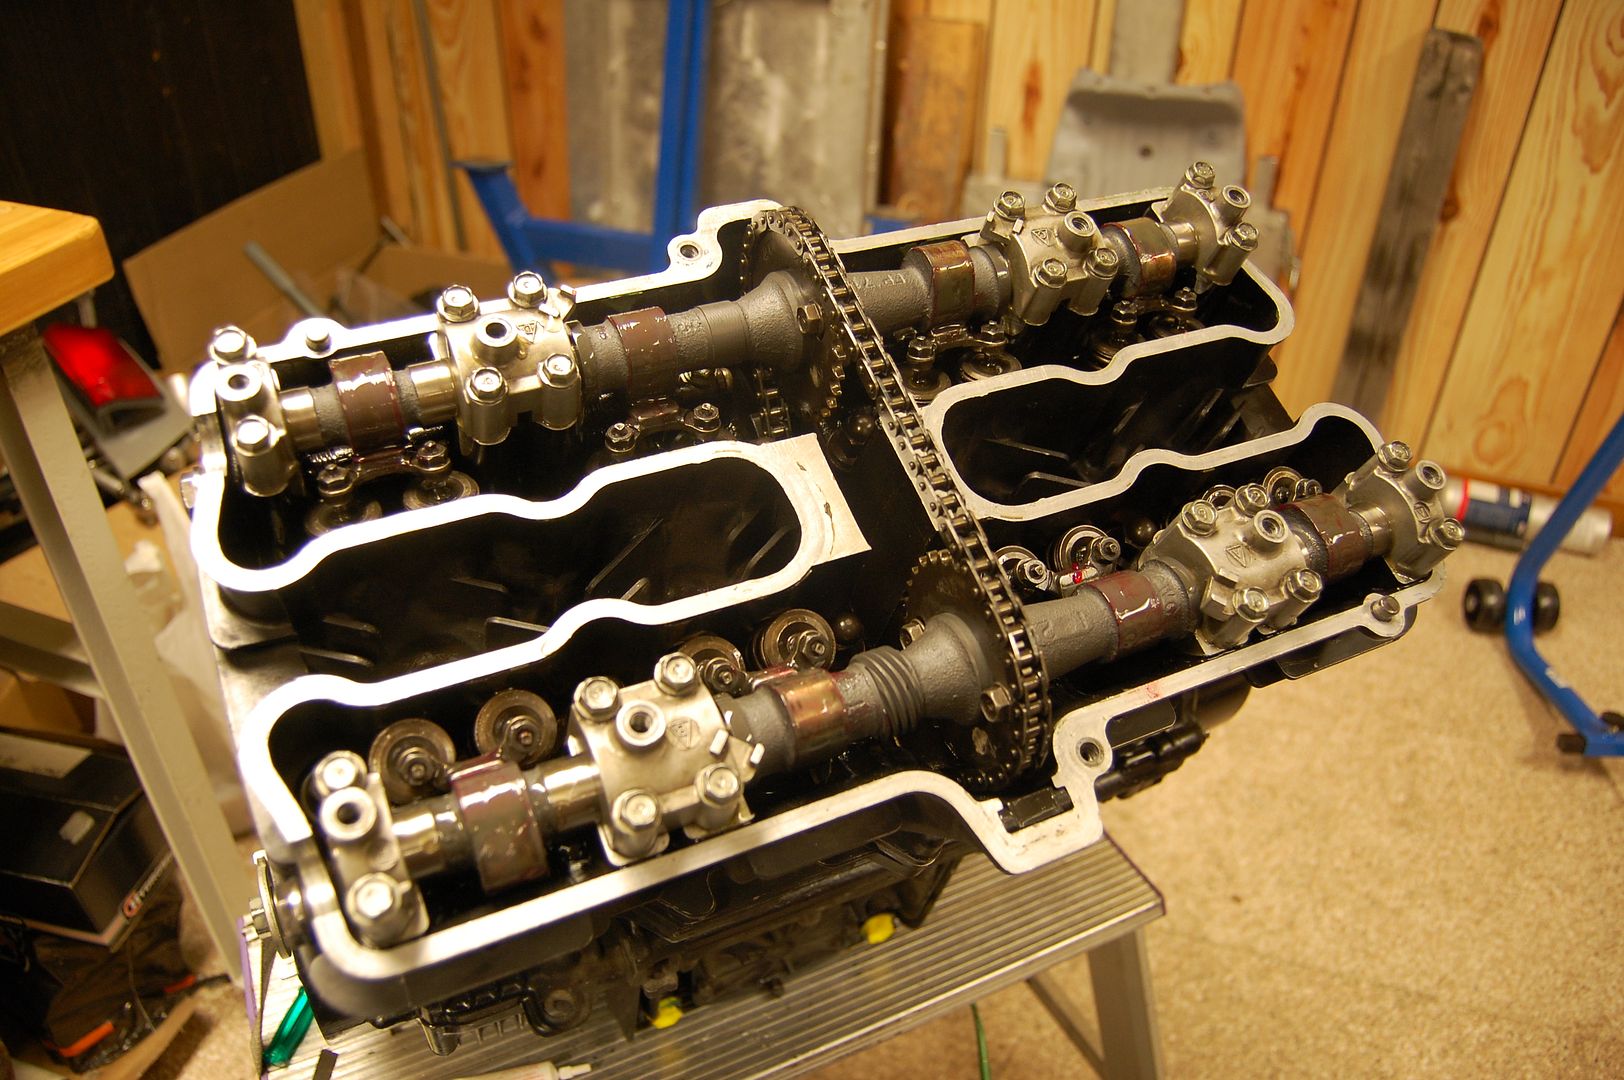
On Wednesday I went to a guy called "Katana Kurt" in a neighboring town to get some assistance with timing the camshafts in properly. The name isn't for show either, he owns three of them (one stock, one 1428cc dragbike and a 1570cc streetbike) and they all look killer.
With the engine all put together it was time to deal with the valve adjustment. Should be 0,07-0,14mm on all valves but with the new high-lift cams it was more like 1-3mm (15-20 times outside the recommended value).
All adjusted, torqued up and lubed.
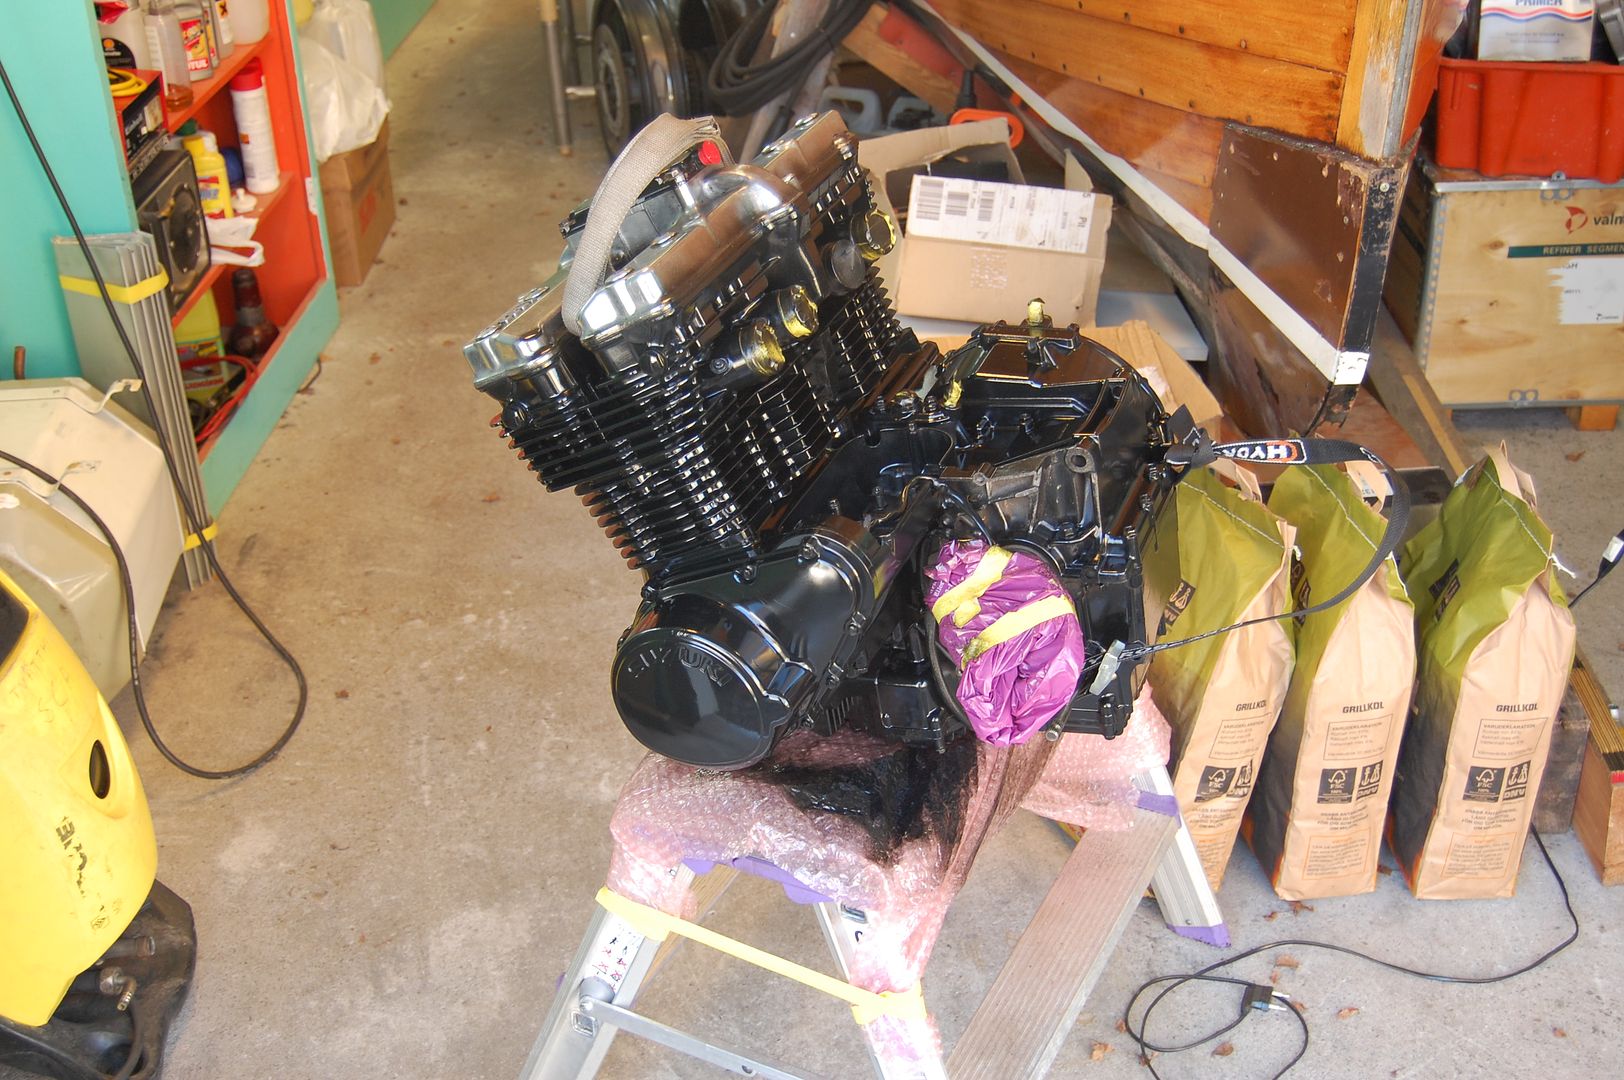
Today I decided to make good use of the nice weather so I went and invested in some nice brushes and some engine cleaner / degreaser. After a few rounds of that the engine was pretty much 100% clean from oil residue so I hit it with the PlastiCote engine paint.
Man, did it make a difference?
From a brownish gray to a pure gloss black.
Just gotta paint the engine covers the right color now. Haven't decided what ít'll be yet though.
More to come during the week!
Hopefully...
Comment
Comment