-
-
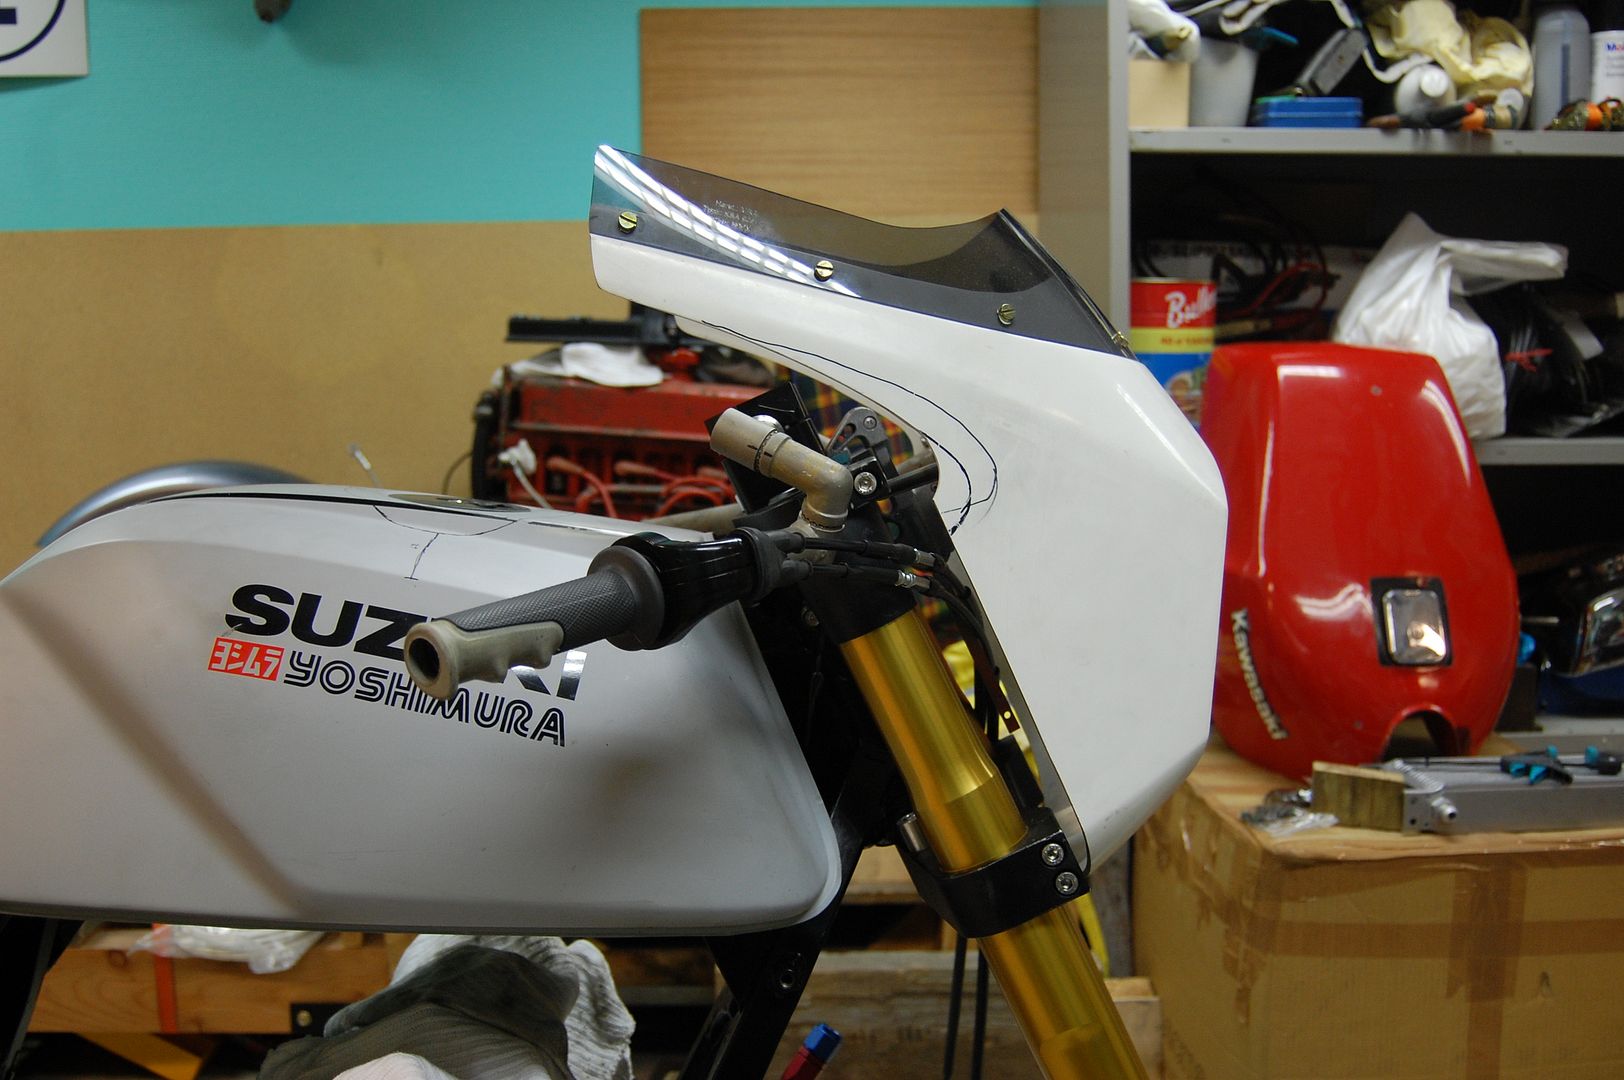
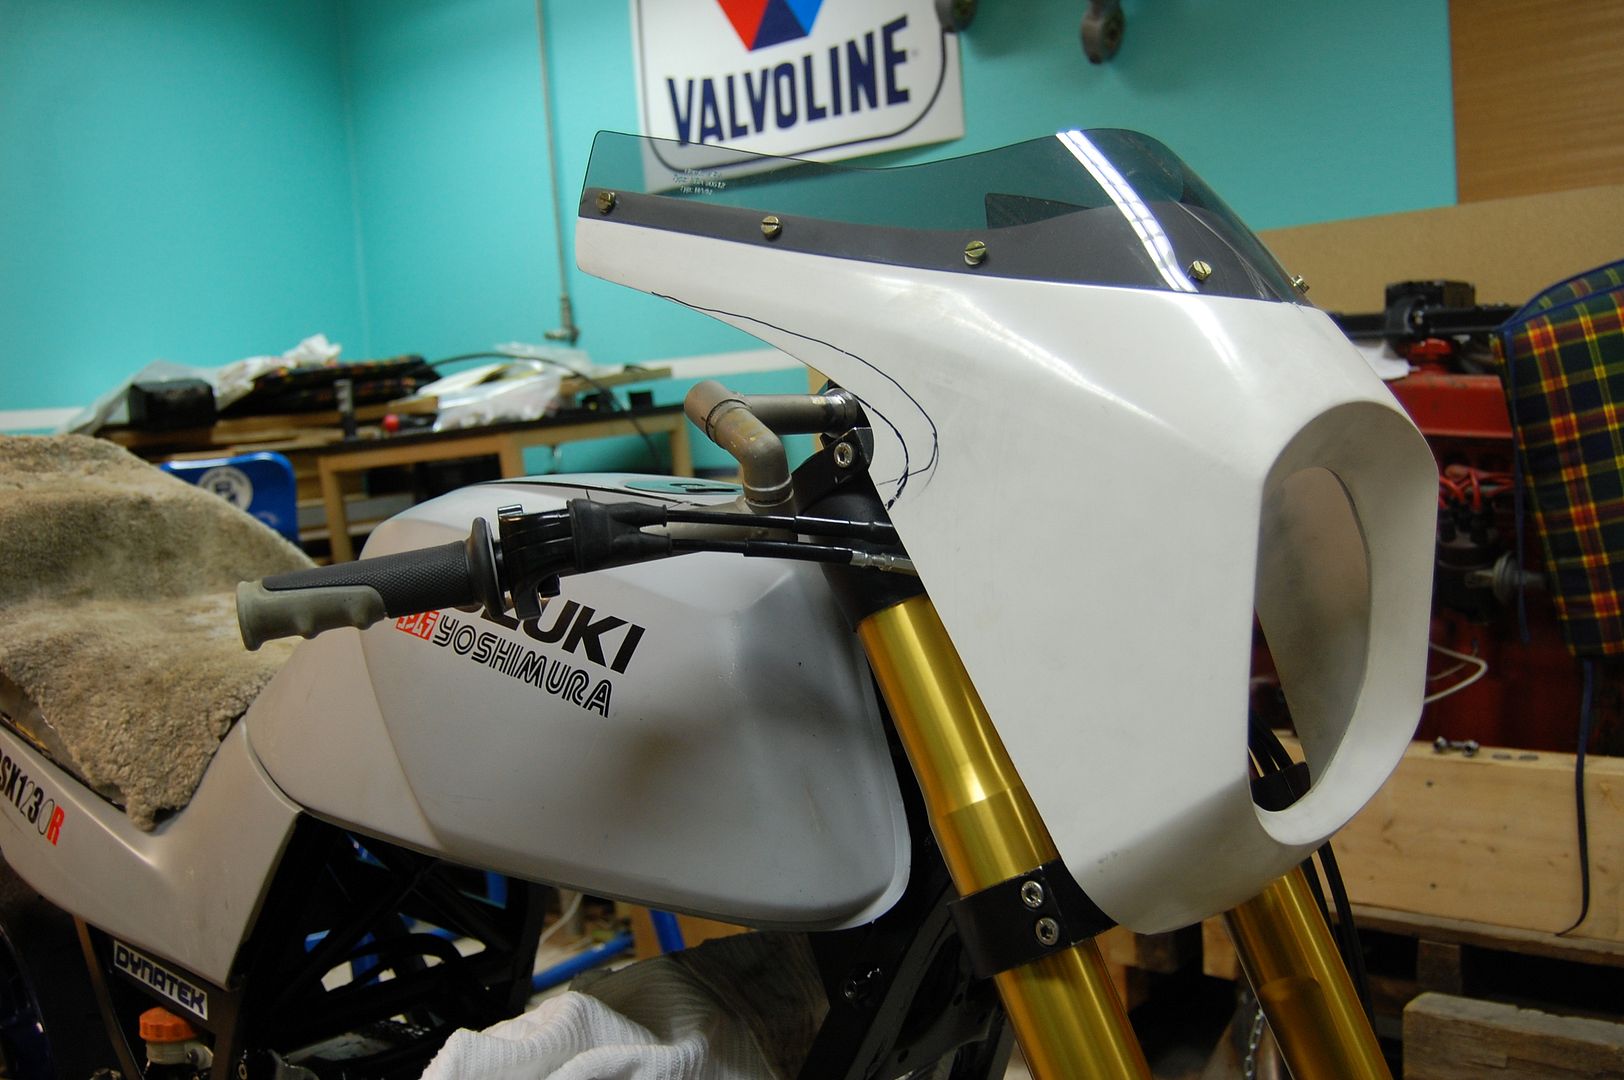
Having some issues with the throttle cables and other wiring with the fatbar since it's a good bit higher than the stock clip-ons. So, in order to remedy this I'm looking at a few different solutions.
This one might be familiar to some of you.
I like the Laverda bars a lot more now than I did before. Must be the cut-down fairing.

This weekend I vow to finish up the lower fairing brackets and maybe start doing a sketch of the flange for the new fuel cap. Next week a friend is coming over and we're gonna have a look at the electrics. Going to slim down the wiring loom a bit.Comment
-
I really enjoy watching your work on this bike.
On your cabling issues, try adding 3/4"-to 1" of height to your bar risers and rotate the bars forward a bit. Might still be a comfortable position for you. Or perhaps swap in a GSXR throttle/switch setup--the cables can rotate in position.
Or take a look at Tarozzi clipons at www.fastfromthepast.com81 GS1100e
83 GS1100e
67 Norton P11(someday soon I'm gonna kick it alive and ride it!)
A couple of KZ400's
Be Here Now Until You're There Then
Comment
-
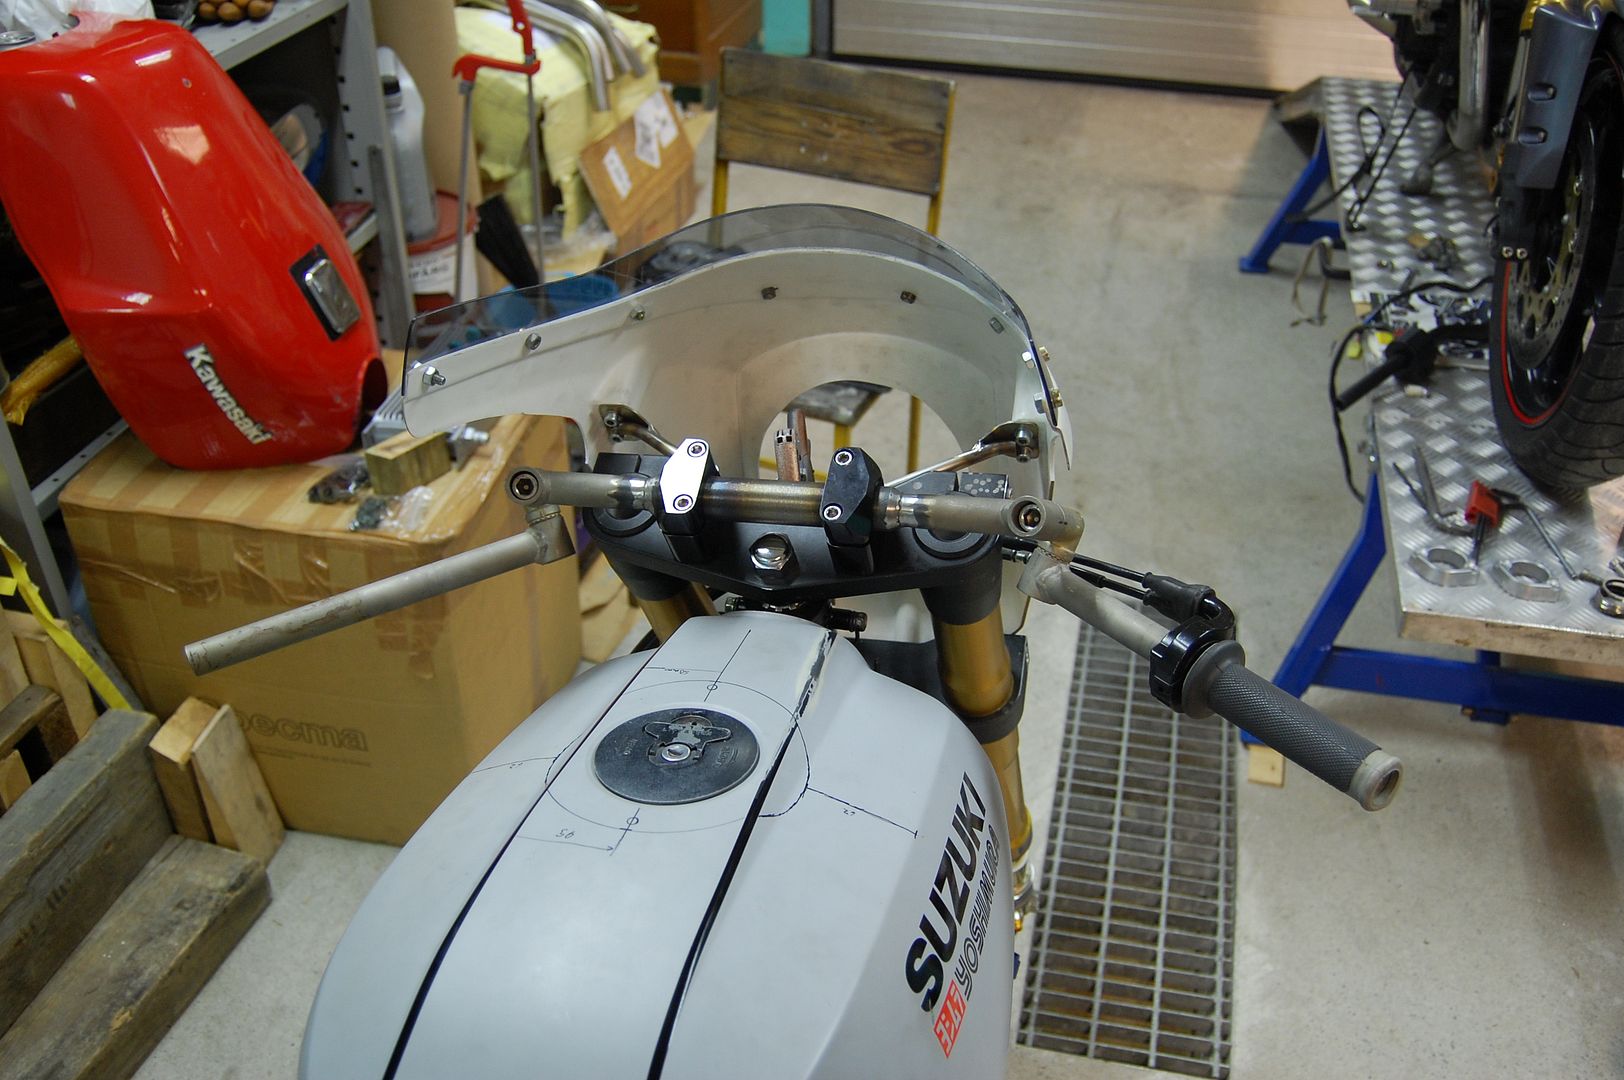
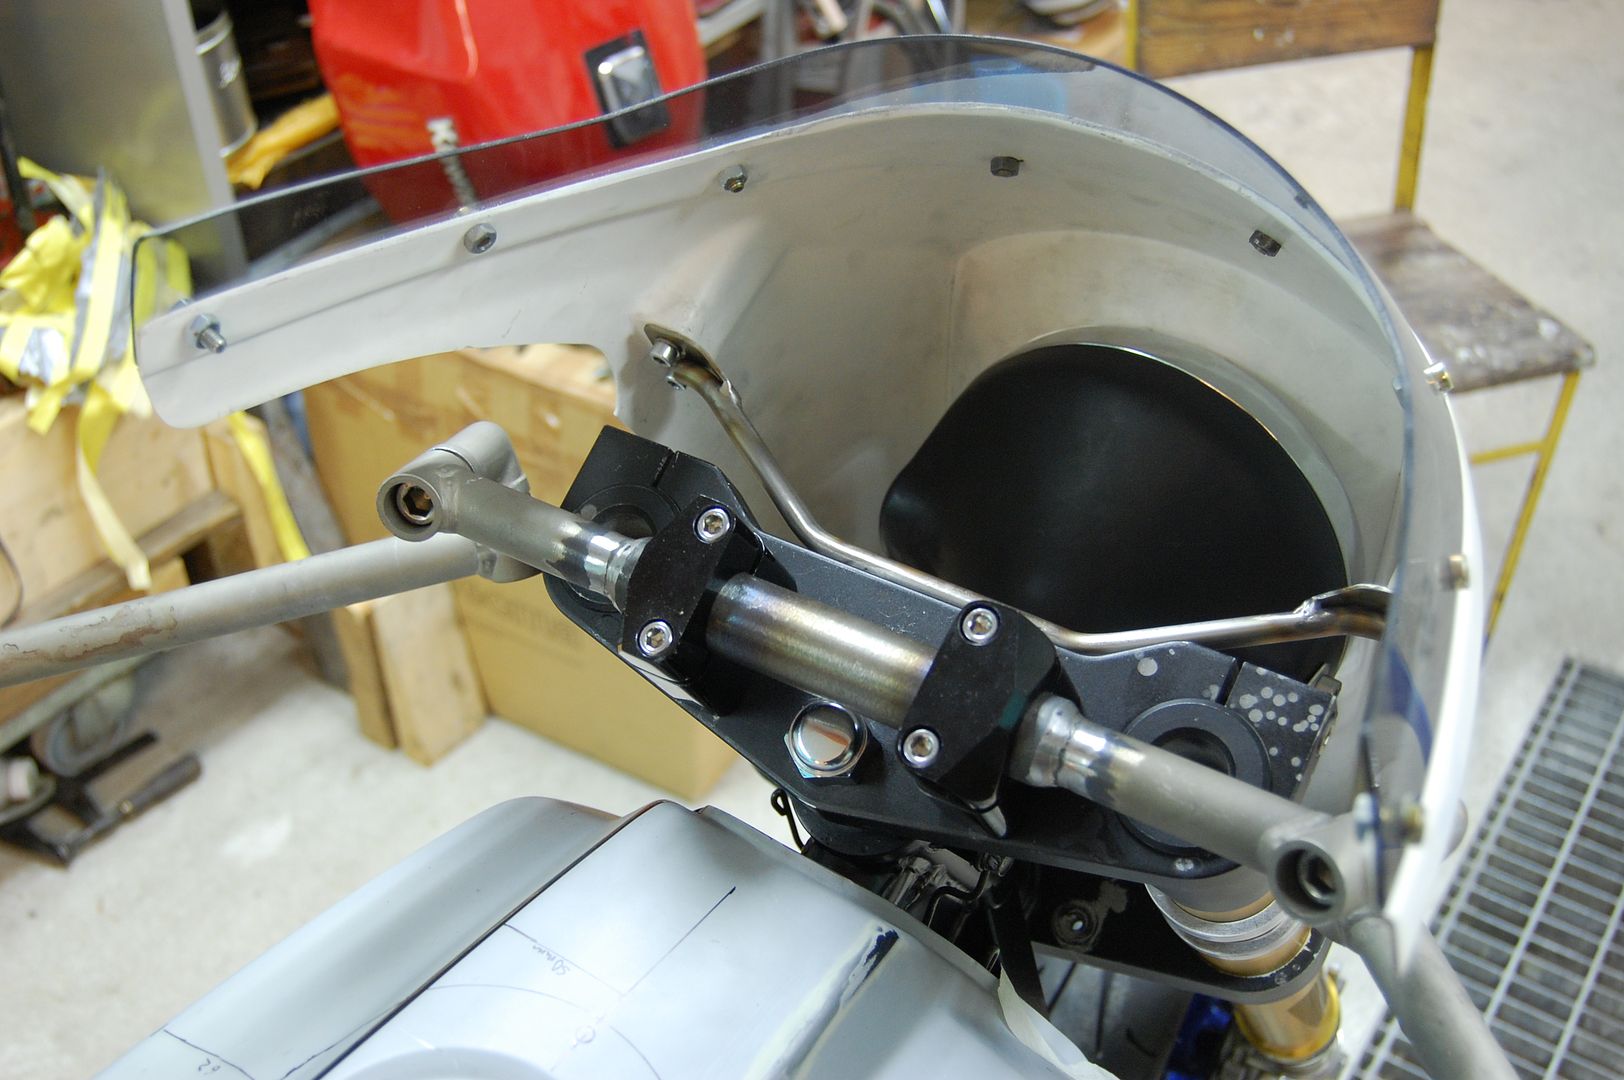
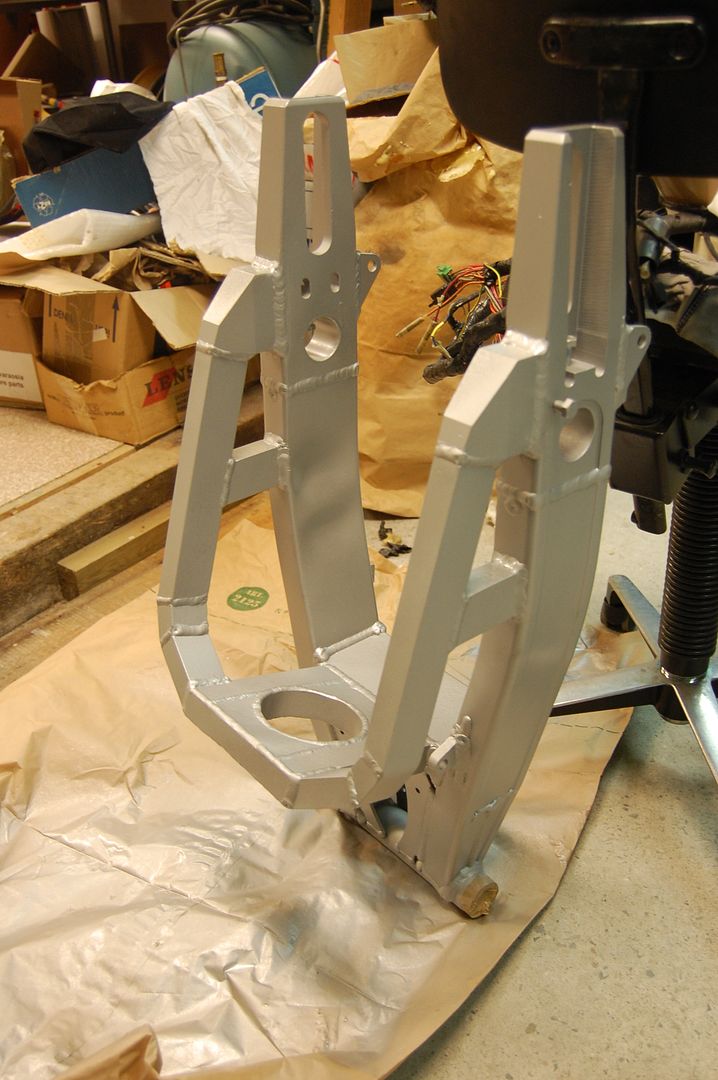
Managed to get some progress made this weekend. First up was to drill some holes and put in some Helicoils on the top yoke. But for whatever reason, the M6 Helicoil kit was FUBAR (****ed up beyond all recognition) so I had to take the bigger M8 kit. A bit overkill for a fairing bracket.
Oh well, it's in place now and pretty much centred (a couple of millimetres off).
That was saturday evening.
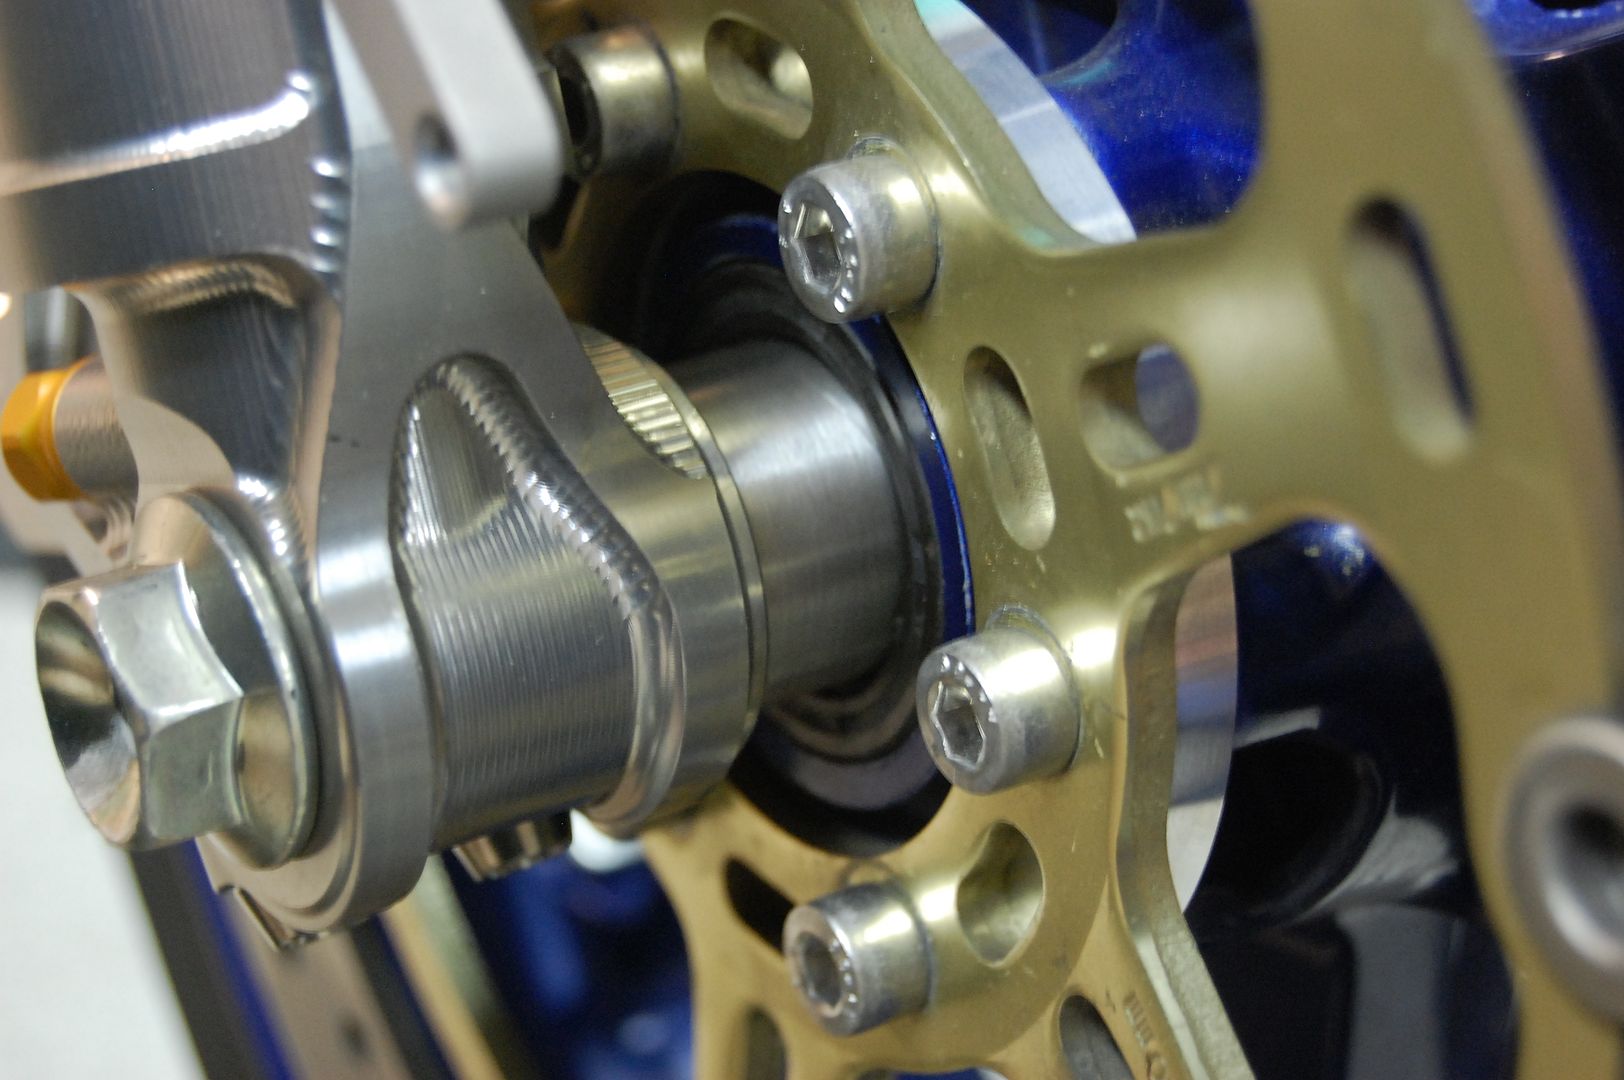
Yesterday my old man turned up some spacers for the front wheel spindle while I blasted the swingarm. Spacers turned out really good and the wheel is in line.
I had some trouble deciding if I was going to paint the swingarm or just clearcoat the blasted surface. In the end I opted for painting it because the blasted surface had some uneven spots. Very hard to get a uniform finish on something that's almost as big as the blasting booth.
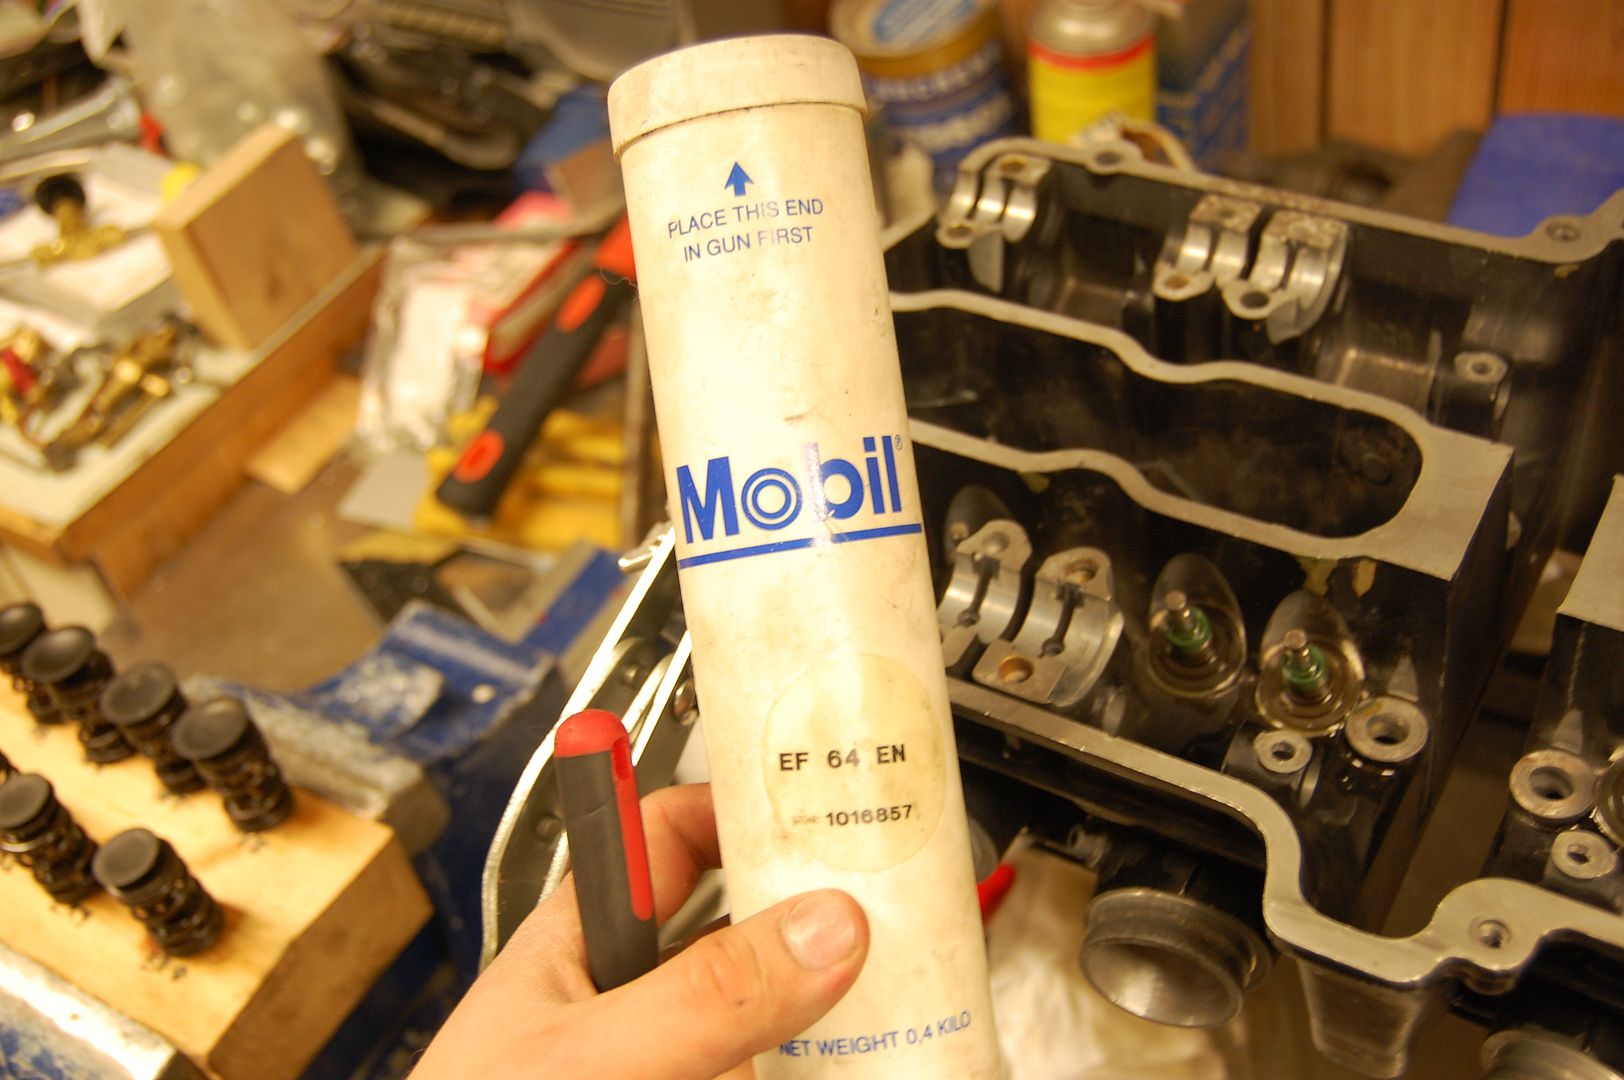
Then I got cracking on the head. Retainers and valve seals fitted.
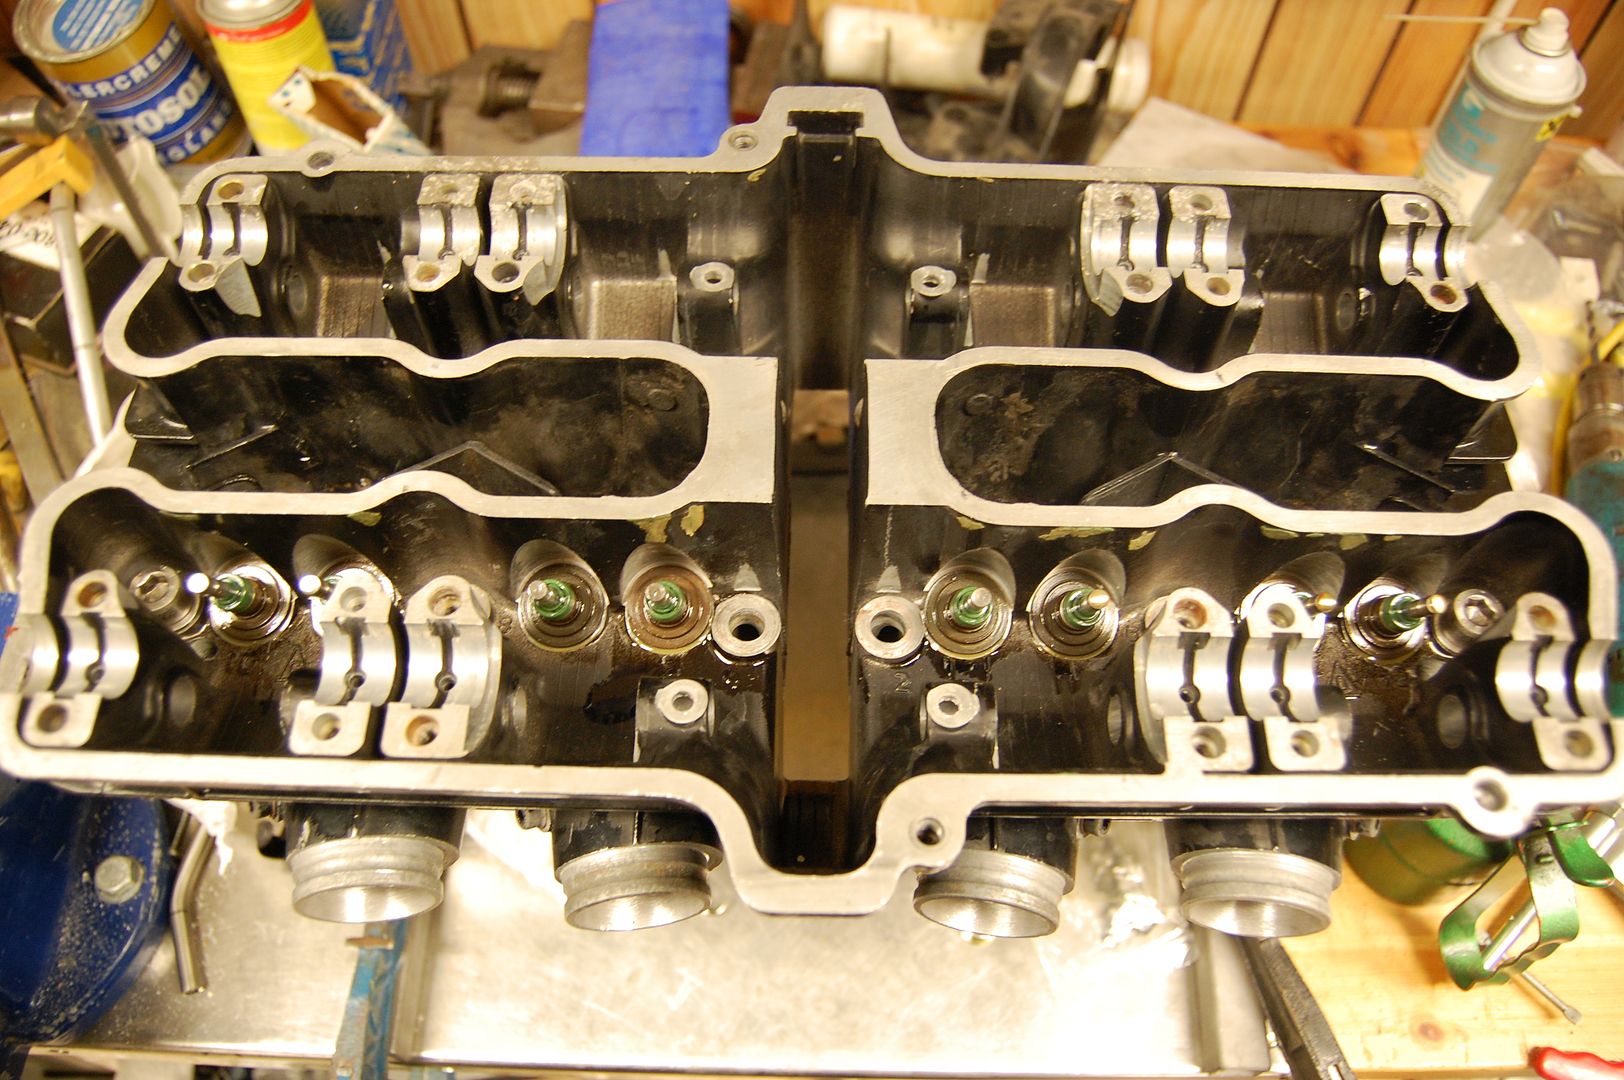
Then it was a matter of fiddling with the keepers for the retainers.
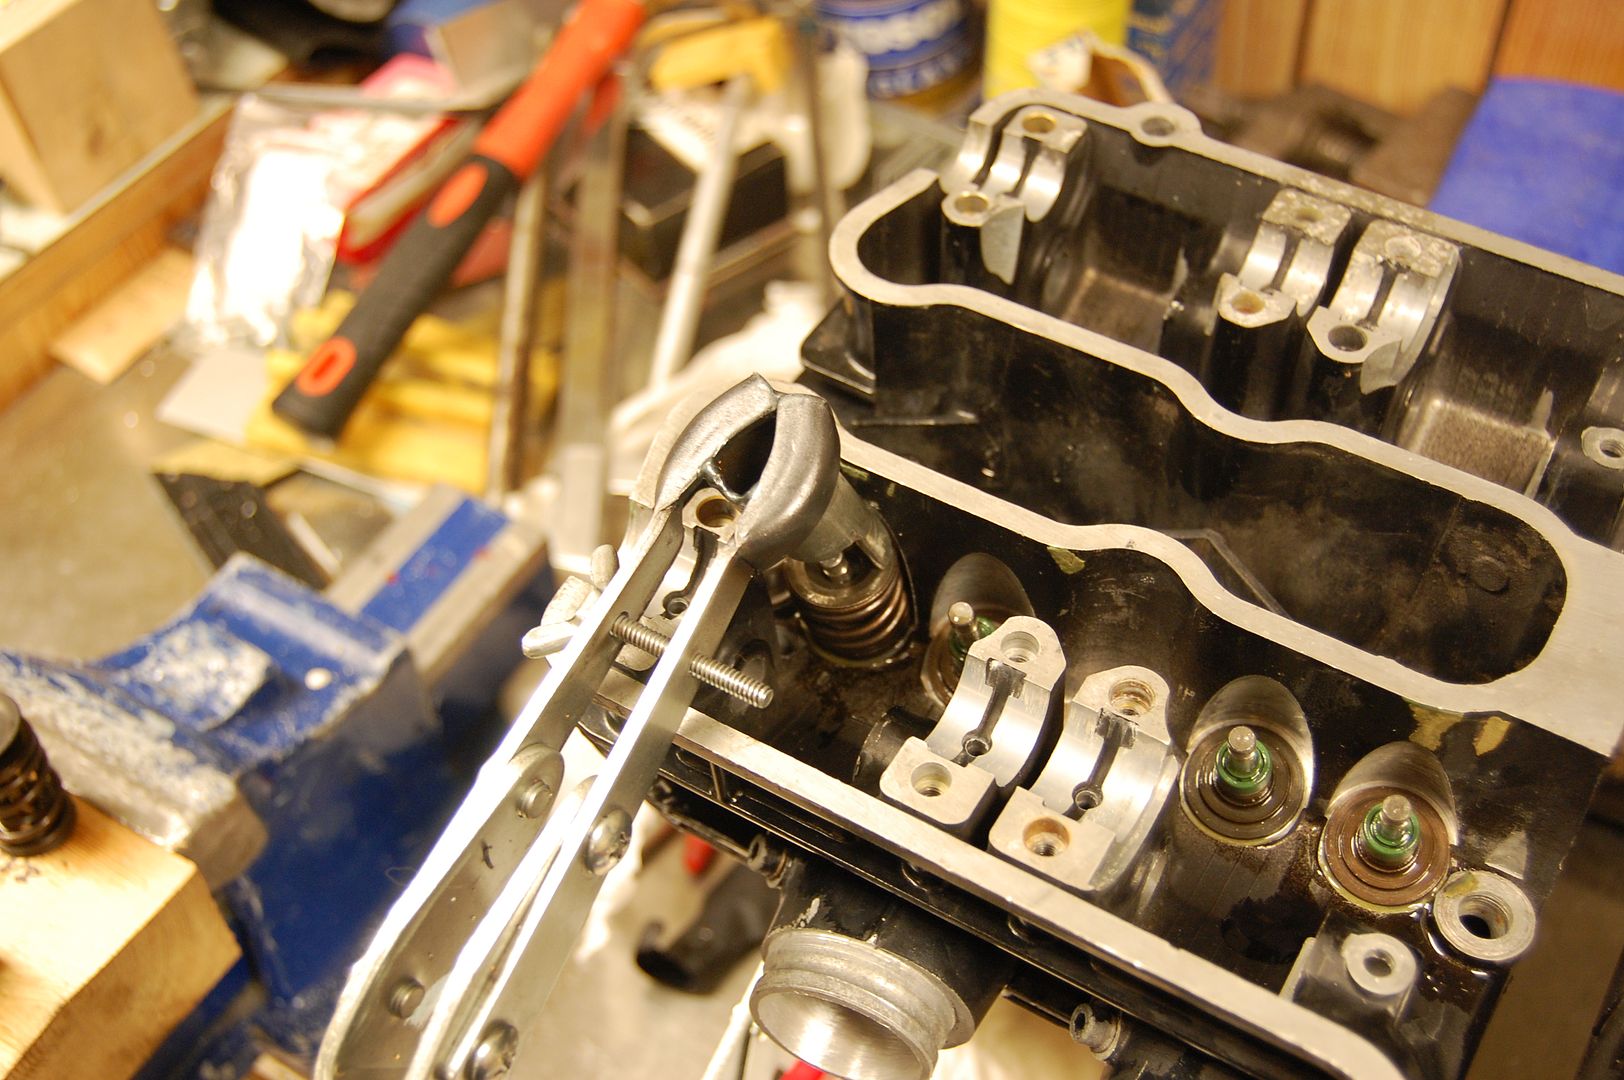
Fortunately, a bit of grease helps to hold them in place and a screwdriver to get them in the right spot...
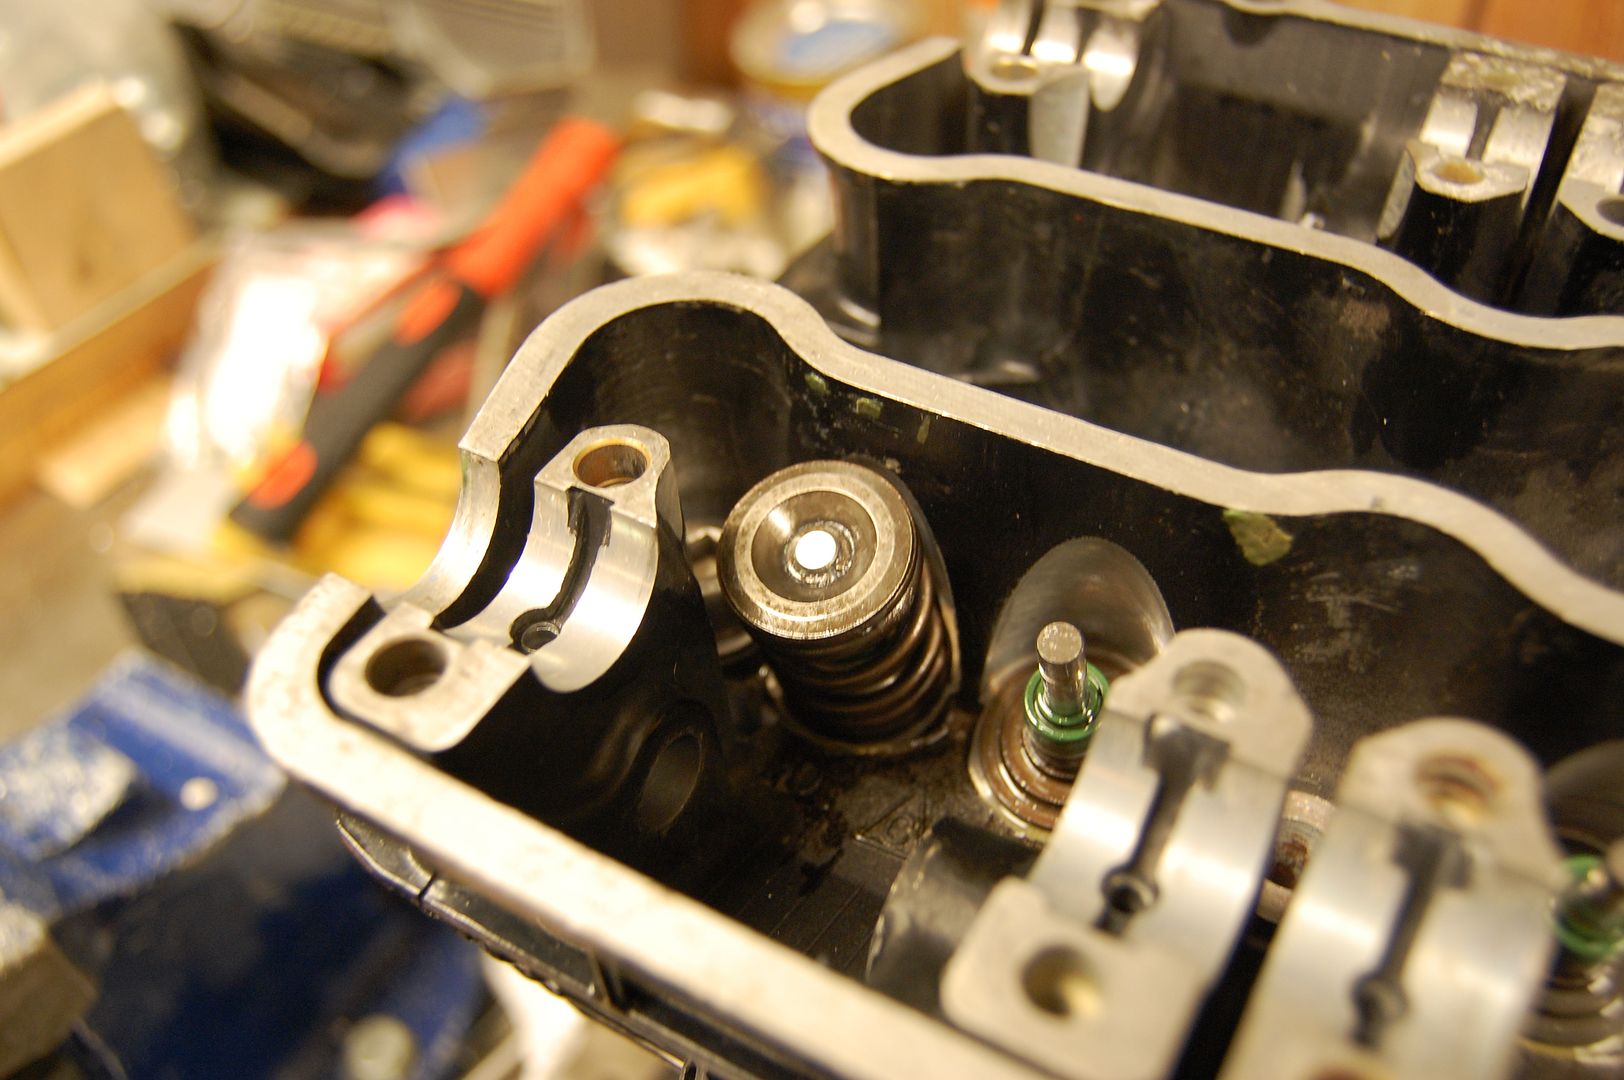
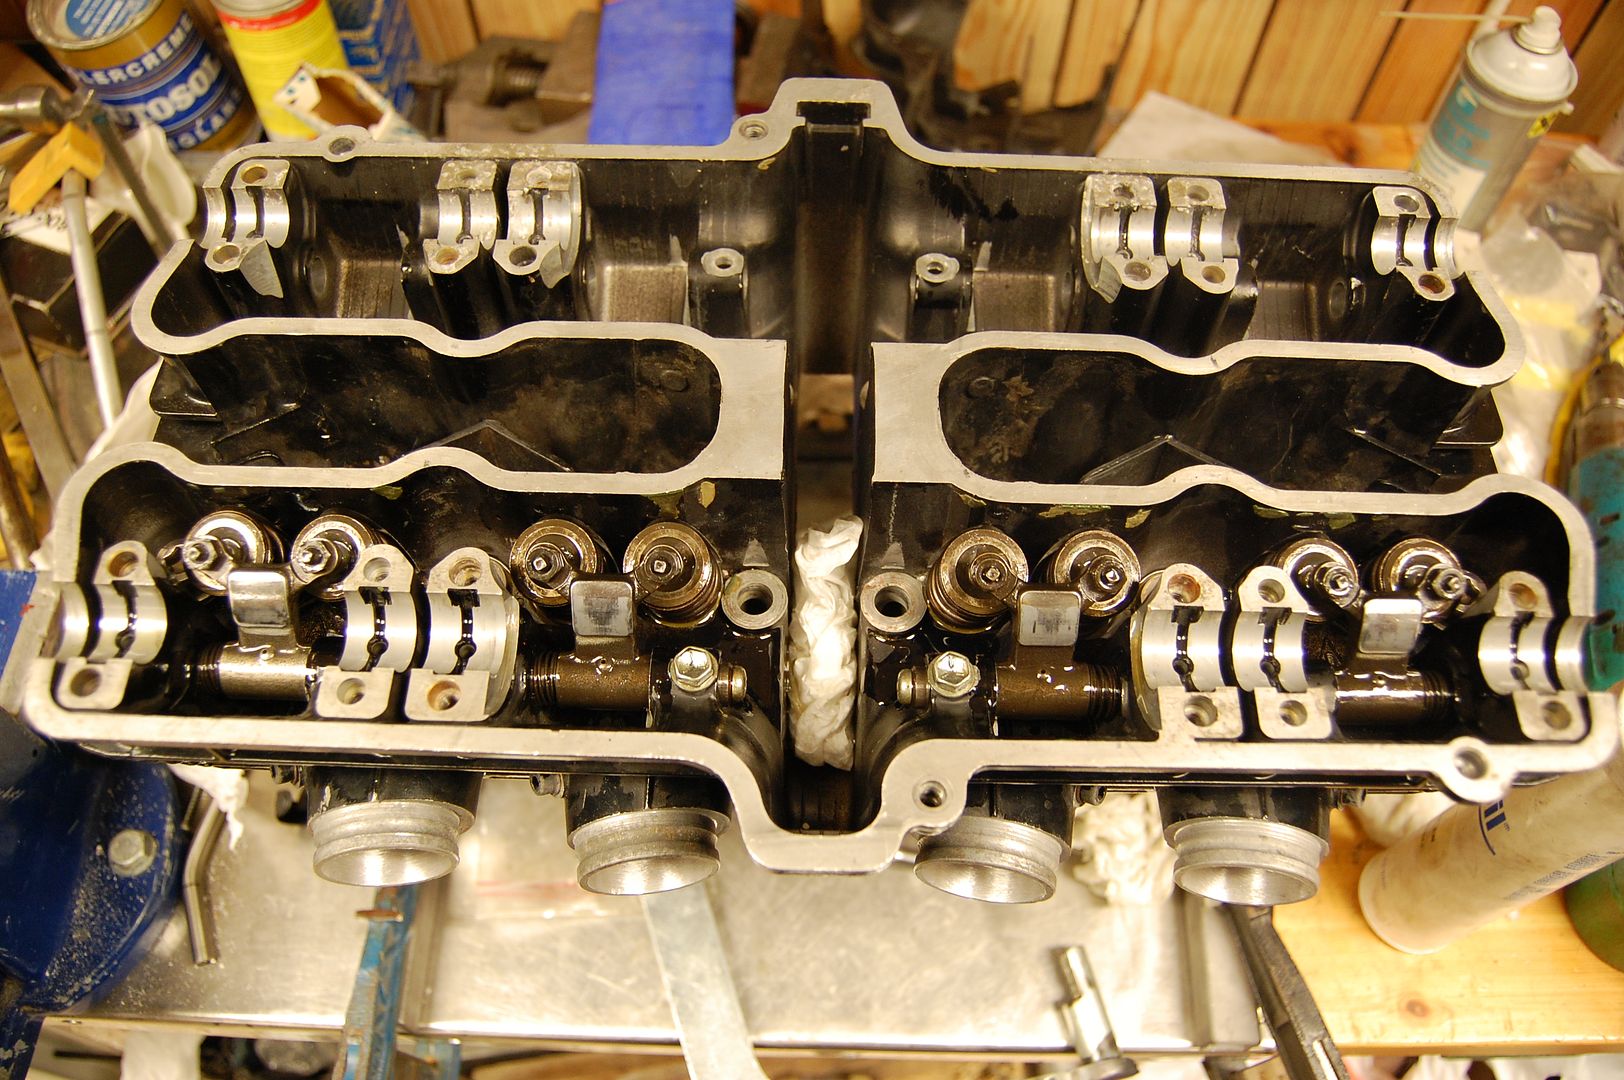
Then it was just a matter of repeating the same step 7 times and fit the rockers. Intake side all done. Gonna do the exhaust later today.
That's all for now.Comment
-
I'm astonished by the high technical level of your work and by your artistic talent.
A rare combination of aesthetics and attention to details...Comment
-
This is fast becoming one of my favorite bikes on this site. Along with Posplayers.
Very nice work; I am enjoying your build immensely!Comment
-
Grind the oil bumps off the rocker arms if you are going more than .350 lift!!! Ray.
Ray.
Comment
-
Mindless, did they provide any estimated before/after CFM figures for the head work?Comment
-
Thanks a bunch! Just hope I can get it done sometime.")
.348" so it's cutting it close I guess.
Ran the engine fine last year without removing the oil bumps but WebCam did recommend removing them or grinding them down. Guess it's better to be safe than sorry. Gonna have a look at it some night.
You're giving me way too much credit.
I never asked Roger Upperton for a flowchart of the head but it's pretty similar in specs to posplayr's head, only difference I think is that mine is ported a bit more in the intake/exhaust channels and the combustion chambers as well as the 1mm shave on the head.
Besides, I have yet to hear of someone who has been displeased with the performance of his work so I see little point in asking for a chart.Last edited by Guest; 03-12-2011, 12:04 PM.Comment
-
Looking at the front wheel spaces photo it appears that the disc is secured by allen head bolts rather than the original cap screws. If this is the case you really need to put the original cap screws back in as they are machined with a step that ensures that there is no free play which could cause chaffing or allow movement.
Great project, am following with interest and envy.
Yesterday my old man turned up some spacers for the front wheel spindle while I blasted the swingarm. Spacers turned out really good and the wheel is in line.
"to do something well is so worthwhile that to die trying to do it better cannot be foolhardy. Indeed, life is not measured in years alone but in achievement...." Bruce McLarenComment
-
Just looking at the photo again it appears that the bolts securing the disc to the wheel pass straight through the spacer. If you look at the wheel where the discs bolt to you will see that there is an area free of thread where the step of the cap screw should fit snuggly. Your bolts securing the discs should have a stepped shoulder that fits into that hole in the same manner. This is very important.
"to do something well is so worthwhile that to die trying to do it better cannot be foolhardy. Indeed, life is not measured in years alone but in achievement...." Bruce McLarenComment
-
Sorted out some minor things today.
Made the lower bracket for the fairing. Just need to drill two holes in the yoke to get it all in place then I move on to the headlight brackets.
Then I shaved off 8mm from the oilpan to get the necessary clearance for the exhaust. Was a bit tight earlier.
Pretty much spot on I think.

So yeah, tomorrow I'm gonna finish up everything for the fairing and then turn my attention to the exhaust and headlight brackets.Comment
-
Man... you leave no things unattended, do you? (rhetorical question...)
Thanks for all the detailed pics of your work... VERY inspiring !Comment

 .
.
Comment