Announcement
Collapse
No announcement yet.
Smokin's 82 Kat Restorification project
Collapse
X
-
 Redneck
OH I AM SO JEALOUS. I literally just left the garage about an hour ago after removing my valves. I used Jethro's spring compressor but he did not have any chucks for it so I mad one out of a PVC fitting. I had also bought a 6 inch C-clamp to go with it but the throat was not deep enough on it so it won't work, hence i am using Jethro's compressor with my PVC connector. Got em all out but it slid all over the place. After seeing these last few post I may again visit the hardware store and try this again this time with washer and epoxy and a bigger C-clamp.
-
 stain
stain
Comment
-
 Redneck
Now is that a smack and remove thing. Looks kind of like an impact driver with a magnet inside to catch the keepers.
Comment
-
 Redneck
 -
 Smokinapankake
 -
I have one of these, but spent more than that. That is a hell of a deal.Originally posted by psyguy View Postnot cheap though... as compared to a piece of pvc tube and a C clamp that does the same job in the same manner
Comment
-
"Shims, wee don kneed no stinkin' shims"! A Blazing Saddles sign-up day misplaced quote. Yeah those adjustable tappets are great, no drawer full of shims to sort through and keeping buckets in their right order makes life a little sweeter, gotta love the GSX.Originally posted by Redneck View PostWhat about reassembling the valves....how do you put the shims back in.Badgezz, we don need noh stinkin' badgezz!
Shin-Ken 1074
1982 GSX1100SXZ Wire Wheel Katana - BOM Nov 2011
1981 GSX1135 Katana Build completed Mar 2024, Curb Weight, all fluids and 21 lt fuel = 206 kg.
Comment
-
 Smokinapankake
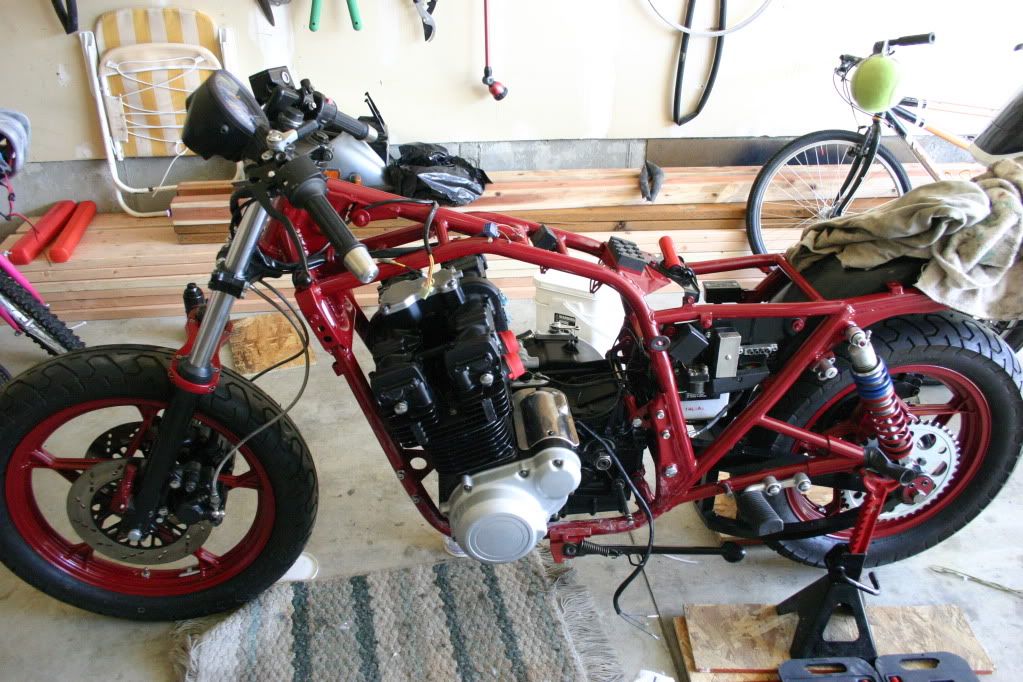
So sports fans, we now have a complete, reassembled engine installed into the chassis!
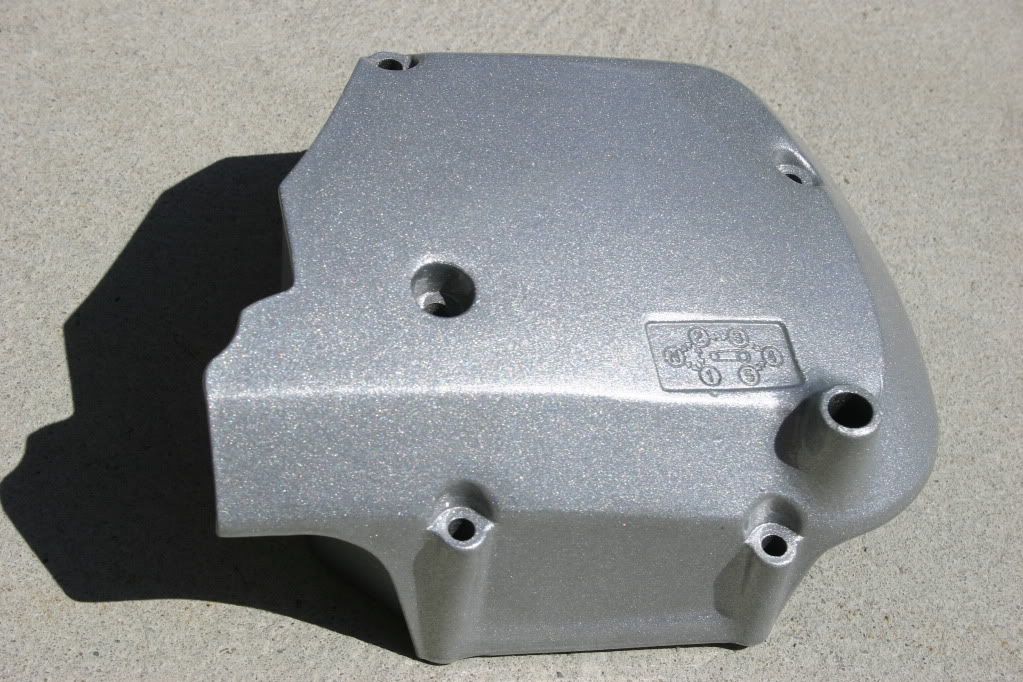
I still had clutch, stator, sprocket, and signal generator cover to refinish, and after spending a half an hour with a wire wheel trying to break through the factory clear coat I decided on powdercoat. Let them sand blast it! That'll teach that clear coat a lesson!
I went with what they called Silver Sparkle. I wanted a darker grey but they would have had to order it in so I said to heck with it:

Friday night Tim came up and we put that heavy old lump in the chassis. I didn't get too many pictures of the frame prep or the method we used but it went in really well with no problems whatsoever.
After dropping a nut getting it up out of the basement we decided to pull the head to put it in the frame. It hadn't been timed (cams were still not in) or even torqued down, so we figured no harm done removing the head.
So the engine went in consisting of the bottom end and cylinders. Much easier to move around than with the head on....
I padded the frame with old bicycle inner tubes slit lenghtwise and secured in place with zip ties. Left a white powder everywhere but that just wipes off with a dry rag. Worked really well.
We also positioned my floor jack under the frame with a square of 3/4" plywood to support the sump and facilitate wiggling to line up the mounting bolts.
The rear bottom bolt went in first, followed by the top front, just under the cylinder block. After that it was a matter of assembling the pieces. Kind of like a big Erector set that will hit 130 when you're done
Cam install and timing went pretty smooth with lots of assembly lube being employed; getting the 20 pin spacing right took a bit of tongue wiggling but in the end it all came together. We manually rotated the engine a few revolutions to be sure all was well with the world and sat back and toasted our success. All in all the whole process took about 3 hours.
A big thanks to Tim for his backbreaking labour and to GSR for the inspiration!
Now, onto the pictures!
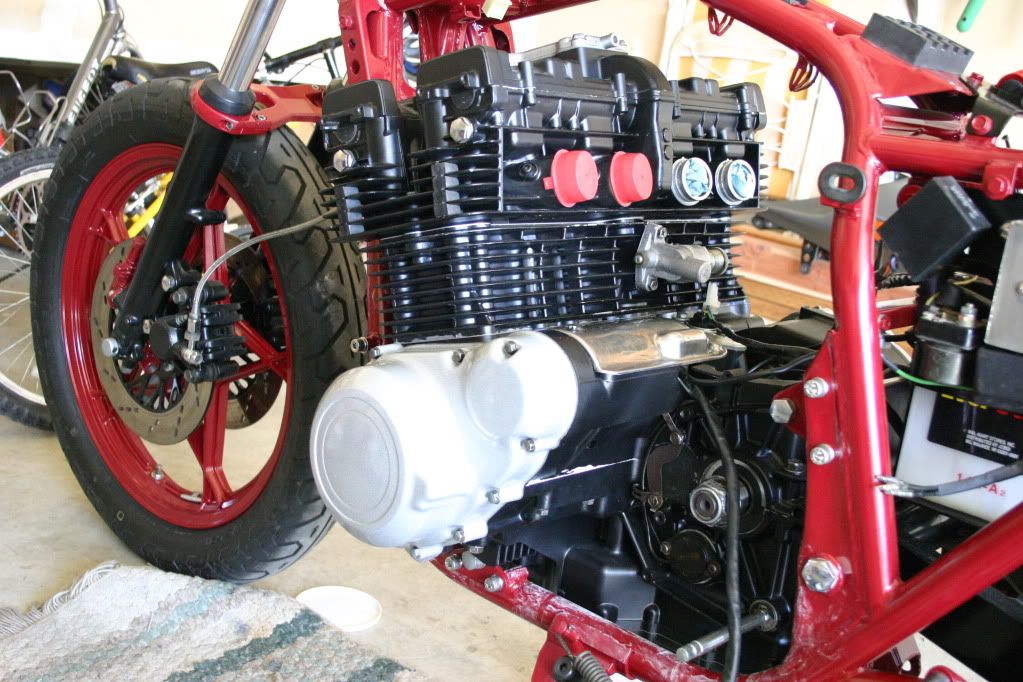
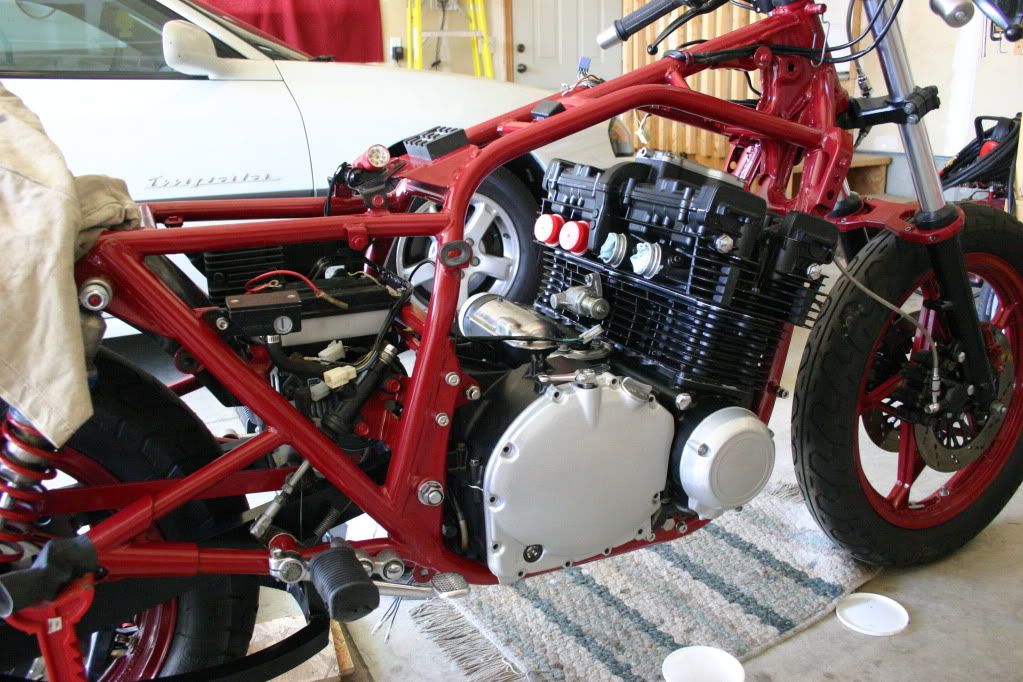
The morning after, with the engine in place. Still some things to do, but definitely on the downhill slide!


Note the new oil level sight glass. Also take note for any that are interested - the oil seal that seals the clutch pinion arm is the same oil seal used for the shift shaft - a handy coincidence! I know the clutch cover is not bolted down - I still need to lock down that clutch hub nut!

Now onto wiring harness install, carb work, and bodywork. I'm thinking that a dark metallic grey would look funky next to that silver on the engine so I may just match the body to the engine silver..... any thoughts?Last edited by Guest; 06-27-2010, 05:57 AM.
Comment
-
Forum LongTimerGSResource Superstar
Past Site Supporter
Super Site Supporter- Mar 2006
- 35610
- Torrance, CA
Bike looks killer. You are doing a great job!
Those engine covers look a little bright but if you keep with silver for the body work like a stock Katana, I think it will look pretty slick.Ed
To measure is to know.
Mikuni O-ring Kits For Sale...https://www.thegsresources.com/_foru...ts#post1703182
Top Newbie Mistakes thread...http://www.thegsresources.com/_forum...d.php?t=171846
Carb rebuild tutorial...https://gsarchive.bwringer.com/mtsac...d_Tutorial.pdf
KZ750E Rebuild Thread...http://www.thegsresources.com/_forum...0-Resurrection
Comment
-
 El Giablo
I agree, the silver bodywork will look good with the silver accents. G.Originally posted by Nessism View PostBike looks killer. You are doing a great job!
Those engine covers look a little bright but if you keep with silver for the body work like a stock Katana, I think it will look pretty slick.
Comment
-
 Smokinapankake
Or a pearly white, maybe? I think the dark metallic grey is out - too wierd with the accents. Too bad because I like that look.
Prolly just stick with silver......
Comment
.png)
.png)

Comment