Thanks
Tachymeter dissasembly
Collapse
X
-
Tachymeter dissasembly
Somehow a spider got into the Tachymeter assembly on my 1979 GS550E (maybe L)... Anyone ever take one of these apart? i have it down to this bright orange case but the glass appears to be glued on to it, is it?
ThanksTags: None -
E or an L? dont know what bike you got? prise the top off with a screwdriver or a bottle top remover works well1978 GS1085.
Just remember, an opinion without 3.14 is just an onion! -
 Adler
Adler
well the guy I got it off of said it was an E and in the box of spare parts there are GS550E badges... but it looks a heck of a lot like an L.
I'll try to pry it off... Is that going to damage it at all? how will it go back on?
EDIT: prying didnt work... And now I've noticed that the little metal holders for the lights have also fallen in.
EDIT AGAIN: so I managed to get it off, spider removed... little metal holders glued... now to make it look less mangled Last edited by Guest; 06-16-2010, 06:29 PM.
Comment
-
 Adler
Adler
For anyone else needing to get into the tachymeter, I would definitely suggest using a cutting tool to break the orange case as opposed to unbending the metal glass holder thing. Then gluing the halves together again... I wish someone had told me this as my tachymeter now looks like a dog had its way with it...
Anyone have a spare 1979 GS550 Tachymeter?Comment
-
 BassCliff
Hi,
From the Garage Section of the GS Resources homepage:
How to get inside your gauges:
Get inside those gauges without destroying it.
Or you can do like Mr. Nessism does...
Use a flat screwdriver and gently pry away the bezel to gain access to the interior. Once you have started you may be able to use a small needle nose pliers to bend the edge and more easily facilitate the bezel removal.

Use a small hammer and drift punch to bend the bezel back and you won't be able to tell from the front.

I know, I know, too little too late. Sorry.
Thank you for your indulgence,
BassCliffComment
-
 Adler
Adler
well the cutting would work... but the small screwdriver probably wouldnt have worked on my gauge anyways... the metal was VERY tough to bendComment
-
Ed
To measure is to know.
Mikuni O-ring Kits For Sale...https://www.thegsresources.com/_foru...ts#post1703182
Top Newbie Mistakes thread...http://www.thegsresources.com/_forum...d.php?t=171846
Carb rebuild tutorial...https://gsarchive.bwringer.com/mtsac...d_Tutorial.pdf
KZ750E Rebuild Thread...http://www.thegsresources.com/_forum...0-ResurrectionComment
-
 Adler
Adler
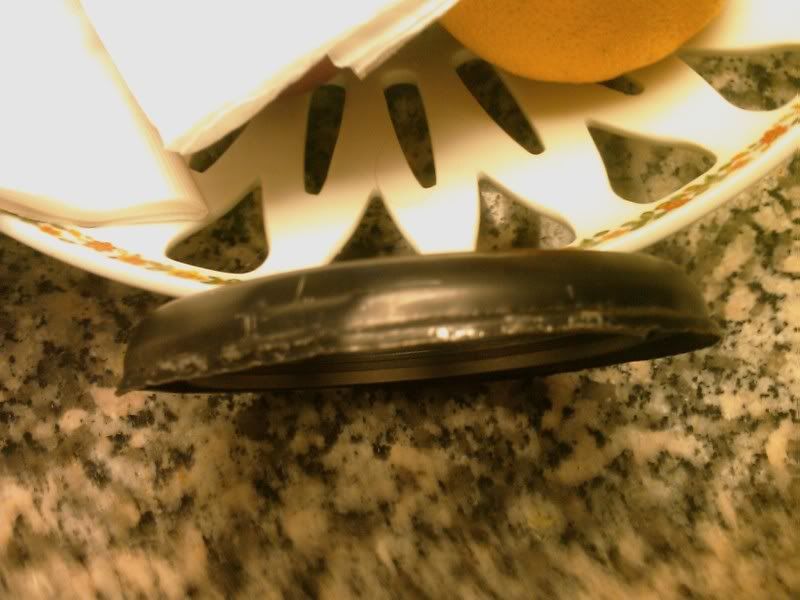
Well one way or the other, this is how it looks now... any ideas how to make it look presentable?

Comment
-
 SqDancerLynn1
If you have access to a drill press? Just use a cut off wheel (dremel) and rotate the speedo. Much easier than trying it by handComment
-
 Adler
Adler
the gauge is already apart, Im looking for ways to make it look like i didnt try to chew it off!!!Comment
Comment