That or if I could find a shorter one that will fit, or I could make fit easily, off of another bike.


Required reading for all forum users!!!
Welcome!
Register to access the full functionality of the GSResources forum. Until you register and activate your account you will not have full forum access, nor will you be able to post or reply to messages.
A note to new registrants...
All new forum registrations must be activated via email before you have full access to the forum.
A Special Note about Email accounts!
DO NOT USE sbcglobal.net, att.net, bellsouth.net or email.com email addresses when registering for the forum! Email that our system sends out to these email servers is treated as SPAM and you will never receive your activation email, or any other email that our system may send out. Use an email address from gmail.com or some other email server.
A note to old forum members...
I receive numerous requests from people who can no longer log in because their accounts were deleted. As mentioned in the forum FAQ, user accounts are deleted if you haven't logged in for the past 6 months. If you can't log in, then create a new forum account. If you don't get an error message, then check your email account for an activation message. If you get a message stating that the email address is already in use, then your account still exists so follow the instructions in the forum FAQ for resetting your password.
Have you forgotten your password or have a new email address? Then read the forum FAQ for details on how to reset it.
Any email requests for "can't log in anymore" problems or "lost my password" problems will be deleted. Read the forum FAQ and follow the instructions there - that's what we have one for...
New users should be sure to read the FAQ as well as the posts in the Announcements forum. This will answer many of the questions you may have about how this forum works.
Before posting questions in the forums be sure to use the forum search function!!! Odds are your question has already been asked and answered before. And when posting, please make sure that you post to the correct forum.
Finally, be sure to check out BassCliff's website here. He has useful information that can't be found on this site. His welcome page containing useful GS information can be found here. Be sure to check it out!
If you are a returning visitor to the forum and can't log in using your old forum name and password, chances are your account is deleted. Just create a new forum account and you should be all set.


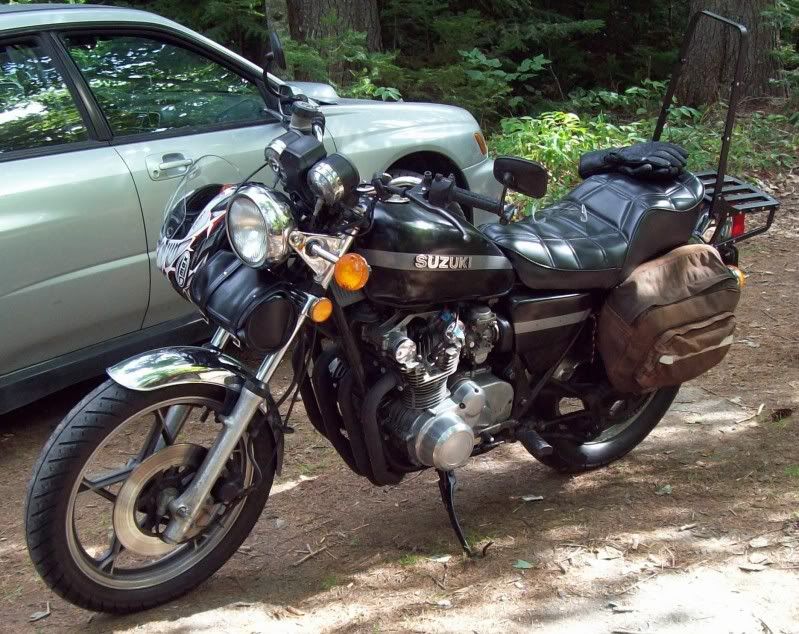
 Came out ok by my standards... then I made the pad by glueing some foam (cut new car wash sponge) onto some painted plywood and wrapping it with some leather (salvaged from a free fake leather duffel bag). I think I just used a staple gun on the back and then attached it to the aluminum with sheet rock screws, used nuts as washers to look like bolts
  . Then I drilled the side and the grab bar together and attached it using ss eye bolts to double as tie down points.
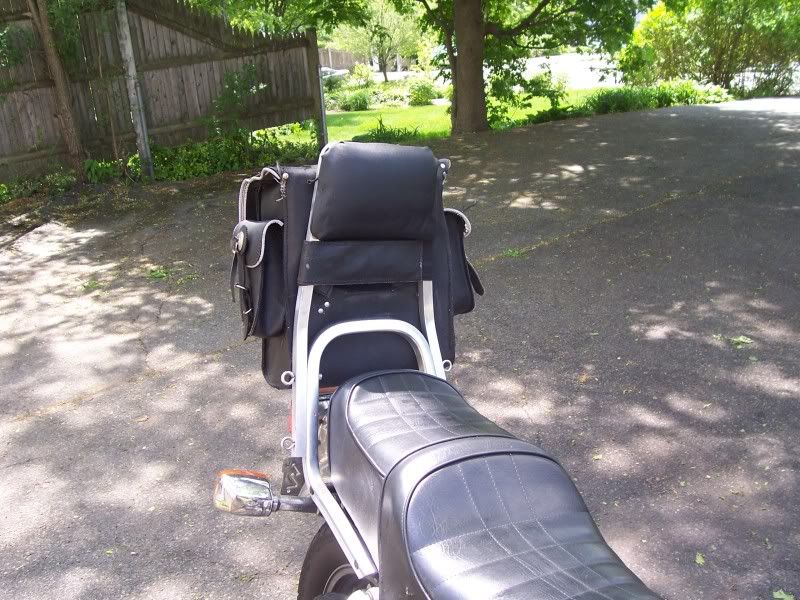
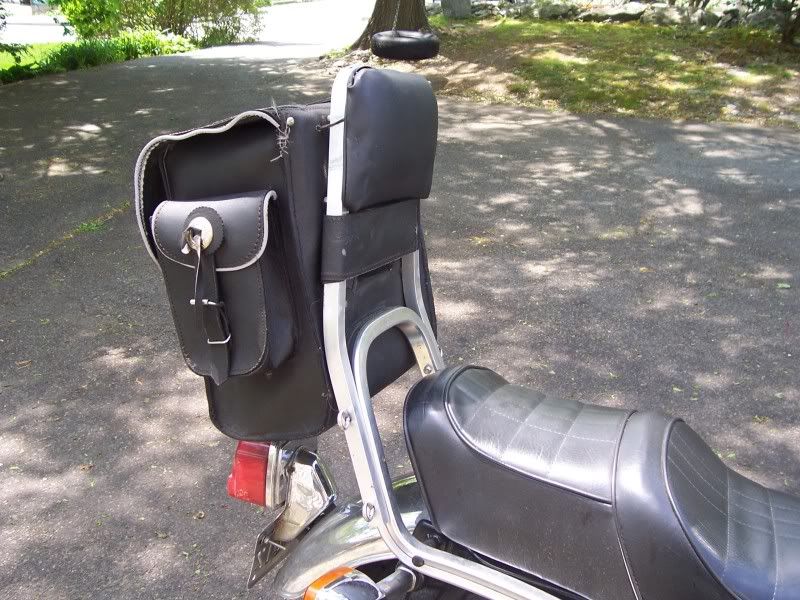
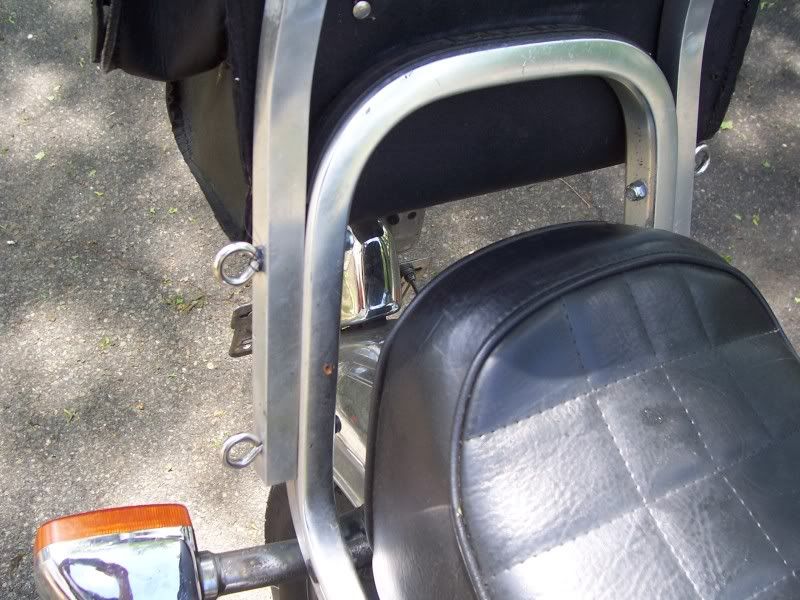
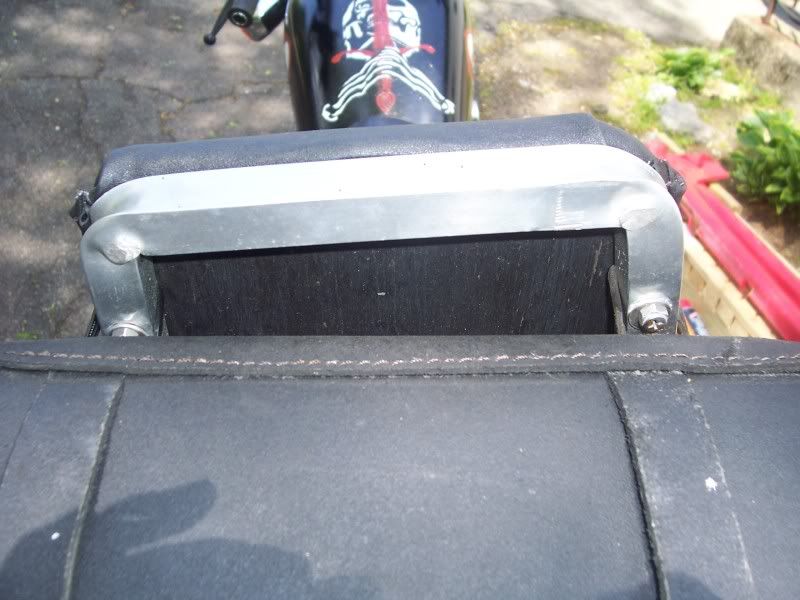
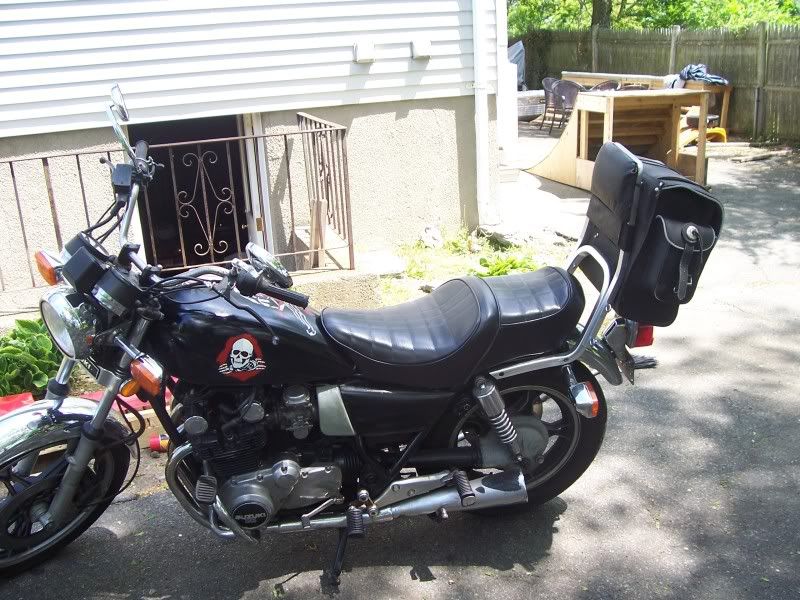
 Came out ok by my standards... then I made the pad by glueing some foam (cut new car wash sponge) onto some painted plywood and wrapping it with some leather (salvaged from a free fake leather duffel bag). I think I just used a staple gun on the back and then attached it to the aluminum with sheet rock screws, used nuts as washers to look like bolts
  . Then I drilled the side and the grab bar together and attached it using ss eye bolts to double as tie down points.


.png)
Comment