.png "Powered by vBulletin")
Anyone have any tips on leveling bondo on a tank? I managed to get a small dent on the side perfectly level but the top is much more difficult.
-
-
I'm not sure what your issue is as bondo is easy enough to work with. The problem for most folks is they put it on too thick and when they sand they get pock marks that may be caused by air trapped in the mud when mixed. To get a good job its best to build up coats but have the last coat "proud' of the surface of the tank and lay enough of it down that it covers about 1 " all around the divot. Use plastic spreaders ( from Crappy Tire or the auto stores) to get a smooth cover coat. When you sand it down it should then fair in nicely to the tank surface.
Like all body jobs the prep is important and you should sand all the paint off around the problem area. Rough sand the metal to give it a bit of "tooth". If you can find it there are metal etching products that will do the same job. You should also wipe down the area with acetone before applying the bondo.
When sanding it down, I prefer a wet and dry paper as it seems to cut better and a 320 then 600 grit seem to work. To finish off I usually use a "skim" coat of surface putty to fill in the scratches finished off with a 1000 wet and dry. Use a good quality primer/surfacer to cover and sand that with wet/dry 1000 before your paint coats.
A bit of work admittedly but you really can't skimp on it if you don't want it to show through the finish.
Good luck and swhow us what you can do.
Cheers,
spyugLast edited by Guest; 12-22-2010, 04:45 PM. -
Basic Tips (I'm not a pro but been doing bondo work since High School 74-75Originally posted by Adler View Post )
)
Fill and then shape with a sanding block (6 inch is fine)and 120 grit by hand.
Then spray over with some sandable primer and a light dusting of dark primer and resand. The low spots will show up as dark. Refill as required or put on more sandable primer. Resand. When you spray the primer on , do it wet and you will be able to see while wet if there are any variations around the repair.
If you are good you can get it right the first time, when starting you get need to leave the bondo a little proud, by sanding from the metal to just around the edges of the bondo. Be careful going over the top (of the center of the bondo) , you will make a flat spot if it is an overall convex curved surface.
Concave curved surfaces use a round object like 2"-4" PVC with paper wrapped around.
Remember you can only make metal and bondo match so well. You have to fill with a sandable primer to make the repair disappear.Comment
-
If you use wet/dry paper like Spyug said, use it dry. Never wet sand bondo type fillers, they will absorb water, solvents, oils and cause problems later on.Comment
-
First off, make sure you rough up the metal before slathering on the mud. Fill the depression proud of the surface and then do the rough leveling with a sanding block, the longer the better, and something like 60 grit sandpaper. Using finer paper, and sanding without a block, can give you waves in the surface. Better auto parts stores sell the green 3M sandpaper which is good stuff. After leveling the surface switch to finer paper before priming.Last edited by Nessism; 12-23-2010, 12:15 PM.Ed
To measure is to know.
Mikuni O-ring Kits For Sale...https://www.thegsresources.com/_foru...ts#post1703182
Top Newbie Mistakes thread...http://www.thegsresources.com/_forum...d.php?t=171846
Carb rebuild tutorial...https://gsarchive.bwringer.com/mtsac...d_Tutorial.pdf
KZ750E Rebuild Thread...http://www.thegsresources.com/_forum...0-ResurrectionComment
-
Without writing a small book I will add a few things. As posplayer said about only bring able to do so much with filler, here is a few tips to avoid the football shapes in the final job.
Use a fine cut filler last. They will sand to a smaller, finer edge. Then use a High build primer. It will fill the feather edges and small imperfections better. Those two things along with good block sanding techniques will keep you from seeing the edges of the filler in your paint.
Get some of the flexible, thin sanding blocks from Eastwood for the curved portions.
Metal Glaze is a good, fine filler for the small stuff and pinholes in base bondos. It is compatible with all paints.
I do frame off restorations of early model broncos and use Rage Gold filler and Metal Glaze only. Works great with all paints. I use a lot of House of Kolors and DuPont Chroma Clear.Comment
-
Good point and my apologies for not making my comments more clear and complete. I should have mentioned that while I do use the wet/dry paper with water to lube, I do a final quick wipe with the acetone to drive off any moisture. I also will leave the piece in the sun or under a lamp for at least an hour or so.Never wet sand bondo type fillers, they will absorb water, solvents, oils and cause problems later on.
Thanks for the catch 81GS.
Cheers,
SpyugComment
-
Yea somebody should write a how to bookOriginally posted by Darkstang View Post.
Some other tips.
- As has been mentioned about getting all parts to bare metal where the bond is to be applied.
- Bondo will stick to glass but it helps to give it bite. I put a 45 deg cross hatch pattern using a 60 grit rough paper by hand. You are literally scratching the metal not trying to sand it. Only necessary where the bondon will be adhering to the metal.
- I don't use the old Pink Bondo any more. Get the fiberglass reinforced (short hair) waterproof type. A little harder to sand but more durable and less sag than the old stuff.
Anyone have any tips on leveling bondo on a tank? I managed to get a small dent on the side perfectly level but the top is much more difficult.- To reduce sanding, use masking tape on the wet bondo to form it to the contour of the tank by taping right over the top. Don't walk off as the bondo sets very fast and will have tape stuck into it. As soon as the bondo is firm pull the tape.
Last edited by posplayr; 12-23-2010, 02:52 PM.Comment
-
Smear it on using you fingers and sand it with 1200 of finer paper, wet.
Comment
-
Lots of good suggestions, most of them are good in general but the tape idea is best for this specific issue, forming the contour of the tank. The tank had quite a few ripples in the area near the base from wide, shallow dents and one ding on the side. All thanks to mr. PO.Originally posted by posplayr View Post
I have filled the ding on the side to my satisfaction, and I can barely feel the patch when moving my hand over it. The area on the top, however, is much larger. Right now the transition from metal to bondo is pretty smooth and difficult to detect with my hands but there are still some minor flat areas that I may redo.
Thanks for all the help, maybe Ill post some pictures later of where it is now.Comment
-
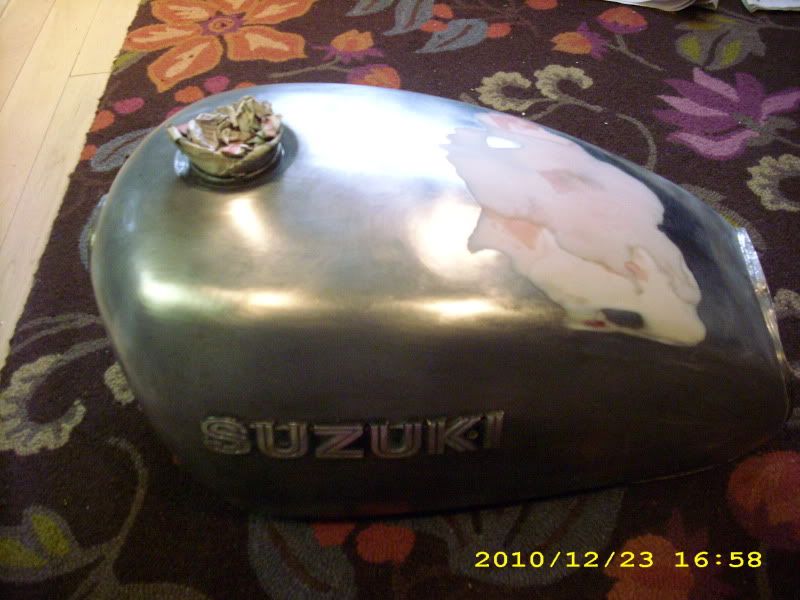
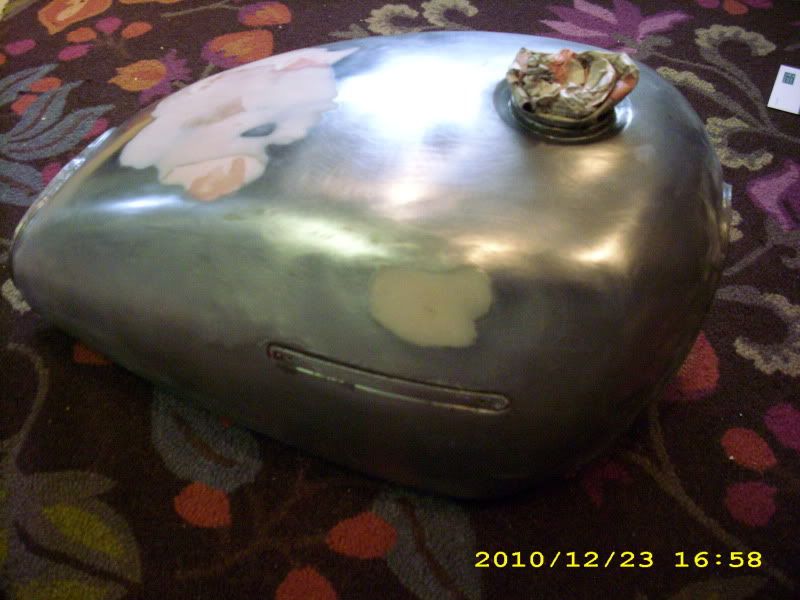
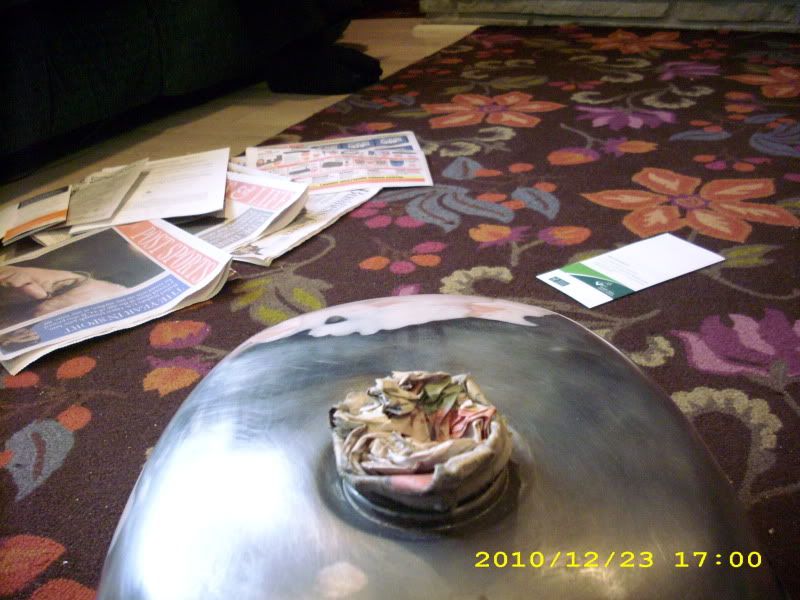
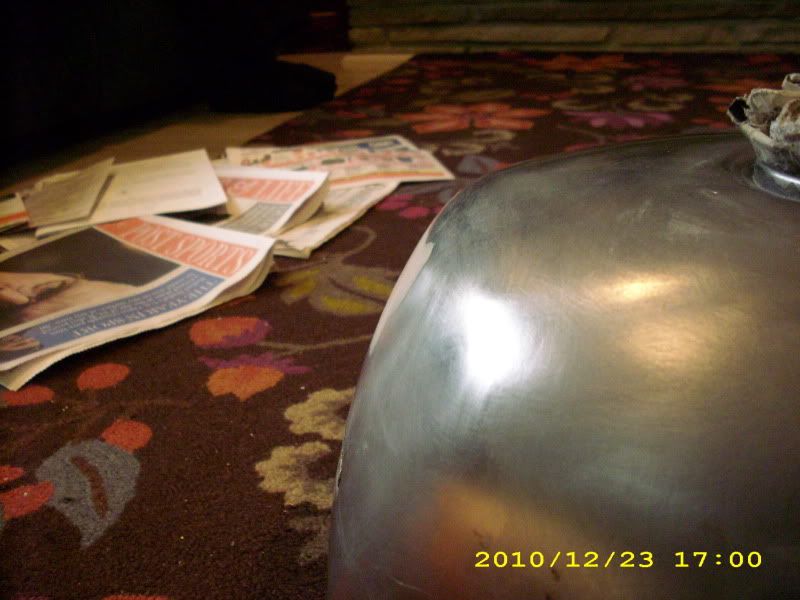
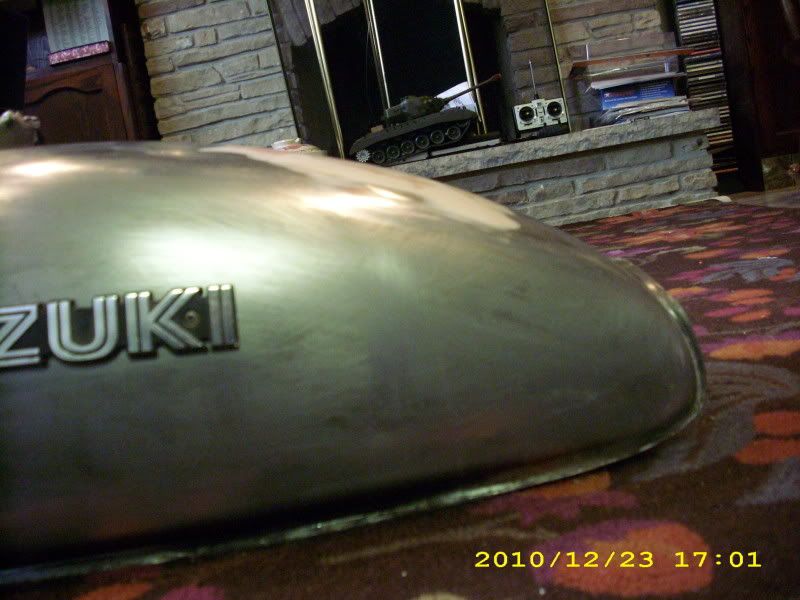
Some images of how it is now... I dont think I mentioned that it is entirely stripped of paint, this is the final prep work before painting.
Comment
-
At thing point get a good sandable primer build up on it and block sand.Originally posted by Adler View Post
I know you don't want to be disappointed, and the smoothness test with your hand is not near sensitive enough as light is that will show the dents.
Do some the light grey primer with dark fog to see how even it is. From the looks of the top it doesn't look real even.
When you sand that top sand primarily along the back bone and work length wise towards the edges. Once that looks OK then come up from the sides but only to do some fine feathering of the transition.
If you cut through to bondo, that is OK but I would shoot the whole thing again so you color goes over only primer and no raw bondo.Comment
-
I feel like its really hard to tell how smooth it is from the photos, because there are so many colors of bondo! The bottom layer is from a few months ago when I took it off the bike, On top of that is a few different layers from now. And on top of THAT is some spots with spot putty to fill in some pock marks. Its really alot smoother then it looks, though Im sure in the light there will still be some flat spots.Originally posted by posplayr View Post
Hopefully I will get a chance to use sandable primer but Im hoping to get it painted tomorrow at my brothers shop, where there is paint and equipment waiting for me. I dont know when Ill get another chance to get his attention.Comment
-
I use rolled up newspaper taped up with masking tape as sanding blocks.And for sandpaper I use the sticky on the back long board sandpaper.
They are good for concave and convex contours.Comment
Comment