Announcement

Collapse
No announcement yet.

Going to make my seat

Collapse
X
 
  • Filter
  • Time
  • Show
Clear All
new posts

    #16
    couple more


    Comment


      #17
      Looks really sharp! Nice work cutting that tank. Use the electric Carving knife! It'll be better than buying a Hot Knife which will get very little use after the seat is finished. Just sayin'!

      -Gumbo

      Comment


        #18
        interesting idea, will be watching this..

        Comment


          #19
          what did you use to cut the tank?

          Comment


            #20
            Originally posted by Mop Bucket View Post
            what did you use to cut the tank?
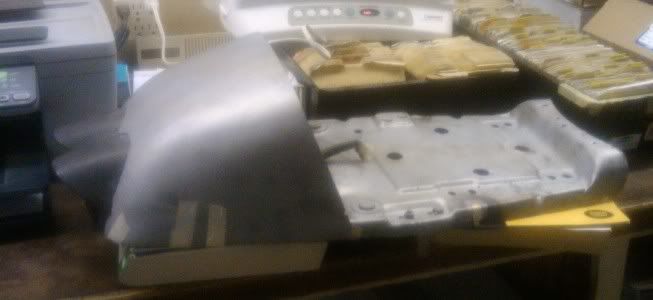
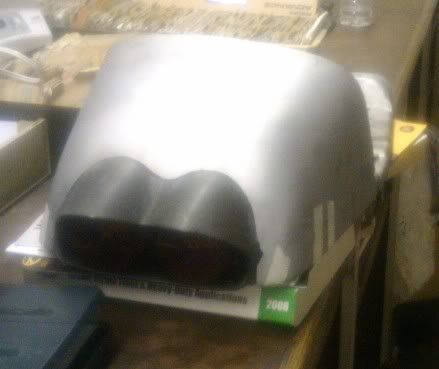
            die grinder with a cutting disk. Then used some 80 grit crocus cloth to finish the edges.

            also I used a steam cleaner on the tank prior to cutting.

            Comment


              #21
              some more pictures, trying to decide if I want to trim it out, or mold in the tail light to the cowl. I am thinking the molding in.


              Comment


                #22
                I vote for molding it in. It looks great so far! Nice work.

                Comment


                  #23
                  Looks great! I vote to mold the tail light in. BTW, great choice for a tail light. Here is some more inspiration!

                  Comment


                    #24
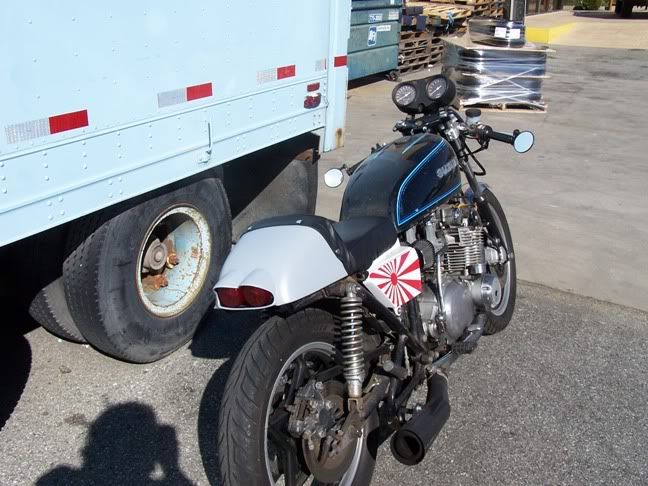
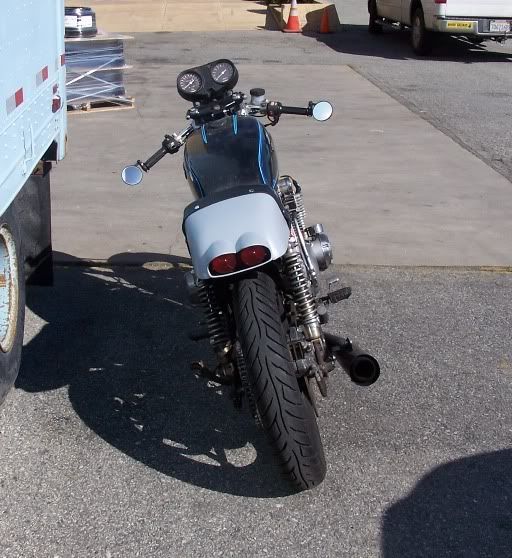
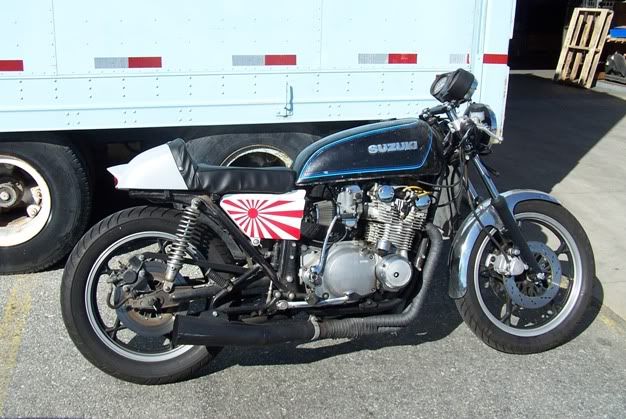
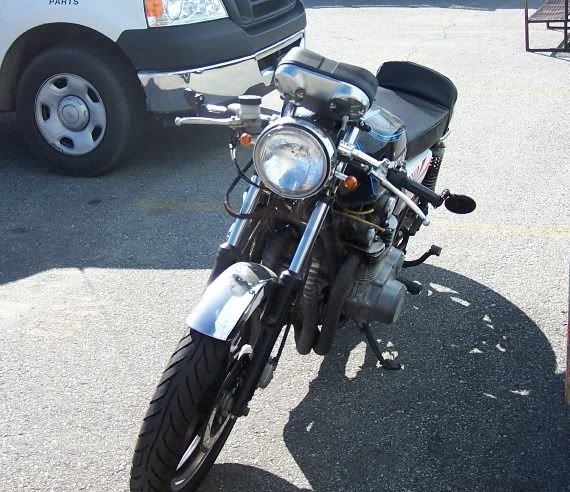
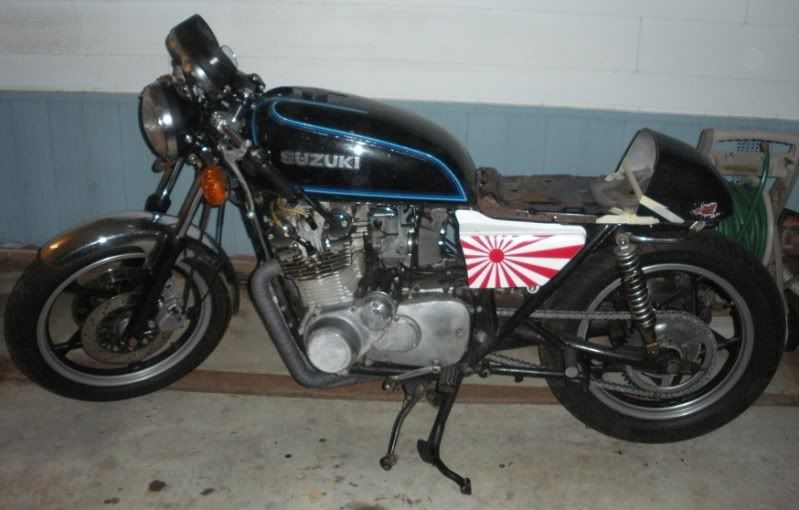
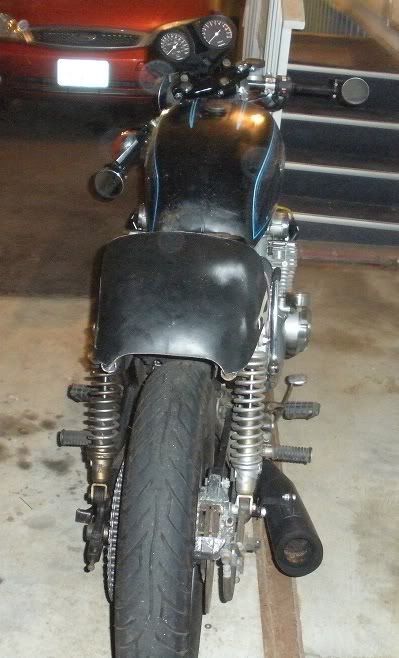
                    So here we are last of the photos for a while. At least until I get the tank prepped for paint, probably in a couple months.

                    The tail is done, it is filled, sealed, por 15ed, puttied, and reprimed. The left and right tail light work as the turn signals as I have done in the past. My upholstery work leaves a lot to be desires. But for $30 in materials I am happy, and will turn it over to my friend who does this for a living when I put color on it. I took 2" of the original Suzi pad, then tossed a 1/2" piece of memory foam on it. I also relocated the ignition switch since I can no longer mount it in the stock location. If you look close enough it is mounted to the rear motor mount right above the swing arm inside the frame. Now I need to do something about that huge cluster sticking up there.


                    And I changed the front signals as well

                    Comment


                      #25
                      Nice job integrating the lights.....I see what you mean about the guage cluster...never noticed how big they are......you'll have to go digital for tiny-ness....http://trailtech.net/computers.html
                      Last edited by Guest; 02-03-2011, 06:57 PM.

                      Comment


                        #26
                        Originally posted by ddaniels View Post
                        I've talked to many folks who've used an electric knife for shaping seat foam. Works like a charm. I saw a show on tv where a guy was using some kind of rasp for the edges and to get a nice smooth surface. Not sure what kind of rasp though.
                        Turkey knife works great for the rough shaping, but got to switch to abrasives to finish. The rasp was probably for drywall. A bondo rasp is the same thing and easier to find. Just be careful to not get too carried away with it and dig the edge of it in(ask me how I know). The roughest grit 3M sanding sponge is a great finisher for the foam and can be worked in tight spots where the rasp won't work right.

                        Looking good, qckslvr. Definitely gotta do something about that hunk of gauges though

                        If you don't mind loosing the tac, this i what I'm running. Relatively cheap and works well enough for me. I did a ghetto lacing wire job to hold the magnet, but it could be epoxied into one of the outer recesses in the cast wheels for a more permanent install.

                        We design, make, and sell protective gear and equipment for people who ride motorcycles and scooters. We care about motorcycling, quality, value, and customer service.
                        Last edited by Guest; 02-03-2011, 07:47 PM.

                        Comment


                          #27
                          yeah the cluster on a GS is real clunky when it doesn't have handle bars and big lolli pop turn sigs to distract from it.

                          I am saving some cash up, and will most likely drop $500 on a Koso cluster with some senders for the head, oil pressure, and temp.

                          Comment


                            #28
                            Originally posted by Qckslvr View Post
                            I have been looking at different café seat pans for a while now. Actually since I bought the bike pretty much. Then I saw some one post that they took an old fuel tank from there bike, and cut it up making it into a seat cowl. This sparked some ideas, and now I am moving forward. So I am taking my old GS550 tank and I am going to cut the back of it off. I will then shorten the stock seat pan on my bike and graft the tank to it. I picked up an Aprilia RSV tail light assembly on e-bay that I will also graft in to the fuel tank/cowl. This tail light will also be my turn signals as well.

                            I shall post more pictures next week, when I start cutting and grafting. I need to go buy some brazing rod this weekend. I think my mig will be too hot for this project.


                            Is the tail light designed for that? Or is it going to take some creative wiring?

                            Comment


                              #29
                              Have you thought about mounting the guages under the exixting bracket with some longer bolts and some hollow tubing to be able to drop them down? I've done this and seen this done several times.

                              Comment


                                #30
                                Originally posted by Qckslvr View Post
                                [...]will most likely drop $500 on a Koso cluster with some senders for the head, oil pressure, and temp.
                                Yah what? Just on gauges?! Granted it took some work that put it over that figure, but I spent less than that on my GS!

                                Comment

                                Working...
                                X