Thanks.
Announcement
Collapse
No announcement yet.
Pit Replica install question
Collapse
X
-
Pit Replica install question
To those of you who have done this,from your experience,where would be the best place to start the seat on the spikes and end them? Front, back, sides? GS1000.
Thanks.http://i632.photobucket.com/albums/u...00080021-1.jpg
1978 GS1000C
1979 GS1000E
1980 GS1000E
2004 RoadstarTags: None
-
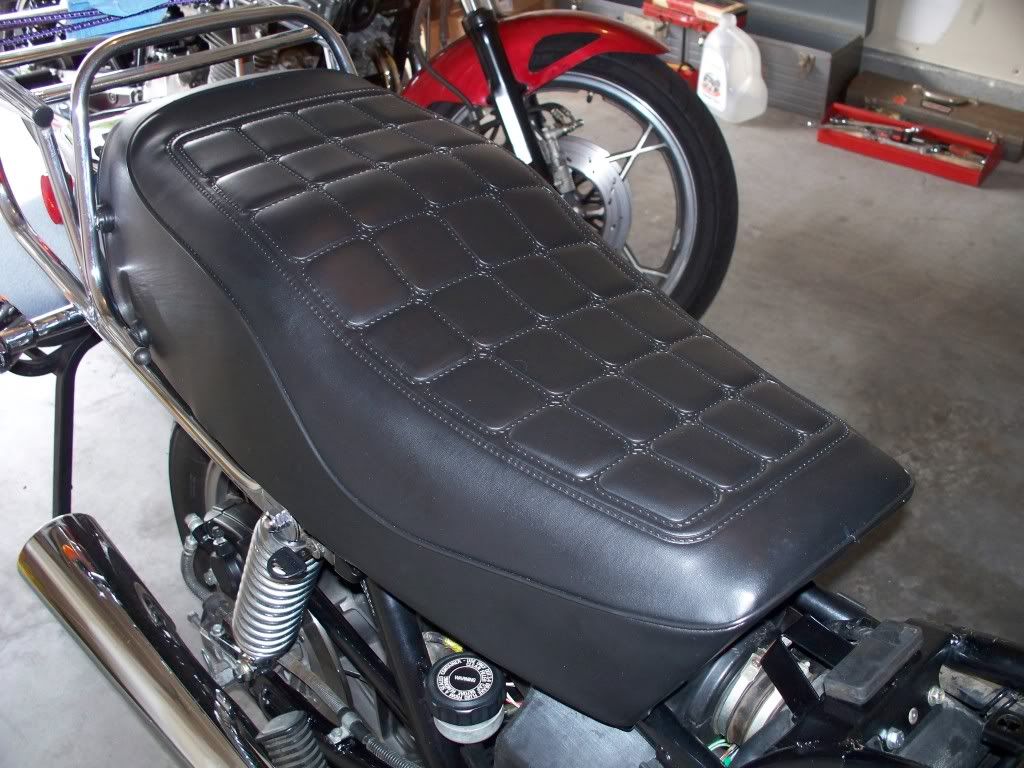
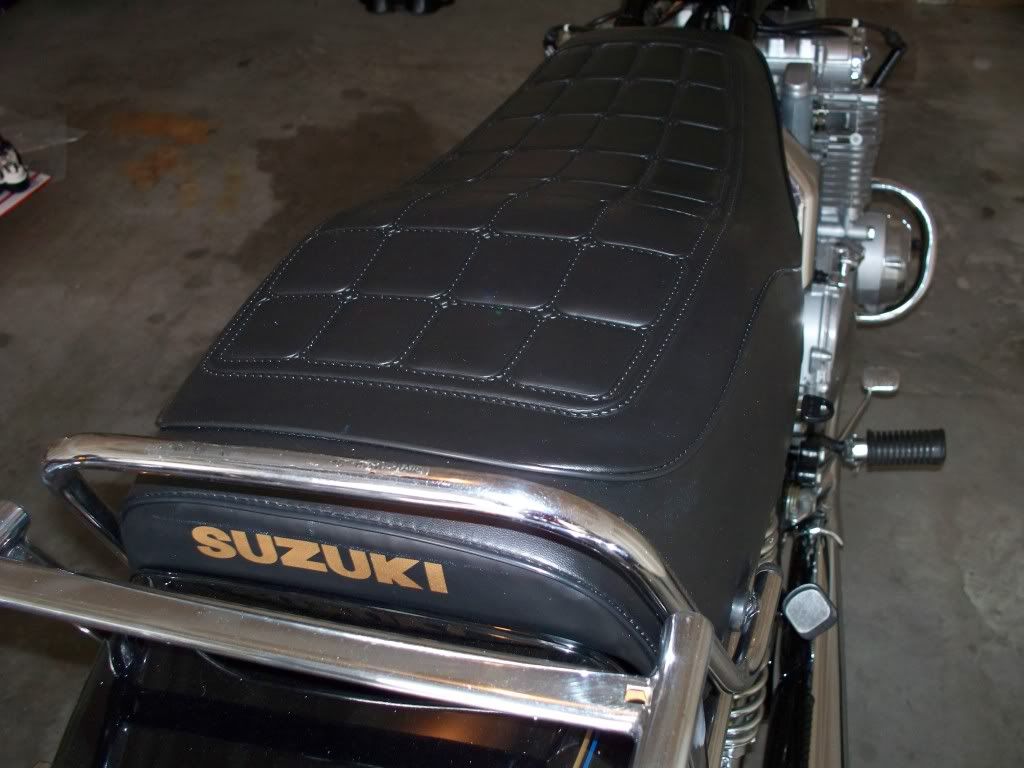
I fit the seat cover over the front first , then the rear to get the seat cover centered, then work the sides at the same time, alternating, working front to back.
But, here's the trick I used. I only used enough force to get the cover to "stick" to the spikes initially without deeply piercing the vinyl to hold the cover in place to make sure everything is centered and properly fitted. That way you can make minor adjustments. Once I'm sure it's fitted where I want it then I'll go back and stretch that cover as tight as I can get it over the spike and pierce the cover and then go all around before I bend those spikes down.
If you got the vinyl seam at the bottom edge of the pan, that's where it should be. The rear area around the grab bar is a little tricky, remember it's got to fit properly for that grab bar.
Also, to keep that sharp pan edge from cutting into the vinyl I used some small diameter (3/16" I think) hard rubber door edge molding which I gorilla glued to the edge of the pan. It took 3 pieces, one for each side, almost a whole one for the back to a straight part (didn't want to mate it on a bend) on the pan where it met the two side mouldings, and I used a
piece of one on the front.
I got the cover as hot as I could without the chance of damaging it.
(Hot sun on the dash of my car in the Summer Florida heat, car windows up, it was so hot you almost had to wear gloves to hold it, made it very supple and stretchy, much easier to work with).
Finding center for the grab rail holes was fun also. I put the grab rail on the seat, and used a needle on the inside pushing out to hopefully find the center of the bolt hole for the grab rail. (I had this cool tool, like a reamer on a T-handle and I just pushed it through and put the bolt on once I found center for all the holes. I didn't do any cutting for the holes, just used this reamer, somewhat like a pin punch). I didn't want to poke holes in 3 and have the last one not line up.
If you think it through carefully it shouldn't be too difficult. I might've popped a stitch or two getting the seam around the grab rail area right. But I had a bent seat pan that I had to straighten as best I could, and a bent grab rail too. So, I made sure all 4 holes would line up and bolt down well before I even started thinking about putting the cover on. I think it turned out OK, really it didn't take all that long once you start, as long as everything goes as it should, take all the time you need, but do it while the vinyl is hot. I sat in the hot sun with mine. I was soaking wet from sweat.
 sigpic
Steve
"The world is a book, and those who do not travel read only one page." :cool:
_________________
'79 GS1000EN
'82 GS1100EZ
-
Oh, one thing I forgot to mention, I don't believe I pulled the vinyl as tight on the very back as I did the rest of seat, the reason is I wanted the "SUZUKI" letering to be straight and level over the tail piece and where I thought is should be. I think I achieved that
through some minor adjustments. Fun! Fun! Fun!sigpic
Steve
"The world is a book, and those who do not travel read only one page." :cool:
_________________
'79 GS1000EN
'82 GS1100EZ
Comment
-
Your seat looks great,thanks for the reply.Interested in hearing about anyone Else's experience before I start poking holes in this thing.
Already painted the seat pan,itching to install.http://i632.photobucket.com/albums/u...00080021-1.jpg
1978 GS1000C
1979 GS1000E
1980 GS1000E
2004 Roadstar
Comment
-
Hey Rover,Originally posted by Rover View PostYour seat looks great,thanks for the reply.Interested in hearing about anyone Else's experience before I start poking holes in this thing.
Already painted the seat pan,itching to install.
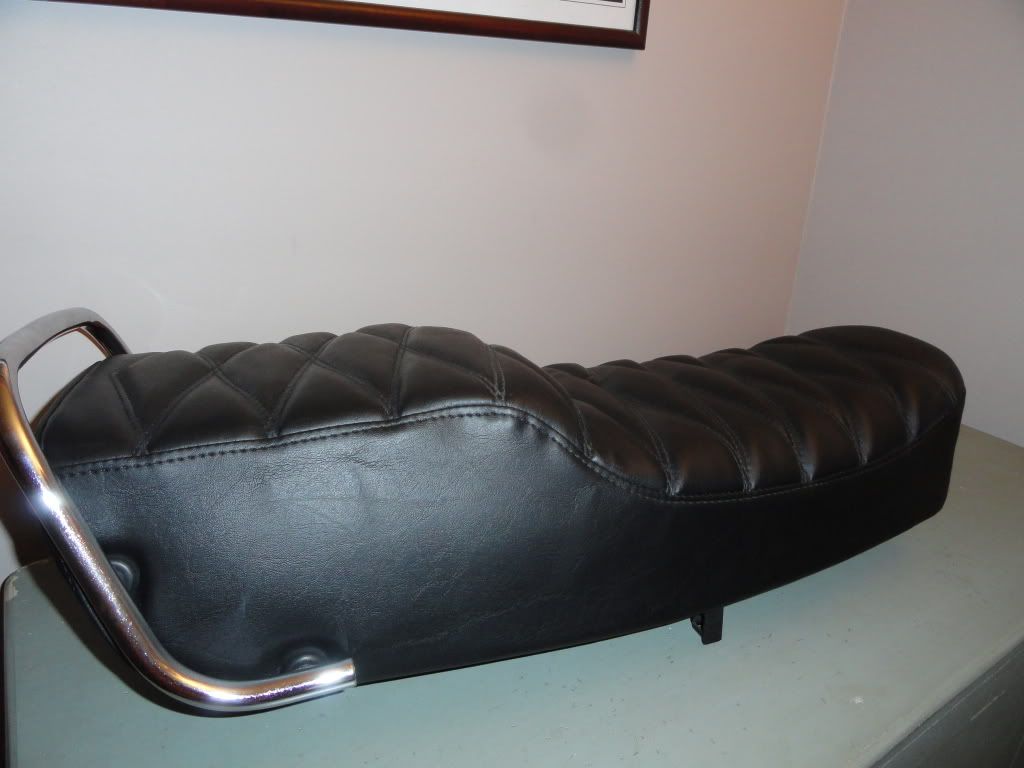
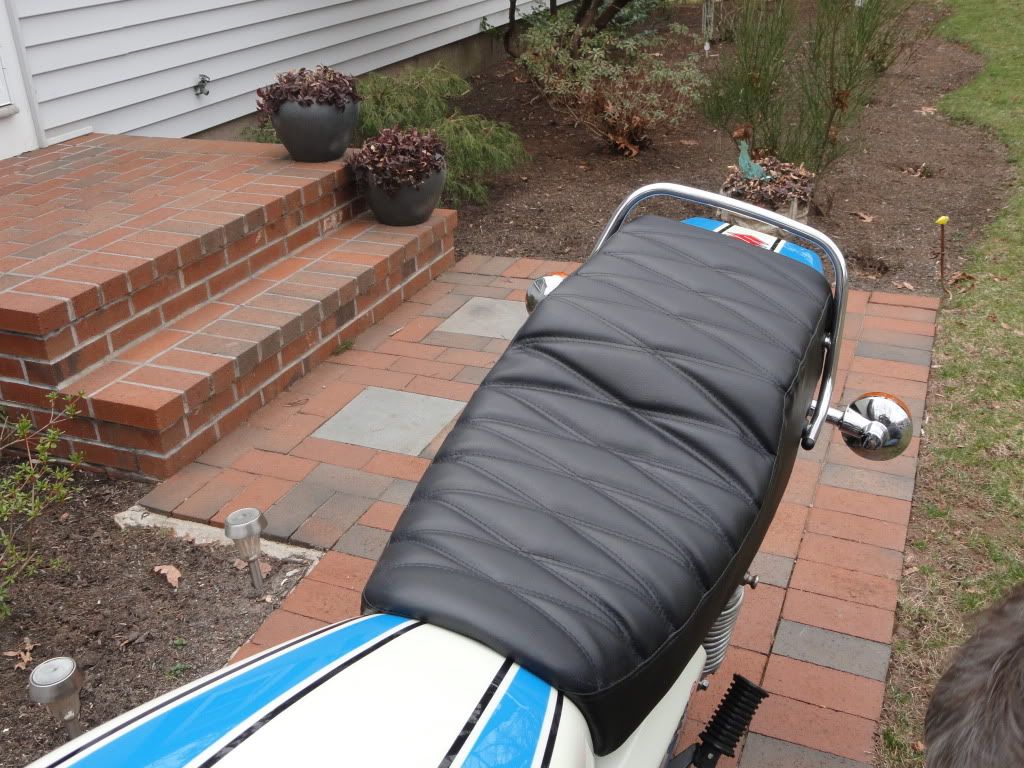
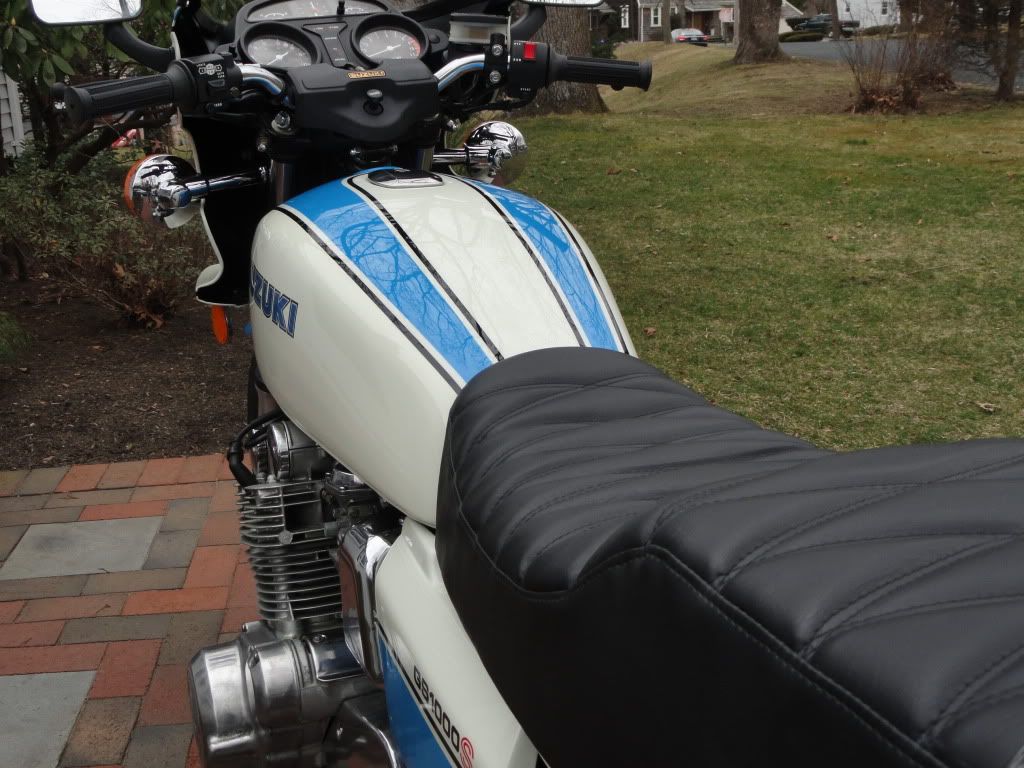
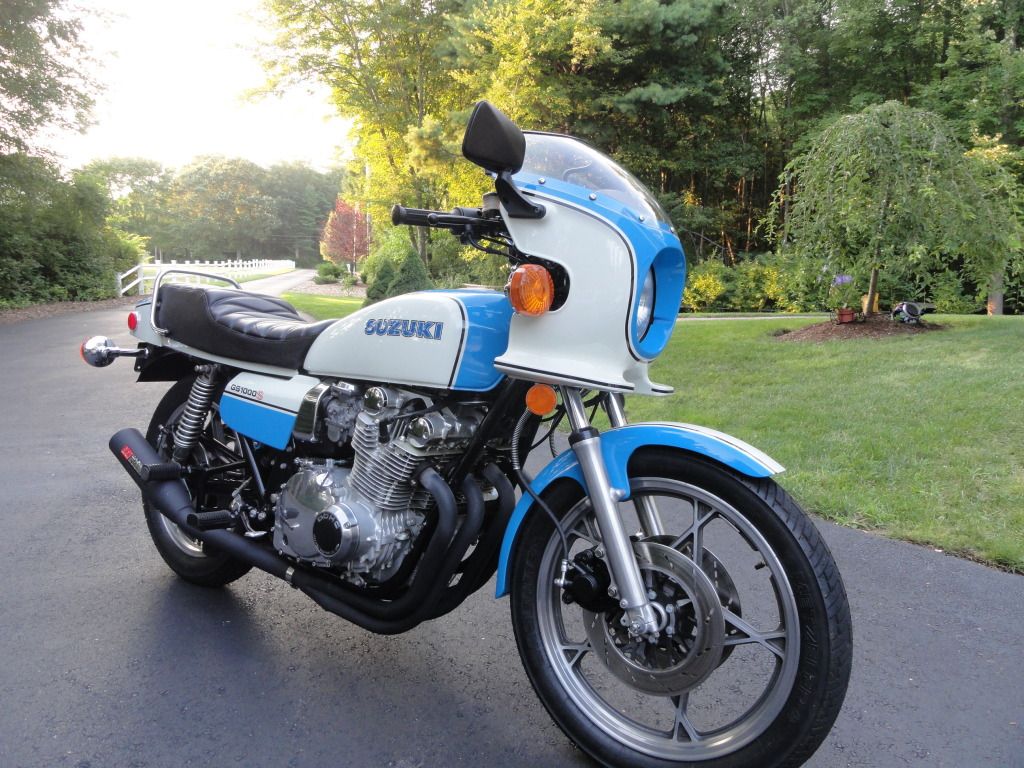
Not sure which end I started with but I do remember the need for a lot of pulling!
I was very happy with the quality and appearance.
The ony issue I had is getting the portion where the seat steps up tight.
It is a little loose in that area.
Comment
-
Nice pics!!
I can see where the step might cause some concern.I did a trial fit without "spiking" the cover and the step area definitely needs to be pulled tight.
Thankshttp://i632.photobucket.com/albums/u...00080021-1.jpg
1978 GS1000C
1979 GS1000E
1980 GS1000E
2004 Roadstar
Comment
-
Ah,compress the foam,good one.Originally posted by 1980GS1000E View PostI worked on a table indoors and used an extension handle between the ceiling and the seat pan to squash the foam. Worked great. There's a thread here somewhere with pics.http://i632.photobucket.com/albums/u...00080021-1.jpg
1978 GS1000C
1979 GS1000E
1980 GS1000E
2004 Roadstar
Comment
-
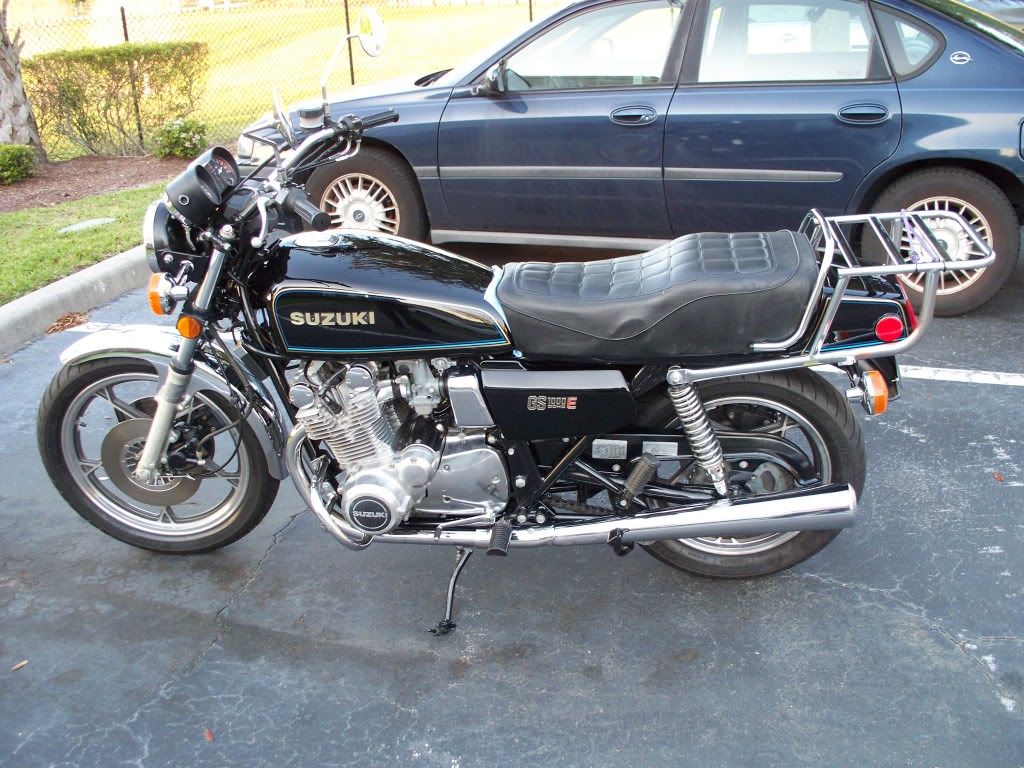
Here's my bike and my old seat before I recovered it. If you look closely you'll see that weird zigg zaggy thing protruding from underneath the seat cover. It's that wavy line that comes up from the seat pan underneath the cover to about the middle of the seat. What that is, is simply the stock rubber tubing used to protect the cover from the sharp edge of the seat pan. It's like door molding but soft rubber. I see alot of seats that have had that pull off and you can see it sticking out from the cover. That soft rubber molding doesn't often stay put, and there were sections that were literally cut through by the sharped edge seat pan. I didn't want to go through all this trouble to put a new cover on and have that rubber band off the seat pan edge showing itself through the cover like this one did.
So................ I opted for hard vinyl door edge molding and gorilla glued it in place. It's not rubber so it won't stretch and it's hard so it won't get cut through, it snaps on the pan and was glued in place.
 sigpic
Steve
"The world is a book, and those who do not travel read only one page." :cool:
_________________
'79 GS1000EN
'82 GS1100EZ
Comment
-
I took your advice and glued my molding on,even used some tape over it as well.http://i632.photobucket.com/albums/u...00080021-1.jpg
1978 GS1000C
1979 GS1000E
1980 GS1000E
2004 Roadstar
Comment
-
Possibly saved yourself from getting that broken bungee cord look under your brand spanking new seat cover.Originally posted by Rover View PostI took your advice and glued my molding on,even used some tape over it as well.sigpic
Steve
"The world is a book, and those who do not travel read only one page." :cool:
_________________
'79 GS1000EN
'82 GS1100EZ
Comment
-
 Mainer
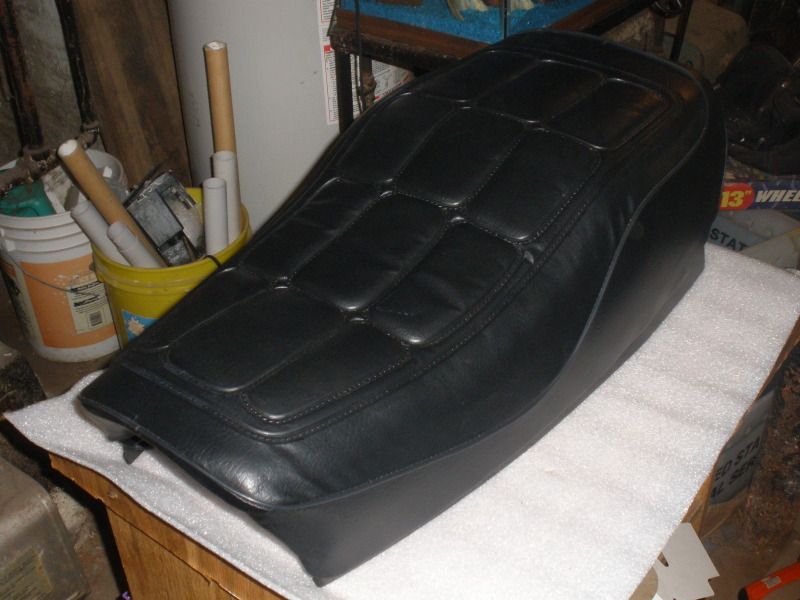
If I were to do mine over again, I think I would use a pin to poke holes in the bottom side of all those heat-seamed "pillows". They flatten out while riding and take a long time to re-fill.
Comment
-
Hate to put more holes in a seat than I already have.Originally posted by Mainer View PostIf I were to do mine over again, I think I would use a pin to poke holes in the bottom side of all those heat-seamed "pillows". They flatten out while riding and take a long time to re-fill. Moot point as I already covered it.We'll see.
 http://i632.photobucket.com/albums/u...00080021-1.jpg
1978 GS1000C
1979 GS1000E
1980 GS1000E
2004 Roadstar
Comment
.png)
Comment