Announcement

Collapse
No announcement yet.

Cutting and fitting a new windshield to a GK

Collapse
X
 
  • Filter
  • Time
  • Show
Clear All
new posts

    Cutting and fitting a new windshield to a GK

    Hi all.

    I was planning to cut a new windshield and Larry D asked that I take some pics.

    So…

    Here they are with the story that goes with it. Sorry for the Typos and spelling. English is not my first language. I speak it well enough…Writing well…You be the judge.

    I am not by far an expert and this is not meant to be a guide. But if others can comment it could be useful.

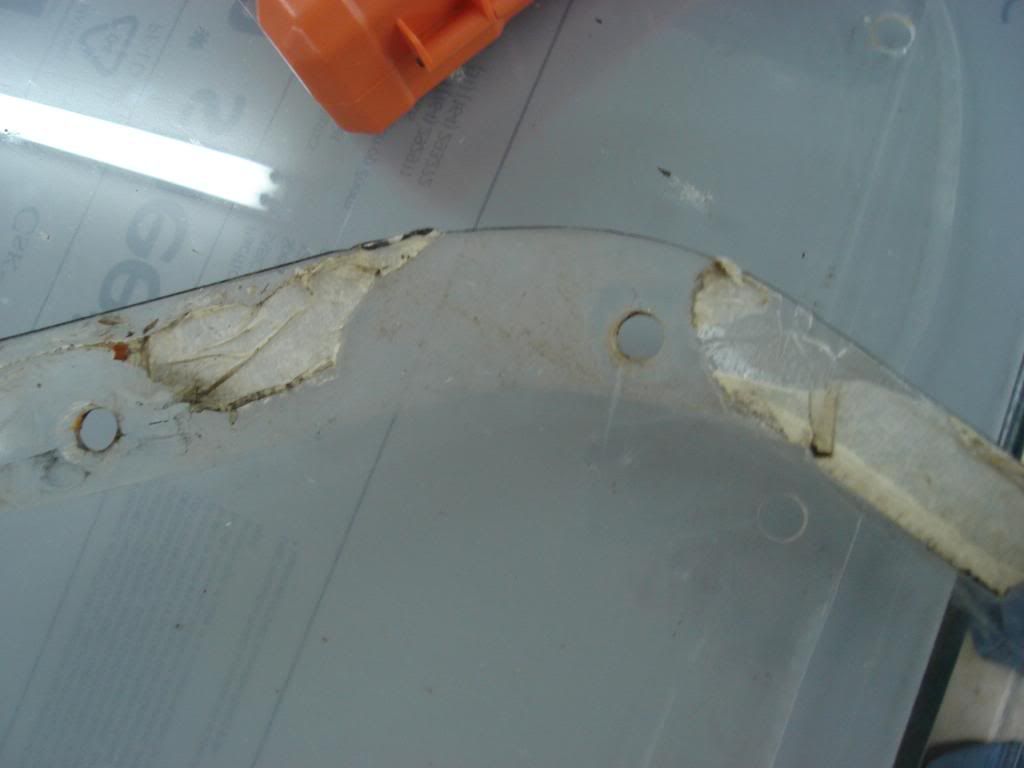
    My 1100GK never had a new (Or original) windshield. I bought it with a PO made one. It is now crazed and developing cracks. It was made with some Plexiglas about 3mm thick. It did well but when I cut a new one with an extra 5cm it was fluttering at 120kph. Size or different material…not sure but it won’t do.

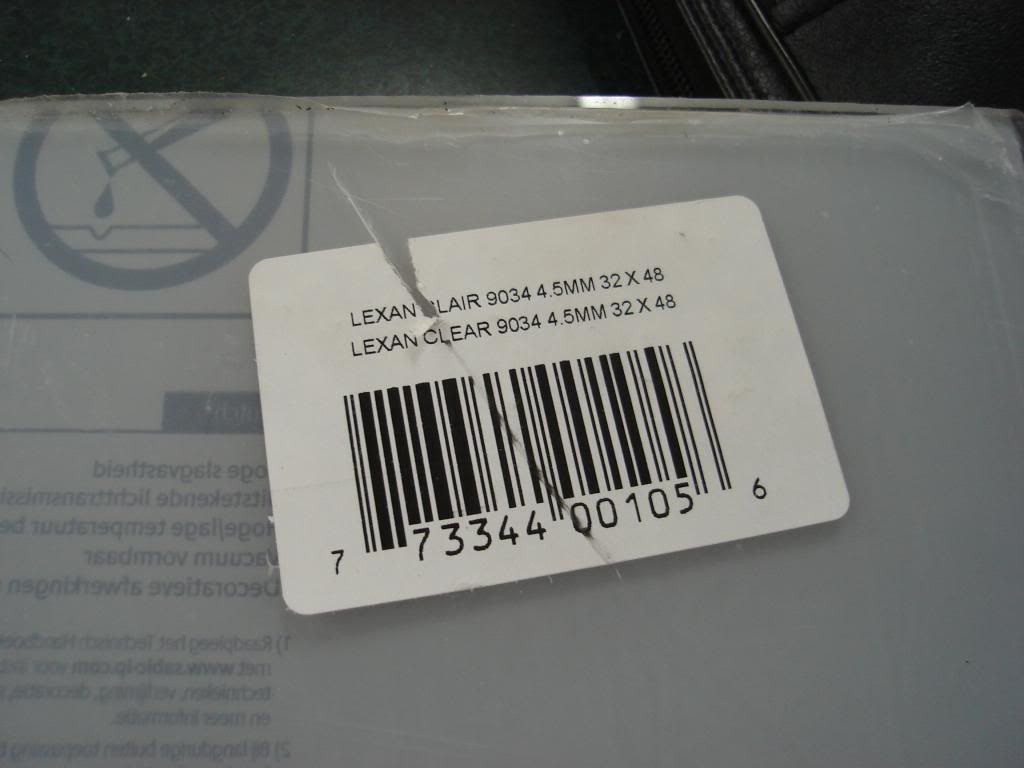
    This newer windshield is cut from 4.5mm lexan.

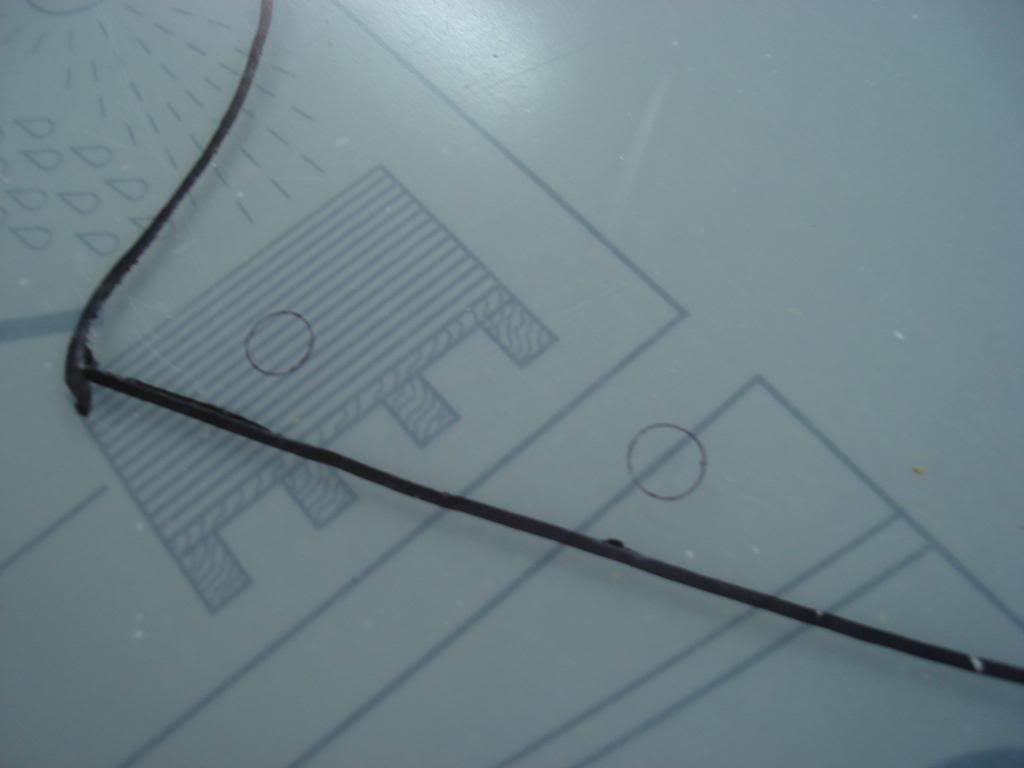
    This is what the holes on my original windshield looks like.


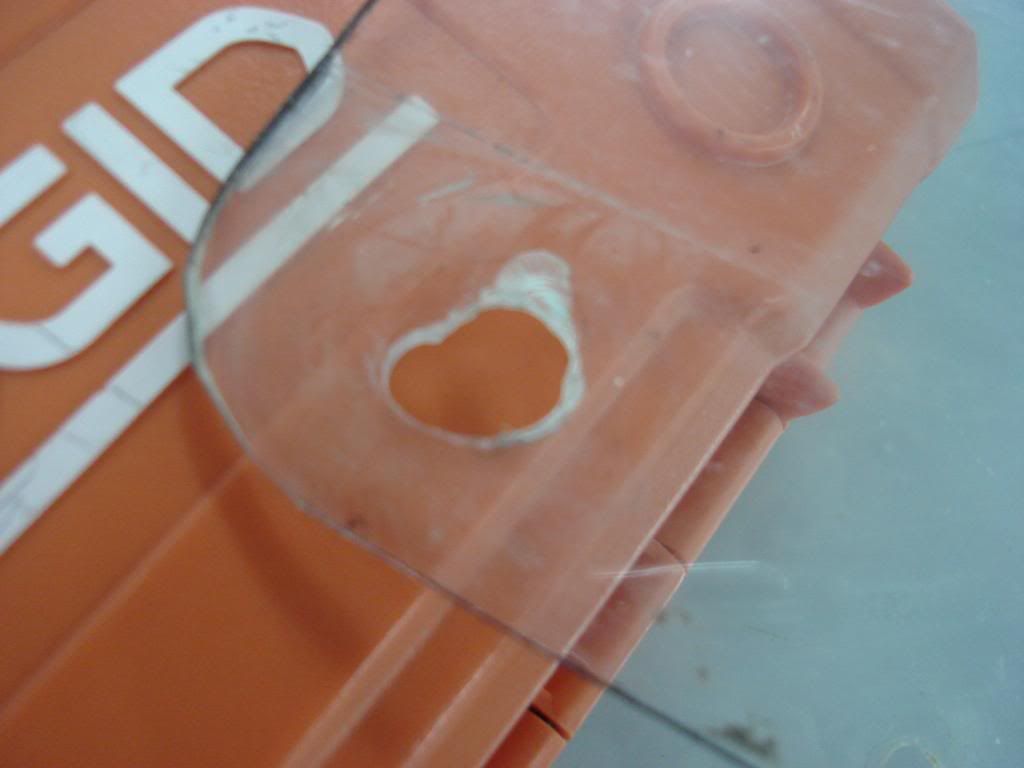
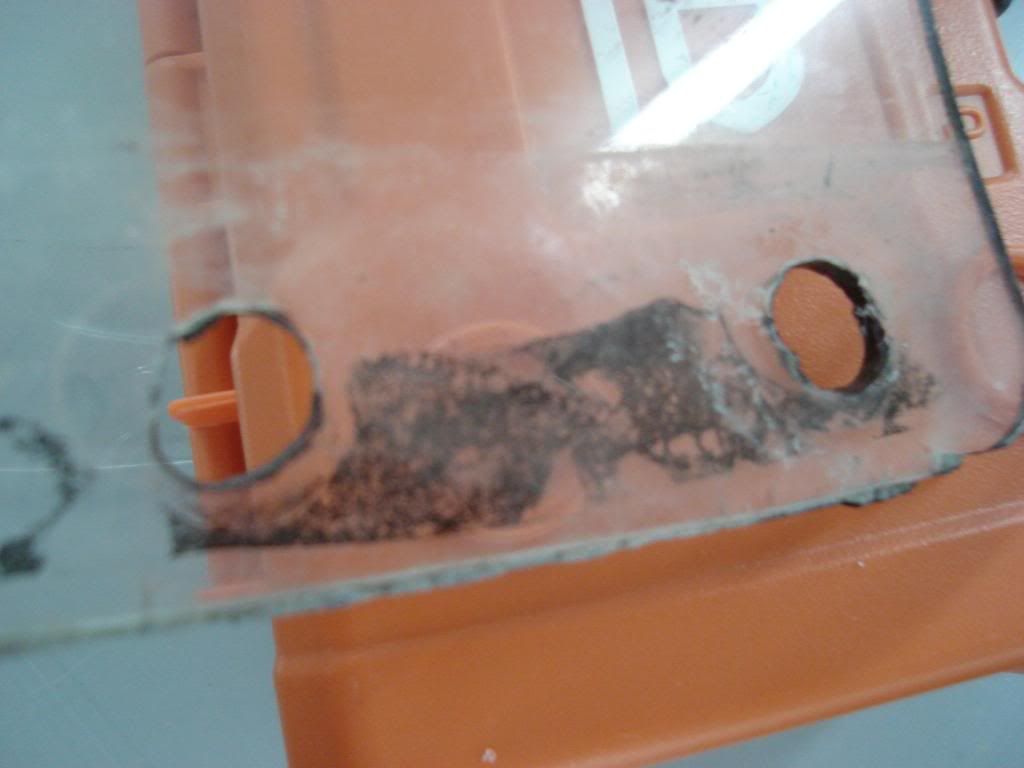
    The inside of the windshield has this “Tape”. I think the original had a water barrier there. And the PO put some tape to emulate it. Unsuccessfully.

    Comments?


    This is the stuff I purchased. Made 2 windshield with it. One for a Honda Helix one for the GK.


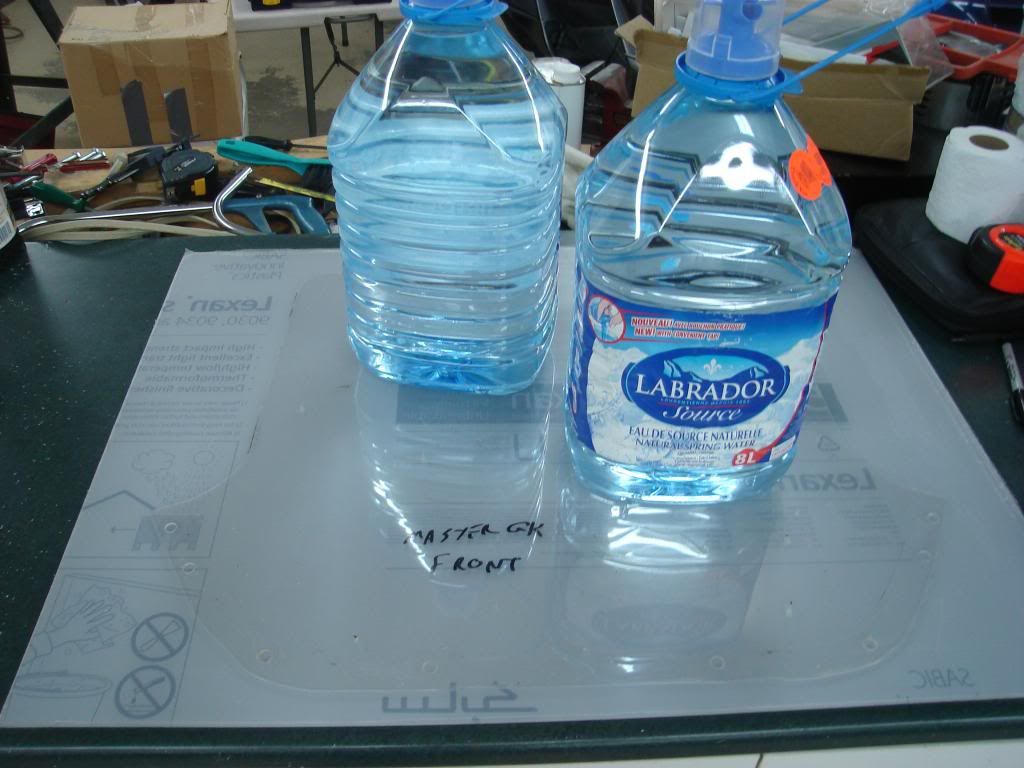
    My working setup Lexan covered with my master and two jugs of water for weight.


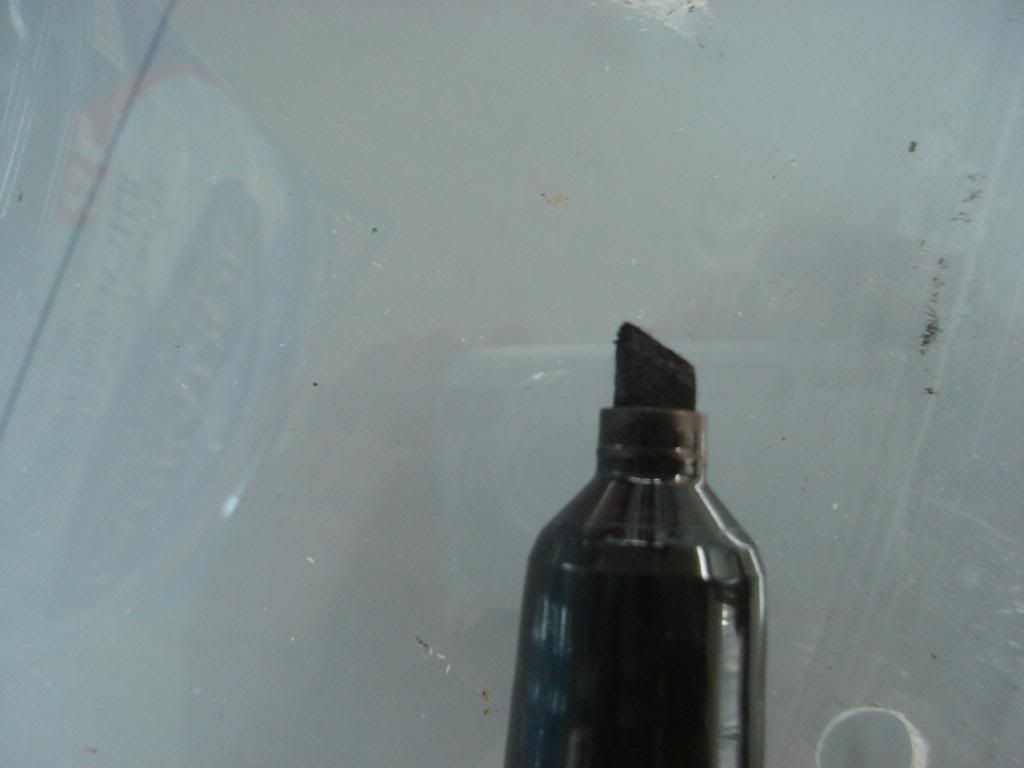
    I used the pointy tip of a large permanent marker. I found that you should not “Press” the tip to your master as it squeezes the ink out and it wick under the master. It blurs the line.


    Windshield marked


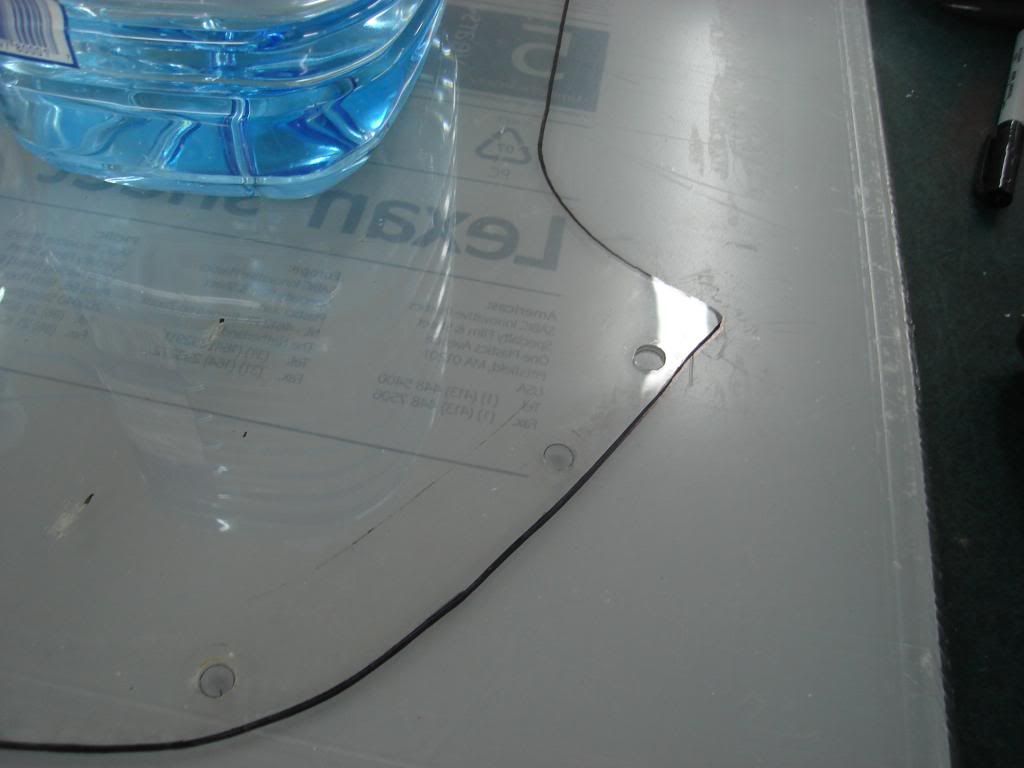
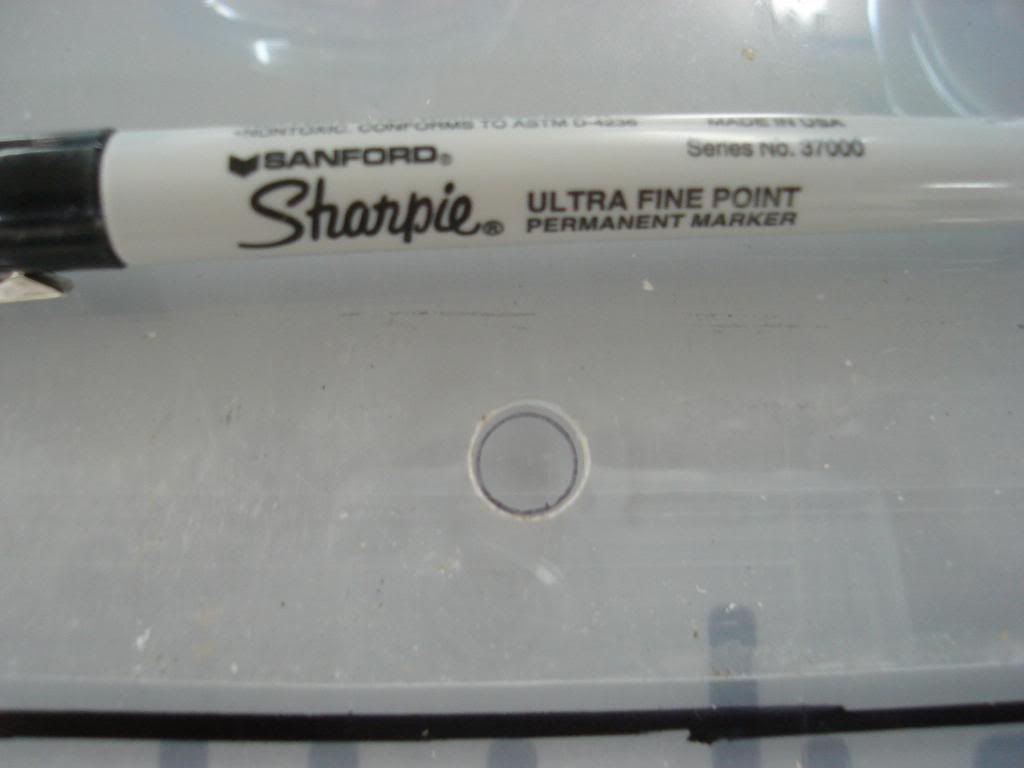
    Holes marked with a fine point permanent marker. I would like to note that permanent or not, working with the sheet, the fine marker would start erasing. Not blur, erasing.

    EDIT: In retrospect I should have filled in the hole. Made it a large dot.


    More to come.
    Last edited by Highway_Glider; 07-14-2014, 09:36 AM.
    Daniel

    https://www.thegsresources.com/_foru...ine=1539562056

    1973 Honda ST90
    1983 Suzuki GS1100GK

    #2
    Working with plastic use just about the same tools as working with wood. The saw blade should have many small teeth. Not the opposite. This one is specific to wood/plastics.


    Make sure your blade is at 90°. My old jigsaw tend to move as a project progresses.


    Cutting the material too fast melts the material and the “Chips” stick to each other and to the plastic sheet itself. It produce this ugly strings that prevents you from cutting straight. You cant see the blade. Practice on a piece of scrap or away from your project.


    Cutting slowly is best (EDIT: Slow forward, Fast up and down). You paid enough for the material take your time. Cutting slowly lets the chips fly away. It produces small grains of plastic and will mess everything around. Don't do this in the living room.


    This is my first cut. I came in from “Under the windshield as that part doesn't show in the finished windshield.


    I cut to remove the black line right by the “Virgin” surface.


    Don't forget your work table. Easy to do. Your wife might like the coffee table as it is. Note: The blade pressure makes the whole project rotate and your cutting line will get closer to the work table. Check often and reposition.


    Approaching a sharp turn. Tight outside curve is fine. Tight inside is not. There will be a lot of stress and ANY notch left in the curve can break the sheet.


    My solution was to overshoot and cut the material away and come back from below.

    Edit: This is a good example of the "Wicking" from the marker. The line is sometime obvious anyway. Sometime...Not so obvious.


    This is my cut to remove the extra material and get to where I am at on the project. I cut rapidly (To show what it does) and this is the result. The chips are welded to the Lexan sheet. They don't fly off and you can't see the cut.


    Still more to come.
    Last edited by Highway_Glider; 08-06-2014, 12:28 PM.
    Daniel

    https://www.thegsresources.com/_foru...ine=1539562056

    1973 Honda ST90
    1983 Suzuki GS1100GK

    Comment


      #3
      Turning from the side to the top of the windshield. The cut drifted slightly. That is easily repaired with a file after the fact.


      Finished Windshield.


      I was planning on using a flat file and one of those sponge sandpaper. The result With the the sponge wasn't so great. The file was OK.


      This is the side of my new windshield. The white part on the edge has a notch in it. Notches can be where cracks will start.


      This is one of my favorite tools. A cheap Dozuki. I didn't use the teeth. I use the straight back side as a card scraper.


      This is card scrapper. It's just a straight sharp edge to scrape material away.


      It works very well on the windshield edges.


      Stay tuned.
      Last edited by Highway_Glider; 07-10-2014, 09:48 AM.
      Daniel

      https://www.thegsresources.com/_foru...ine=1539562056

      1973 Honda ST90
      1983 Suzuki GS1100GK

      Comment


        #4
        The 4.5 mm Lexan is very stiff. This is how I gave it a curve.


        EDIT: Wrap and tie the loose hook in a rag. The hood balances every time you move the windshield and can hit the Lexan hard enough to go through the protective plastic sheet. EDIT: Or damage the finish of the bike itself.


        The curve that allowed me to work on the GK was about 10 cm.


        Ready to fiddle and fit.


        I shone a light through the bolt holes to verify my markings.


        What the project looks like at this point.


        Checking the marking with the aluminum cover strip.


        This is where I paused for the night. I saw I was bleeding and made an offering to the “Knuckle Gods”.


        The Knuckle Gods are pleased.
        They accept the worthy sacrifice.
        They smile on your work.
        You will be fruitful.
        Have many wives and children.
        Your enemies will coward before you.
        Last edited by Highway_Glider; 08-06-2014, 12:32 PM.
        Daniel

        https://www.thegsresources.com/_foru...ine=1539562056

        1973 Honda ST90
        1983 Suzuki GS1100GK

        Comment


          #5
          Almost done.

          I started drilling the first hole. The one that appeared to be the better one of the bunch. Also in the middle of the windshield. Well left of the middle. The windshield was still bowed, I drilled a shallow hole, but after pulling the bit away I was nowhere near centered. I am pretty good at eyeballing bits but not this time. So I cut the string on the bow. Careful there is a lot of energy in that curve. I finished that first hole on the press drill. So the bit would not drift into the old dimple.


          Packed the back of the windshield as it tends to sag away from the fairing.


          Corrected the next hole.


          Protect you bike.


          Checking with the aluminum band.


          I redrew the holes according to the band. You can see that there is a divergence of opinions. Time to compromise a bit.


          This is my GF’s old windshield next to her new one (Honda Helix).


          It has a rubber strip to stop water from coming into the cockpit. Remember I never had an original one on the GK. When ridding in the rain with the GK I always had water bubbling in the fairing between the Plexiglas and the fairing itself. I want one. It's a desirable feature to me.


          The windshield is conforming with the fairing well.


          I marked the height for the foam rubber on the fairing. The marks are on the front side.


          One more to go.
          Last edited by Highway_Glider; 08-06-2014, 12:06 PM.
          Daniel

          https://www.thegsresources.com/_foru...ine=1539562056

          1973 Honda ST90
          1983 Suzuki GS1100GK

          Comment


            #6
            This is what I used. Closed cell insulation.


            It was stuck on the low side of my marks.


            Back to the bike. Those are screwdriver handles to "Pin" the windshield in place so as to get the first bolt in.


            Fitting the bolts back in. Keep the masking plastic sheets as it is very easy to hit you new windshield with tools.


            The sleeves are meant to go "In" the hole and butt against the bolt head. Not against the windshield.


            End result.


            Inside the fairing.


            Windshield edge. The scrapping left some burrs. That needed cleaning.


            Conclusion.

            A worth while project.

            If I had to do it again I would remove "Notches" before fitting the windshield but scrape the edge of the windshield after fitting it to the bike. Much more stable than between your legs.

            I wouldn't fiddle so much with the bolts. The foam rubber made using the original bolts very difficult. I will be replacing them soon enough anyway with hopefully stainless ones about 5 mm longer.

            I would also stick the foam about 3 mm lower.

            Following an original windshield would be so much easier. I would consider buying an old original just to make it my template.

            Have fun, I hope this will help someone.
            Last edited by Highway_Glider; 07-10-2014, 09:52 AM.
            Daniel

            https://www.thegsresources.com/_foru...ine=1539562056

            1973 Honda ST90
            1983 Suzuki GS1100GK

            Comment


              #7
              A gentle flame from a butane torch will blend, seal, de-burr, and make those edges crystal clear! Practice on some of your scrap, it's well worth it!
              Great job on the project

              Comment


                #8
                Originally posted by MatBirch View Post
                A gentle flame from a butane torch will blend, seal, de-burr, and make those edges crystal clear! Practice on some of your scrap, it's well worth it!
                Great job on the project
                Now you tell me.

                I didn't know that. I will practice and try.

                Thanks for the input.

                EDIT:

                Tried and It doesn't work for me. The plastic goes brown and I didn't like it. I deburred with light rubs from my "Scrapper".
                Last edited by Highway_Glider; 07-07-2014, 08:41 AM.
                Daniel

                https://www.thegsresources.com/_foru...ine=1539562056

                1973 Honda ST90
                1983 Suzuki GS1100GK

                Comment


                  #9
                  Great write up ! Looks nice. An exacto knife will easily trim away the extra foam sticking out if it ever bothers you.
                  82 gs1100e FAUX Skunk
                  80 gs1000s

                  Comment


                    #10
                    Originally posted by Gregory View Post
                    Great write up ! Looks nice. An exacto knife will easily trim away the extra foam sticking out if it ever bothers you.
                    Thanks Gregory. It does bother me a bit. Not as much as possibly scratching the windshield cutting it though.

                    Part of the problem, on the sides, is from my not having more of those sleeves that goes over the bolts. I have four. None for the mirrors and the wings of the windshield tend to pull up and away (Trying to go flat again). Making the sides 2-3mm higher than they should (The bolts are about 1mm too high and the windshield holes are also about 1mm too high). The bolts aren't centered in the (Butchered) holes there.

                    I think (Again I am not sure) that the original mirrors had them. Why else would the holes in the fairing and windshield all be the same diameter? The PO removed them fitting his after-market mirrors.

                    I am myself replacing those with mirrors from a Bandit. I will be going back in there soon. I hope to find or fabricate something. I will see then if the foam still bothers me.

                    EDIT: I might steal the two outer front sleeves and put them on the mirrors last holes. The purpose of the sleeves is to center the holes sure but they are meant to allow you to tighten the nuts without over-squeezing the fairing and windshield.
                    Last edited by Highway_Glider; 07-07-2014, 08:42 AM.
                    Daniel

                    https://www.thegsresources.com/_foru...ine=1539562056

                    1973 Honda ST90
                    1983 Suzuki GS1100GK

                    Comment


                      #11
                      Good job !! I've heard of this being done, but, I've never actually seen it done with a nice write-up. Hope it lasts forever.
                      Larry D
                      1980 GS450S
                      1981 GS450S
                      2003 Heritage Softtail

                      Comment


                        #12
                        Originally posted by Larry D View Post
                        Good job !! I've heard of this being done, but, I've never actually seen it done with a nice write-up. Hope it lasts forever.
                        Thanks Larry.

                        I couldn't (Wouldn't) have done it (Published that is) without you.

                        I have adapted my new mirrors and moved two sleeves. The windshield now fit has it should. The foam rubber on the sides is now lower too.

                        I have to find or fabricate more sleeves.
                        Last edited by Highway_Glider; 07-07-2014, 10:43 AM.
                        Daniel

                        https://www.thegsresources.com/_foru...ine=1539562056

                        1973 Honda ST90
                        1983 Suzuki GS1100GK

                        Comment


                          #13
                          If you find something that works well as sleeves, let me know, I need some too.
                          Larry D
                          1980 GS450S
                          1981 GS450S
                          2003 Heritage Softtail

                          Comment


                            #14
                            Eureka or Carpe Diem

                            For starter here are the measurement I got for the sleeves.

                            Inches and mm. But simply put in Imperial measurements they are 3/8" diameter and 5/8" length.


                            My solution: Copper piping form the hardware store. Sold by the foot. OD 3/8". The walls are just a bit thinner than the original sleeves. Total cost to me was 1.81$ for a foot.


                            Comparison.


                            Straightening the pipe for cutting.


                            Matching and marking. The copper is much softer than steel. Mark deep not just a scratch. You can scratch to mark the length but deepen it afterward with the knife.

                            Last edited by Highway_Glider; 08-06-2014, 12:14 PM.
                            Daniel

                            https://www.thegsresources.com/_foru...ine=1539562056

                            1973 Honda ST90
                            1983 Suzuki GS1100GK

                            Comment


                              #15
                              I used a pipe cutter. You can easily cut copper pipes with a hack saw. With the pipe cutter simply line up the cutting wheel into the knife made groove, tighten and cut.


                              First there was one and then there were two.


                              And then there were more.


                              In place, ready to button up. Finally mi GK has all the required sleeves, new (To me) mirrors and a new windshield. May it all last longer than I need them.


                              I still need to get stainless bolts and nuts but this conclude this project and experimenting for me. Please feel free to comment and add to it.
                              Last edited by Highway_Glider; 07-14-2014, 09:44 AM.
                              Daniel

                              https://www.thegsresources.com/_foru...ine=1539562056

                              1973 Honda ST90
                              1983 Suzuki GS1100GK

                              Comment

                              Working...
                              X