.png "Powered by vBulletin")
Originally posted by posplayr
View Post
-
For $13 who's going to argue. I'm going to go buy a couple of them tomorrow. However, I don't understand why you cover the vent hole since that prevents vacuum from building in the reservoir and interrupting the flow to the nozzle. (Is this considered hijacking)?sigpic
1983 GS1100ES (Bought July 2014)
1983 GS1100E (Bought July 2014)
1985 GS700ES (Bought June 2015) Sold
On Christ the Solid Rock I Stand
All Other Ground is Sinking Sand -
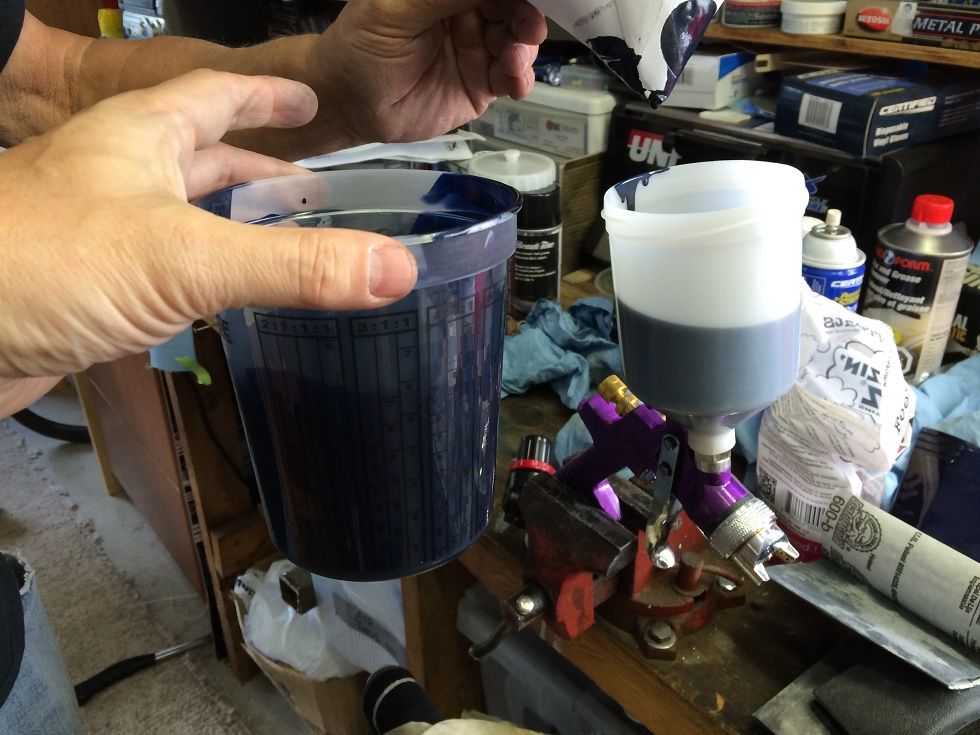
The paint would spill out when turned upside down. Must have been old cracked 1/4" wide rubber bands that did not really seal. Never had any issues with spraying. Just clean well and follow other recommendations with respect to moisture control.Originally posted by glib View Post
Yes we probably are jacking Trevor's thread by now Last edited by posplayr; 04-23-2015, 12:10 AM.
Comment
-
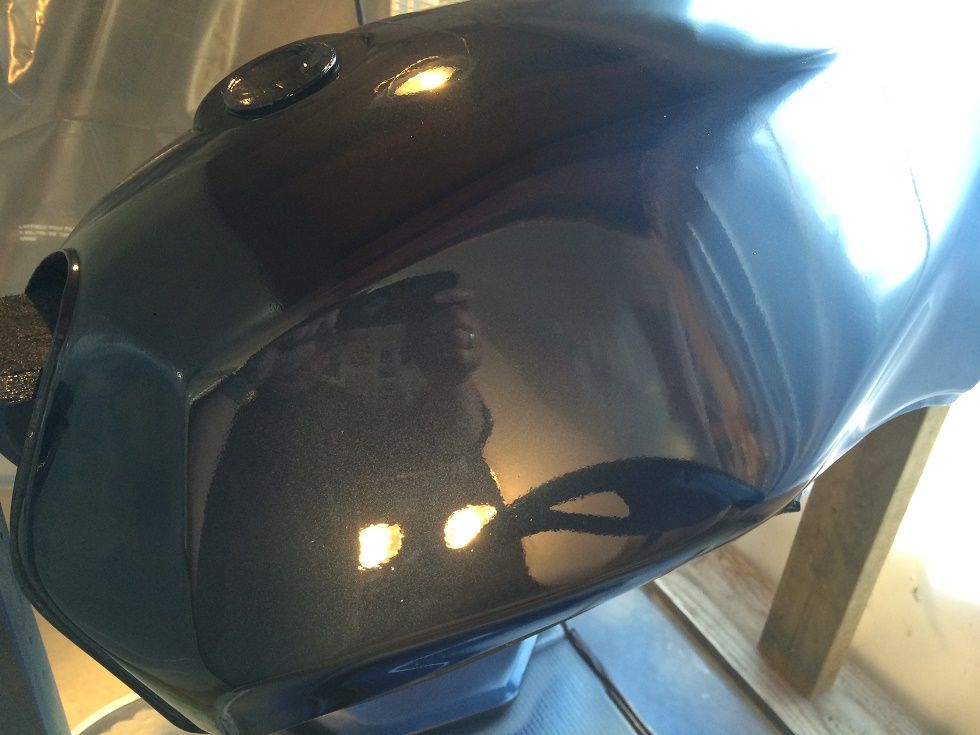
Here is another hint, that you would rather not find out the Hard Way. You need to pay attention to the paint in the area of the neck. While there is debate about how to fix the problem, there is not much debate that there is a problem to be dealt with.
NVR2Old is an impeccable painter and his recommendation is to fillet the gas filler neck with JB weld. IIRC, he applies color leaving a portion of the JB Weld Fillet exposed and then clears over the color and JB Weld fillet, presumably he masked off the JB weld where it tappers into the metal neck.
I did not go to this length instead relied on the adhesion properties of the PPG to bare metal. I mask off the neck twice. The first time is for the primer and color. Then before shooting the clear I pull that tape and then mask off further onto the bare metal. The protects the edge of the color.
The main thing is you have to seal the neck seam or gas can get under the clearcoat and does wonders for the color. But also it is best to prevent the gas from getting under to the color as well. If you end the color and the clear at the same place the gas has a pretty good opportunity to get in. So you need two separate boundaries. One where the color ends ,and one where the metal starts. How you do that can be the subject of much debate.
NVR2OLD has a JB Weld to metal boundary that prevents gas from getting under teh JB Weld. I use a PPG Clear to Metal boundary to presumable achieve similar results in allowing gas into the Clear to metal boundary. The benefit is I don't have a "Tan Line" on my tank.
More here.
.png)
Here is a picture of mine. What is a little hard to tell, but my main paint line for masking (i.e. the end of the color) is well above the filler neck seam. Before clearing I removed that masking tape and moved the next mask like to teh top of the filler where it rolls over and goes into the tank. This gives me about 1/8" of clear over metal that with a clear to metal boundary at the highest point on the neck where there can be no standing gas. Make sure there is plenty of clear in this area ; as much as you can pool without running.
My tank was also coated with Por-15 and if you do that make sure to keep that little hole you see open and clear. It is a vent hole and your gas will certainly come out if it is plugged. In fact that is how I learned so much about this subject
This is the first time the tank was painted and that time I taped to the seam (bad mistake)

This tanks was painted in about summer 2011 after my get off but the Por-15 tank liner was done back in Summer 2008. which is about 5 years ago now.
 Last edited by posplayr; 04-23-2015, 12:11 AM.
Comment
-
Very nice. I want the dad AND the truck.
S.Comment
-
Well Posplayr, am I ever glad I read your post! We are getting ready to paint tomorrow and your tip on the tank neck was great. We will be tapping and spraying accordingly. Thanks again. And my Dad bought me the hf gun. He says the same thing about the gun as you do...and great with my small compressor.
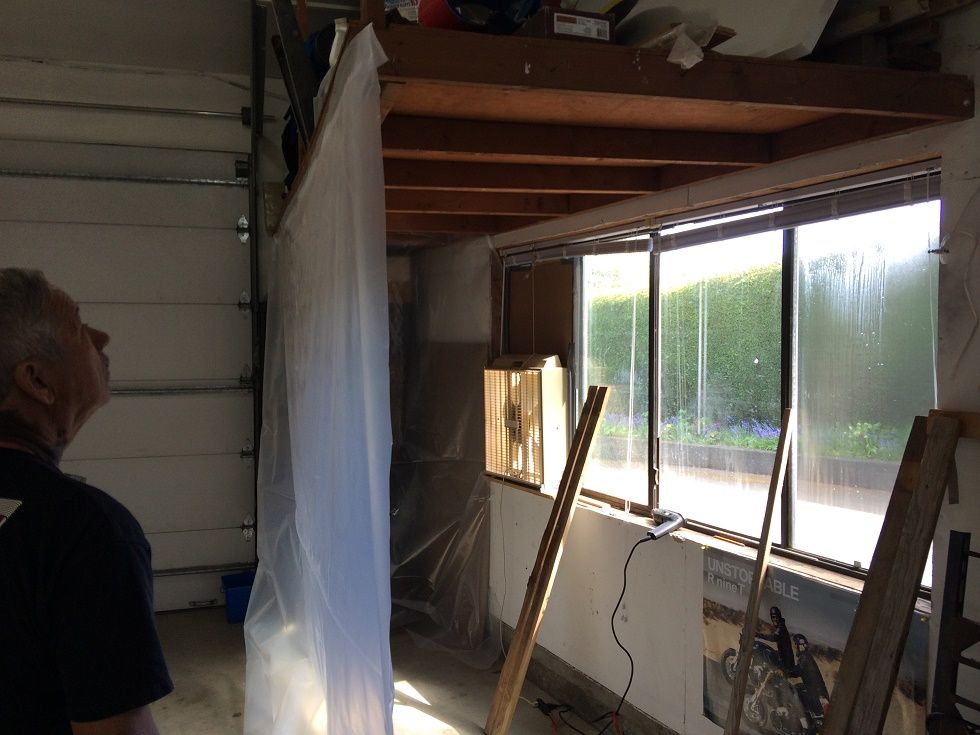
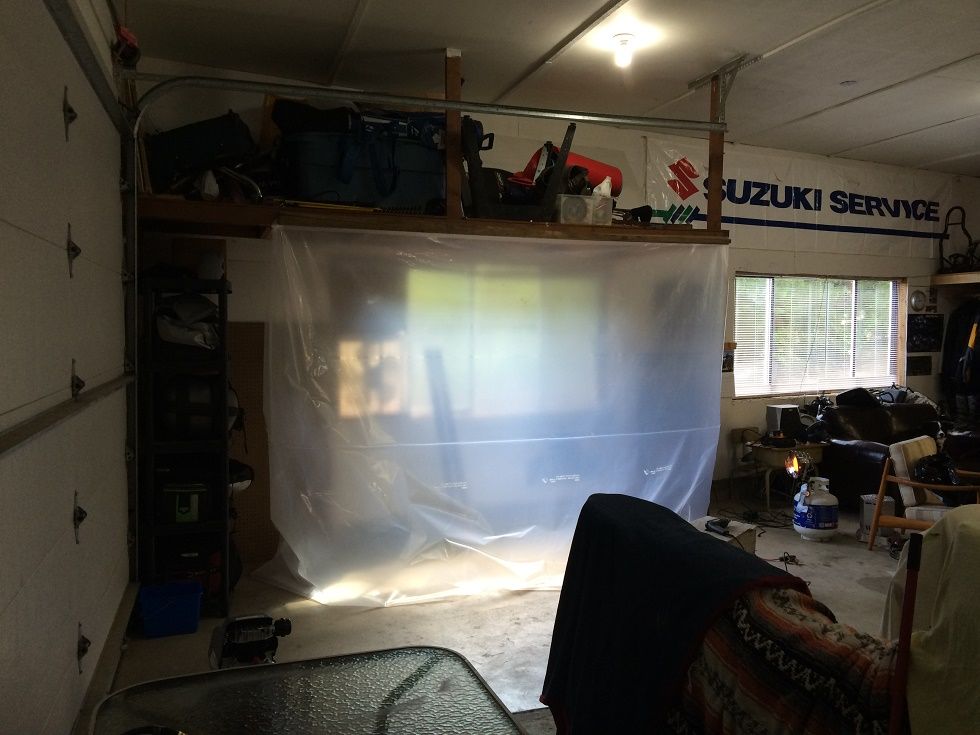
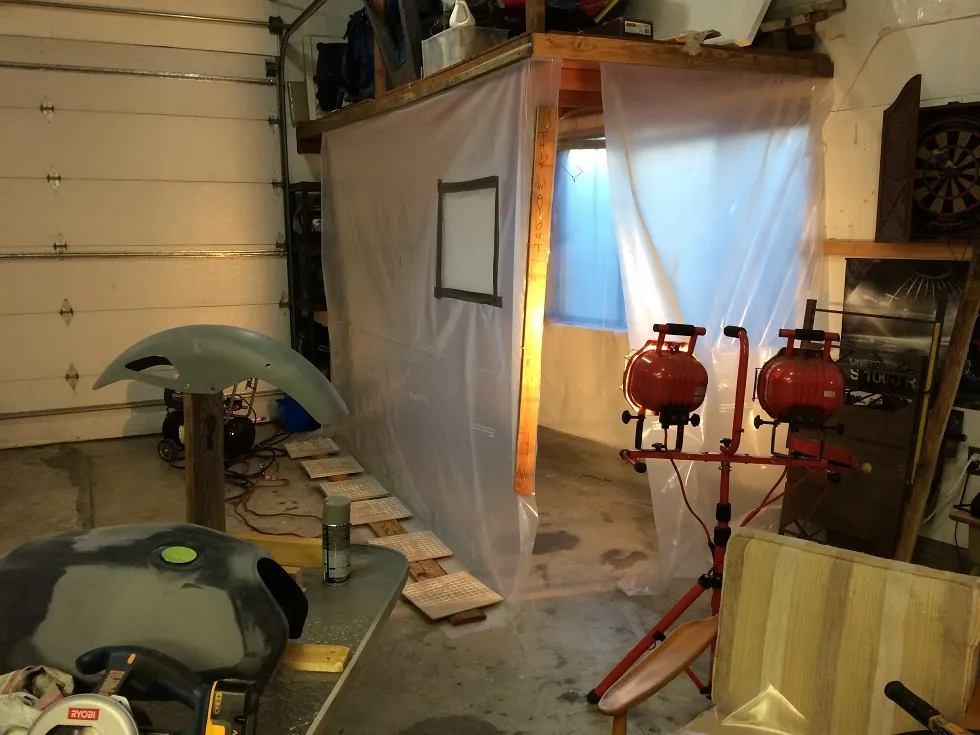
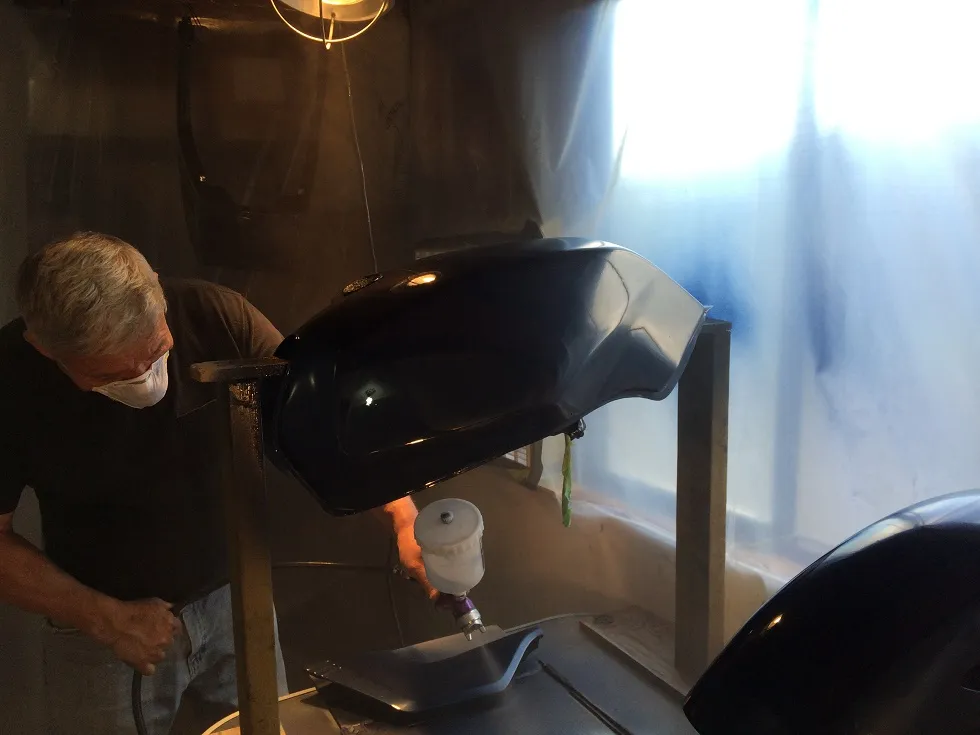
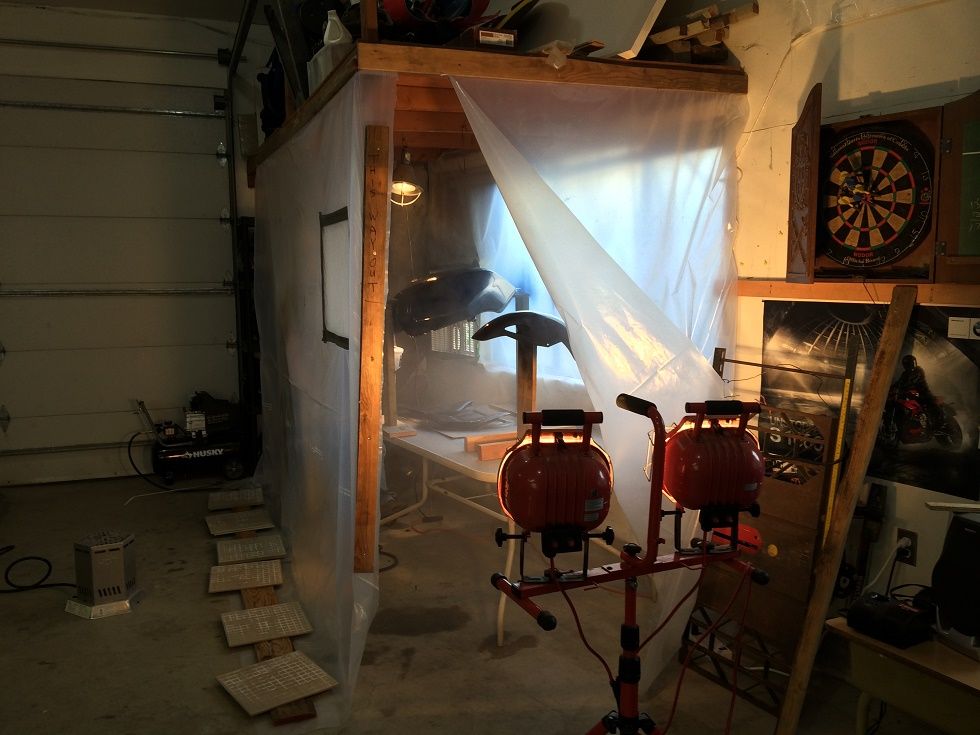
We got the paint booth finished today and painted my exhaust.
Bought a heavy gauge plastic in a roll that was more than I needed but that was how it came.
Plastic $32
Fan I got a t a yard sale $5.
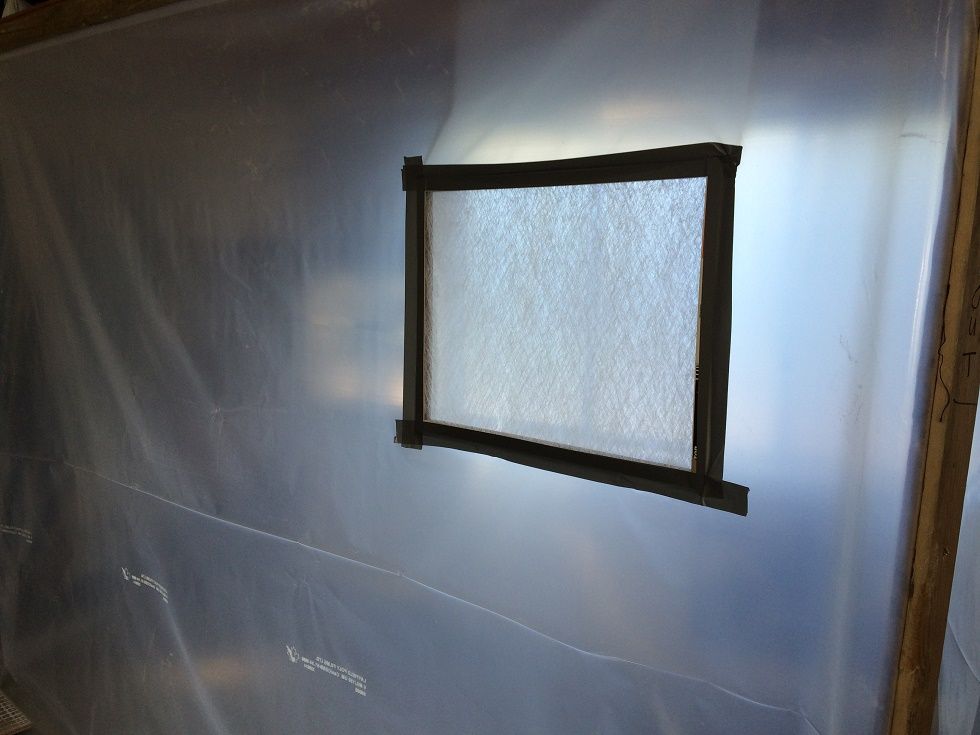
Furnace filter (3) $7.
Total cost $44...
It worked out great having the windows right there allowing natural light.

Lol...
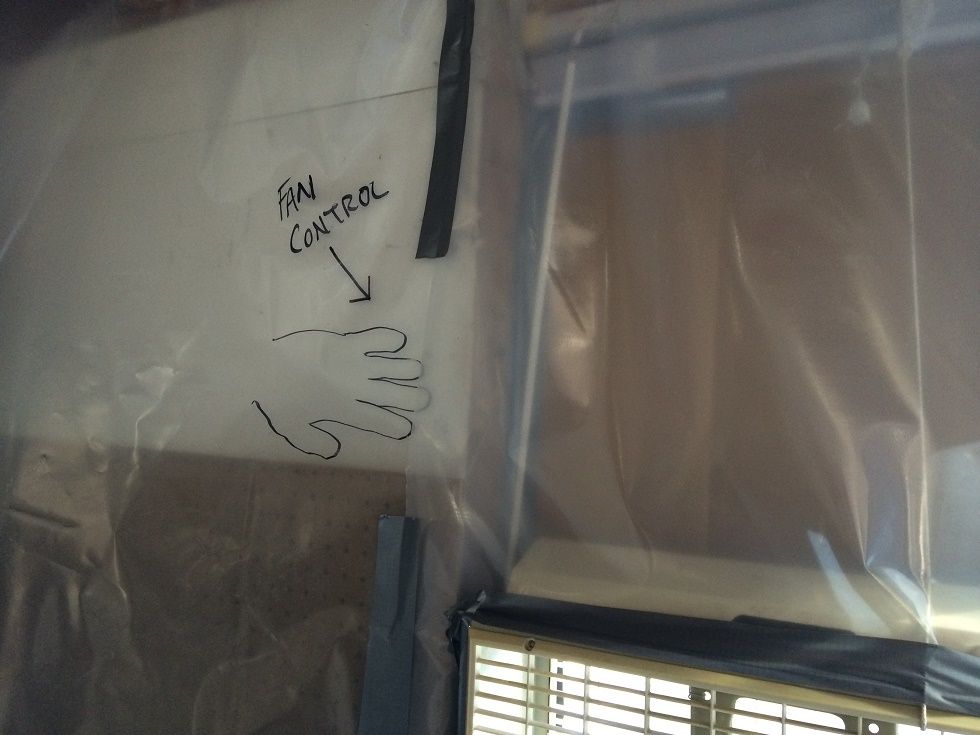
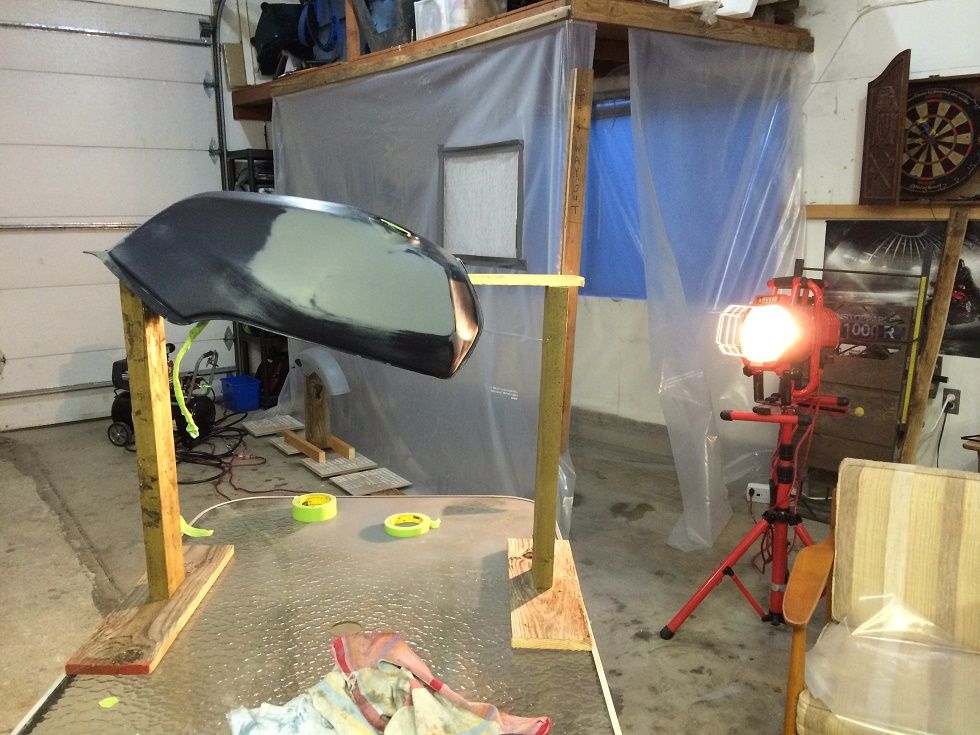
Little test run with my exhaust...Fan worked great!

Front fender jig
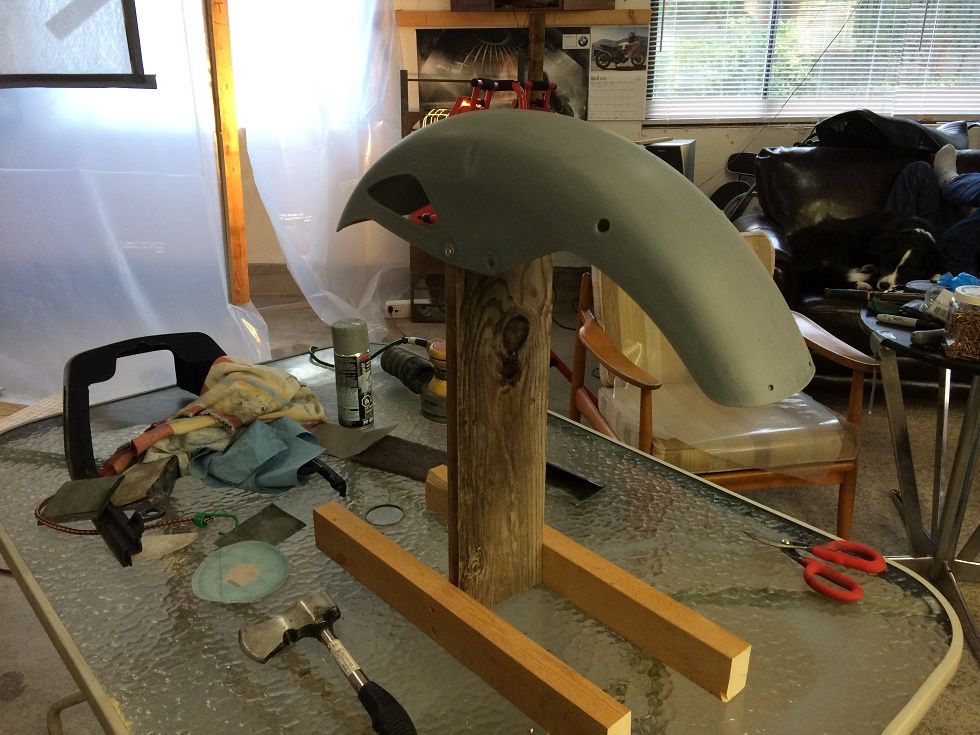
tank jig
 Last edited by trevor; 04-23-2015, 01:10 AM.No signature :(
Comment
-
Looks like you are in good hands. (working alone) I would probably want an extra set of work lights. I had overhead florescent in mine. They provided excellent light but were also a dust collector so I had to make sure I washed them down good before each paint job.
With two people , you can be standing outside on light duty and move the lamps around depending upon what you Dad need.Comment
-
Following with interest, looks like you're in good hands and spending some quality time with your Pops, that's great!
A little jealous, I've often wondered what it would be like...----------------------------------------------------------------
2014 BMW F800GSA | 1981 GS850GX | 1982 GS750T (now the son-in-laws) | 1983 GS750ES | 1983 Honda V45 Magna (needs some love) | 1980 Yamaha GT80 and LB80 "Chappy" | 1973 and 1975 Honda XL250 projectsComment
-
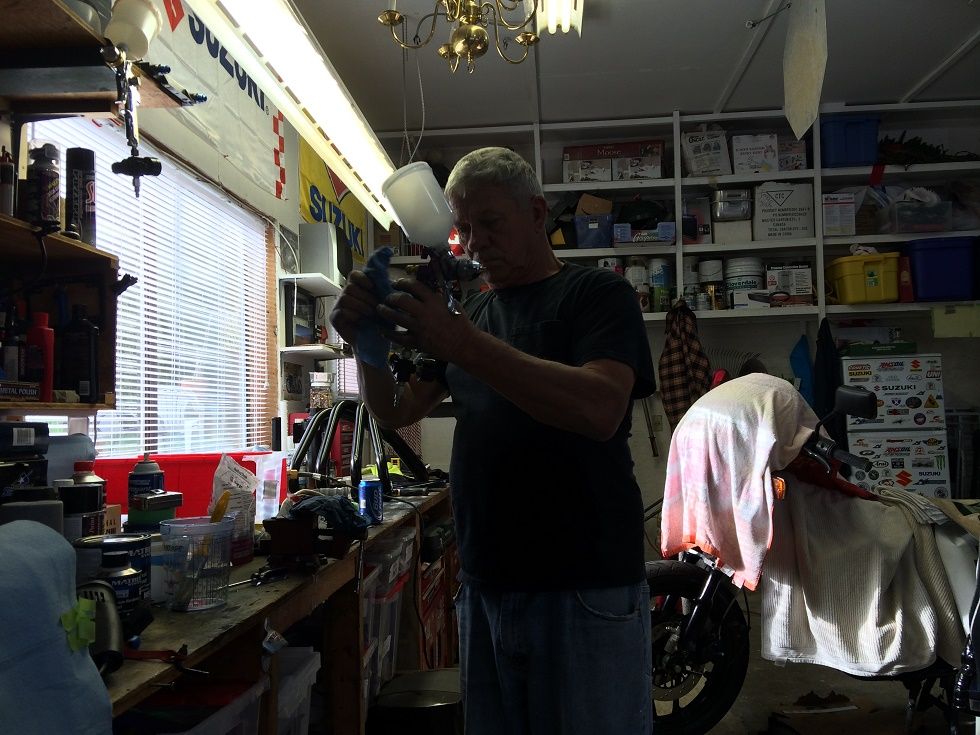
Thanks guys, really enjoying spending time with my Dad...
Ready for paint.
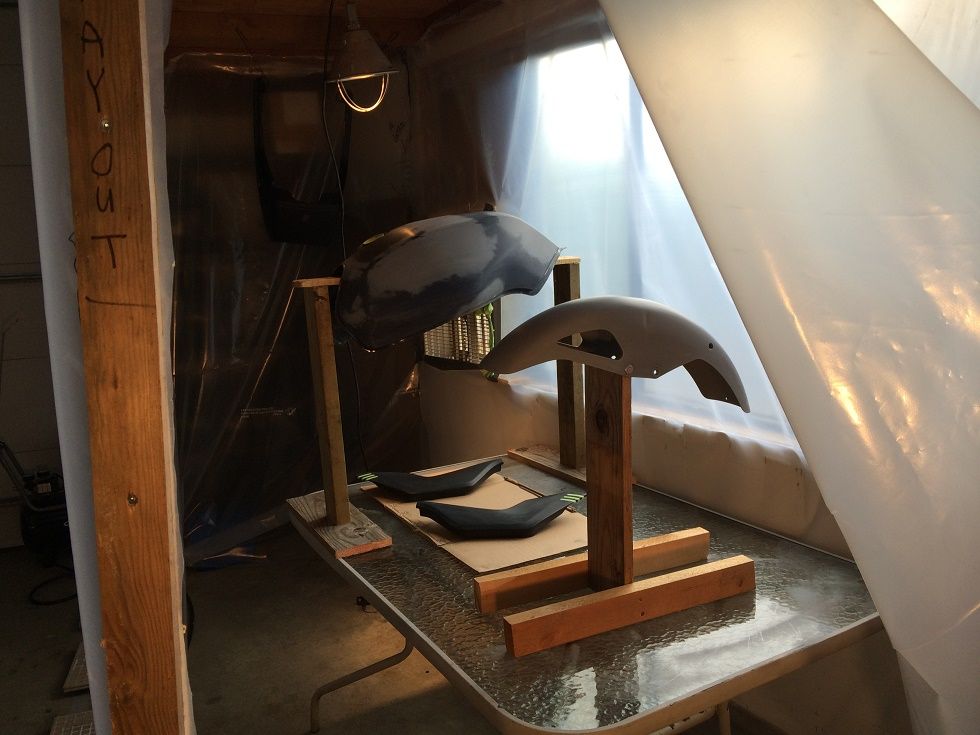
My dad put on a couple of coats of paint and a couple coats of clear...in a few days he will sand with 1500 (maybe wet sand) and lay the decals down and a couple more coats of clear. Got some dust in the paint (I guess I need to stay away form the booth lol) Sanding will take care of that and we will make sure no air will be coming through my garage when we do the final clear coats.
Very happy with the way the blue is coming down and it looks very close to the original colour.

 Last edited by trevor; 04-24-2015, 12:32 AM.No signature :(
Comment
-
You want to be very careful sanding anything on the decals. The procedure is a light dusting to build a barrier then get enough clear over the decals s othat you can rough them up again (but the barrier prevents a bleed through which lifts the decal) without going through (ask me how I know). If unsure barely touch the decals. IIRC I might have used a 600 instead of a 1500. 1500 is pretty fine for getting good adhesion of the clear.Comment
-
Stopped by today to make sure Trevor was doing a stand up supervisor job, he was as usual.. The paint is uncannily close to the original if not a perfect match. Unfortunately Trevor's going to have to do a frame up rebuild to get the rest of the bike looking as good as the paint job! Good work 'Dad'!!
Rob
The paint is uncannily close to the original if not a perfect match. Unfortunately Trevor's going to have to do a frame up rebuild to get the rest of the bike looking as good as the paint job! Good work 'Dad'!!
Rob
1983 1100ES, 98' ST1100, 02' DR-Z400E and a few other 'bits and pieces'
Are you on the GSR Google Earth Map yet? http://www.thegsresources.com/_forum...d.php?t=170533Comment
-
Good idea Rob! When can you make it happen??Originally posted by azr View Post No signature :(
Comment
-
So we have two coats of clear on the paint now and will sand with 1000, then apply decals and then two more coats of clear. Does that sound right?Originally posted by posplayr View Post
Is it ok to put the decals on after a few days of the clear coat curing and a light sanding?No signature :(Comment
-
WOW , looking real good Trevor ,would love to have mine look that good .Comment
-
Originally posted by trevor View Post
Yes Sandy mentioned this a couple of days ago. You want to let the clear outgas for a while before applying the decals.
When painting the decals you want to start with a very light fog over the decal to seal it. Let it dry for 5-15 minutes (depending on your weather; it should be beyond the tacky stage when you resume) before putting on the next layers of clears. That builds a barrier to prevent the decal from lifting. So unless you really hose down the next layers of clear (and reflow the fogged layer), the decal will not lift as it is encased in that first layer of fogged clear.
I would wait to sand the day you put on the decals. That will help remove anything that might have gotten on.
I'll leave it up to your dad to decide how many coats of clear to use. I would do at least those last 2.Comment
-
Yes we are going to apply the decals on the day we sand. Planning on doing that on Sunday. If we are applying decals over sanded clear would that not ilinamate the "outgas"?Originally posted by posplayr View PostNo signature :(Comment
 .
.


Comment