20160512_202219.jpg
Announcement
Collapse
No announcement yet.
How to clean up the aluminum cases
Collapse
X
-
How to clean up the aluminum cases
As you can see the engine casing on the right side of my bike is significantly discolored. Its not something that you can feel if you run your hands over it so i'm not sure that it corrosion. Maybe some type of oxidation?. anyways any tips on what to do to get rid of this?
20160512_202219.jpgTags: None
-
Forum LongTimerGSResource Superstar
Past Site Supporter
Super Site Supporter- Mar 2006
- 35640
- Torrance, CA
There are about a bazillon threads on how to polish the cases. A search will turn up more info than you would possibly need.
My suggestion:
- remove cover from bike
- strip off factory clear coat with paint stripper
- use 220 grit sandpaper on a palm size DA sander to remove corrosion
- use a dremel tool with stainless steel wire wheel to get into all the nooks and crannies
- use a SISAL polishing wheel w/black cutting compound to polish the sanding marks out. Wear gloves, the metal gets quite hot during this process.
Good luckEd
To measure is to know.
Mikuni O-ring Kits For Sale...https://www.thegsresources.com/_foru...ts#post1703182
Top Newbie Mistakes thread...http://www.thegsresources.com/_forum...d.php?t=171846
Carb rebuild tutorial...https://gsarchive.bwringer.com/mtsac...d_Tutorial.pdf
KZ750E Rebuild Thread...http://www.thegsresources.com/_forum...0-Resurrection
-
 shibby_cbs
in fact i do have a bead blaster. Ill load up the glass bead and give her a spray. the glass bead on aluminum is a bit aggressive though so ill probably hit it with 600 after that. I just wonder how the corrosion happened underneath the clear.
Comment
-
 Runeight
I first used paint stripper. Buy yourself some 3M automotive sandpaper. I started with 800 then 1000 and finally 1500. I keep 600 and 2000 on hand.
Sand wet using dish soap dipping often.
After sanding polish with your choice of product. My results are in the Project Thread, Suzzie. It's actually quite simple to do, just a little time.
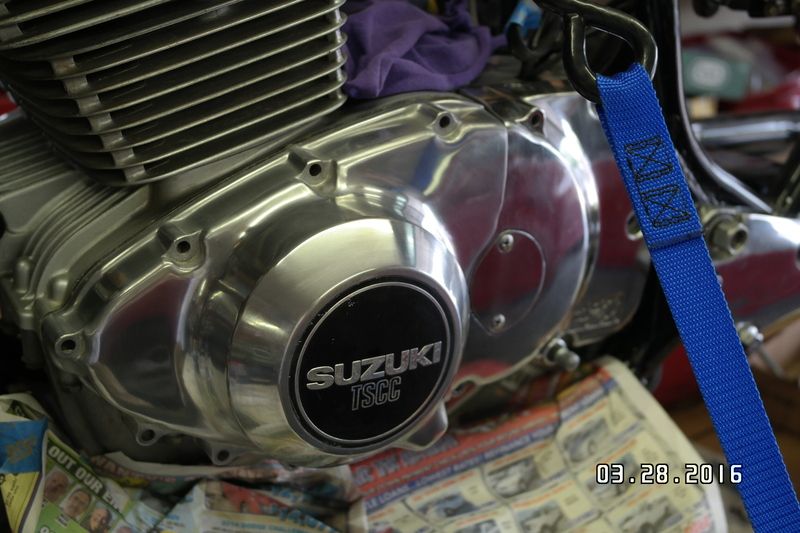
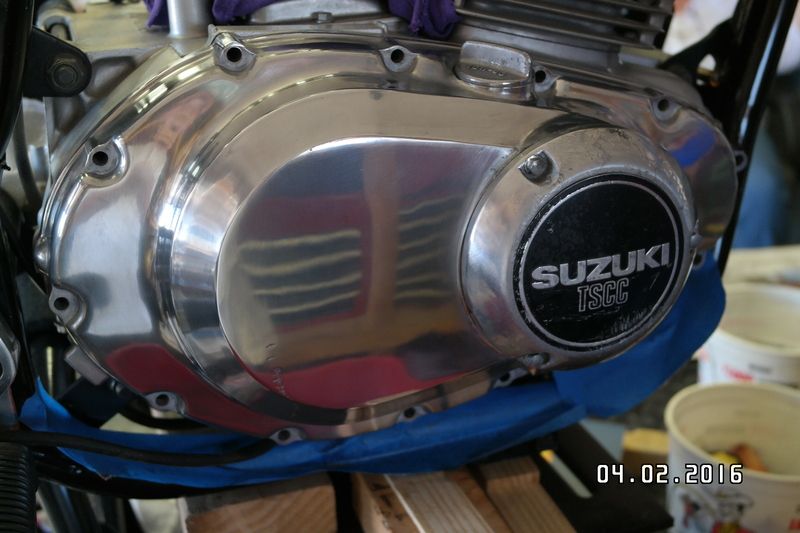
(ignition cover not polished in picture)
Comment
-
Forum LongTimerGSResource Superstar
Past Site Supporter
Super Site Supporter- Mar 2006
- 35640
- Torrance, CA
Knock yourselves out guys hand sanding with fine sandpaper. Ben there, done that.
Bead blasting may remove the corrosion, but many times it's not aggressive enough. I've tried that too.
The Sisal Wheel w/black cutting compound is the key ingredient for fast results. This setup easily removes the 220 grit sanding scratches so why not use 220? I did all these parts in just a couple of hours (painting excluded).
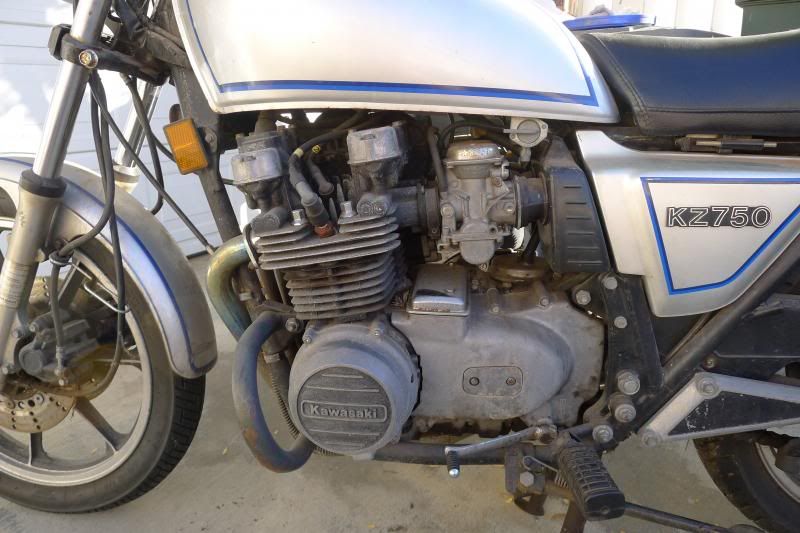
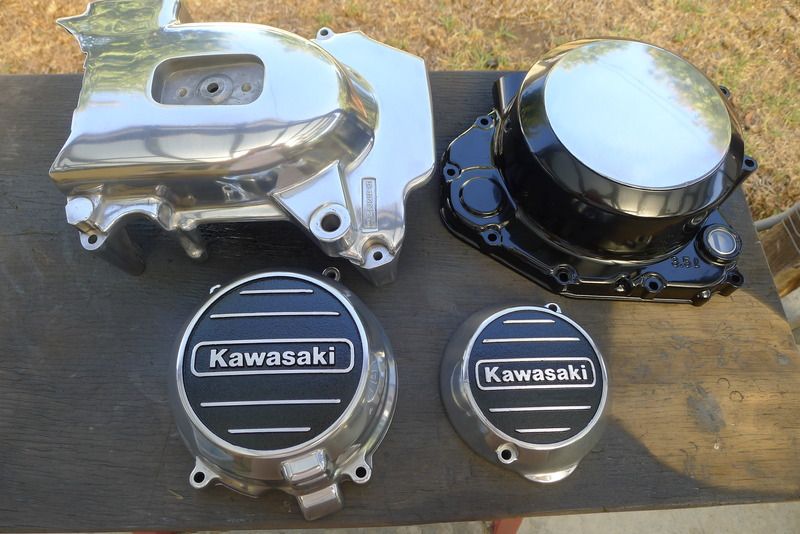
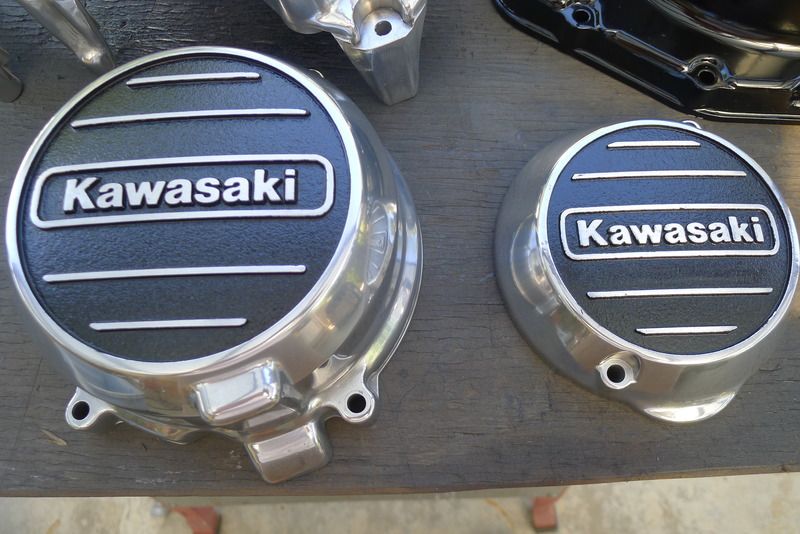
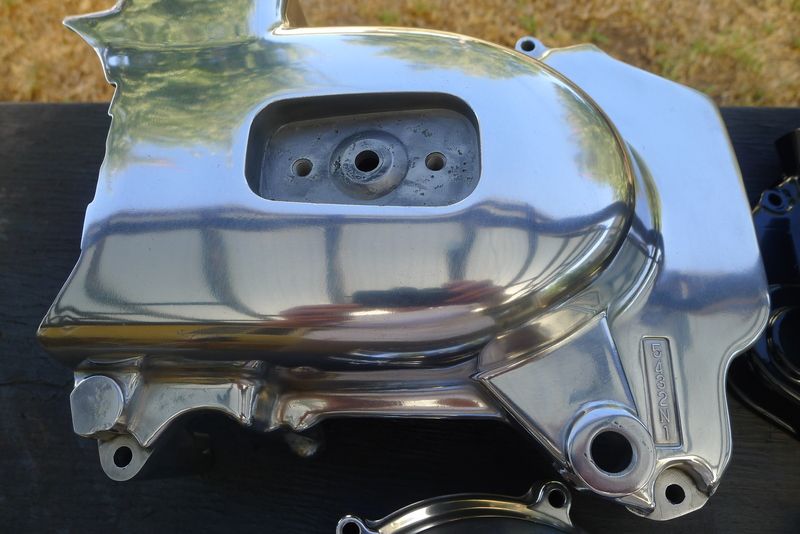 Ed
Ed
To measure is to know.
Mikuni O-ring Kits For Sale...https://www.thegsresources.com/_foru...ts#post1703182
Top Newbie Mistakes thread...http://www.thegsresources.com/_forum...d.php?t=171846
Carb rebuild tutorial...https://gsarchive.bwringer.com/mtsac...d_Tutorial.pdf
KZ750E Rebuild Thread...http://www.thegsresources.com/_forum...0-Resurrection
Comment
-
 Runeight
 -
 Runeight
The picture hides it but it looks brushed. This is why I stopped at 1000 grit. In this picture I replaced the ignition cover with a new OEM part. Matched pretty close.Originally posted by shibby_cbs View PostYea I am actually looking for more of a dull brushed look for the cases. something I was able to achieve with a coarse scotch bright on the igntion cover.
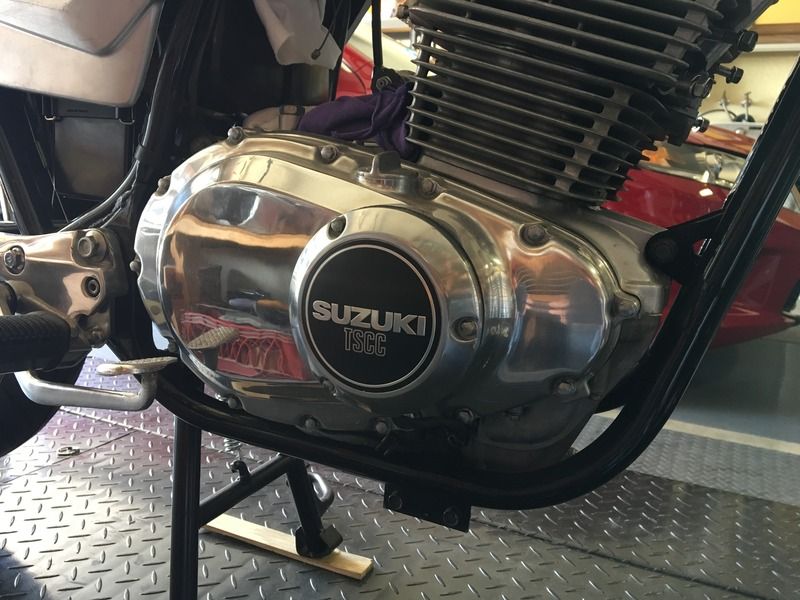
Comment
-
Forum LongTimerGSResource Superstar
Past Site Supporter
Super Site Supporter- Mar 2006
- 35640
- Torrance, CA
NOT!Originally posted by Runeight View PostEd> It's a hobby. Suppose to take time. That's the fun of it.
 I've done a bunch of parts hand sanding like you did and was dreading doing those Kawasaki parts. Jim (Posplyer) suggested the DA w/220 and glad he did. I had previously moved to the Sisal but the corrosion must be removed first and hand sanding sucks.
Ed
To measure is to know.
Mikuni O-ring Kits For Sale...https://www.thegsresources.com/_foru...ts#post1703182
Top Newbie Mistakes thread...http://www.thegsresources.com/_forum...d.php?t=171846
Carb rebuild tutorial...https://gsarchive.bwringer.com/mtsac...d_Tutorial.pdf
KZ750E Rebuild Thread...http://www.thegsresources.com/_forum...0-Resurrection
Comment
-
 Runeight
Originally posted by Nessism View PostNOT! I've done a bunch of parts hand sanding like you did and was dreading doing those Kawasaki parts. Jim (Posplyer) suggested the DA w/220 and glad he did. I had previously moved to the Sisal but the corrosion must be removed first and hand sanding sucks.


No worries. I have a stand polisher and compound. Never dug it out of the corner. As long as the effort equals desired results it's all good.
Comment
-
 80GS850GBob
I'm simply curious as to how the parts would look with a smoothing and glass beaded....I don't think the oem stuff was that shiney...but I do like it{except for the work involved-lol}
Comment
-
 shibby_cbs
Depending on what grit you get it will change the finish though glass bead from my experience isn't really well suited for creating a finished product at least on aluminum. It does though leave a perfect finish for painting and takes to polishing very well. I think this is what i will be doing. cleaning it up with the glass bead then hitting it with the sisal wheel and black compound. i will then use finer compounds to suit the finish i am looking for. i originally said i was looking for a brushed finish but after seeing Runeight's pictures im not so sureOriginally posted by 80GS850GBob View PostI'm simply curious as to how the parts would look with a smoothing and glass beaded....I don't think the oem stuff was that shiny...but I do like it{except for the work involved-lol} . here is the finish that glass bead leaves on aluminum. at least the grit i am using anyway. ill run out into the garage and look here in a sec but i believe it is 80 grit. I'll correct this if i am wrong. keep in mind i partially blasted this piece almost 2 years ago so there are some nicks and scratches though this kinda illustrates how fragile the finish is.
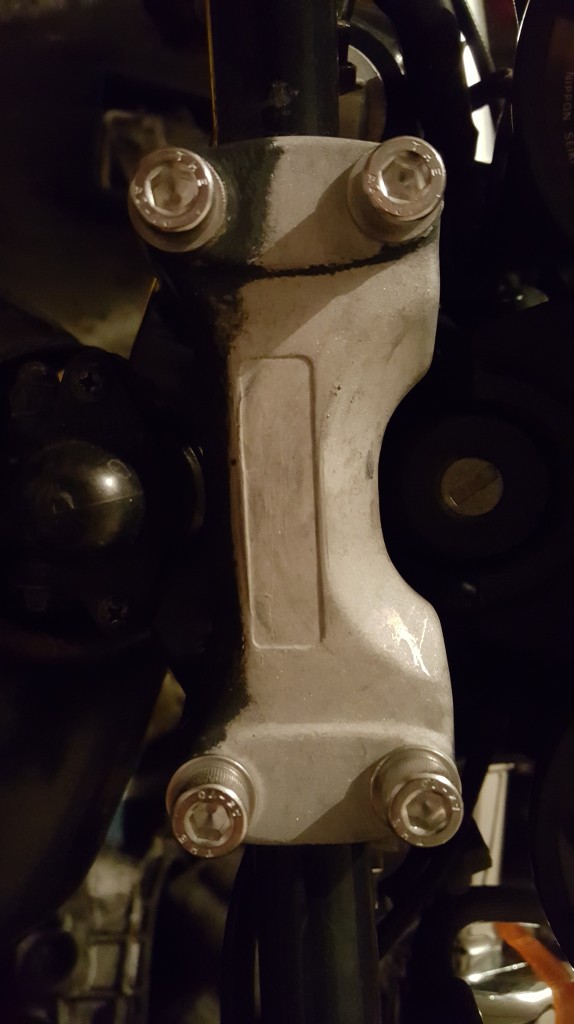
Comment
.png)
Comment