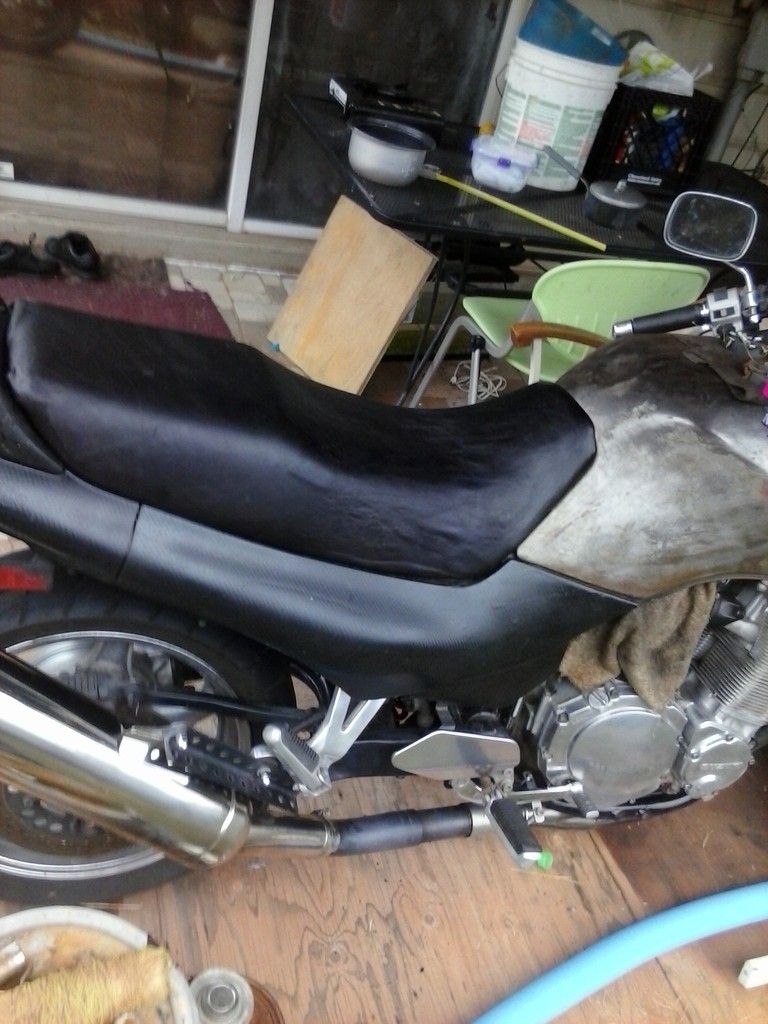
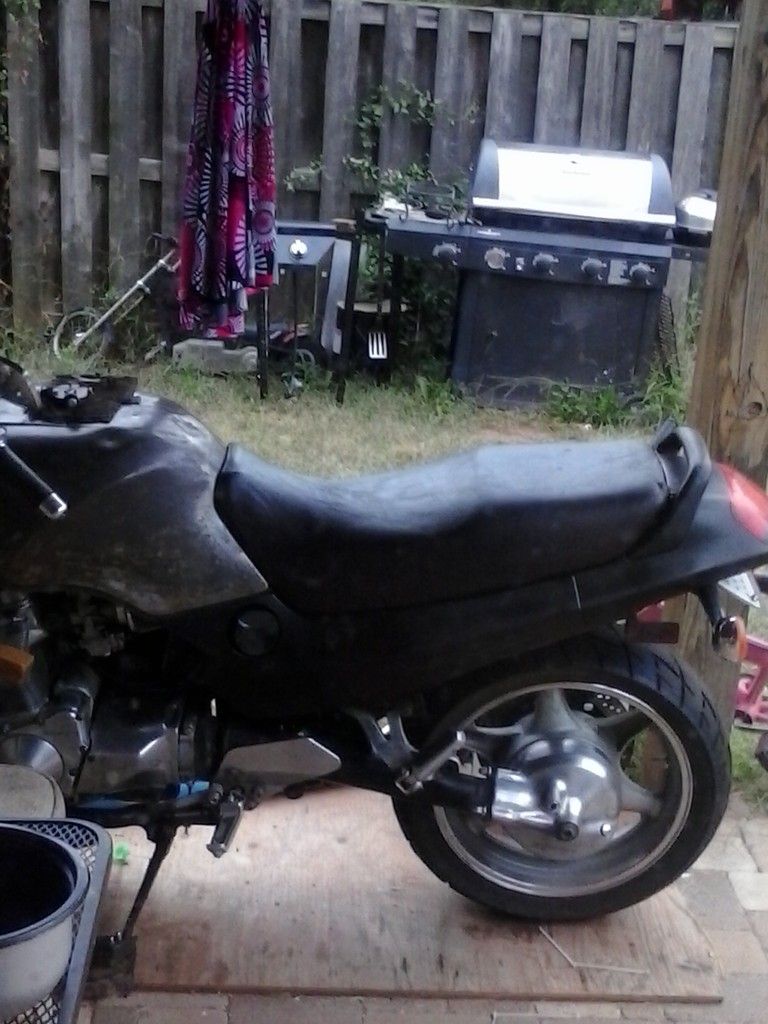
Here's one finished pic:
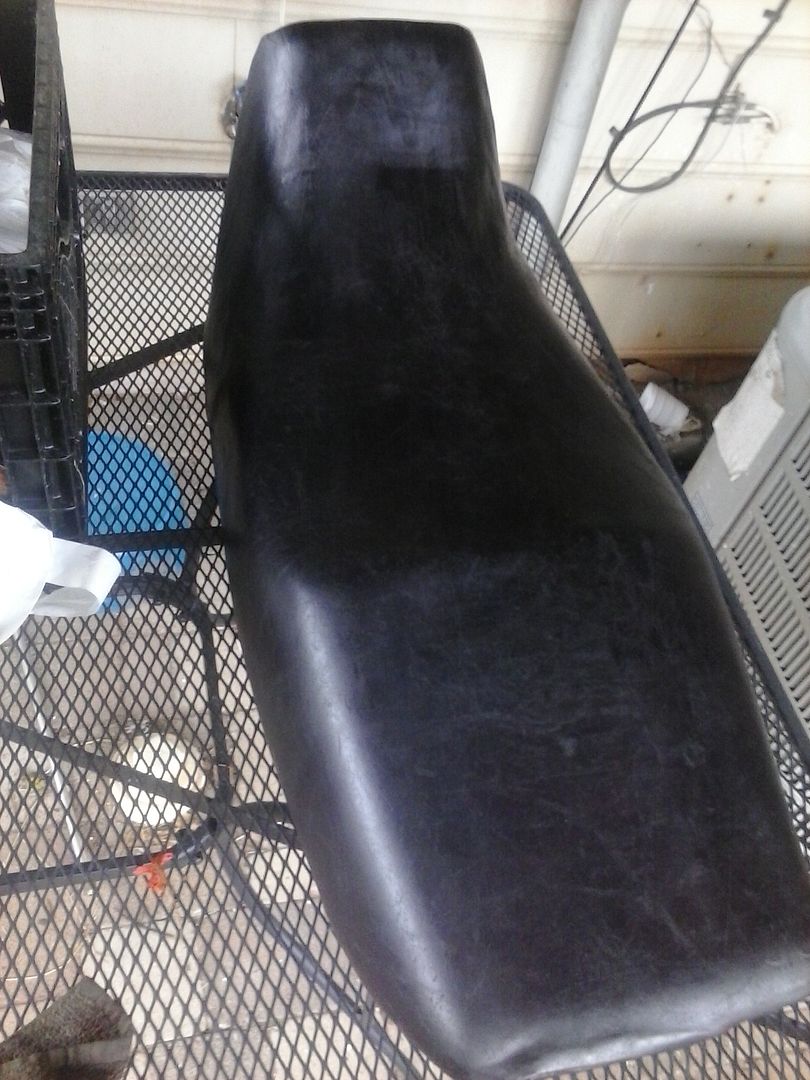
My Pics are difficult so I notepadded them, Hopefully I can get in a good order:
starting leather:
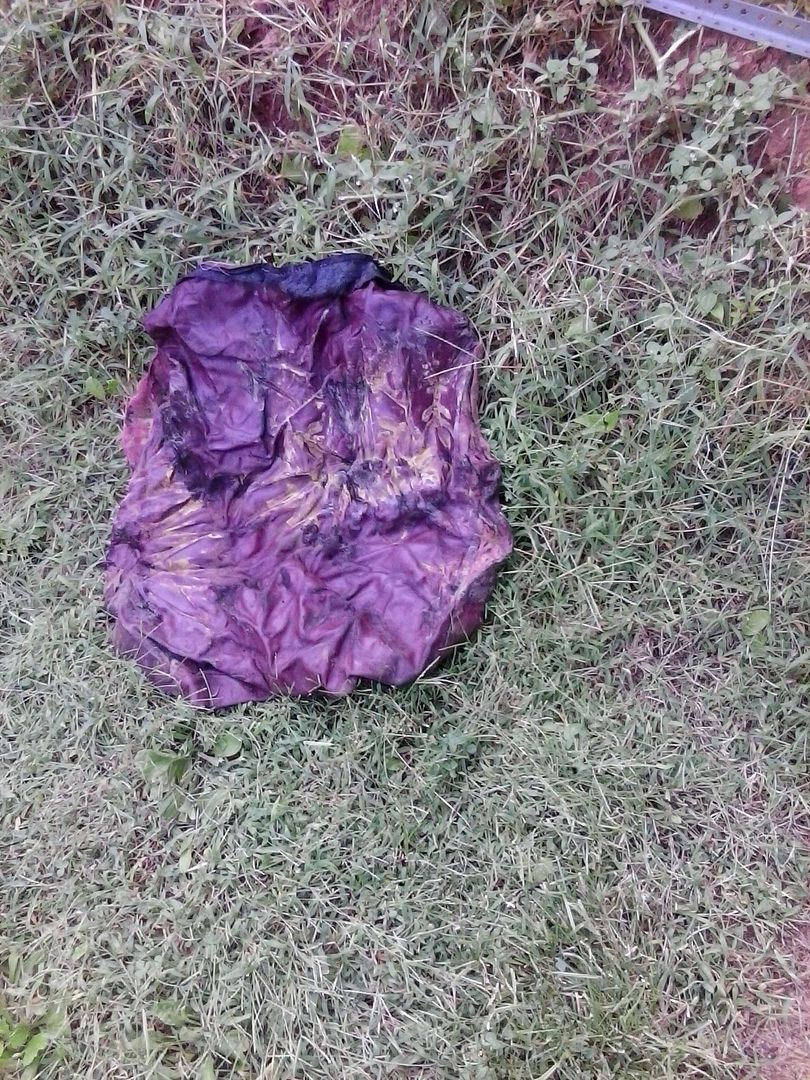
I noticed a leather sofa (months back) next to a dumpster (in apartments) with bunch of large items nearby.
It was pretty nice grain leather but no good otherwise so I skinned it , and threw bag in back of my truck.
Ugly red color.
So:
dyeing leather on grill:
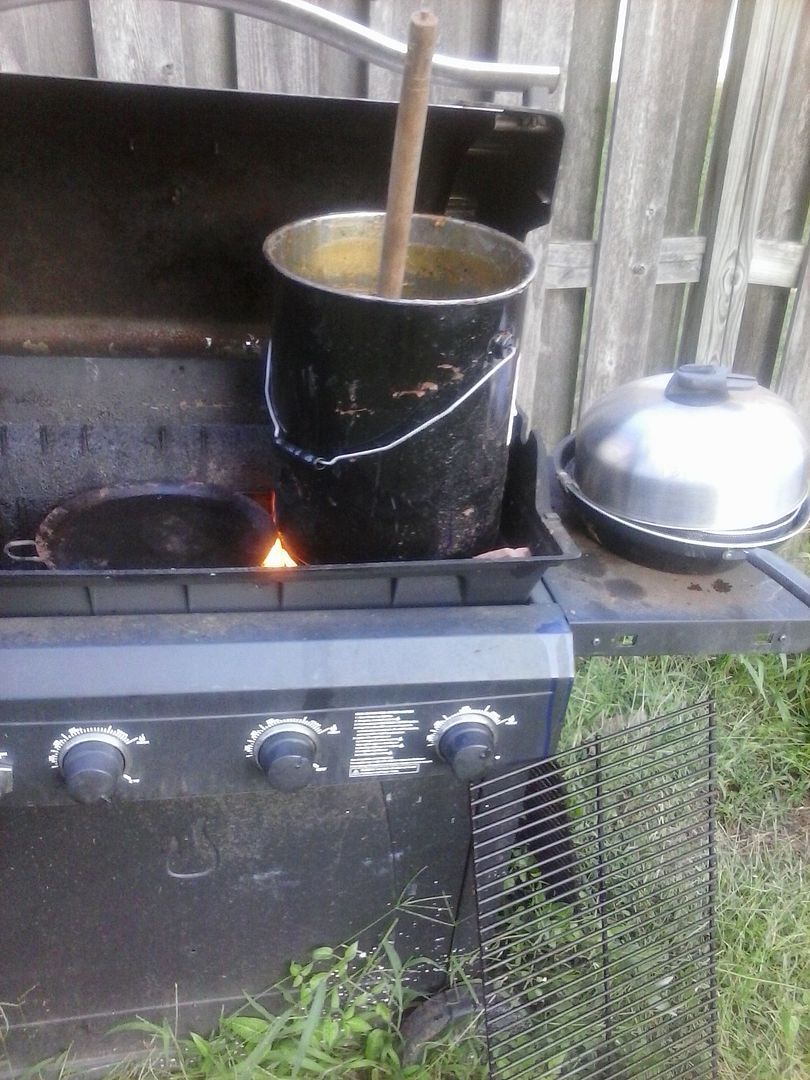
I placed my leather in a 5gallon bucket with 64oz. cleaning vinegar from $1 store. Let it soak a day, rinsed it out with water and let it dry. (Didn't dent the ugly red/brown color much)
Then I got 2 boxes of black RIT brand fabric dye and followed directions using a steel 5 gallon bucket and my BBQ grill. (PIC above) . The wood rod is off a toilet plunger (whatever)...
checking color :
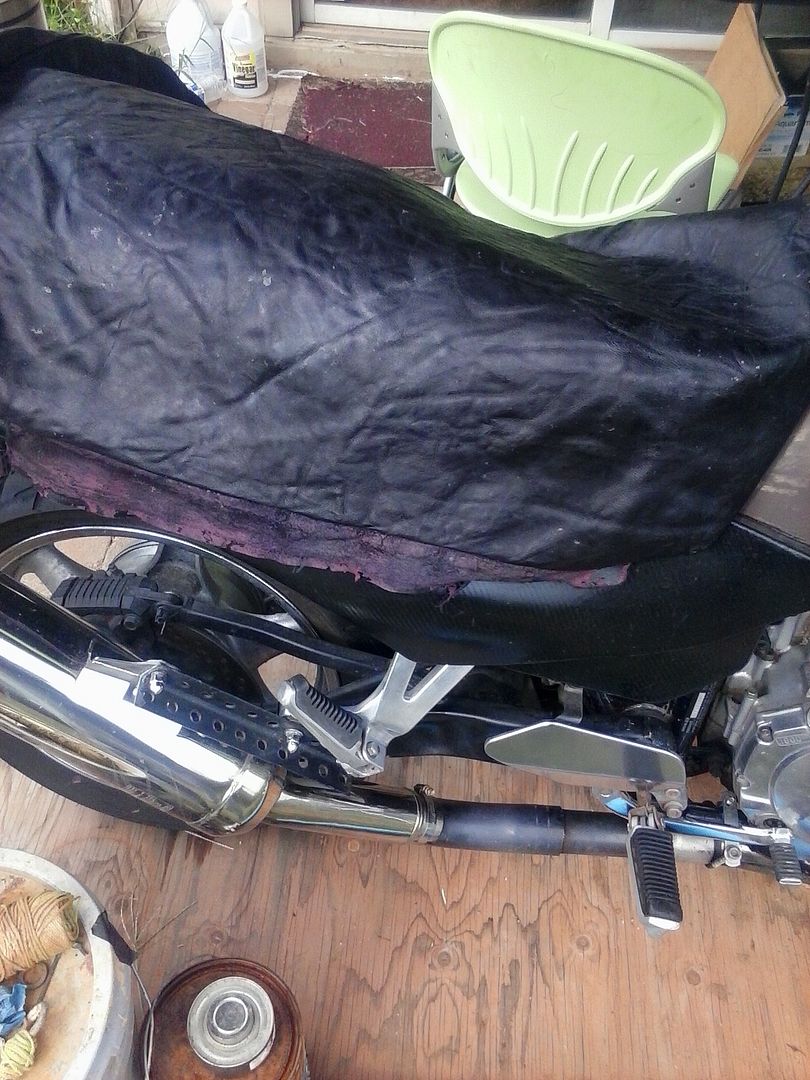
Didn't follow RIT directions exactly, left it soaking about 3 days.
Tools for wax: Gloves, brush hot air:
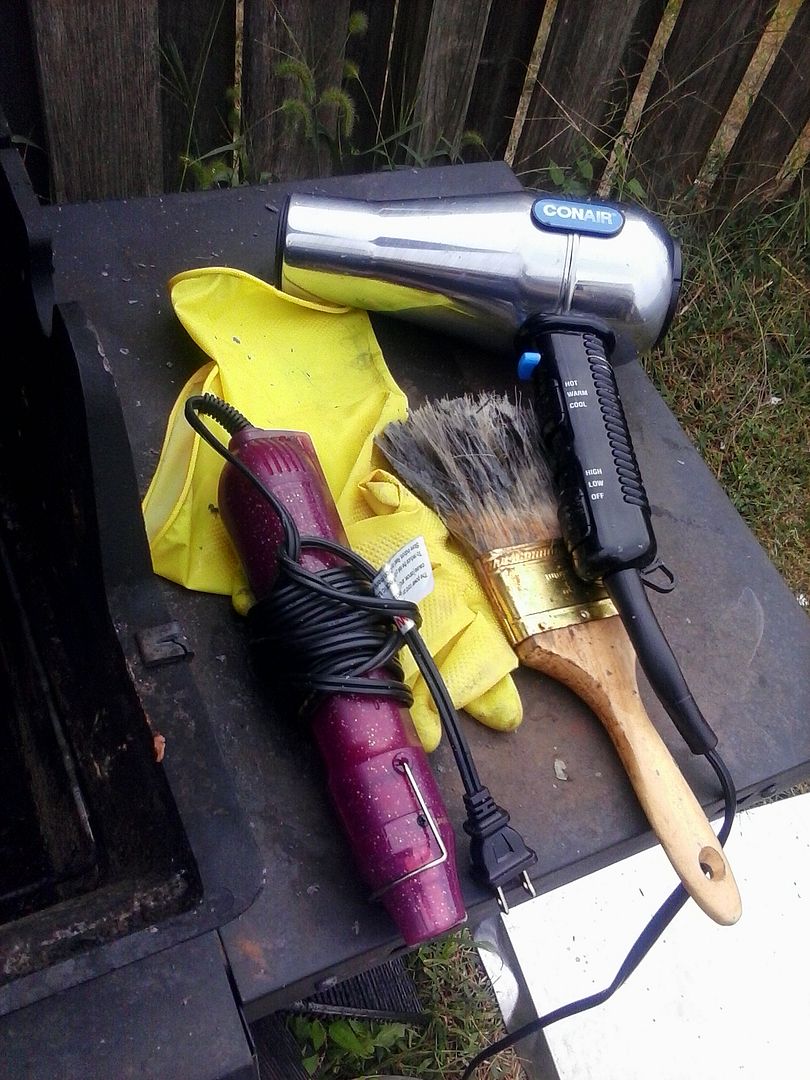
The leather was a little thin (But good) so I got together a 3" paintbrush and rubber gloves ($1 store, gloves came with two pairs, gave one pr. to wifey, acted like got them for her...incase she ever figures out how to clean anything). The Blow-dryer was $3 at thrift store. I might have switched the tag. The mini heat gun is purple for "embezzeading" stuff or something girly. it's as hot as a heat gun. Too hot sometimes.
wax bucket:
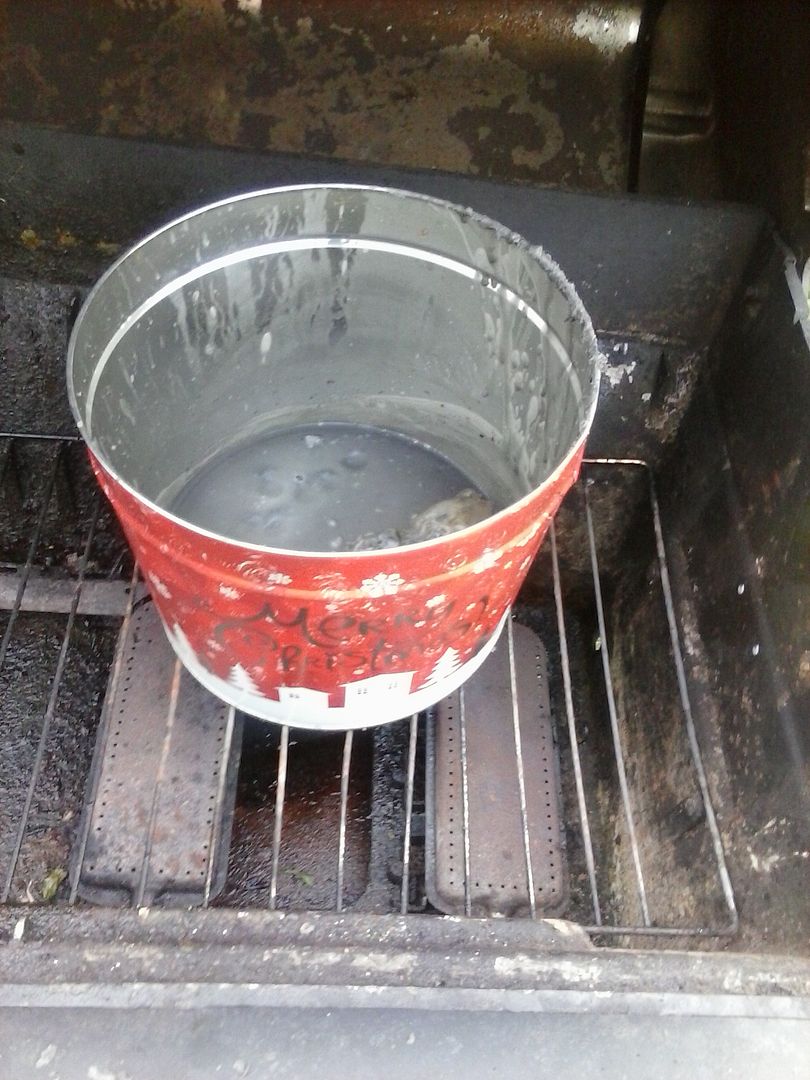
Next I got a cookie or popcorn metal can, and some vietnamese wax budda candles an idiot a-hole I worked for/helped last year gave me. I melted/ heated the wax until worried it could ignite. Then quickly brushed it all over the INSIDE of my leather. The gloves were probably essential, worked good.
I layed the peice on top of the grill and used the heat (blowers) to make sure it soaked in good.
starting to form/checking:
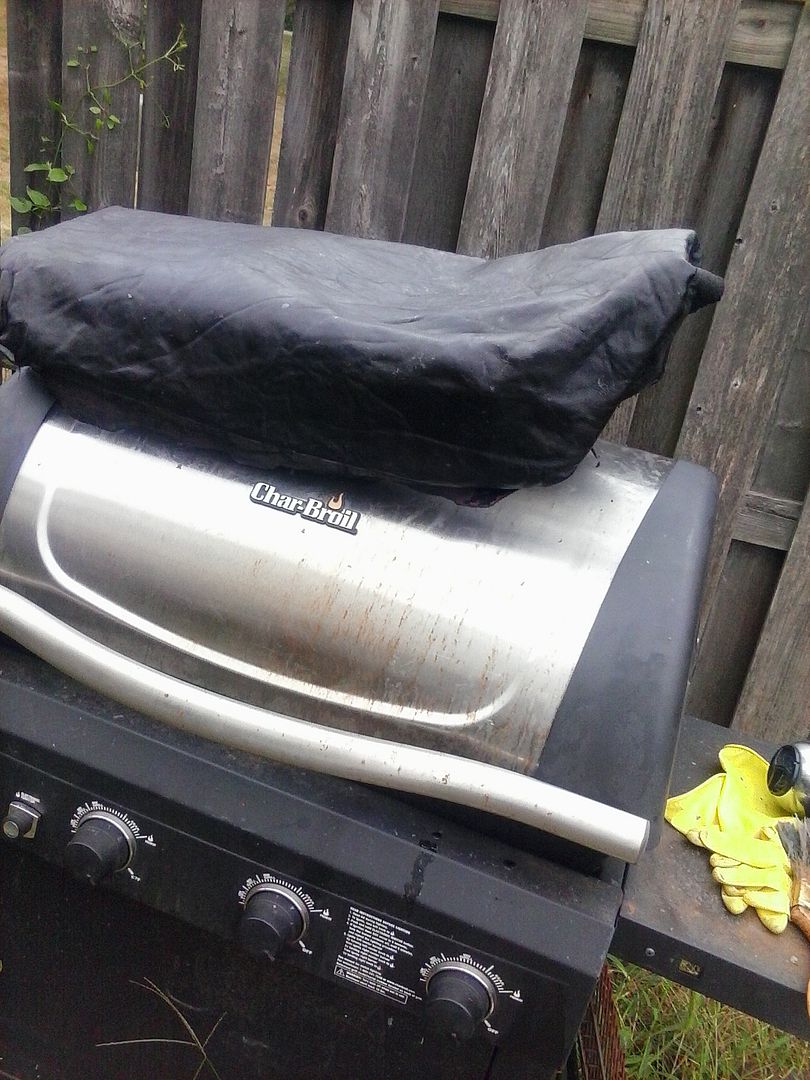
I made sure the size hadn't changed much (it's exactly how much I needed).
checking fit underneath, barely enough still has cushion:
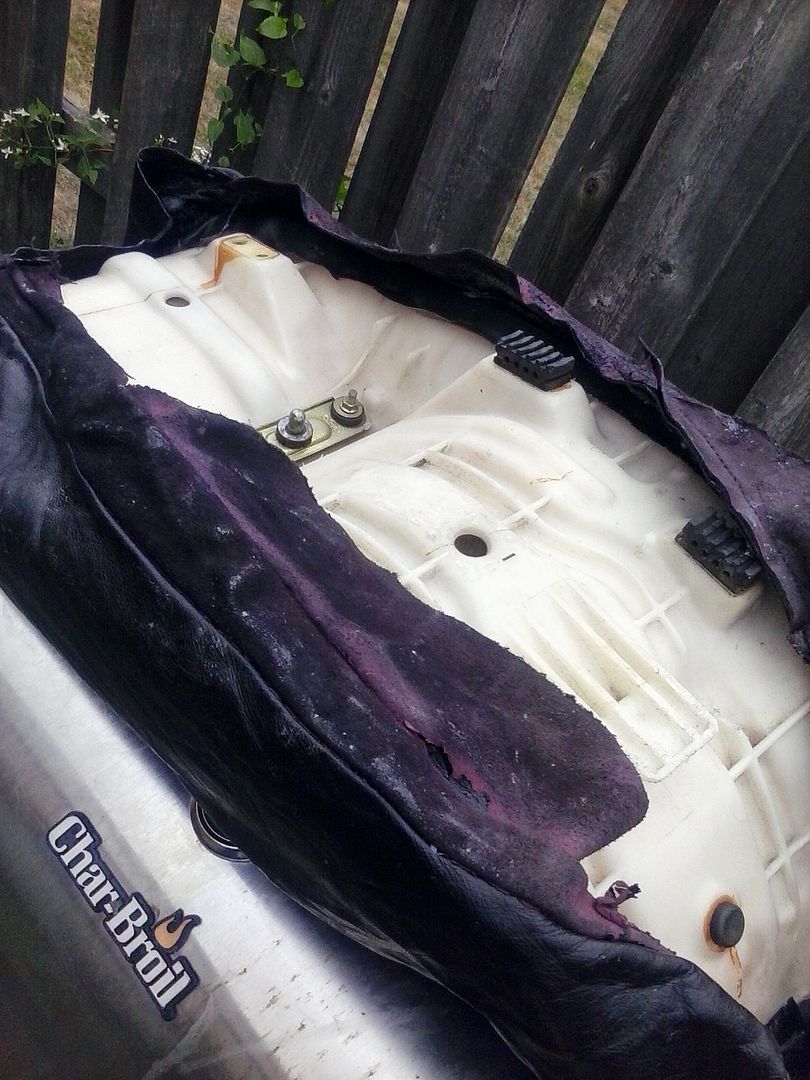
Can still see the seat cushion corners (trimmed later). Made sure I'd have enough to pop-rivet on using my $5 harbor freight pop-riveter. I had to invent getting the 3/16th" rivets to stay/hold.
After over half the 25 it comes with, I used a 1/8th bit into the plastic, And used the next smaller nose piece. Had to work the rivet in, take it out, fit it into tool and try and press and break rivet in one squeeze. That worked well then. A pain getting each spent rivet rod out. But only way. So I trimmed the tips off some very short wood type screws, threaded a sharp screw in and back out and then used blunt screws in between the rivets (HF didn't have the short stem rivets the tool comes with and the longer rivets would'been too long).
I have pics of finished bottom of seat, but not loaded because photobucket took all night last night to work with these. So I'll try again soon.
I am very Pleased with results. The NEXT TO /LAST STEP though was crucial: I used an iron to flatten the rider portion of seat and stretch the sides in. It was set on 8-9 (of10) heat setting, so had to work quick and press spots and pull. Then lastly the rivets and screws were fastened in the sides of rider part of seat, after a few days making sure the fit was right in that most difficult spot.
I chose to attach this cover right on top of the vinyl cover. But I had to cut some vinyl and pull a few staples where the rivets would not have been snug enough.
I really wanted to cut pool noodle pieces in half and glue to the vinyl with the 10 minute/24 hour cure super glue , to create a higher ridge behind each seat portion.
But didn't think I'd have enough leather. I would have though (Urgh, oh well).
It was a "last resort" type job though and next pic(s) are how bad it got this summer:
ripped seat:
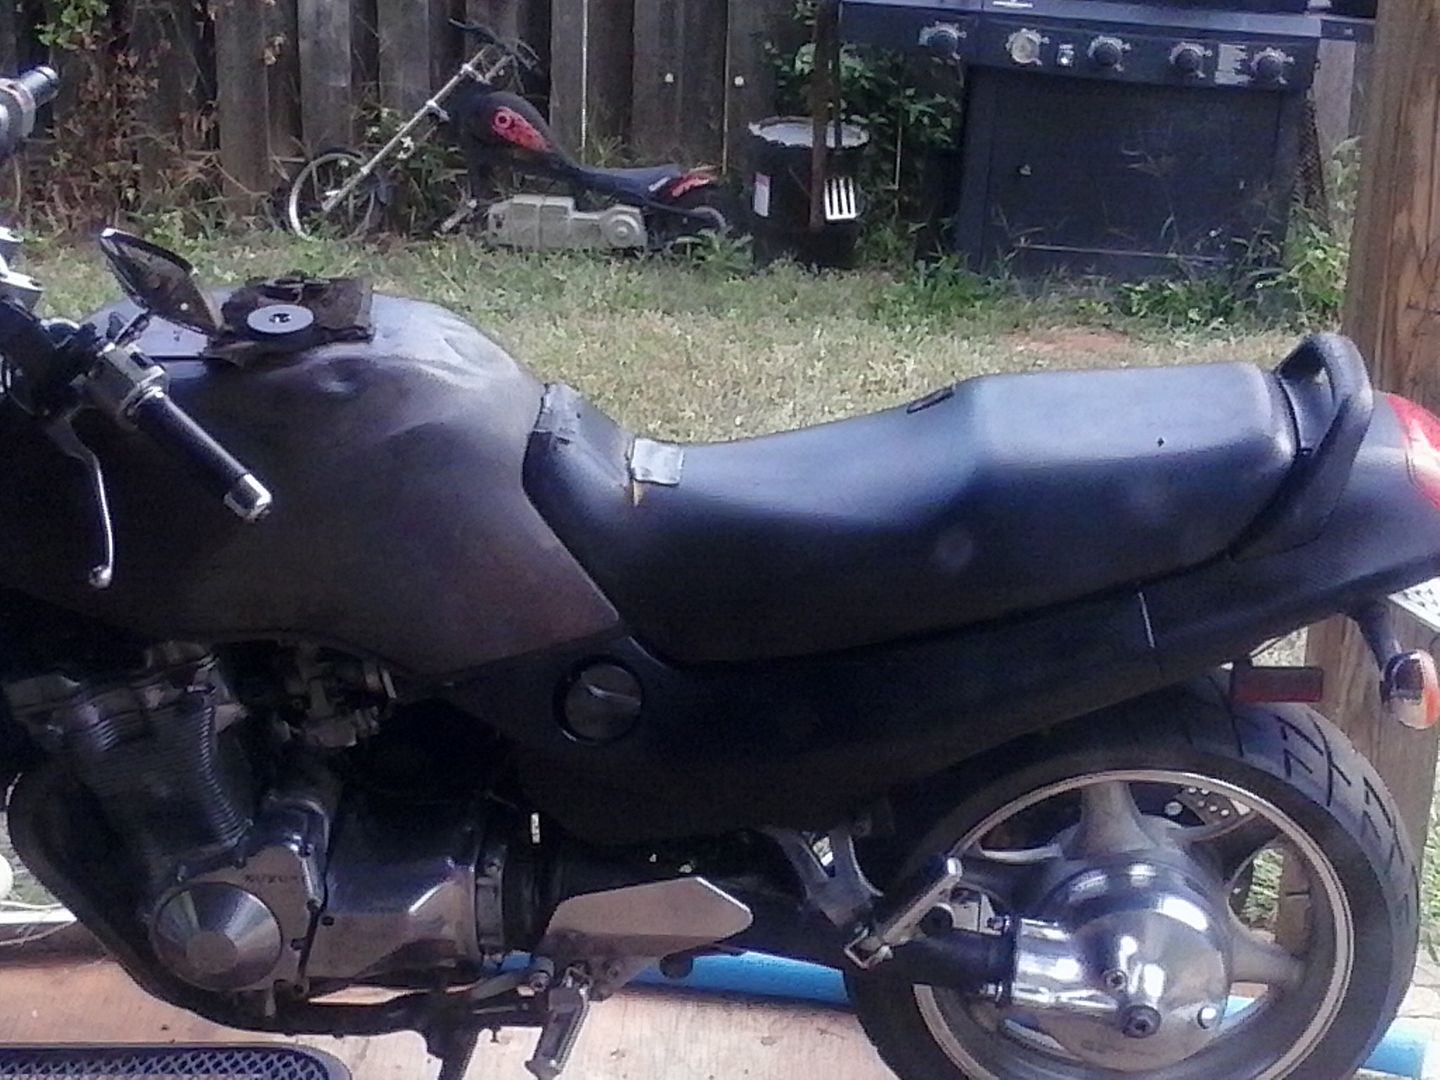
(burn holes from PO, I had patched with duct-tape shaped vinyl and super glue):
Like said I'll try and load one pic of the rivets and screws underneath later.
( hopefully not Too many pics) I'd post pics on the bike but I'm bluing the tank, and have it polished and half blued right now, gotta finish tommorow because it rusts like crazy and it's partially blued and fully polished...How was I to know that waxy tripoli blocks blueing and have to steel-wool it now (Another seperate post , soon maybe). Goodnight!

.png)


Comment