Announcement
Collapse
No announcement yet.
Clear coat on wheels and engine cases?
Collapse
X
-
Clear coat on wheels and engine cases?
I'm restoring a 1978 GS750E and was wondering what most people do regarding clear coating polished parts. I am wondering about the wheels and engine cases. Any issues with then being coated? All of the parts will be polished to a mirror finish. If you have clear coated these parts, what brand of clear coat works best? Thanks in advance for the help!Ron
When I die, just cremate me and put me in my GS tank. That way I can go through these carbs, one more time!https://www.thegsresources.com/_forum/core/images/smilies/cool.png
1978 GS750E - November 2017 BOTM
1978 GS1000C - May 2021 BOTM
1982 GS1100E - April 2024 BOTM
1999 Honda GL1500SETags: None
-
Forum LongTimerGSResource Superstar
Past Site Supporter
Super Site Supporter- Mar 2006
- 35622
- Torrance, CA
Powder coat gets my vote. I used Por-15 Glisten clear before and it's okay. A little bit cloudy. They sell a special prep spray to etch the metal before application. I used it on engine covers but didn't ride the bike big miles to see how it held up to the heat long term.
BTW, a highly polished surface makes it more difficult for the paint to adhere too. Suzuki's engine covers were more of a very fine brushed finish, not polished, before clearing.Ed
To measure is to know.
Mikuni O-ring Kits For Sale...https://www.thegsresources.com/_foru...ts#post1703182
Top Newbie Mistakes thread...http://www.thegsresources.com/_forum...d.php?t=171846
Carb rebuild tutorial...https://gsarchive.bwringer.com/mtsac...d_Tutorial.pdf
KZ750E Rebuild Thread...http://www.thegsresources.com/_forum...0-Resurrection
-
 Joe Garfield
Is the 220 grit finish closer to mirror or brushed? I want to do my engine covers and would love the OEM brushed look, but I'm curious how it would come out by hand. I thought about maybe blasting it but that seems maybe a little aggressive for aluminum?Originally posted by duaneage View PostI used 220 grit to get a similar finish then degreased with denatured alcohol. I cleared with clear engine paint, 2 coats. It lasts a few years.
Comment
-
The key is to go in one direction. You can use steel wool but I don't recommend it because it can cause corrosion. I did my forks this way and got the satin look by going in one direction across the forks.
I redo mine every few years , I usually get about 5 years on the parts.1981 GS650G , all the bike you need
1980 GS1000G Power corrupts, and absolute power corrupts absolutely
Comment
-
Forum LongTimerGSResource Superstar
Past Site Supporter
Super Site Supporter- Mar 2006
- 35622
- Torrance, CA
The stock finish is brushed but with something like 600 grit, not 220. You can do it by hand but it's a lot of work.Ed
To measure is to know.
Mikuni O-ring Kits For Sale...https://www.thegsresources.com/_foru...ts#post1703182
Top Newbie Mistakes thread...http://www.thegsresources.com/_forum...d.php?t=171846
Carb rebuild tutorial...https://gsarchive.bwringer.com/mtsac...d_Tutorial.pdf
KZ750E Rebuild Thread...http://www.thegsresources.com/_forum...0-Resurrection
Comment
-
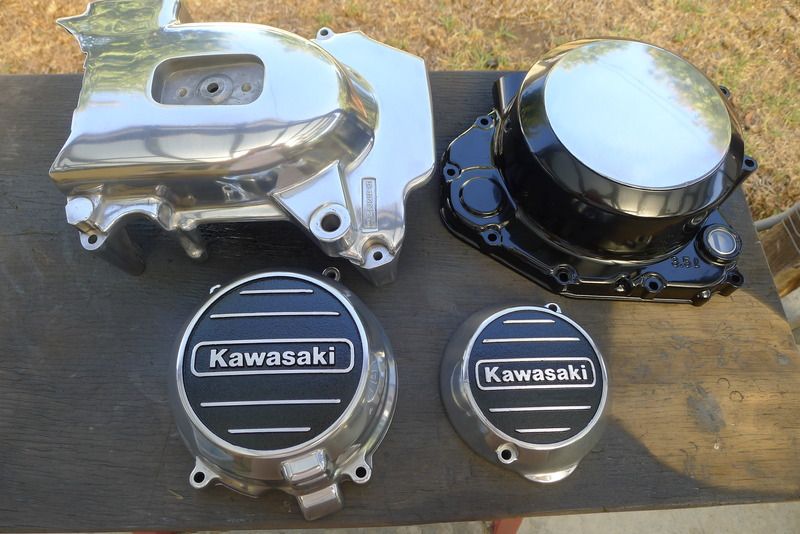
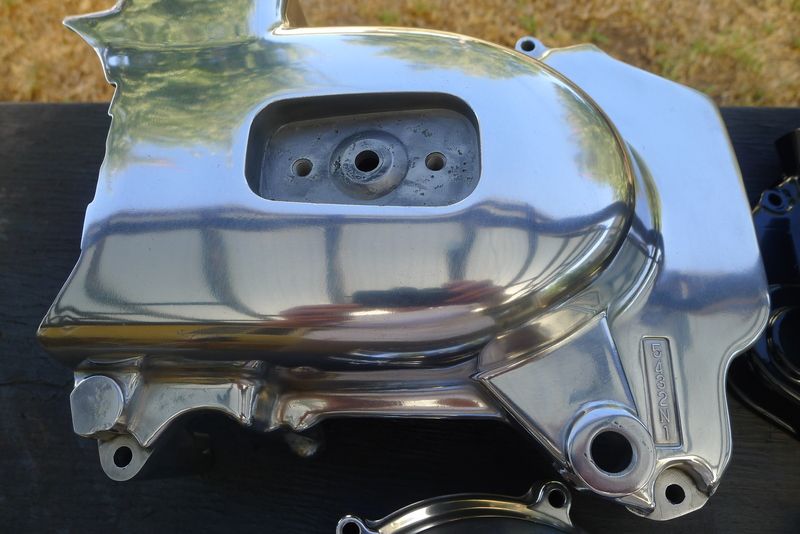
I recently got done polishing my cases. I went with a high polish with a buffing wheel on a bench grinder, but sanded for prep.
The prep work left a nice brushed look, I just chose to go further. As long as the parts aren't too bad you can start with 320 to remove small pits and dings, then jump right to 600 and be fine.
Go in one direction with the 320, then with the 600, sand perpendicular to the scratches you made with the 320.
Comment
-
This is with 600
20170402_175941.jpg
You can see where i changed direction of sanding around the curves. I wasn't concerned because i knew i was going to be polishing. If you want to stop at a brushed finish, just make sure to go only in one direction for the final step.
Use a good wet/dry paper, and wet sand. 3M also make some good sanding sponges that are a bit easier to work with. You can get them at home depot, advance or auto zone...
Comment
-
This was the finished product after black, brown, white, then red polishing compounds. I cleaned up with Dawn and a toothbrush. Then i gave it a good rub with Wizards Power Seal. Even if you're stopping at a brushed finish, i highly recomend Wizards to protect from oxidation.
20170402_222507.jpg
Comment
-
Forum LongTimerGSResource Superstar
Past Site Supporter
Super Site Supporter- Mar 2006
- 35622
- Torrance, CA
Ed
To measure is to know.
Mikuni O-ring Kits For Sale...https://www.thegsresources.com/_foru...ts#post1703182
Top Newbie Mistakes thread...http://www.thegsresources.com/_forum...d.php?t=171846
Carb rebuild tutorial...https://gsarchive.bwringer.com/mtsac...d_Tutorial.pdf
KZ750E Rebuild Thread...http://www.thegsresources.com/_forum...0-Resurrection
Comment
.png)


Comment