Announcement

Collapse
No announcement yet.

Cleaning tips for grit and baked oil

Collapse
X
 
  • Filter
  • Time
  • Show
Clear All
new posts

    Cleaning tips for grit and baked oil

    Heya,
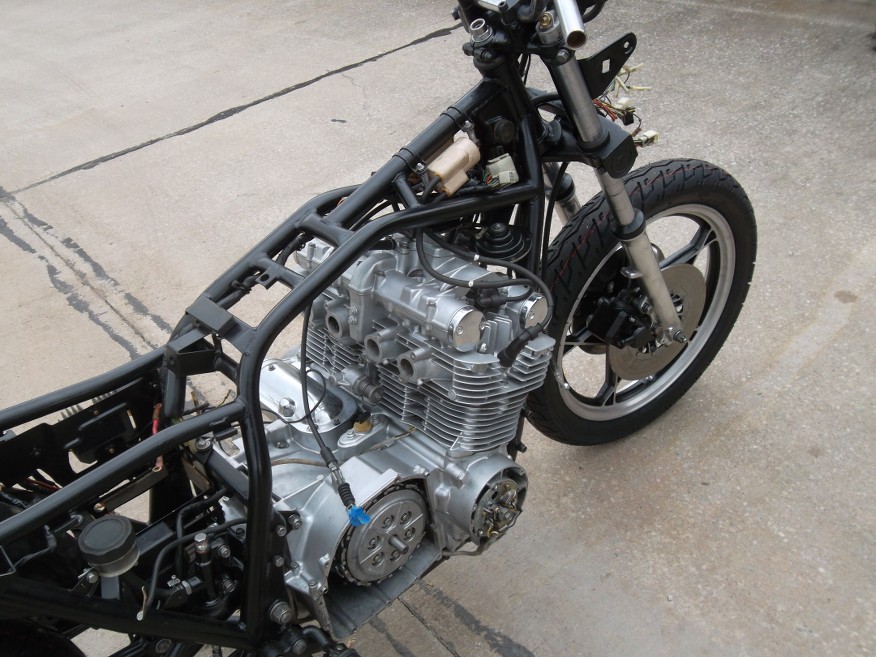
    I've been working on documenting the process of doing a top-end job on my 450 for other newbies, once done I'll be painting the engine in-place.

    Two part question:
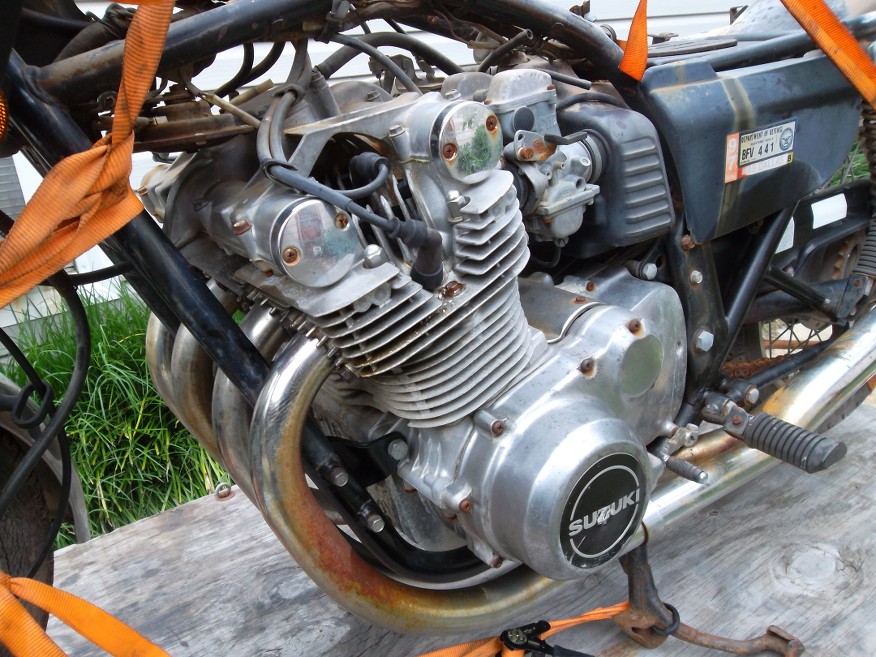
    1. How can I remove baked on oil? The silver factory paint is already kind of shot, so not really a concern. I've tried concentrated simple green, regular engine degreaser from O'reilly's, and of course steel brush and elbow grease. Tedious, and surprisingly didn't work in a couple of spots. Someone mentioned oven cleaner, would that work?
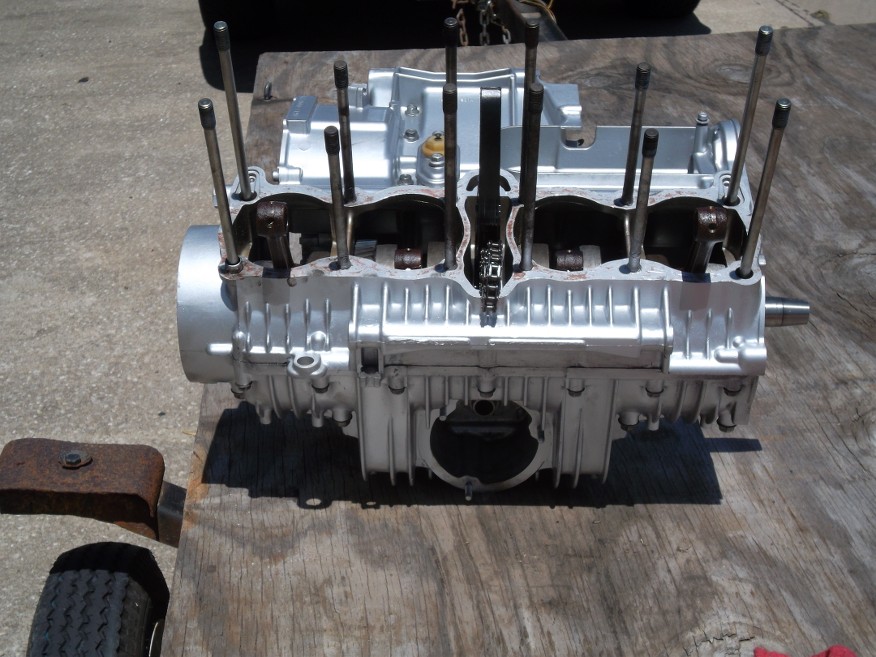
    2. When I was taking the jugs off, there was a lot of oily, sizable grit around the central 4 engine studs that suddenly fell out onto/into the chain gallery area -> crankcase. What's the best way to prevent this happening with e.g. the GS1000 I'm going to rebuild? I had just washed the engine and didn't even know all this crap was hiding in there.


    Thanks for your advice!
    1982 GS 450L aka Lil' Red
    1980 GS 1000G aka Big Red (Resto-mod WIP)

    #2
    Originally posted by free99 View Post
    Heya,
    (...)
    1. How can I remove baked on oil? The silver factory paint is already kind of shot, so not really a concern. I've tried concentrated simple green, regular engine degreaser from O'reilly's, and of course steel brush and elbow grease. Tedious, and surprisingly didn't work in a couple of spots. Someone mentioned oven cleaner, would that work?(...)


    (...)
    Not sure what kinda baked-on we're talking about since it resisted a steel brush; but I had good results with pressure washing. Not sure if the cheapo bottom-of-the-barrel homegamer units suffice, I've used the ones at a car wash. They have serious machinery behind them, and you can select between various mixes (pure water/soap).
    #1: 1979 GS 550 EC "Red" – Very first Bike / Overhaul thread        New here? ☛ Read the Top 10 Newbie mistakes thread
    #2: 1978 GS 550 EC "Blue" – Can't make it a donor / "Rebuild" thread     Manuals (and much more): See Cliff's homepage here
    #3: 2014 Moto Guzzi V7 II Racer – One needs a runner while wrenching
    #4: 1980 Moto Guzzi V65C – Something to chill

    Comment


      #3
      Though I haven't tried it yet, I read that leaning the bike/ engine over to the side will help keep the crud from falling into the crank case.
      Roger

      Us states ridden (2024_10_06 18_48_44 UTC).png

      Comment


        #4
        Someone here used a steam-cleaner which something I have yet to try when I can find one at a yard sale...

        Oven cleaner - yes that'd work and is cheap. BUT you MUST rinse a lot and you MIGHT expect some discolouration on the alloy so test first

        Comment


          #5
          That was me with the steam cleaner. Tell you what. When I get home tonight, i'll get it out, try to take some before and after or maybe a short video, using the steam cleaner on some baked on engine crud. It's worked well for some things. Tune in later.
          Rich
          1982 GS 750TZ
          2015 Triumph Tiger 1200

          BikeCliff's / Charging System Sorted / Posting Pics
          Destroy-Rebuild 750T/ Destroy-Rebuild part deux

          Comment


            #6
            I'd like that too,Rich82! I think seeing which steam cleaner works is important from what I read about 'em before.

            meanwhile a clump of neurons left over from the 70's has almost convinced me a steam thing is not so hard to make..and even remembered it should have a relief valve...thinking air tank here...also, esspresso machine steam milk foamer that pump water over an element...connect a hose and it'd take 48 hours but...

            Or maybe a small pressure washer running VERY hot water. wearing Goggles eh!

            I too would like an alternative to scrub brush + kerosene/stove oil/ paint thinner...

            An oil-drain basin below to catch the crapish fluid is useful for all
            Last edited by Gorminrider; 03-25-2021, 12:08 PM.

            Comment


              #7
              Here ya go. I figured I’d work on an area of this engine that hadn’t had a good cleaning in about 38 years.

              before:


              the video:


              after:
              Rich
              1982 GS 750TZ
              2015 Triumph Tiger 1200

              BikeCliff's / Charging System Sorted / Posting Pics
              Destroy-Rebuild 750T/ Destroy-Rebuild part deux

              Comment


                #8
                Thanks for that vid & pics Rich, cool little tool. Pity, I already have so many..

                Regarding darkening the aluminum on the engine, it won't matter as I'm painting it with VHT primer/satin black.

                As for the grit, I could hear it gently scritch-scratching inside my engine while I mounted the cams and such back in place. Sigh. There's gotta be a better way to avoid this in the future.
                1982 GS 450L aka Lil' Red
                1980 GS 1000G aka Big Red (Resto-mod WIP)

                Comment


                  #9
                  Thanks for the Video!
                  mmm, I'm not sure the scotchbrite are better-it looks like it is actually abrading the surface? though a finer pad wouldn't move the junk as fast...and, I am thinking the steam cleaner much easier when the engine is IN the bike (that's when i really want something like this), especially underneath....of course I never have any useful life from brass bristle brushes so I'd maybe jam a small slice of scotchbrite (FINE?) pad in place of it or a tough plastic bristle if it'll take the heat but yes, That's maybe unlikely to stay stiff

                  ADD: and by the way, it made me wince to see you working that wd40 without nitrile gloves...sure it's maybe too late for me per skin absorption etc. but for the last 5 years I've been wearing them for things like this and they are cheap and well worth it. They are so thin I forget they are on and can last a couple of jobs sometimes too
                  Last edited by Gorminrider; 03-26-2021, 12:30 PM.

                  Comment


                    #10
                    The steamer does come with a round scotchbrite type nozzle, looks like green donut, as well a plastic bristle brush. I probably should have used that instead. Yeah, brass brushes wear down pretty quick.

                    Here's a link to the McCulloch Steamer I bought on Amazon.


                    There's a lot of chemicals I were gloves for. WD-40 has never been one of them. Not saying you shouldn't, I just know I've been using it for all of my life and have never had the slightest problem with it on my skin.
                    Last edited by Rich82GS750TZ; 03-26-2021, 01:58 PM.
                    Rich
                    1982 GS 750TZ
                    2015 Triumph Tiger 1200

                    BikeCliff's / Charging System Sorted / Posting Pics
                    Destroy-Rebuild 750T/ Destroy-Rebuild part deux

                    Comment


                      #11
                      Originally posted by Rich82GS750TZ View Post
                      Here ya go. I figured I’d work on an area of this engine that hadn’t had a good cleaning in about 38 years.

                      before:


                      the video:


                      after:


                      I spent a good chunk of my day cleaning this area on my bike in preparation to change the chain and sprockets. I just described the crud living there as

                      "That dark matter under the clutch cover of a motorcycle - an amalgam of chain lube, engine oil, road tar, bits of gravel, worn sprocket dust, and possibly hair and emulsified despair, with the specific gravity of Marvin the Paranoid Android's thoughts" not 5 minutes before looking in on this thread.

                      Anyway, I used Purple Power, then Foamy Engine Brite, then some brake parts cleaner. Passable results. I should try the Steam Shark on it. Uggh.

                      Cleaning me off was almost as challenging as cleaning the bike.
                      "Men will never be free until Mark learns to do The Twist."

                      -Denis D'shaker

                      79 GS750N

                      Comment


                        #12
                        MMM....emulsified despair

                        Rich
                        1982 GS 750TZ
                        2015 Triumph Tiger 1200

                        BikeCliff's / Charging System Sorted / Posting Pics
                        Destroy-Rebuild 750T/ Destroy-Rebuild part deux

                        Comment


                          #13
                          A friend that owned a pool repair company gave me a couple of nice 5 gallon buckets (for pool chemicals) with a lid. I used it to drop in a head or cylinder, along with a gallon of berryman's carb dip, in the bucket in order to clean the parts. Shake the bucket every so often to distribute the sauce over the part and let it soak for a few days and when you pull out the head/cylinder, it's clean as a whistle.
                          Ed

                          To measure is to know.

                          Mikuni O-ring Kits For Sale...https://www.thegsresources.com/_foru...ts#post1703182

                          Top Newbie Mistakes thread...http://www.thegsresources.com/_forum...d.php?t=171846

                          Carb rebuild tutorial...https://gsarchive.bwringer.com/mtsac...d_Tutorial.pdf

                          KZ750E Rebuild Thread...http://www.thegsresources.com/_forum...0-Resurrection

                          Comment


                            #14
                            I use purple power concentrate from orilleys. 50/50 mix in a spray bottle. And orilleys has a three pack of brushes with metal bristle. they look like big toothbrushes to me. Some 00 grade steel wool and green scotch brites will help too. I cut scotch brites into squares and use my hemostats to get into tight spots. Tightly stuff rags into intake and exhaust ports before rinsing WELL with garden hose. Last step before painting is spray it all down with acetone from a spray bottle and dry with an air hose. I then paint with VHT UNIVERSAL ALUMINUM. Part number SP127.


                            MY BIKES..1977 GS 750 B, 1978 GS 1000 C (X2)
                            1978 GS 1000 E, 1979 GS 1000 S, 1973 Yamaha TX 750, 1977 Kawasaki KZ 650B1, 1975 Honda GL1000 Goldwing, 1983 CB 650SC Nighthawk, 1972 Honda CB 350K4, 74 Honda CB550

                            NEVER SNEAK UP ON A SLEEPING DOG..NOT EVEN YOUR OWN.


                            I would rather trust my bike to a "QUACK" that KNOWS how to fix it rather than a book worm that THINKS HE KNOWS how to fix it.

                            Comment


                              #15
                              I'm experimenting...the ol' esspresso maker. Perhaps with a presoak of a detergent....

                              SteamCleanerTest-march2021.jpg

                              Comment

                              Working...
                              X