Announcement

Collapse
No announcement yet.

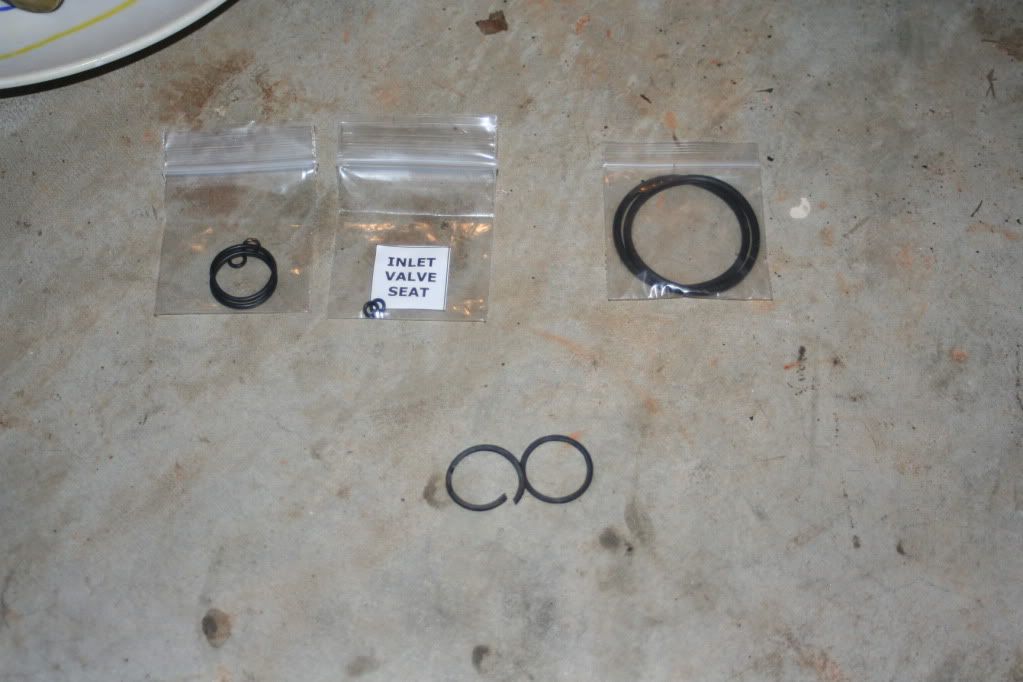
o-ring kit from Cycleorings.com but where do they go

Collapse
X
 
  • Filter
  • Time
  • Show
Clear All
new posts

    o-ring kit from Cycleorings.com but where do they go

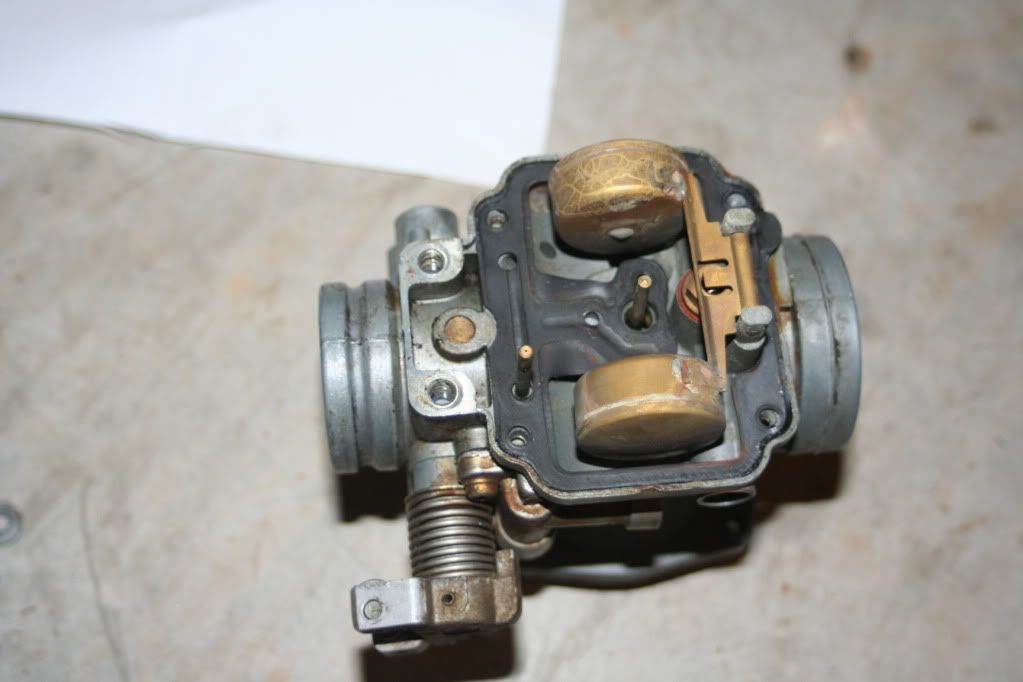
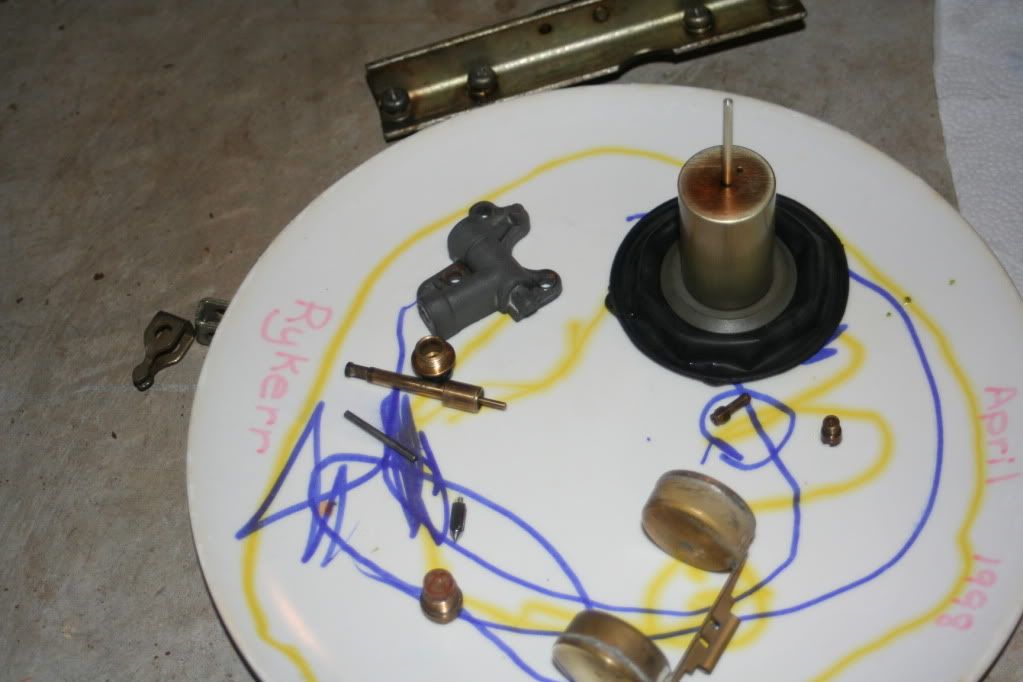
    Ok the only o ring so far I figured out was the drain o ring . Also is it best to take the needle apart and how does the black diaphragm come off .


    #2
    Hey man. No need to disassemble the diaphragm. I'm making a very easy carburetor cleaning guide with pictures specifically for GS450's. But if you must know now, here's some pictures.

    The first o-ring is on the needle jet.

    See that goldish colored thing with the holes in it? Pull it straight out gently with pliers. It is not threaded.


    Needle jet. And you can see the o-ring.


    The second o-ring is on the adjustment screw. Before removing, note how many turns it takes to turn to the right until it is lightly seated. Write that number down. On my 1980 Suzuki GS450L with stock airbox and exhaust, it took 2 turns.

    See that brass colored screw? That's the adjustment screw. If you don't see it on yours, then you may have to drill out the plug.


    Adjustment screw with o-ring.


    And the last o-ring is on the float bowl drain screw.

    Use a 17mm socket to remove the float bowl drain screw.


    And here's the last o-ring.


    Hope that helps!

    Comment


      #3
      Aha! That's why you couldn't find 2 of the o-rings. You have drill out the metal plugs that covers the adjustment screw. There's one adjustment screw for each carburetor.

      See the red arrow? Drill it. But drill SLOWLY.

      Comment


        #4
        Wow most helpful I swear I didn`t have a needle jet on the carb I took apart hmm I`ll check on that now . Also thanks for the location of the adjustment screw I guess I have an unmolested carb . Thanks again .
        Oh and also I don`t know what slow is wish me luck
        Last edited by Guest; 10-13-2010, 02:16 AM.

        Comment


          #5
          Ok so it seems the carbs are mssing the needle jet no wonder the bike didn`t run right . Also I think I messed up the donor one from the bad carb I`m going to leave them soaking in wd 40 overnight and tackle them in the morning .

          Comment


            #6
            Thanks for your pic's on these guys, will help me no end real soon with mine, so keeping a close eye on what you find with yours.

            I'm hoping to end up with pods and custom exhaust, so I expect to be visiting my jets on a regular basis until it's tuned...
            1982 GS450E - The Wee Beastie
            1984 GSX750S Katana 7/11 - Kit Kat - BOTM May 2020

            sigpic

            450 Refresh thread: https://www.thegsresources.com/_foru...-GS450-Refresh

            Katana 7/11 thread: http://www.thegsresources.com/_forum...84-Katana-7-11

            Comment


              #7
              Originally posted by John Mellencamp View Post
              Ok so it seems the carbs are mssing the needle jet no wonder the bike didn`t run right . Also I think I messed up the donor one from the bad carb I`m going to leave them soaking in wd 40 overnight and tackle them in the morning .
              Use Berryman's Carb dip. WD40 is not carbuerator cleaner and will not loosen up all the old varnish left behind by old gasoline. Then blow out all the passages with compressed air and/or spray style carb cleaner or you'll be doing the job again and again....Some passages also have to be cleaned with a small, thin wire.

              Comment


                #8
                Ok my adjustment screw unthreads pretty easy but then it won`t drop out even after tapping it whats the best way to make it fall out .

                Comment


                  #9
                  Maybe try to spray some carb cleaner in there to get rid of some of that gunk and then try again? But I'm also still a newbie so hopefully someone else has a different idea.
                  Cowboy Up or Quit. - Run Free Lou and Rest in Peace

                  1981 GS550T - My First
                  1981 GS550L - My Eldest Daughter's - Now Sold
                  2007 GSF1250SA Bandit - My touring bike

                  Sit tall in the saddle Hold your head up high
                  Keep your eyes fixed where the trail meets the sky and live like you ain't afraid to die
                  and don't be scared, just enjoy your ride - Chris Ledoux, "The Ride"

                  Comment


                    #10
                    Maybe try to spray some carb cleaner in there to get rid of some of that gunk and then try again? But I'm also still a newbie so hopefully someone else has a different idea.
                    No point in trying to spray carb cleaner until the carb has been dipped in proper carb cleaning fluid for at least 24 hours as spray alone will not dislodge hardened on gunk. Careful spraying the carb cleaner too as some of the passages bend around and you can accidentally shoot yourself in the face. Ask me how I know.

                    You can rinse everything with water and dry off but a quick blast with compressed air is all that is needed.

                    When reassembling, you can make the job easier for next time by changing the float bowl and vacuum chamber cover screws to 6mm cap screws ( i.e. Allen headed available at most auto stores or even Home Depot I believe). You can reuse the float bowl gasket too if you rub both sides of it lightly with some axle or bearing grease. When the bowl is next taken off the gasket will not stick to either surface.

                    If you take your time and do the job right the first time it will make a big difference in getting the bike started and running right. Nothing worse than to have to pull the carbs 3 or 4 times to get them setup.

                    Good luck with it.

                    cheers,
                    spyug
                    Last edited by Guest; 10-15-2010, 09:32 AM.

                    Comment

                    Working...
                    X