Announcement

Collapse
No announcement yet.

Clean carbs now bike wont start......

Collapse
X
 
  • Filter
  • Time
  • Show
Clear All
new posts

    #31
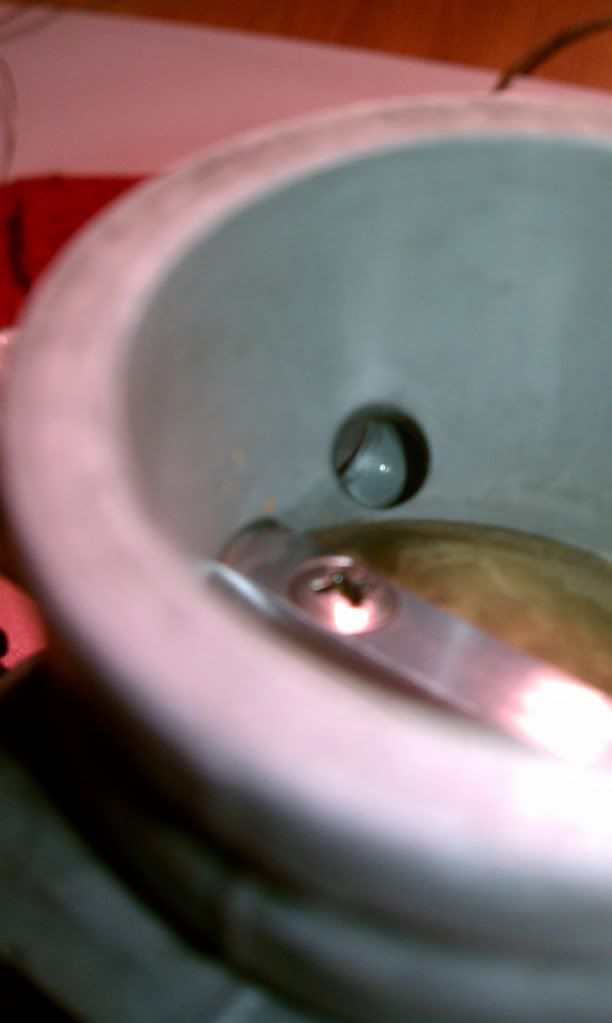
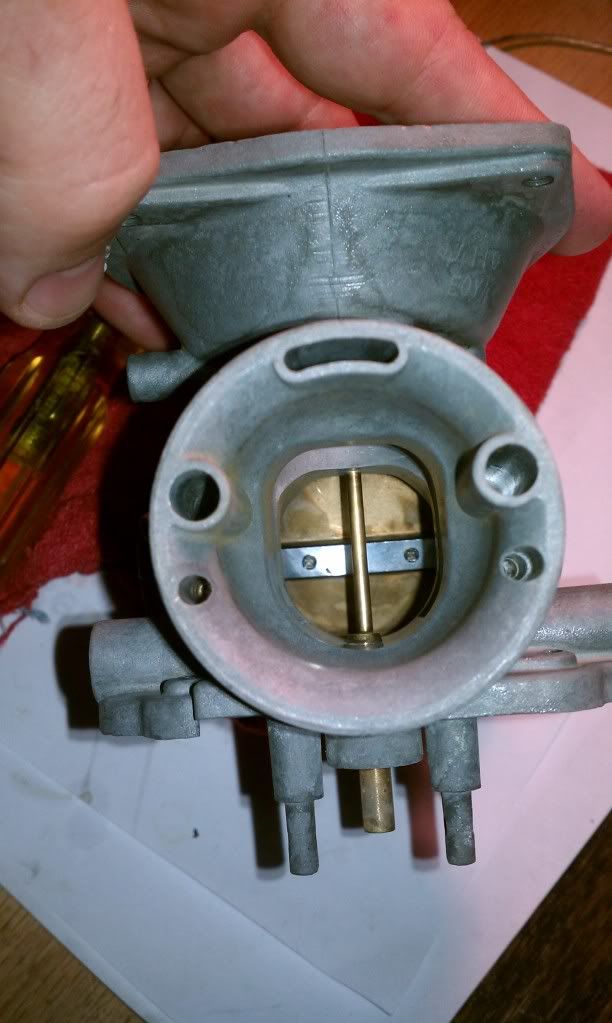
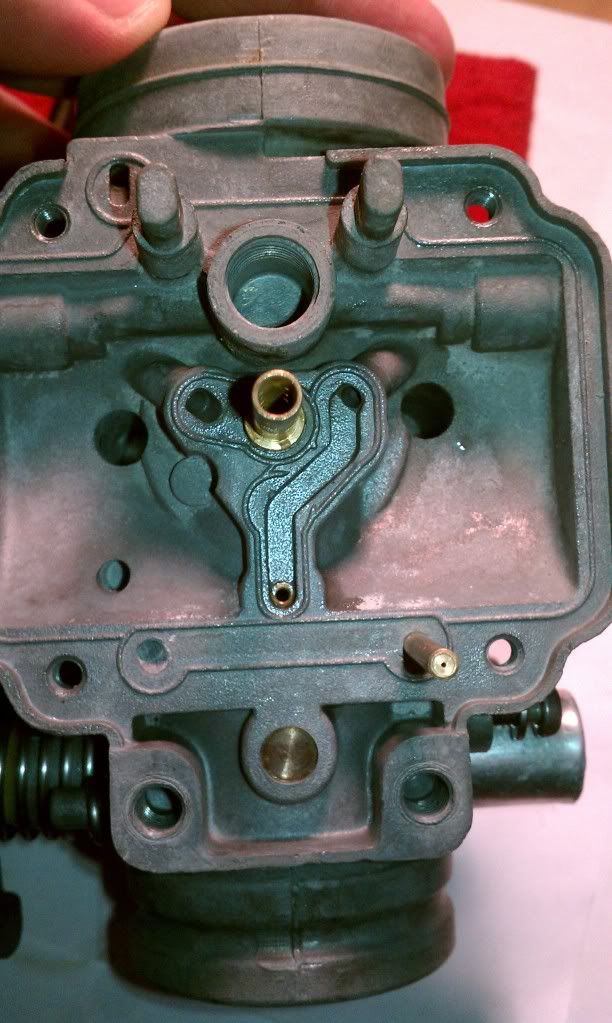
    Ok....first off let me apologize for showing my frustration in my previous post. I worked like a dog at the left carb with spray carb cleaner and qtips and safety glasses. I sprayed and dug so much crap out of the fuel outlet side of the carb. I can't believe such a small hole could hide so much gunk! I would say this carb is at about 90% since I ran out of spray cleaner. The passages shoot a nice straight stream of carb cleaner when I spray into it now. The right carb is apart and soaking in the cleaning pail since 10:30 last night. I am really wanting to try soaking them in boiling lemon juice for about 20 mins. I have read a lot of positive reviews on it but don't want to damage the bodies of the carbs with the citric acid. I humbly open myself up for any constructive criticism you all may have. Here are some pics if an almost clean left carb:


    Last edited by Guest; 03-02-2012, 09:57 AM.

    Comment


      #32
      How come you did not remove the Needle Jet ? It's critical to clean all the carb parts, and inside the carb body orifices.

      Please check that link I provided above. It details what you need to remove before dipping.
      Ed

      To measure is to know.

      Mikuni O-ring Kits For Sale...https://www.thegsresources.com/_foru...ts#post1703182

      Top Newbie Mistakes thread...http://www.thegsresources.com/_forum...d.php?t=171846

      Carb rebuild tutorial...https://gsarchive.bwringer.com/mtsac...d_Tutorial.pdf

      KZ750E Rebuild Thread...http://www.thegsresources.com/_forum...0-Resurrection

      Comment


        #33
        Originally posted by turkeyroll60 View Post
        Ok....first off let me apologize for showing my frustration in my previous post. I worked like a dog at the left carb with spray carb cleaner and qtips and safety glasses. I sprayed and dug so much crap out of the fuel outlet side of the carb. I can't believe such a small hole could hide so much gunk! I would say this carb is at about 90% since I ran out of spray cleaner. The passages shoot a nice straight stream of carb cleaner when I spray into it now. The right carb is apart and soaking in the cleaning pail since 10:30 last night. I am really wanting to try soaking them in boiling lemon juice for about 20 mins. I have read a lot of positive reviews on it but don't want to damage the bodies of the carbs with the citric acid. I humbly open myself up for any constructive criticism you all may have. Here are some pics if an almost clean left carb:


        Yes you need to remove that needle jet, when you get it out you will understand why it has to come out to be cleaned . you should be able to take a small brass punch and small hammer and tap it out of the carb body,
        1984 GS1100GK newest addition to the heard
        80 GS 1000gt- most favorite ride love this bike
        1978 GS1000E- Known as "RoadKill" , Finished
        83 gs750ed- first new purchase
        85 EX500- vintage track weapon
        1958Ducati 98 Tourismo
        “Remember When in doubt use full throttle, It may not improve the situation ,but it will end the suspense ,
        If it isn't going to make it faster or safer it isn't worth doing

        Comment


          #34
          Originally posted by hjfisk View Post
          Yes you need to remove that needle jet, when you get it out you will understand why it has to come out to be cleaned . you should be able to take a small brass punch and small hammer and tap it out of the carb body,
          Or wooden dowel.

          Comment


            #35
            I tried to get it out but was afraid of damaging it by pounding on it. That thing is really stuffed in there. Plus i was afraid if I actually got it out I wouldnt get it back in the right way without more pounding. The other set of carbs that were originally on the bike had the needle jets pressed so far into the float bowls they wouldnt budge. I was able to get one out but gouged it in the process. A look down the inside of the tube shows no debris and all the little holes are clean. I picked up a can of valvoline carb and throttle body cleaner today and plan to finish off both carbs tonight.

            Comment


              #36
              Originally posted by turkeyroll60 View Post
              I tried to get it out but was afraid of damaging it by pounding on it. That thing is really stuffed in there. Plus i was afraid if I actually got it out I wouldnt get it back in the right way without more pounding. The other set of carbs that were originally on the bike had the needle jets pressed so far into the float bowls they wouldnt budge. I was able to get one out but gouged it in the process. A look down the inside of the tube shows no debris and all the little holes are clean. I picked up a can of valvoline carb and throttle body cleaner today and plan to finish off both carbs tonight.
              Soak it in PB Blaster for a few days. If it doesn't come out with a wooden dowel at that point, soak it for a few more days. It'll go back in more easily when everything is clean.

              Comment


                #37
                Sorry to beat a horse in the ground but, break them down all the way means all the way, emulsion tubes everything short of the butterfly's, what kind of carb cleaner are you using? I've had the best luck with Berrymans chem dip and its not real expensive. You must blow out the passages afterwards, with carb cleaner and then air after a good hot wash from dipping. No-ones beating you up, its just tough to watch people assume they aren't that bad because someone else did some work on them, pretend you found them in the bottom of a dumpster next to a half eaten hot pocket and start from scratch.
                You'll feel the better for it when it roars to life properly, otherwise you may get it to start after an improper cleaning and then be wondering if its jets or other has issues when it still the first issue.

                Comment


                  #38
                  Originally posted by turkeyroll60 View Post
                  I tried to get it out but was afraid of damaging it by pounding on it. That thing is really stuffed in there. Plus i was afraid if I actually got it out I wouldnt get it back in the right way without more pounding. The other set of carbs that were originally on the bike had the needle jets pressed so far into the float bowls they wouldnt budge. I was able to get one out but gouged it in the process. A look down the inside of the tube shows no debris and all the little holes are clean. I picked up a can of valvoline carb and throttle body cleaner today and plan to finish off both carbs tonight.
                  If you look on the carb parts diagram of those carbs there is a o-ring on that needle jet tube Part # 18 in this diagram http://www.babbittsonline.com/suzuki...011/5602520013
                  1984 GS1100GK newest addition to the heard
                  80 GS 1000gt- most favorite ride love this bike
                  1978 GS1000E- Known as "RoadKill" , Finished
                  83 gs750ed- first new purchase
                  85 EX500- vintage track weapon
                  1958Ducati 98 Tourismo
                  “Remember When in doubt use full throttle, It may not improve the situation ,but it will end the suspense ,
                  If it isn't going to make it faster or safer it isn't worth doing

                  Comment


                    #39
                    All parts are cleaned and I set the float height at 24mm. I bench synced then put the carbs back on and it fired up! idled perfectly at 1000 rpm. I changed the oil, put new plugs in and dumped some seafoam in a fresh tank of techron. I went for a nice little ride and its a smooth acceleration with no hiccups or stalling. At one straight away I hit 55mph and it had more to give but i wasn't willing so I eased off. Only problem is about halfway into my tour of the neighborhood, I came to a stop sign and the idle hung at about 3000 rpm and wouldn't come down until I eased off on the idle adjustment screw. The air mixture screws are about one and a quarter turns out from bottom. I really made sure the intake boots were nice and tight and the air-box was sealed and cleaned. I'm guessing a vacuum sync is in order next. But the good thing is she lives and so far I survived my first carb rebuild!

                    Comment


                      #40
                      Well done! Feels great, no?

                      Comment


                        #41
                        Idle mixture screws should be at 2.5 turns or so. That could be the cause of the hanging idle, but more likely there is an air leak somewhere. Did you replace the intake pipe boot O-rings? Is the airbox sealed properly and a fresh air filter installed?

                        Last edited by Nessism; 03-05-2012, 12:15 AM.
                        Ed

                        To measure is to know.

                        Mikuni O-ring Kits For Sale...https://www.thegsresources.com/_foru...ts#post1703182

                        Top Newbie Mistakes thread...http://www.thegsresources.com/_forum...d.php?t=171846

                        Carb rebuild tutorial...https://gsarchive.bwringer.com/mtsac...d_Tutorial.pdf

                        KZ750E Rebuild Thread...http://www.thegsresources.com/_forum...0-Resurrection

                        Comment


                          #42
                          It felt awesome. There is no better confidence booster than to know you made it work. As for the airbus, I had it out and inspected and cleaned it. All seams appeared good and the filter is clean but a little dry. The intake boot o-rings were replaces also. A leak inspection with a can of wd40 would locate the leaks right?

                          Comment


                            #43
                            It felt awesome. There is no better confidence booster than to know you made it work. As for the air-box, I had it out and inspected and cleaned it. All seams appeared good and the filter is clean but a little dry. The intake boot o-rings were replaces also. A leak inspection with a can of wd40 would locate the leaks right? Oh and ofcourse , thank you to everyone here for all their help and patience with me.

                            Comment


                              #44
                              The air filter should be washed in simple green (or similar), rinsed, and dried. After it dries it should be oiled with motor oil. Squeeze out the excessive oil before reinstalling. You want a very thin but even coat of oil. Some people use paper towel to blot out any excessive oil.


                              Good luck. Getting close...
                              Ed

                              To measure is to know.

                              Mikuni O-ring Kits For Sale...https://www.thegsresources.com/_foru...ts#post1703182

                              Top Newbie Mistakes thread...http://www.thegsresources.com/_forum...d.php?t=171846

                              Carb rebuild tutorial...https://gsarchive.bwringer.com/mtsac...d_Tutorial.pdf

                              KZ750E Rebuild Thread...http://www.thegsresources.com/_forum...0-Resurrection

                              Comment

                              Working...
                              X