Steve
GS Whisperer
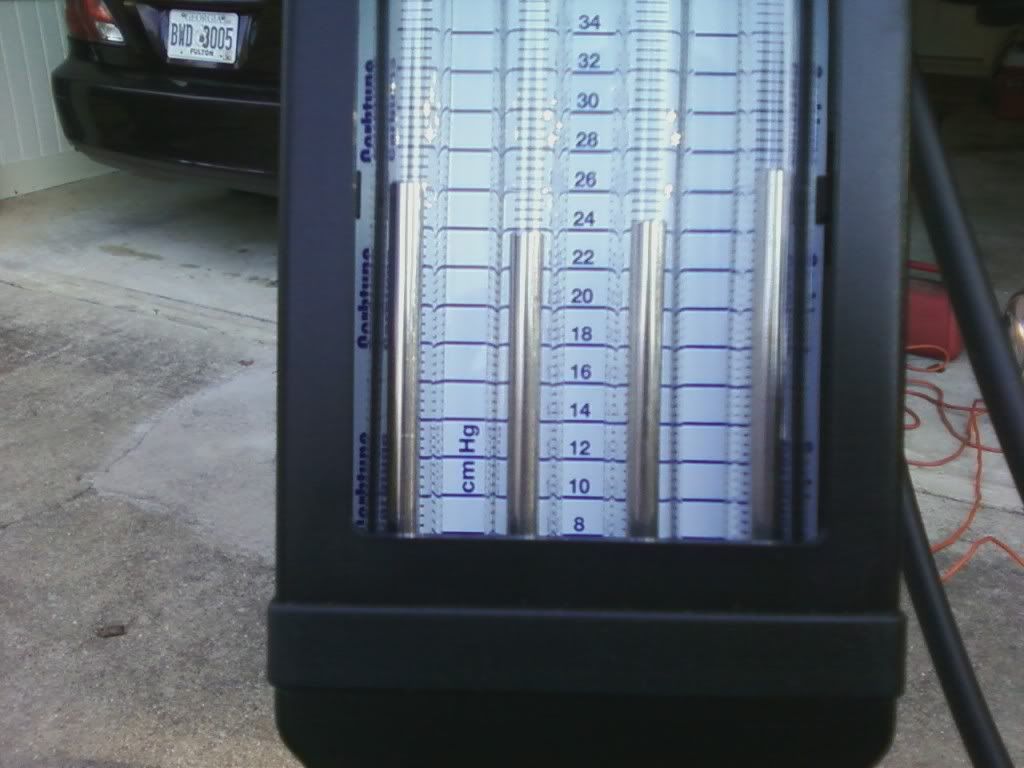
Evidently you are not checking your clearances correctly. :-kHas anyone heard of getting two different measurements on the same valve by checking it with the lobe both perpendicular and parallel to the head?
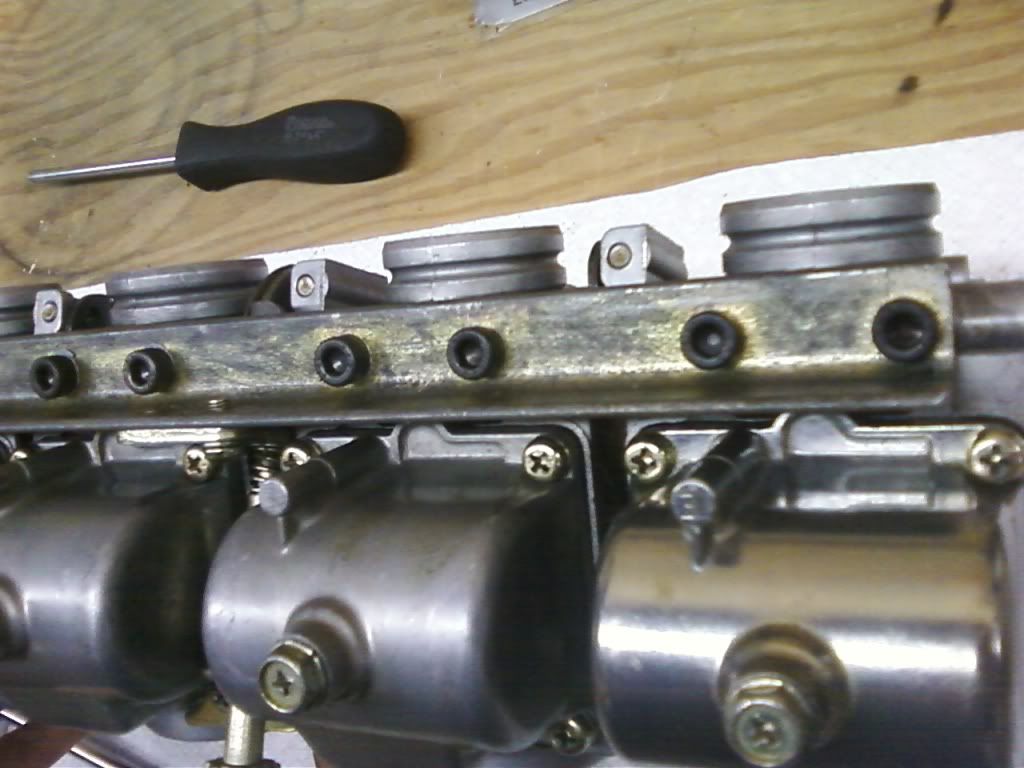
What is the best place to get replacements for the half moon plugs that go to the valve cover?
It is not real clear in any of the manuals, but let's start at EX 1, for example. Rotate the exhaust cam so that #1 lobe points forward and #2 lobe points up. Now, WITHOUT MOVING ANYTHING, check both #1 and #2. Rotate the crank 180 degrees (that's 1/2 turn), you will see that the cam lobes on INTAKE 1&2 are in position. WITHOUT MOVING ANYTHING, check both #1 and #2. Rotate the crank another 180 degrees, you will see that exhaust 3&4 are in position. Again, WITHOUT MOVING ANYTHING, check both #3 and #4. Rotate the crank a final 180 degrees, intakes 3&4 will be in position. Guess what? Yeah, WITHOUT MOVING ANYTHING, check both #3 and #4.
What's the big deal? If you look carefully, with the cam lobes in those specific positions, neither lobe on that side of the cam is pushing on a valve, meaning that the cam is nicely centered in its bearing.
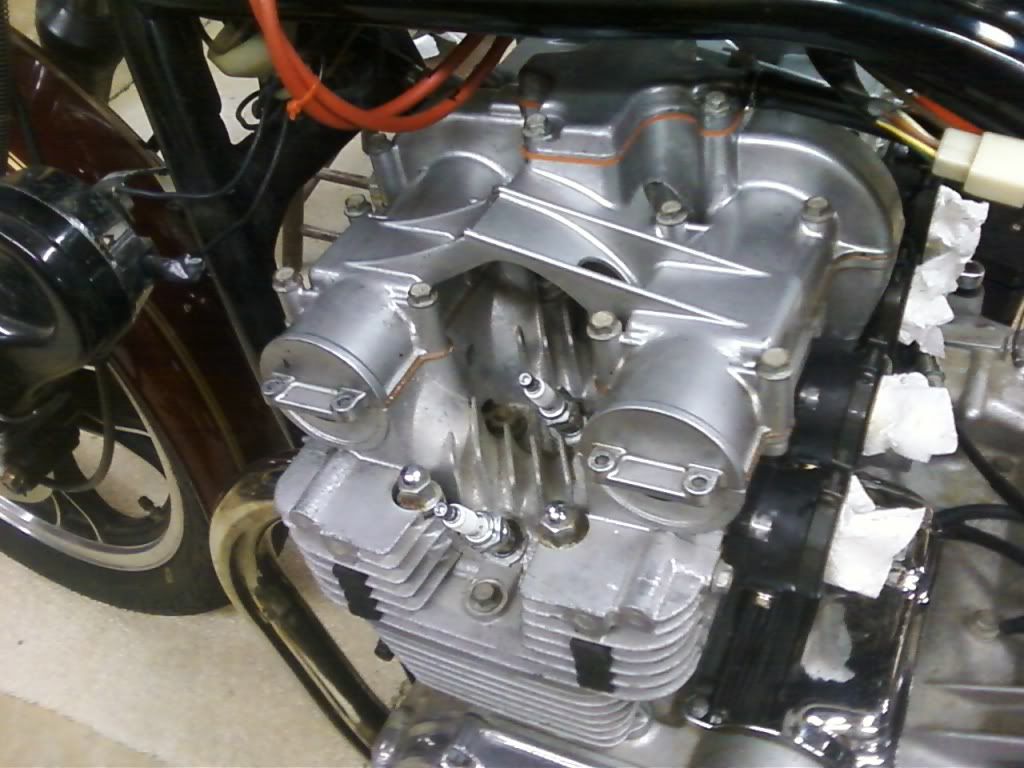
Yep, they changed in the '82 model year. I think some of the early ones still had 16 holes, then they changed to 17 for the rest of '82 and all of '83.So apparently the GS650G has two valve cover designs. One with 16 bolts and one with 17 bolts. Mine has 17. The gasket I got from realgaskets.com has 16
By the way, you do NOT want a RealGasket valve cover gasket for your bike. Your tach drive is in the valve cover. The RealGasket is rather thick, and lifts the tach drive away from proper engagement, causing problems. For any bike that has the tach drive in the valve cover instead of the head, please stick with a standard paper gasket.
.


") Including...
Including...

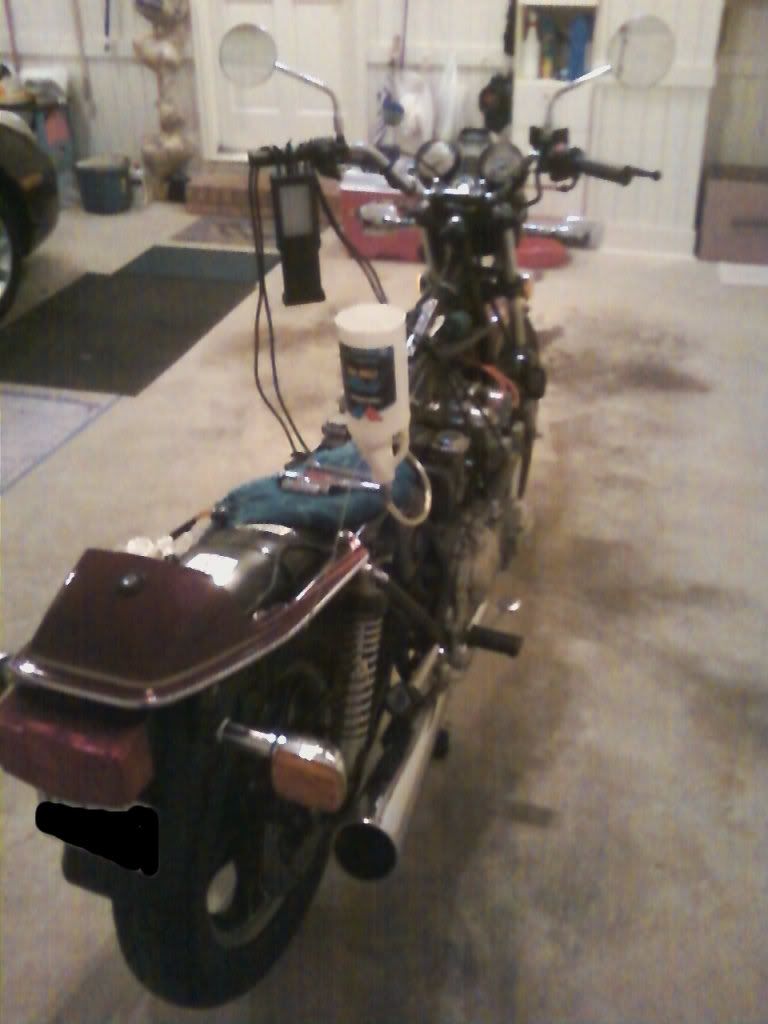
") . After dinner I re-engineered my temporary gas tank.
. After dinner I re-engineered my temporary gas tank.