.png "Powered by vBulletin")
Good morning,
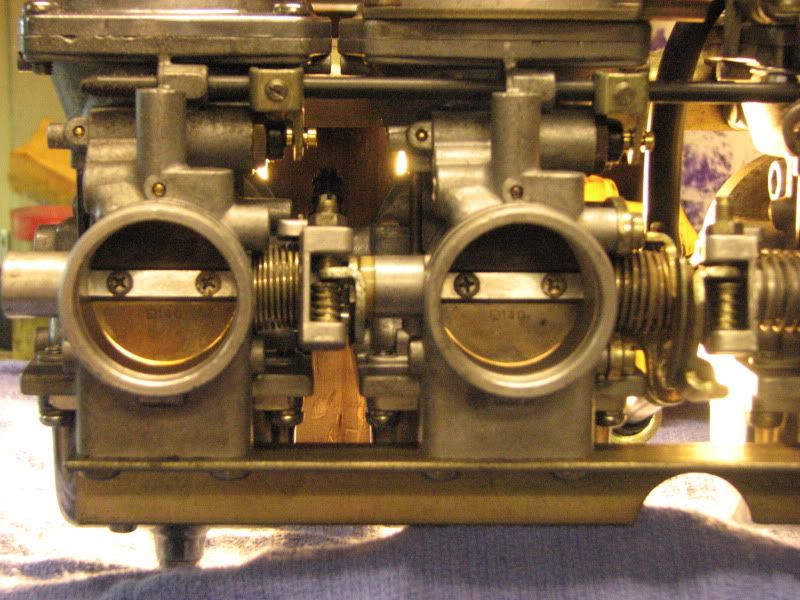
well today my bike would not start (it did crank but wouldnt start) and since the only evidence that the carbs are clean is the PO's assurance, I feel like its about time to quit procrastinating and learn how to do this. The oil sometimes smells like gas, the choke seems to work better when its only half out and just acts strangely, and these things might be carb-related.
So, I have ordered a Morgan carbtune, the colour tune, and their carb tool.
In addition, I have ordered a full set of rings, intake boots, and fasteners from cycleorings.com. Also, I am planning to buy a set of four carb gaskets from Z1. I have also been advised to get the 5mm adapter from Z1 and will order it once I figure out if I need to order one of them or four of them.
Finally, I have ordered a set of #2 #1 and #0 JIS screwdrivers so I dont strip out any screws.
What other supplies will I need? I plan to get some carb dip from the local autoparts store. And hose to connect the fuel tank while it is off the bike. Anyone have any recommendations for this? Can I leave the vacuum line disconnected and set the petcock to PRIME? or will I have to get another long hose for the vacuum?
I need to make sure and cover every base here because it is my only form of transport. If anyone has done this and thinks there is anything else I need to find please tell me because once the carbs are off I am not going anywhere
Also, once all this stuff gets here, would someone mind sending me a PM with their number? I will be doing it on a weekend and if someone has some free time to answer any questions I might have it would be very much appreciated. I was very close to selling this bike until it started to work very well for the last two months. Luckily I have a couple weeks to work on it before I start my new job.
Thank you!
 All good choices. You will need FOUR of those brass 5mm adapters from Z1.
Comment