.png "Powered by vBulletin")
After a trip to the hardware store for a new feeler gauge (the old one wasn't fine enough) I popped the valve cover and checked the clearance.
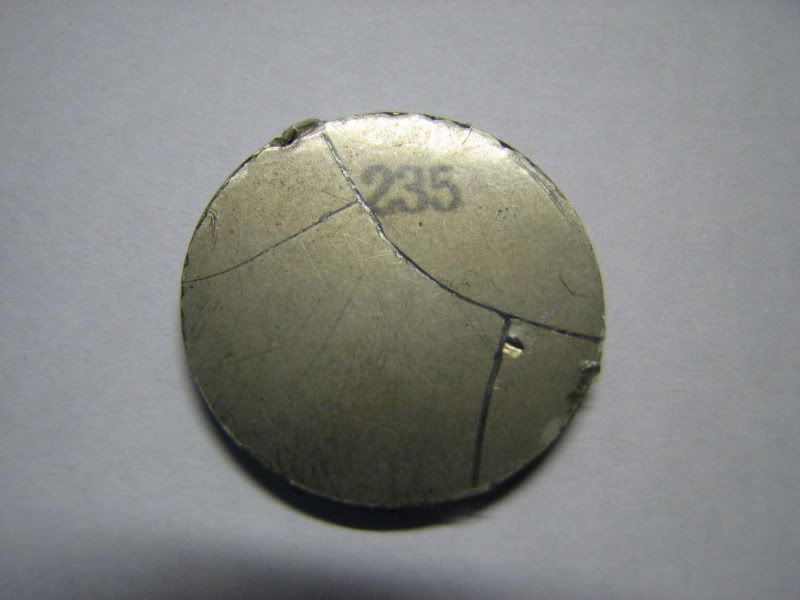
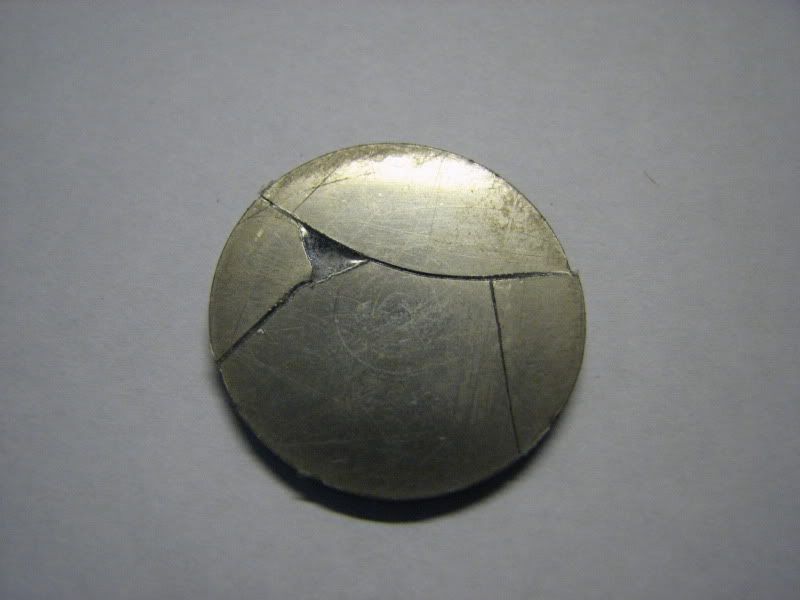
There ain't none. I can't even get the finest blade in. I wonder if I'm doing it right? I turned the engine to point the cam lobes up like it shows in the manual... :\ Spec is like .03mm-.08mm and I can't even get the .015mm in there. I only checked a few last night. What are the chances they're all out of whack? That's a lot of shims! Do they usually get tighter as stuff wears or looser? Bike has about 18K miles on it. I got it with 11.5K and never adjusted them.
As for the carbs, I didn't do the full dip but I don't think they're the problem. I sprayed 'em out and everything is clean. I checked every hole in every jet and every passage in the bodies.
The boots are sh*t, but I gooped the crap out of 'em when I reseated the carbs. I don't have the cash to go restoring everything to showroom condition.


 )
)


Comment