Announcement

Collapse
No announcement yet.

Another reason to avoid that well known carb kit

Collapse
X
 
  • Filter
  • Time
  • Show
Clear All
new posts

    Another reason to avoid that well known carb kit

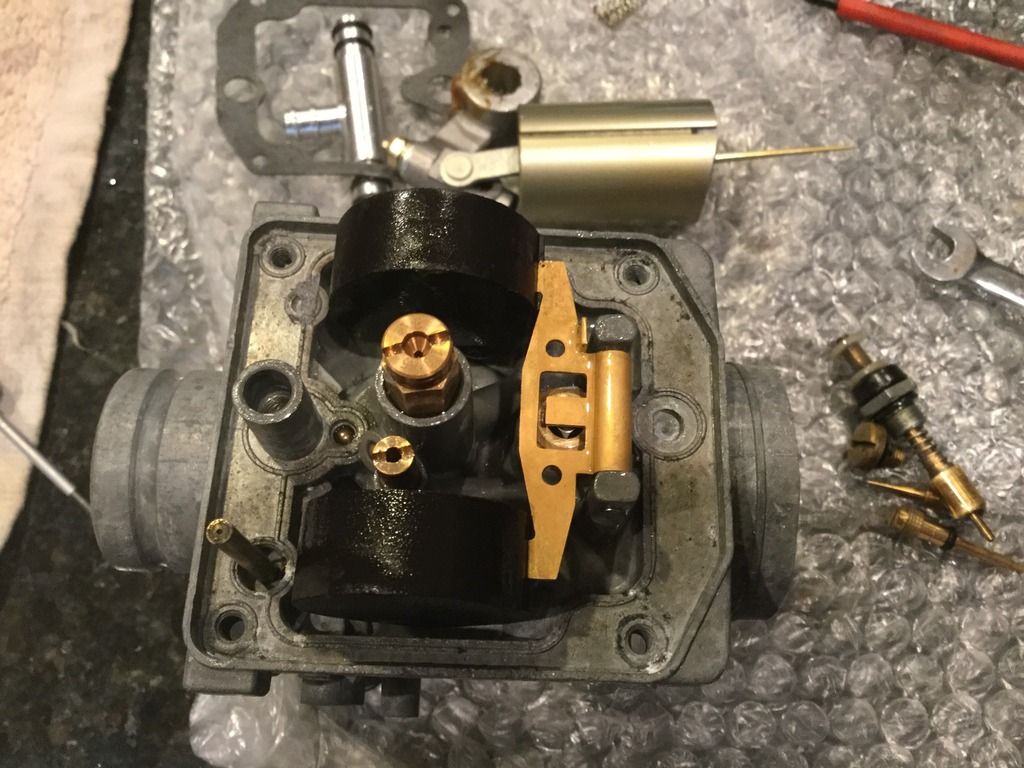
    Doing a post-mortem of the unmitigated failure of a well known brand of carb overhaul kit and petcock overhaul kit.

    besides the very hit and miss nature of the main fuel control valves, the sagging diaphragm and weak spring in the petcock kit ...... there's this -

    look closely and then wonder no more why your carbs won't idle properly and your mixtures all wrong

    IMG_1604.jpg

    Top is OE ....... bottom is - Krappy and Lamentable
    78 GS1000C- Now sporting 1100E suspension and numerous goodies
    82 GS750E/82 1100E/ GSXR Frankenstein bike completed
    83 1100E "rescue bike" saved from the barn
    2008 Bking - Torque Torque Torque
    Next project slowly coalescing

    #2
    Ran a good vernier over the fuel and air screws ...... critical dimensions are good but tapers are subtly different

    checked o rings - not good at all ..... bear in mind these carbs did about 3 miles as the bike would not run correctly so this is pretty damning -

    FullSizeRender.jpg

    Left is 35 year old, tired and perished OE
    middle is "kit" o ring
    right is cycle o rings part


    if I'd found this site earlier I wouldn't have wasted so much time and money on this sub standard garbage !!!!
    78 GS1000C- Now sporting 1100E suspension and numerous goodies
    82 GS750E/82 1100E/ GSXR Frankenstein bike completed
    83 1100E "rescue bike" saved from the barn
    2008 Bking - Torque Torque Torque
    Next project slowly coalescing

    Comment


      #3
      Well you get what you pay for after all.
      1983 GS 550 LD
      2009 BMW K1300s

      Comment


        #4
        So I've been searching the Net for a carb rebuild kit for my Mikini VM26SS , off a 1979 GS 850 . Can anyone point me to a parts website that has this ? I can only find kits for 1979 GS750 . Is this the same stock carb on both bikes ? I also want to know what popular kit previously mentioned so as NOT to purchase them . Thanks

        Comment


          #5
          Why do you need any kits? Why not clean the hard parts you have and just replace the O-rings? Nothing you buy, accept OEM, will be quality parts. Go here for the proper O-rings for your VM carbs and clean the rest. If you're missing parts, then replace those with OEM.
          http://img633.imageshack.us/img633/811/douMvs.jpg
          1980 GS1000GT (Daily rider with a 1983 1100G engine)
          1998 Honda ST1100 (Daily long distance rider)
          1982 GS850GLZ (Daily rider when the weather is crap)

          Darn, with so many daily riders it's hard to decide which one to jump on next.;)

          JTGS850GL aka Julius

          GS Resource Greetings

          Comment


            #6
            Makes sense . So was the well known brand of Carb kits NOT RECOMMEND start with a K and end with a ster ????
            Cause that's the brand on a website recommend to get parts ??? Just still confused .

            Comment


              #7
              What's confusing. Purchase new O-rings from cycleorings.com and reuse all your hard parts after a thorough cleaning. Any of the aftermarket kits are questionable.
              http://img633.imageshack.us/img633/811/douMvs.jpg
              1980 GS1000GT (Daily rider with a 1983 1100G engine)
              1998 Honda ST1100 (Daily long distance rider)
              1982 GS850GLZ (Daily rider when the weather is crap)

              Darn, with so many daily riders it's hard to decide which one to jump on next.;)

              JTGS850GL aka Julius

              GS Resource Greetings

              Comment


                #8
                I bought some float bowl gaskets from these guys and they are fine. http://www.ebay.com/itm/SUZUKI-1978-...m9YWcw&vxp=mtr

                The guy must have a waterjet cutter or similar that he uses to cut the gaskets himself. He uses an OEM gasket as a template and the gasket material he uses is decent. Cheapest gaskets around too.
                Ed

                To measure is to know.

                Mikuni O-ring Kits For Sale...https://www.thegsresources.com/_foru...ts#post1703182

                Top Newbie Mistakes thread...http://www.thegsresources.com/_forum...d.php?t=171846

                Carb rebuild tutorial...https://gsarchive.bwringer.com/mtsac...d_Tutorial.pdf

                KZ750E Rebuild Thread...http://www.thegsresources.com/_forum...0-Resurrection

                Comment


                  #9
                  With Hindsight and experience gained both here and personally -

                  Cycle o rings kit
                  float bowl gaskets
                  berrymans carb dip
                  patience

                  any other route is a waste of time IMHO
                  78 GS1000C- Now sporting 1100E suspension and numerous goodies
                  82 GS750E/82 1100E/ GSXR Frankenstein bike completed
                  83 1100E "rescue bike" saved from the barn
                  2008 Bking - Torque Torque Torque
                  Next project slowly coalescing

                  Comment


                    #10
                    Originally posted by bsharpish View Post
                    With Hindsight and experience gained both here and personally -

                    Cycle o rings kit
                    float bowl gaskets
                    berrymans carb dip
                    patience

                    any other route is a waste of time IMHO
                    Objection on the carb dip, agreed on all other points. My ultrasonic worked very well for me. Though, arguably, I've seen only a fraction of carb conditions compared to you guys.
                    #1: 1979 GS 550 EC "Red" – Very first Bike / Overhaul thread        New here? ☛ Read the Top 10 Newbie mistakes thread
                    #2: 1978 GS 550 EC "Blue" – Can't make it a donor / "Rebuild" thread     Manuals (and much more): See Cliff's homepage here
                    #3: 2014 Moto Guzzi V7 II Racer – One needs a runner while wrenching
                    #4: 1980 Moto Guzzi V65C – Something to chill

                    Comment


                      #11
                      Originally posted by roeme View Post
                      Objection on the carb dip, agreed on all other points. My ultrasonic worked very well for me. Though, arguably, I've seen only a fraction of carb conditions compared to you guys.
                      Sonic cleaning alone will not always clear the passages. I use the professional Berryman's formula and the sonic cleaner and have never had to do them twice. Even with some of the most crudded up carbs. And believe me, some of the carbs I've been working on were seriously clogged.
                      http://img633.imageshack.us/img633/811/douMvs.jpg
                      1980 GS1000GT (Daily rider with a 1983 1100G engine)
                      1998 Honda ST1100 (Daily long distance rider)
                      1982 GS850GLZ (Daily rider when the weather is crap)

                      Darn, with so many daily riders it's hard to decide which one to jump on next.;)

                      JTGS850GL aka Julius

                      GS Resource Greetings

                      Comment


                        #12
                        I've been doing carb restoring as a hobby and to pickup a few extra bucks. My forte is to bead blast the bodies and replate the tarnished steel parts and make the carbs look as close to new as possible.

                        Problem I have with carb dip is that it takes off some of the zinc plating from the throttle shaft parts. This is particularly noticeable with Keihin carbs of the early 80's vintage but it occurs on Mikuni's too. This is one of the main reason I decided to spring for the ultrasonic cleaner. I'm just not sure if it's effective enough to clean those inner carb passages as well as the dip.
                        Ed

                        To measure is to know.

                        Mikuni O-ring Kits For Sale...https://www.thegsresources.com/_foru...ts#post1703182

                        Top Newbie Mistakes thread...http://www.thegsresources.com/_forum...d.php?t=171846

                        Carb rebuild tutorial...https://gsarchive.bwringer.com/mtsac...d_Tutorial.pdf

                        KZ750E Rebuild Thread...http://www.thegsresources.com/_forum...0-Resurrection

                        Comment


                          #13
                          Originally posted by Nessism View Post
                          I've been doing carb restoring as a hobby and to pickup a few extra bucks. My forte is to bead blast the bodies and replate the tarnished steel parts and make the carbs look as close to new as possible.

                          Problem I have with carb dip is that it takes off some of the zinc plating from the throttle shaft parts. This is particularly noticeable with Keihin carbs of the early 80's vintage but it occurs on Mikuni's too. This is one of the main reason I decided to spring for the ultrasonic cleaner. I'm just not sure if it's effective enough to clean those inner carb passages as well as the dip.
                          Which carb dip were you using and for how long? Like I've stated in the past, I use the professional Berrymans and only soak for about 12 hours. Never seen any issues with plating being removed other then where the plating is already seriously compromised by corrosion. In that case, it usually dissolves in the sonic cleaner as well.

                          EDIT: On a side note, I dip the metal fuel tubes and fuel inlet seats with the o-rings still attached. Makes getting the o-rings off MUCH easier.

                          I have a different way of removing the float pins that avoids any chance of breaking the post. I use a set of very sharp Lindstrom 8148 flush cutting diagonal cutters to get the pins out. Several other models will work as well. I force the blades between the pin and the post by simply "cutting" between them. This acts like a wedge and removes the pin without putting any lateral pressure onto the post. Sometimes it takes just a little back and forth action to get it started but once it starts it extracts the pin easily. There's no press fit on the other end so it doesn't put any pressure on that post. I started to do it this way after I broke my first post even though I used a socket to support the pin. The socket moved and SNAP! One less carb body and in the trash.
                          Last edited by JTGS850GL; 01-30-2017, 01:38 PM.
                          http://img633.imageshack.us/img633/811/douMvs.jpg
                          1980 GS1000GT (Daily rider with a 1983 1100G engine)
                          1998 Honda ST1100 (Daily long distance rider)
                          1982 GS850GLZ (Daily rider when the weather is crap)

                          Darn, with so many daily riders it's hard to decide which one to jump on next.;)

                          JTGS850GL aka Julius

                          GS Resource Greetings

                          Comment


                            #14
                            I've done 2 sets in the last 6 days -and to be honest

                            4 -6 hours in Berrymans
                            1 hour is heated ultrasonic bath at 55C with a tiny shot of washing powder to neutralize any acidity

                            I set of VM's had float bowls that were literally coated in about 1/4" of solid black tar - they're now on the bike and 100% fine with NO pattern parts just gaskets and O'rings.
                            78 GS1000C- Now sporting 1100E suspension and numerous goodies
                            82 GS750E/82 1100E/ GSXR Frankenstein bike completed
                            83 1100E "rescue bike" saved from the barn
                            2008 Bking - Torque Torque Torque
                            Next project slowly coalescing

                            Comment


                              #15


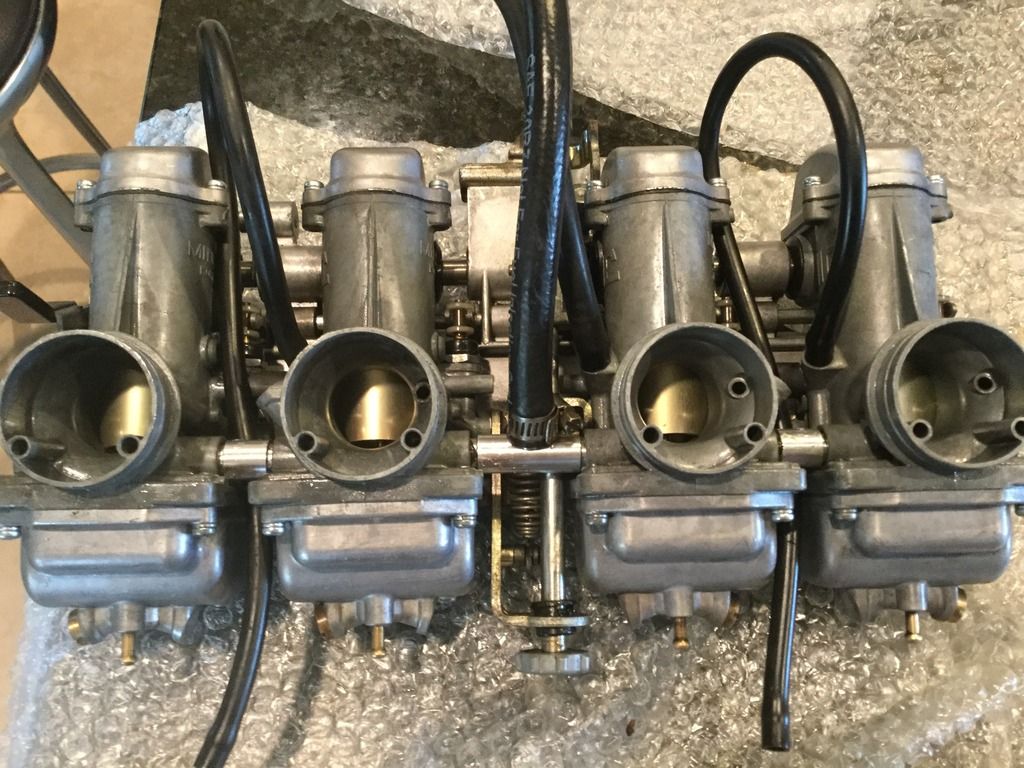
                              In this case I changed the fuel rails


                              [/URL]
                              78 GS1000C- Now sporting 1100E suspension and numerous goodies
                              82 GS750E/82 1100E/ GSXR Frankenstein bike completed
                              83 1100E "rescue bike" saved from the barn
                              2008 Bking - Torque Torque Torque
                              Next project slowly coalescing

                              Comment

                              Working...
                              X