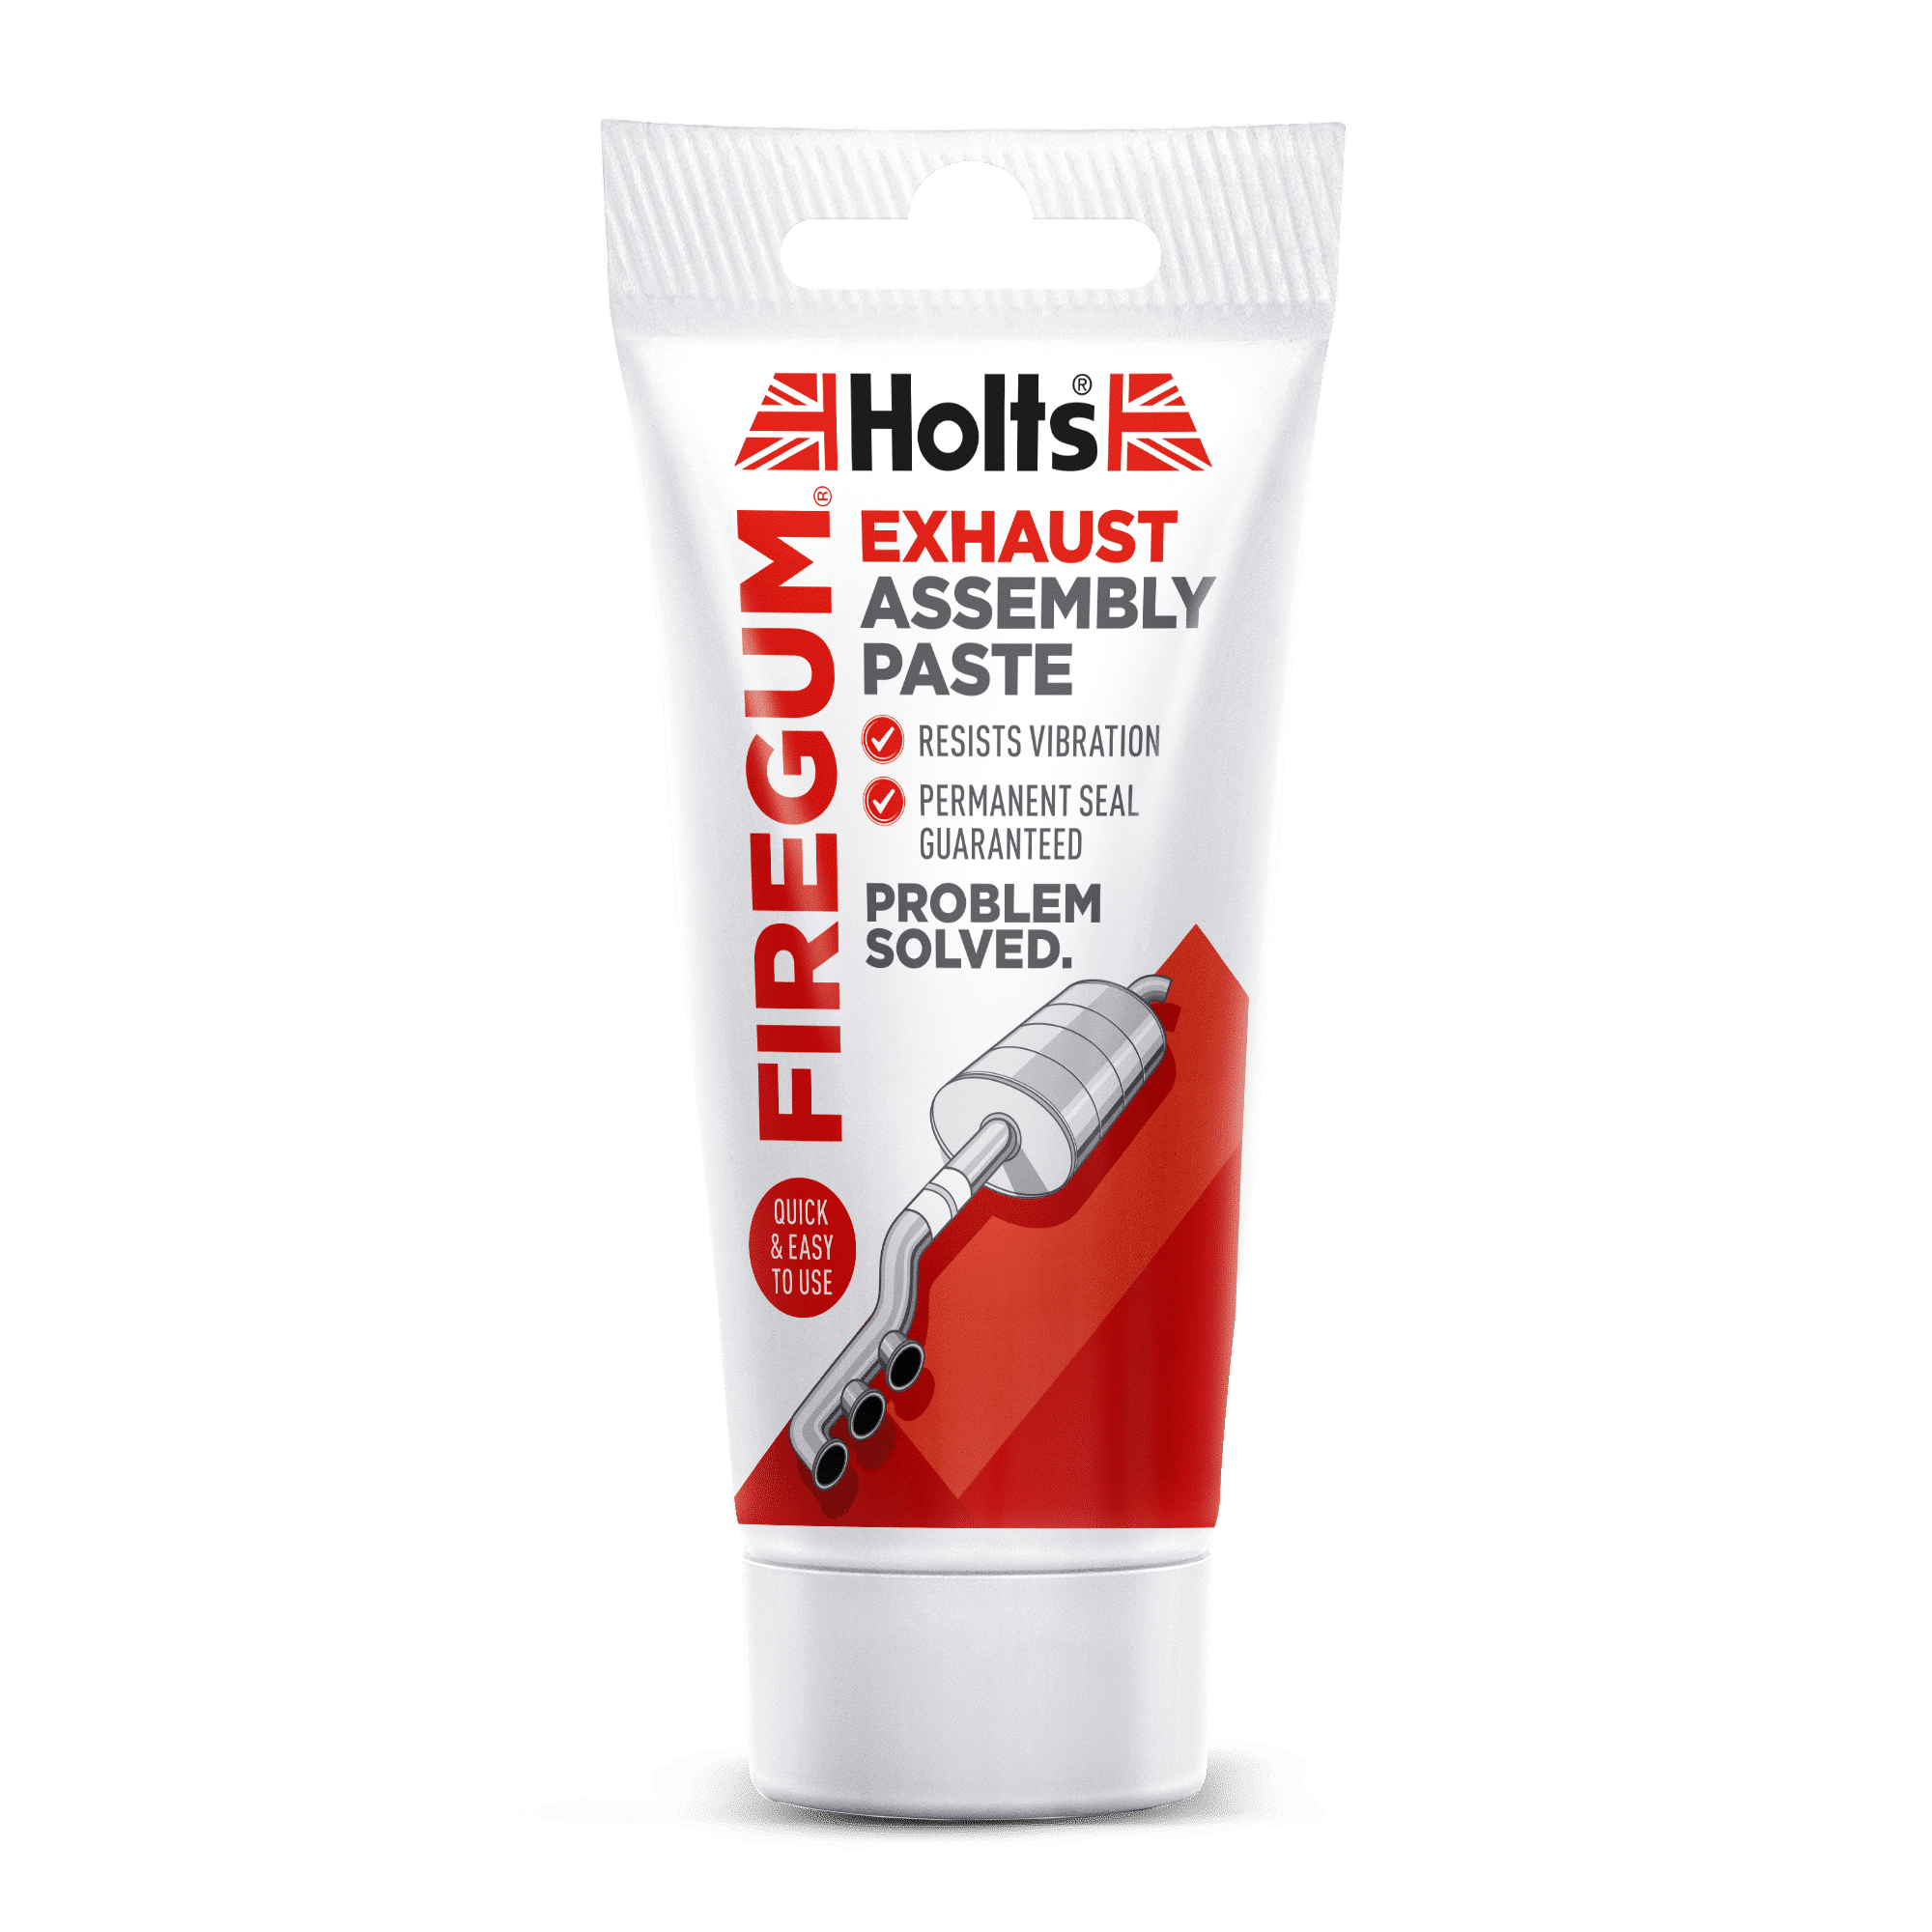
I'm working on balancing/tubing my carbs and I noticed that my new exhaust is leaking in two spots. The first spot is where the headers condense into the straight pipe. I put the silicone sealant all around them and then a leak by the muffler clamp. Put Sealant there as well. It's better then it was without the sealant. But I'm not sure what else I'm doing wrong. Anyone with experience what's the right way to install the full exhaust???
Announcement
Collapse
No announcement yet.
New 4-1 Delkevick Exhaust Leaking on 4-1
Collapse
X
-
New 4-1 Delkevick Exhaust Leaking on 4-1
Hey guys,
I'm working on balancing/tubing my carbs and I noticed that my new exhaust is leaking in two spots. The first spot is where the headers condense into the straight pipe. I put the silicone sealant all around them and then a leak by the muffler clamp. Put Sealant there as well. It's better then it was without the sealant. But I'm not sure what else I'm doing wrong. Anyone with experience what's the right way to install the full exhaust???Tags: None
-
I assembled mine with Permatex Ultra Copper in all the slip joints, put it on the bike and let it cure for several days before I started it. No leaks and no deceleration popping when tuned properly. Coated the inside and outside of each joint, wiped off all excess after assembly and was careful to keep movement of all pipes to a minimum during assembly and installation. My theory was to let it push the ultra copper to the bottom of each joint forming sort of an O-ring of sorts at the bottom, let it cure so pressure wouldn't blow it out on startup. Seems to have worked.Last edited by OldVet66; 06-26-2017, 07:03 PM.http://www.thegsresources.com/_forum...ine=1440711157'78 GS1000E, Dyna-S ignition, Dyna Green Coils, K&N pods, Delkevic SS 4-1 exhaust, Dynojet Stage 3 jet kit, Russell SS Brake Lines, Progressive suspension, Compu-Fire series Regulator 55402 and Advmonster cree LED headlight conversion.
-
 Kodak
Kodak
Might have to try that out. Did you assemble the headers first and bolt them down after fitting up the 4-1 and then put the springs on, and then the muffler?Originally posted by OldVet66 View PostI assembled mine with Permatex Ultra Copper in all the slip joints, put it on the bike and let it cure for several days before I started it. No leaks and no deceleration popping when tuned properly. Coated the inside and outside of each joint, wiped off all excess after assembly and was careful to keep movement of all pipes to a minimum during assembly and installation. My theory was to let it push the ultra copper to the bottom of each joint forming sort of an O-ring of sorts at the bottom, let it cure so pressure wouldn't blow it out on startup. Seems to have worked.
Comment
-
Forum LongTimerGSResource Superstar
Past Site Supporter
Super Site Supporter- Oct 2006
- 14052
- London, UK to Redondo Beach, California
1980 GS1000G - Sold
1978 GS1000E - Finished!
1980 GS550E - Fixed & given to a friend
1983 GS750ES Special - Sold
2009 KLR 650 - Sold - gone to TX!
1982 GS1100G - Rebuilt and finished. - Sold
2009 TE610 - Dual Sporting around dreaming of Dakar..... - FOR SALE!
www.parasiticsanalytics.com
TWINPOT BRAKE UPGRADE LINKY: http://www.thegsresources.com/_forum...e-on-78-Skunk/
Comment
-
With the headers on the bike it would best if you taped and marked the positions of all your pipes to use as an assembly guide off the bike. You might want to straighten out a coat hanger wire to use behind the header pipes so you can tape them down to keep them from shifting while installing it after using the Ultra Copper. I did mine twice and wished I had eight hands before I was satisfied that I had gotten everything together and installed with minimum movement. You will be better off if you can work with someone else, but it can be done alone. Then walk away until you are sure it has plenty of time to cure. I believe I put the springs on last. I was told by an expert that this type of pipe would always pop on deceleration. That is not really the case at least with the VM carburetors. I discovered that if it did pop on deceleration you could tune it out with the air screw and that was also a good guide to when it was really dialed in. I was tone deaf with my Vance and Hines 4-1. With these headers I can hear changes in each individual carburetor as I make adjustments.Last edited by OldVet66; 06-26-2017, 09:06 PM.http://www.thegsresources.com/_forum...ine=1440711157'78 GS1000E, Dyna-S ignition, Dyna Green Coils, K&N pods, Delkevic SS 4-1 exhaust, Dynojet Stage 3 jet kit, Russell SS Brake Lines, Progressive suspension, Compu-Fire series Regulator 55402 and Advmonster cree LED headlight conversion.
Comment
-
 Kodak
Kodak
With the muffler, how do you guys have the clamp located, should it be flush with the end of the muffler or further back to cover up the base of the slots? I know there's a better way to describe the cuts in the muffler so it can clamp down but I can't think of anything!
Comment
-
I have mine Flush. There seems to be enough of the slot exposed to compress the clamp. The muffler support on the frame will dictate how far you have to slip the megaphone to line up the bolts. I had to move mine back about 1/2 an inch.http://www.thegsresources.com/_forum...ine=1440711157'78 GS1000E, Dyna-S ignition, Dyna Green Coils, K&N pods, Delkevic SS 4-1 exhaust, Dynojet Stage 3 jet kit, Russell SS Brake Lines, Progressive suspension, Compu-Fire series Regulator 55402 and Advmonster cree LED headlight conversion.
Comment
-
 Dre
Dre
The problem I'm having after putting mine on is that the brake lever hits the can. Any suggestions? When I raise the lever it's way too high.
Comment
.png)


Comment