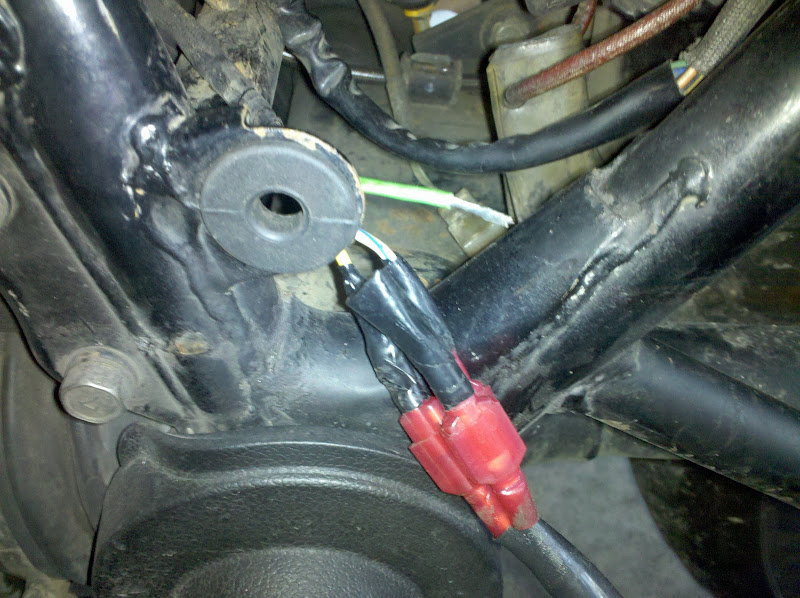
OK, I've finished the Ground Loops thread. It seems which wiring scheme one chooses (of approximately three discussed there) is a matter of personal preference. That is, all of them will work if everything is clean. The principal result of my study is this: while I have taken a questionable measurement of resistance on the + side of the charging wiring, I can tell you all that the - side is indeed a mess. I think I remember now that Steve made some recommendations when he helped me get it charging in the first place. Recommendations I forgot due to lack of time and understanding. The most thorough examination I remember anyone made of my grounds at the rally was Tim finding out that my engine ground was covered in something gooey. Folks would be excused for thinking that I had a reasonable grounding scheme after learning that I had moved the R/R ground to the battery, but they were all wrong. The subject did come up after the last spare regulator was gone. The first lesson I've learned from all of this is the same we preach for intake and brake systems and any other system. Make sure the baseline stuff is right before diagnosing problems. The second lesson is not to make a mod to a system you don't understand.
The key issue of the whole ground loops thread is whether the connectors are all clean and corrosion free. Folks talk about cleaning grounds and whatnot every chance they get. For me, that's not going to be good enough. My charging system went from functioning to consuming expensive parts in 2 months or less. I can't be bothered to wash my bike that often, much less reexamine my wiring. (Perhaps folks only mean to emphasize the importance of grounds rather than recommend that level of vigilance.) It seems that in lieu of connections that can stay corrosion free for decades without intervention, I need a way to monitor the health of the charging system so I know when it's turning green. I'm thinking that part of the overhaul of my wiring should include a permanent battery voltage gage. Not that I won't make the effort to get connections that last decades. It's just that I would take great comfort in being able to examine the health of my battery and charging system every time I start the bike.
The key issue of the whole ground loops thread is whether the connectors are all clean and corrosion free. Folks talk about cleaning grounds and whatnot every chance they get. For me, that's not going to be good enough. My charging system went from functioning to consuming expensive parts in 2 months or less. I can't be bothered to wash my bike that often, much less reexamine my wiring. (Perhaps folks only mean to emphasize the importance of grounds rather than recommend that level of vigilance.) It seems that in lieu of connections that can stay corrosion free for decades without intervention, I need a way to monitor the health of the charging system so I know when it's turning green. I'm thinking that part of the overhaul of my wiring should include a permanent battery voltage gage. Not that I won't make the effort to get connections that last decades. It's just that I would take great comfort in being able to examine the health of my battery and charging system every time I start the bike.


.png)


Comment