Announcement

Collapse
No announcement yet.

78 GS1K Underseat electronics project.

Collapse
X
 
  • Filter
  • Time
  • Show
Clear All
new posts

    78 GS1K Underseat electronics project.

    My stator and regulator went out on the GS and instead of replacing them with the same stuff that is prone to dying I decided to upgrade and as things go this led to other modifications.

    I picked up a new stator from Electrosport and after a lot of research decided on a MOSFET R/R from a newer Yamaha R1. Since the MOSFET is a good deal bigger than the stock unit I could either modify the stock location OR go a step further. Well me being me I off course went further. I picked up some aluminum from Lowe's, a new more modern fuse panel and the wiring harness for the MOSFET from Eastern Beaver and set about researching battery options that I still haven't decided on yet.

    Here's the progress so far:

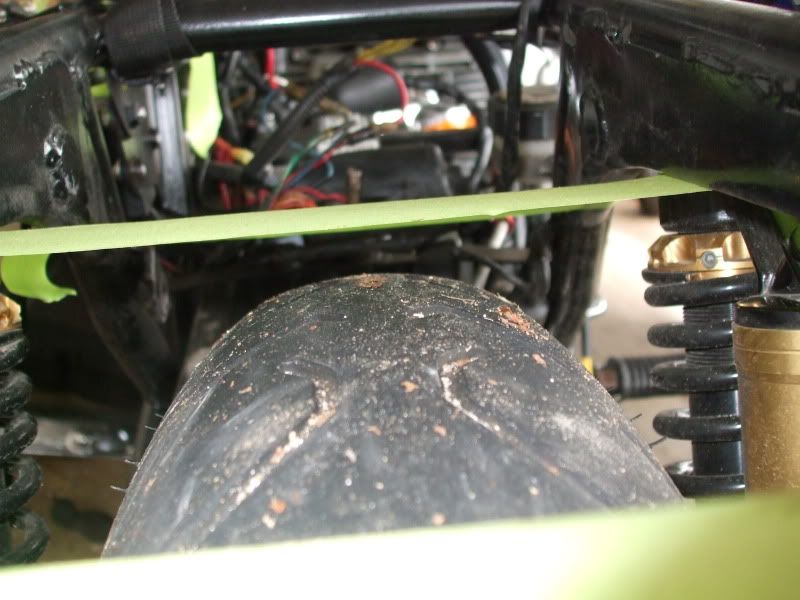
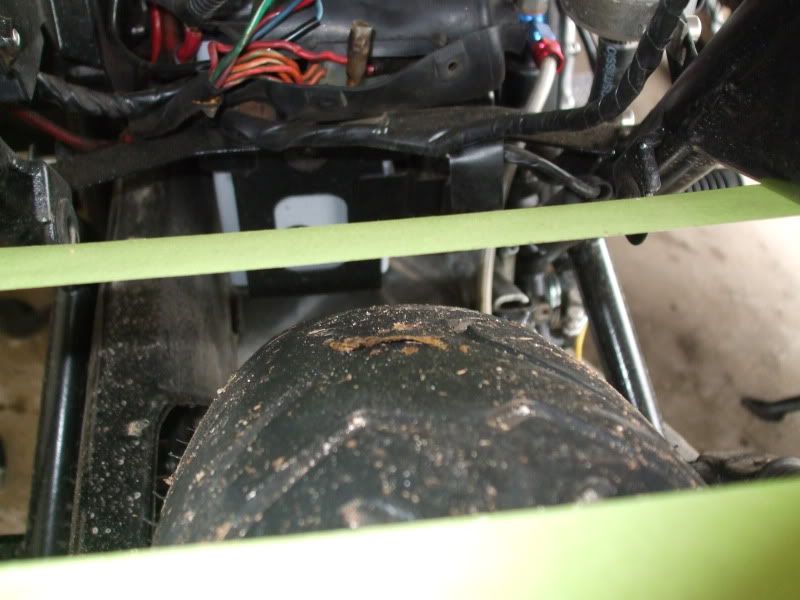
    First I ran some tape between the frame rails to get an idea of clearance.
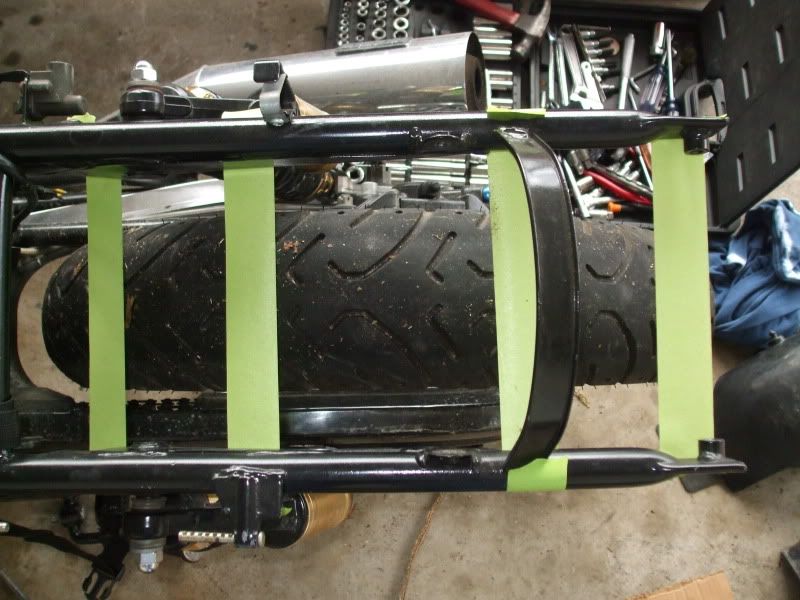


    After looking at it and playing with the rear end with weight on it and compressing the shocks I noticed I wasn't going to be able to keep the panel flush with the bottom of the frame like I had planned. I decided to keep it flush with the bottom towards the rear still to keep as much room for the battery back there as possible but would keep to the middle of the shock braces then down following the lines as much as possible. The idea is to keep everything hidden to random aluminum sheet poking out in places just wouldn't do.

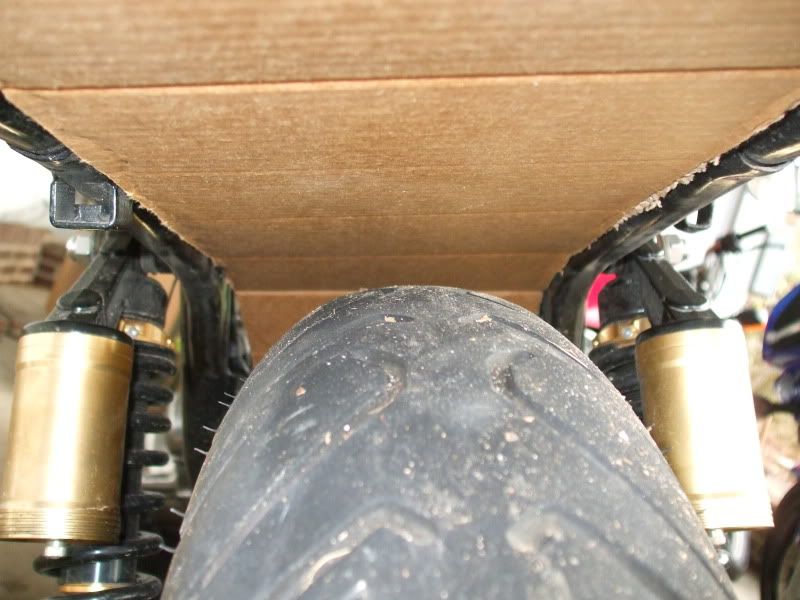
    Mocked things up with some sturdy cardboard.
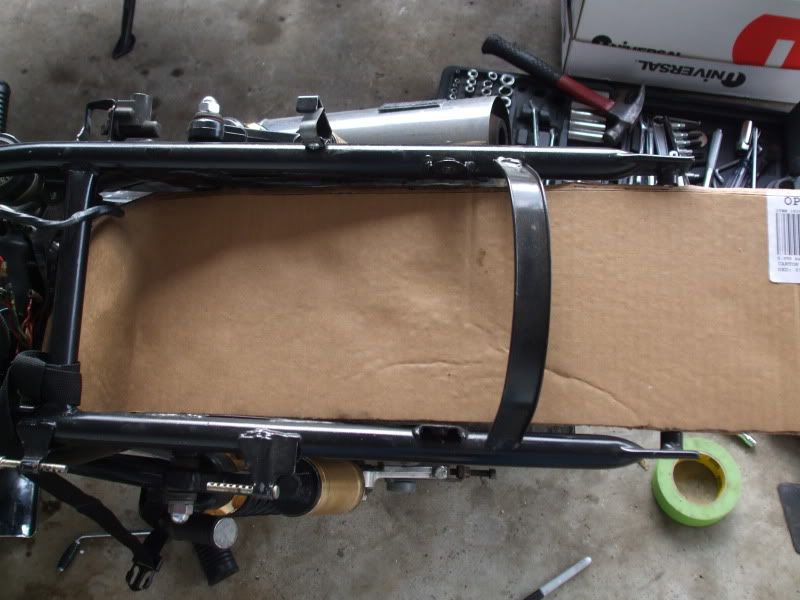


    The tail light and tail will be mounted directly to the panel so measurements were taken from the factory mount to the tail light mount to ensure I left enough of the panel hanging out the back end.
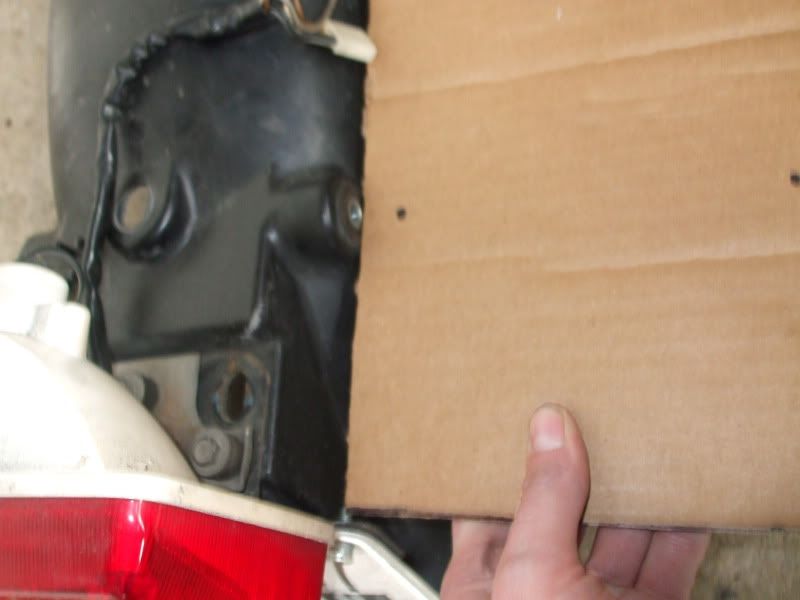


    Once I had the mock up the way I wanted it I taped the mock up to my sheet of aluminum and set about cutting with the trusty Dremel tool. No pictures of that but I'm sure you get the idea.

    Test fitting the panel.
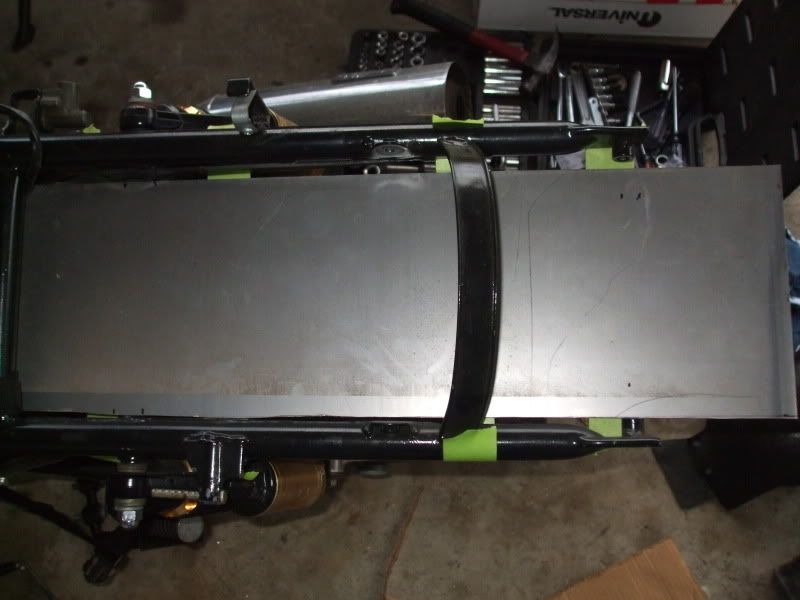

    There were some clearance issues where the shock bolts were welded through the frame so I marked the spot and ground out a set of notches.
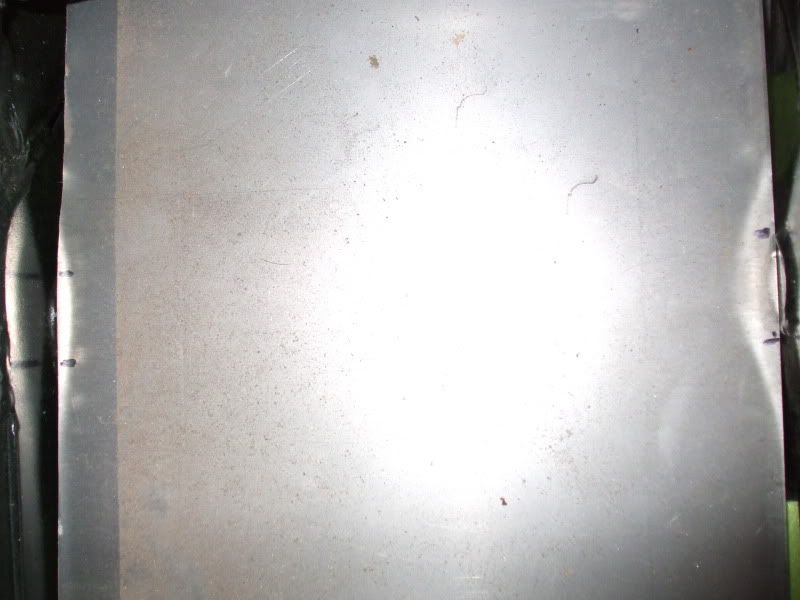

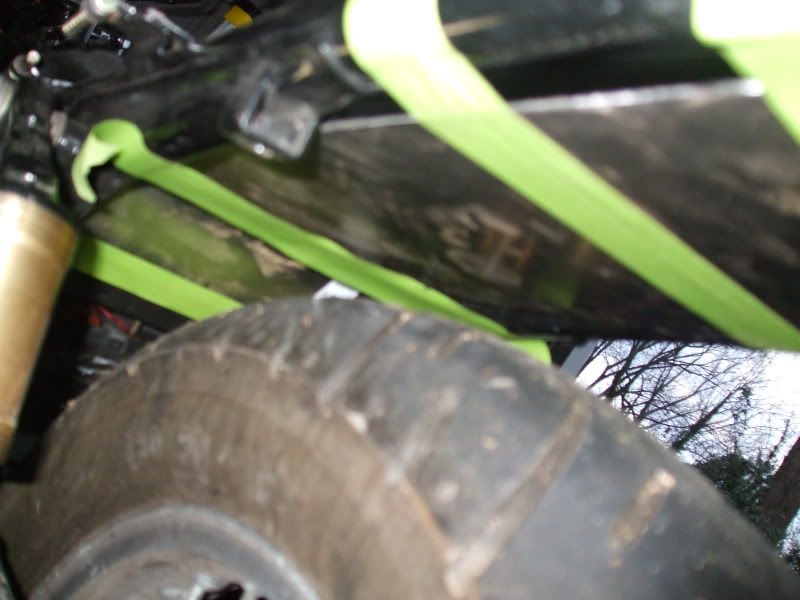
    Bent the panel in the same area as the notches so that it will curve around the tire. I also have a thinner sheet of aluminum that I'll be making an inner fender out of. It will bolt to the panel when done.
    -1978 Suzuki GS1000EC
    DONE!!! Rebuild thread: http://www.thegsresources.com/_forum...d.php?t=155564
    -2012 Triumph Daytona 675R

    #2
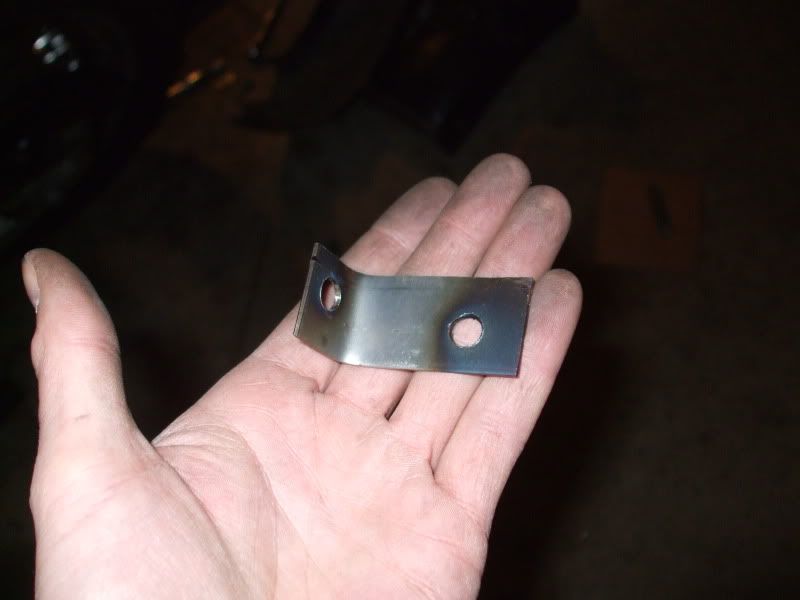
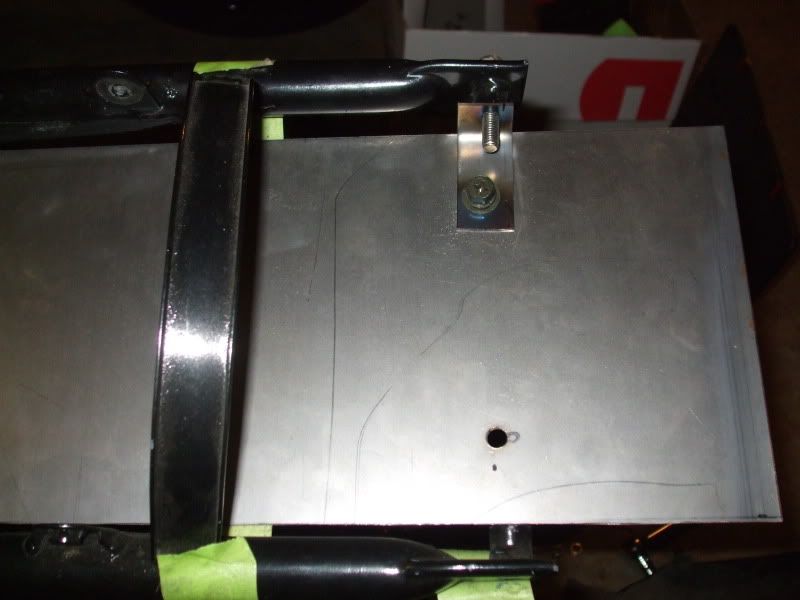
    The plan is to use all the factory mounting positions for ease of removal if ever needed. The first bracket for the rear of the panel.


    And here's where I am so far, just need to finish the rest of the brackets, do some tweaking and pick up stainless hardware for the bracket mounts.


    Next up will be mounting everything and wiring. I'll update as I do more.
    -1978 Suzuki GS1000EC
    DONE!!! Rebuild thread: http://www.thegsresources.com/_forum...d.php?t=155564
    -2012 Triumph Daytona 675R

    Comment


      #3
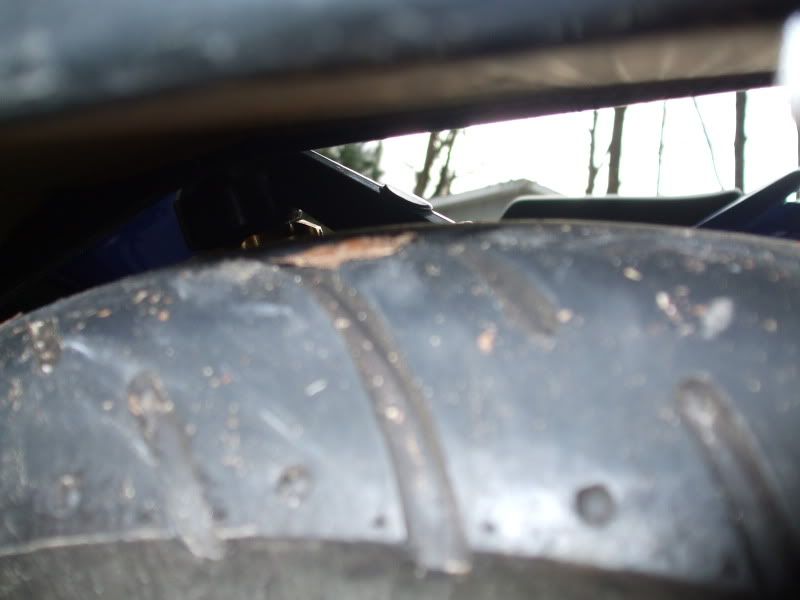
      clearance problems

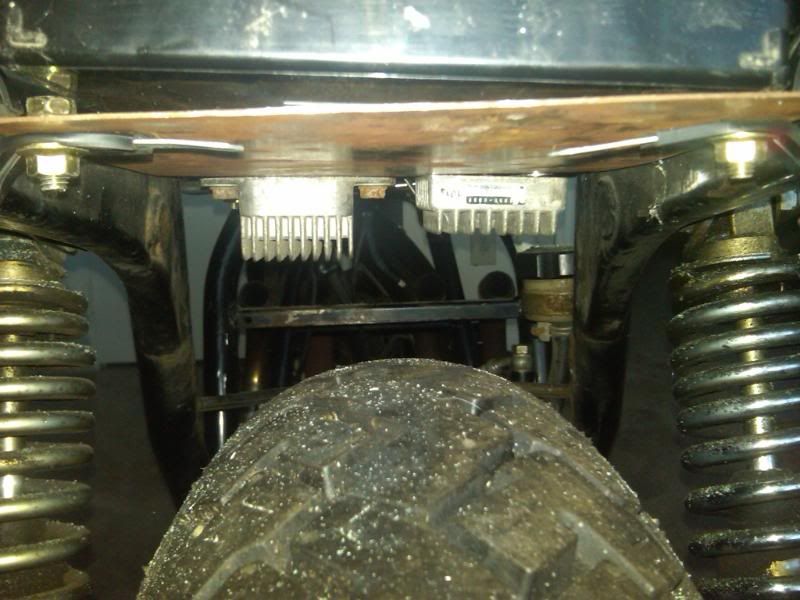
      I'm pretty sure putting the panel there will have clearance problems with the rear tyre. I know you're running a different shock set up than stock but unless the shock hits the limits of its travel before the tyre contacts the sheet metal it looks like you don't have enough clearance, especially as you do a lot of riding two up.

      Comment


        #4
        It's sitting lower in the pictures as it's just resting on tape which is sagging. I checked the clearance pretty thoroughly with Kris sitting on it and me bouncing and the rear frame horns to get an idea of shock travel and then decided on how high to mount the panel.
        Last edited by IanC; 02-21-2011, 02:31 AM.
        -1978 Suzuki GS1000EC
        DONE!!! Rebuild thread: http://www.thegsresources.com/_forum...d.php?t=155564
        -2012 Triumph Daytona 675R

        Comment


          #5
          Have you checked out the Compufire regulator? http://www.thegsresources.com/_forum...d.php?t=170507
          http://www.thegsresources.com/_forum...ine=1440711157'78 GS1000E, Dyna-S ignition, Dyna Green Coils, K&N pods, Delkevic SS 4-1 exhaust, Dynojet Stage 3 jet kit, Russell SS Brake Lines, Progressive suspension, Compu-Fire series Regulator 55402 and Advmonster cree LED headlight conversion.

          Comment


            #6
            Hi,
            Thanks for writing this up. I went to bed thinking about a similar type of project (don't we all go to sleep thinking about our zooks?). My thought was to mod the seat to give more clearance above the frame. I am not sure where I'd put the battery to really clean up the area though--maybe the tailpiece?

            My plan was to mock things up and then lay fiberglass over the top to get a nice fit, then upholster that pan.

            I'll keep following your build for some inspiration/instruction.
            Cheers,
            Lyle

            Comment


              #7
              Originally posted by OldVet66 View Post
              Have you checked out the Compufire regulator? http://www.thegsresources.com/_forum...d.php?t=170507
              This is the best option. I already tried and Electrosport stator and the FHA012A (FET R/R) and it would fry my stator on the GS1100.I know the Compufire is prett expensive ao I would at least switch over to the Honda R/R which is quite a bit cheaper. Use the coil relay mod output as a sense point for the 6th wire.

              Comment


                #8
                Sometimes expensive is cheaper in the long run.
                http://www.thegsresources.com/_forum...ine=1440711157'78 GS1000E, Dyna-S ignition, Dyna Green Coils, K&N pods, Delkevic SS 4-1 exhaust, Dynojet Stage 3 jet kit, Russell SS Brake Lines, Progressive suspension, Compu-Fire series Regulator 55402 and Advmonster cree LED headlight conversion.

                Comment


                  #9
                  Maybe this will give you a few ideas:


                  Comment


                    #10
                    This picture is from mock-up but I have since changed to one unit only.


                    I used insulated electrical cord brackets to hold the under seat panel between the frame rails. I got them in the 3" size and then shaped them to fit around the frame tube clamping the metal plate in between the two ends of the bracket and I used SS bolts to hold it all together.

                    Comment


                      #11
                      DrImodium-What are the specs and dimensions on the battery you are using? In the pics it looks smaller than the standard battery. Thanks

                      Comment


                        #12
                        There's an AGM battery that fits in the tail - slightly different dimensions, same CCA

                        I can't find the info on it right now
                        1978 GS 1000 (since new)
                        1979 GS 1000 (The Fridge, superbike replica project)
                        1978 GS 1000 (parts)
                        1981 GS 850 (anyone want a project?)
                        1981 GPZ 550 (backroad screamer)
                        1970 450 Mk IIID (THUMP!)
                        2007 DRz 400S
                        1999 ATK 490ES
                        1994 DR 350SES

                        Comment


                          #13
                          Originally posted by OldVet66 View Post
                          Sometimes expensive is cheaper in the long run.
                          I know, but some the $180 price tag gives many people pause. I have the CF and can rest easily

                          Comment


                            #14
                            Currently using a ES14BS. It will be changed soon to something even smaller.

                            Comment

                            Working...
                            X