Announcement

Collapse
No announcement yet.

Four-way switch reassembly. Is this correct?

Collapse
X
 
  • Filter
  • Time
  • Show
Clear All
new posts

    Four-way switch reassembly. Is this correct?

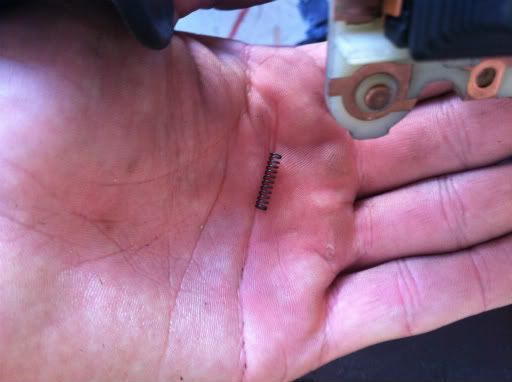
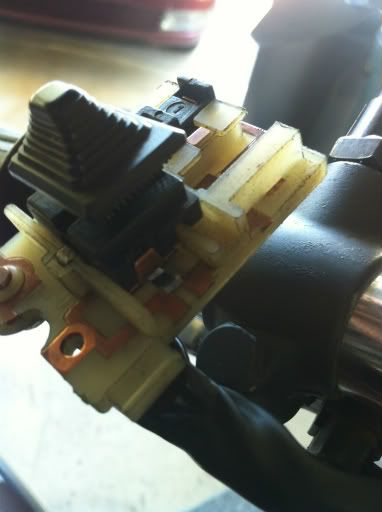
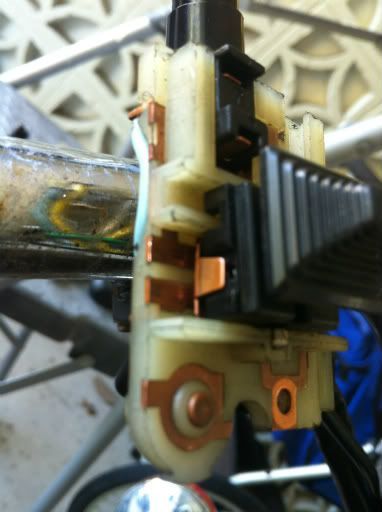
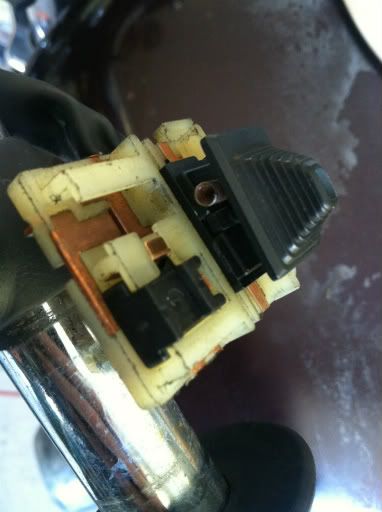
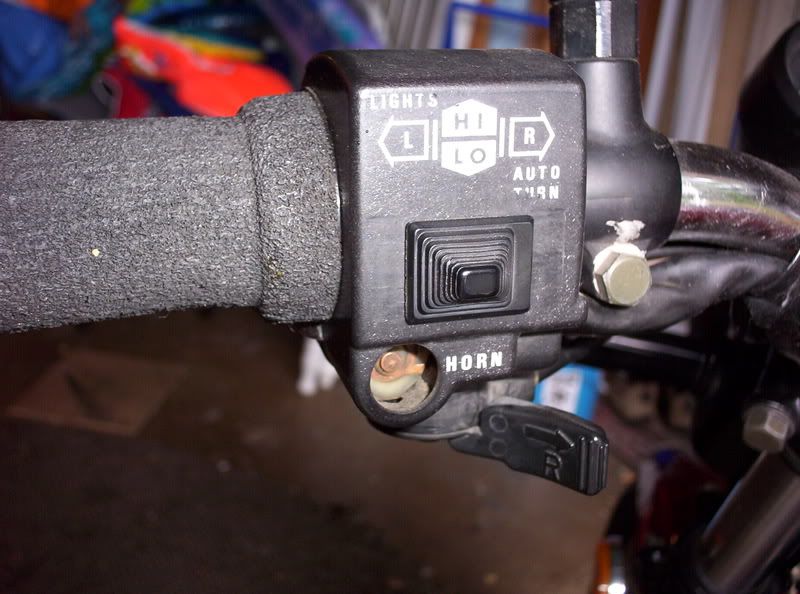
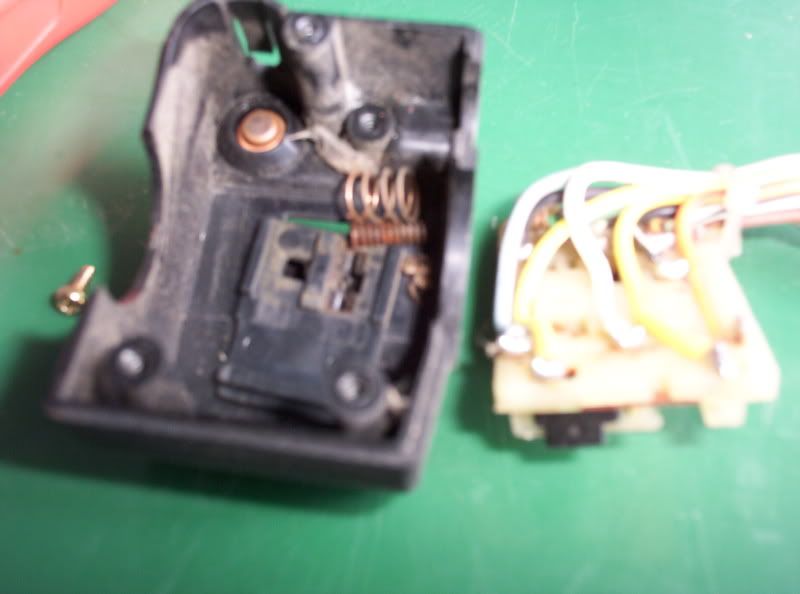
    I took apart my four way switch assembly to clean the contacts and it exploded all over the carport. ugh. I think I may have found all the pieces and put it together but I'm not 100%. Could I trouble you fine folks to double check my pics and comment whether it's correct? I also found another spring on the floor which may or may not have come from this assembly. Oh, don't worry about the horn switch. I have all the parts for that and it's a no-brainer but couldn't balance them on there for the picture so that's not an issue.

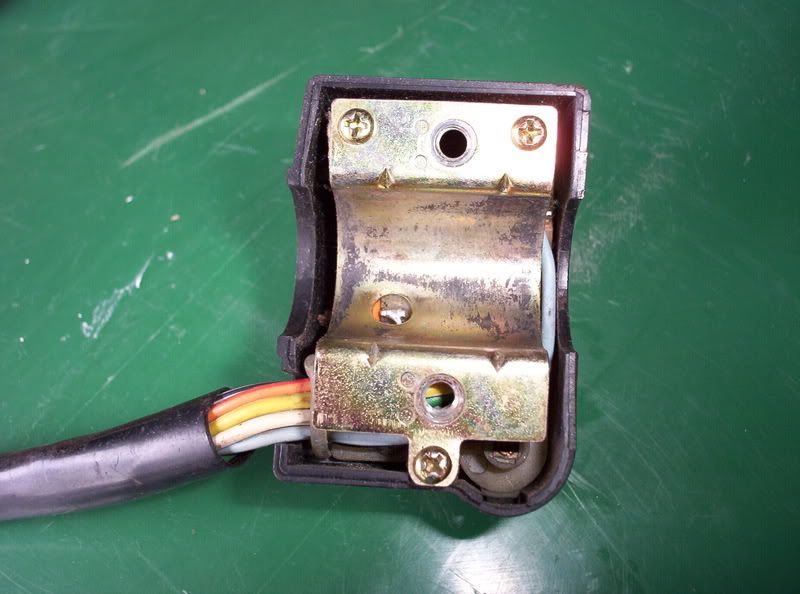
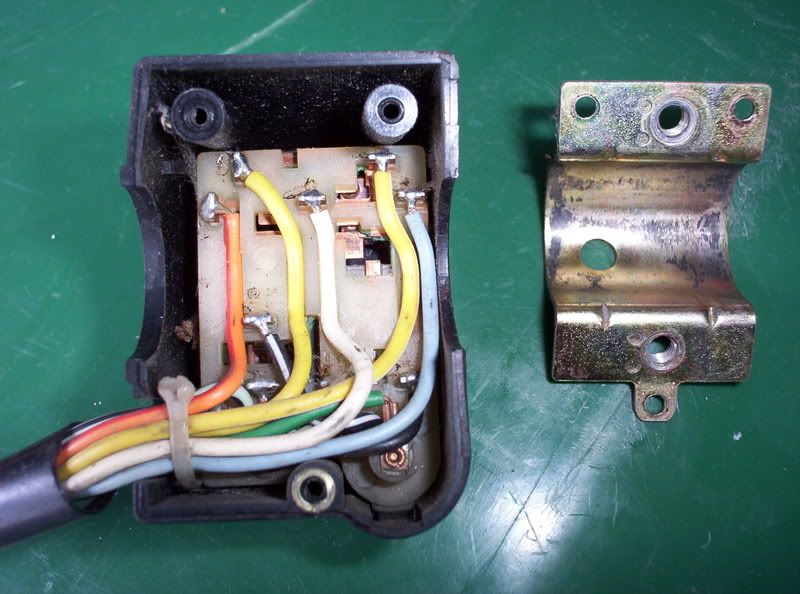
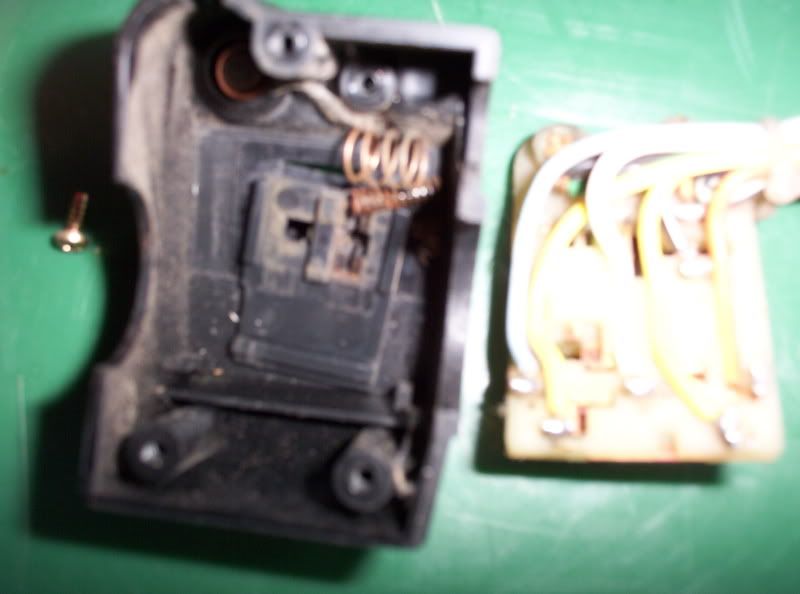
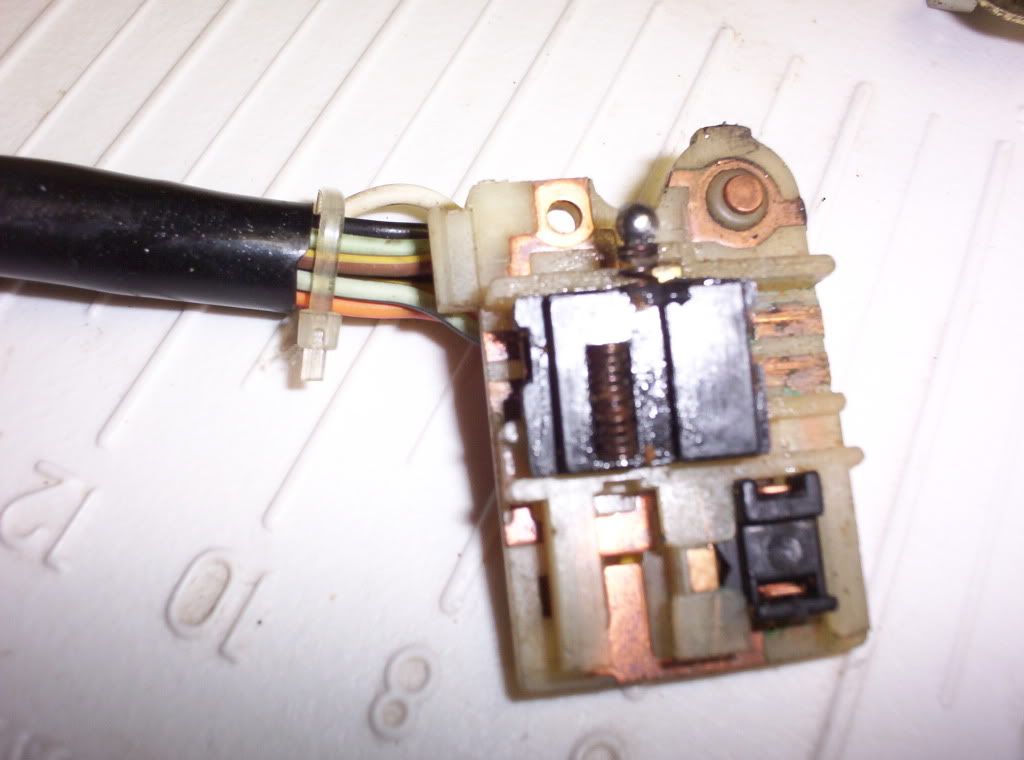
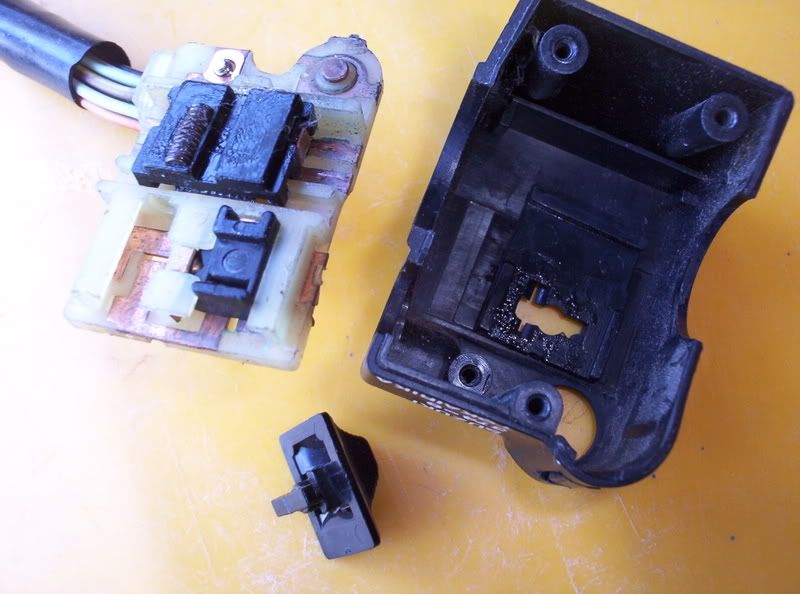
    Not depicted are the two springs underneath the sliding contacts in the center of the assembly. I think everything else is shown in the pics.

    Thanks guys!


    Last edited by Guest; 12-05-2011, 02:31 PM.

    #2
    It's poking out only cuz it wouldn't stay in place.
    Ok. I see where it goes now. Horizontal like you said but, sheesh! I can't get this thing back together for the life of me! Spent probably 3 hours collectively looking for parts after dropping them over and over and over. Anyway, I have extra springs wrong size, and missing springs and spring slots where I don't know if a spring lived. I'm really having a hard time with this one.

    Comment


      #3
      I just realized I'm missing a ball bearing. Do you know where it goes should I ever find it?

      Comment


        #4
        Thanks, Glider. Hold off on dissasembling yours. I think I may have it figured out. I'm just missing one little spring. Once I find a suitable replacement I'll reassemble, test and if all is good I'll make a how to guide. By the way I found out that the ball bearings from rollerblade bearings are the perfect size to replace the one in the switch assembly. Finally put those skates to good use. Woot!

        Comment


          #5
          Whew! Got it. Thank you very much for offering to disassemble yours. I found suitable replacements from around the house for the parts I guessed were missing and it worked great. I used a ball bearing from a rollerblade and a spring from a click style ink pen (it was too big so I had to bore the spring hole a bit with a drill). Good as new.

          Comment


            #6
            That would be a good tutorial cuz it doesn't exist yet. I was considering doing one as well while it's fresh. If you decide to do one let me know so I don't duplicate your efforts. Thanks again for your help.

            Comment


              #7
              These are the worst switches on a GS, I've dealt with one or two that were really something else. I also found the switch could be cleaned with spray cleaner without disassembly. Last one I worked on cleaned right up with contact spray and was not taken apart.
              I used a little vaseline on the spring parts to hold them in place when positioning. Took two attempts to get it right.
              1981 GS650G , all the bike you need
              1980 GS1000G Power corrupts, and absolute power corrupts absolutely

              Comment


                #8


                82 1100 EZ (red)

                "You co-opting words of KV only thickens the scent of your BS. A thief and a putter-on of airs most foul. " JEEPRUSTY

                Comment


                  #9


                  82 1100 EZ (red)

                  "You co-opting words of KV only thickens the scent of your BS. A thief and a putter-on of airs most foul. " JEEPRUSTY

                  Comment


                    #10


                    Last edited by bonanzadave; 12-06-2011, 09:51 PM.
                    82 1100 EZ (red)

                    "You co-opting words of KV only thickens the scent of your BS. A thief and a putter-on of airs most foul. " JEEPRUSTY

                    Comment


                      #11
                      What the secret for putting the switch back together? Do you assemble it in the housing then put the white contact piece with wiring on or do you assemble it on the white contact piece and put the housing on. I'm having a heck of time.

                      Kevin

                      Comment


                        #12
                        I got it put back together, thanks Highway and bonanza. Everything sits on the white contact piece then the housing goes on. Now I can continue on with the rest of my cleaning connections as I became another victim of the stator, r/r, and dirty connection nightmare. This is a great sight, thanks all.

                        Comment

                        Working...
                        X