.png "Powered by vBulletin")
Well I'm nearly finished completely rewiring my '82 GS1100G. Wow - what a job! I just have the ignition and starter to go.
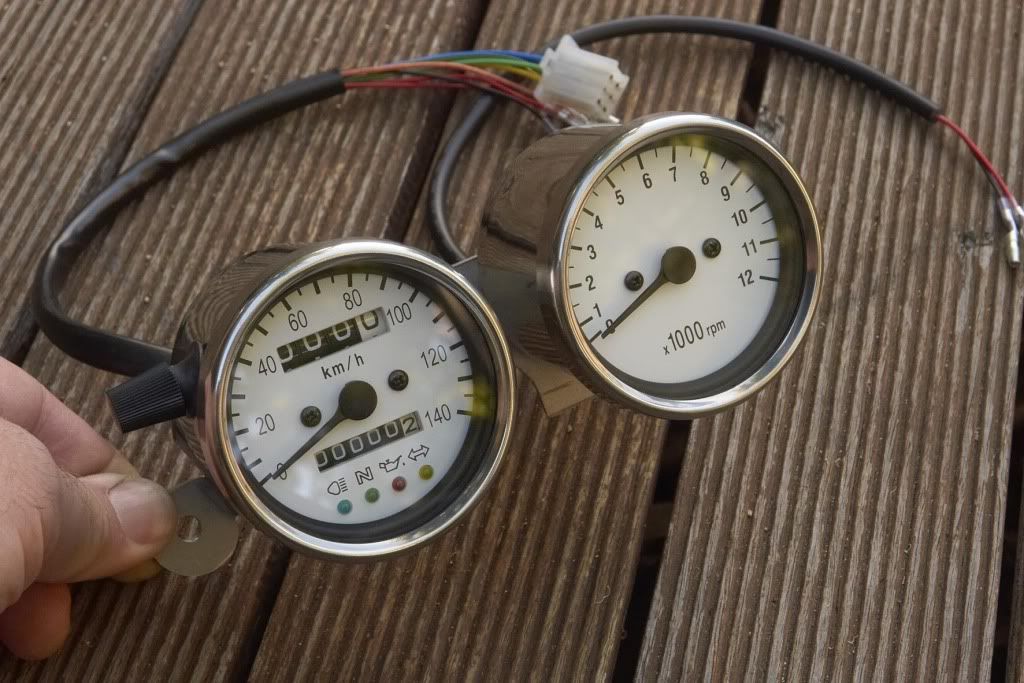
I am using quite a lot of non-original parts in the rebuild. This has created a problem with the indicators. Right now I have the stock rear end on the bike but the headlight, front indicators, clocks and switch gear are all from various other sources. I am delighted that my extremely cool new speedo and tacho seem to work - the LED backlighting is good and strong, the idiot lights all function in the speedo (oil pressure, indicators, neutral and hi-beam) and the head and tail lights work.
The only things that don't work right now are the indicators. Front and rear are connected, but all only have a live connection and a ground. In the case of the front indicators the actual light casing is the ground. There is only one wire coming from each. The switch is a 3-way with 3 connections - common, left and right.
So I have hooked up the indicators as per the original schematic except of course I don't have the grey wires on the front ones because my lights don't have 3 connections. So what happens when I switch say the left indicators on is that neither the front nor rear lights come on and the relay makes a rapid clicking sound. If I unground the front indicators the rears come on but don't blink, which is what I would expect. I have hooked up the relay with O/G going to the 12V and the light green going to the switch. I haven't connected the black/blue to anything. I am not using the big "turn signal control unit" box.
Should I use a regular relay? What am I doing wrong? I want the electrics to be as simple as possible!
Thanks guys!


Comment