Announcement

Collapse
No announcement yet.

Stator Installation/Wiring

Collapse
X
 
  • Filter
  • Time
  • Show
Clear All
new posts

    Stator Installation/Wiring

    Alright guys, I came to you before about my electrical woes, and you helped me to figure out that my stator was bad, now that I am trying to replace it, I am having trouble

    A) getting the D@#N THING OUT!
    B) figuring out the wiring

    As mentioned before, the PO did a lot of work to the electrical system, switching out plugs and wires and re-routing things. In my case now, It seems as though the wiring for the R/R and stator is different. One wire coming from the stator goes off into a plug that runs to a totally different and unknown location. The other two go to an aftermarket plug that was rigged up to the R/R. I guess my man concern is, do all three of the wires from the stator function the same way? I.e., do they all put out the same voltage and aren't each meant for specific tasks? Secondly, is there any way to get this old stator out without really harming the inside of the cover or anything else? PLEEEAASSSEEE HEELLPPP

    #2
    Yes, they are all the same. No, they do not do specific tasks.
    The mystery wire goes to the headlight loop, a holdover from a previous design. You should remove it and run all 3 wires directly to the R/R.

    Comment


      #3
      How is the stator secured to the case? Screws, bolts, what? And what difficulty are you having in removing it?

      Comment


        #4
        All three stator wires hook to your reg/rec. There shouldn't be to much trouble getting the stator out unless you start to strip the Philips screws. What problems are you having getting the stator out?
        Rob
        1983 1100ES, 98' ST1100, 02' DR-Z400E and a few other 'bits and pieces'
        Are you on the GSR Google Earth Map yet? http://www.thegsresources.com/_forum...d.php?t=170533

        Comment


          #5
          Yeah I finally got the old one off, just had to beat it up with a hammer a few times. If all else fails, use force...right? As for the wires, the headlight is where I figured they ran. I'll show a pic of what I mean. It's pretty stupid if you ask me.

          Comment


            #6
            As luck would have it, I have a '79 550E in the garage right now. We tested the charging system and found it to be a bit ... enthusiastic. Output at idle was about 13.8 volts and I was thinking "great, this is the way all of them should be." Then I started adding some revs to the engine. By the time I got to 4,000, voltage was over 16.

            Proceded to do the usual, making sure all the electrical connections are good, etc., and found some interesting stuff with the older systems that have separate rectifiers and regulators.

            All three stator wires do, indeed, go straight to the rectifier, however, one of them has a piggy-back connector that goes over to the regulator.
            Apparently, the regulator removes the output of one of the stator legs to reduce the total output of the stator, thus regulating the voltage. Even after assuring all the proper connections, voltage was still high, so I will be replacing the /R for a newer R/R unit, possibly a Polaris.


            Back to Mike1414, to change the stator, you will need to remove the starter cover so you can fish the wires through the cavity. Unfortunately, unless you have really tiny hands and tools, you will need to remove the carbs to get access to the back bolt on the starter cover.

            Since you are going through all the effort of upgrading your system, it would be good to also upgrade the R/R to a Polaris or Comufire unit and be done with it.

            .
            sigpic
            mine: 2000 Honda GoldWing GL1500SE and 1980 GS850G'K' "Junior"
            hers: 1982 GS850GL - "Angel" and 1969 Suzuki T250 Scrambler
            #1 son: 1986 Yamaha Venture Royale 1300 and 1982 GS650GL "Rat Bagger"
            #2 son: 1980 GS1000G
            Family Portrait
            Siblings and Spouses
            Mom's first ride
            Want a copy of my valve adjust spreadsheet for your 2-valve per cylinder engine? Send me an e-mail request (not a PM)
            (Click on my username in the upper-left corner for e-mail info.)

            Comment


              #7
              You may want to read through this before you go any further. It may help clear things up: Stator Papers

              And this may help as well: BIkeCliff's Stator Replacement
              http://img633.imageshack.us/img633/811/douMvs.jpg
              1980 GS1000GT (Daily rider with a 1983 1100G engine)
              1998 Honda ST1100 (Daily long distance rider)
              1982 GS850GLZ (Daily rider when the weather is crap)

              Darn, with so many daily riders it's hard to decide which one to jump on next.;)

              JTGS850GL aka Julius

              GS Resource Greetings

              Comment


                #8
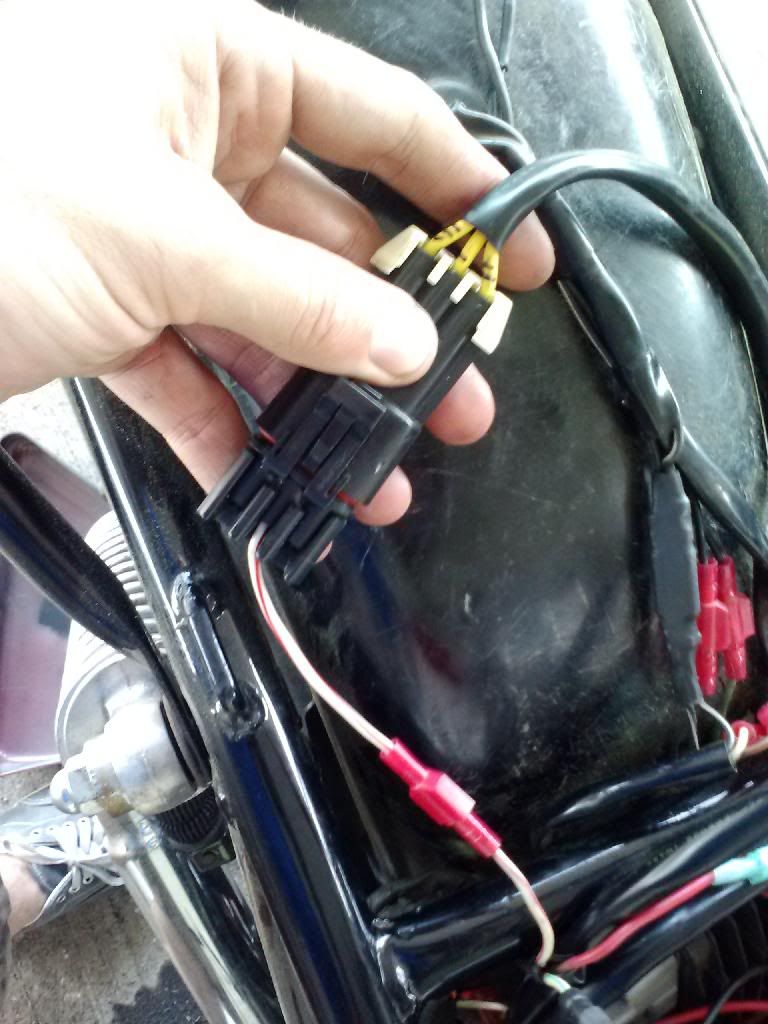
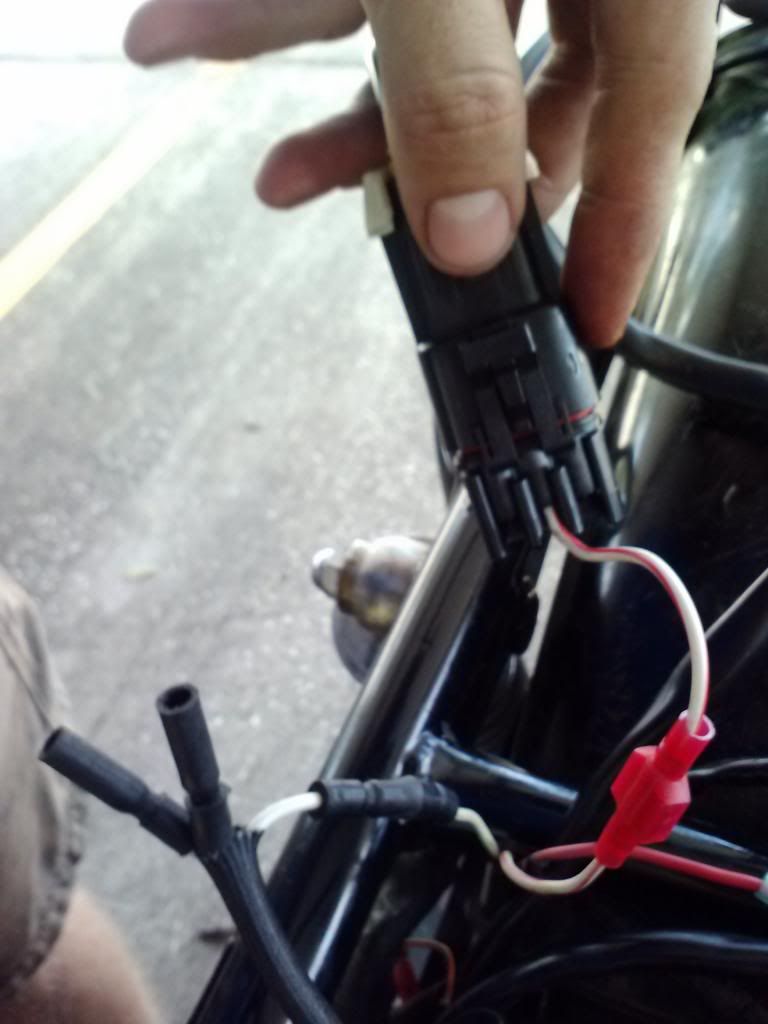
                This is the pic of the plug itself. The wire on the bottom with the red butterfly connector is the one that old stator/my new stator apparently is supposed to plug into.


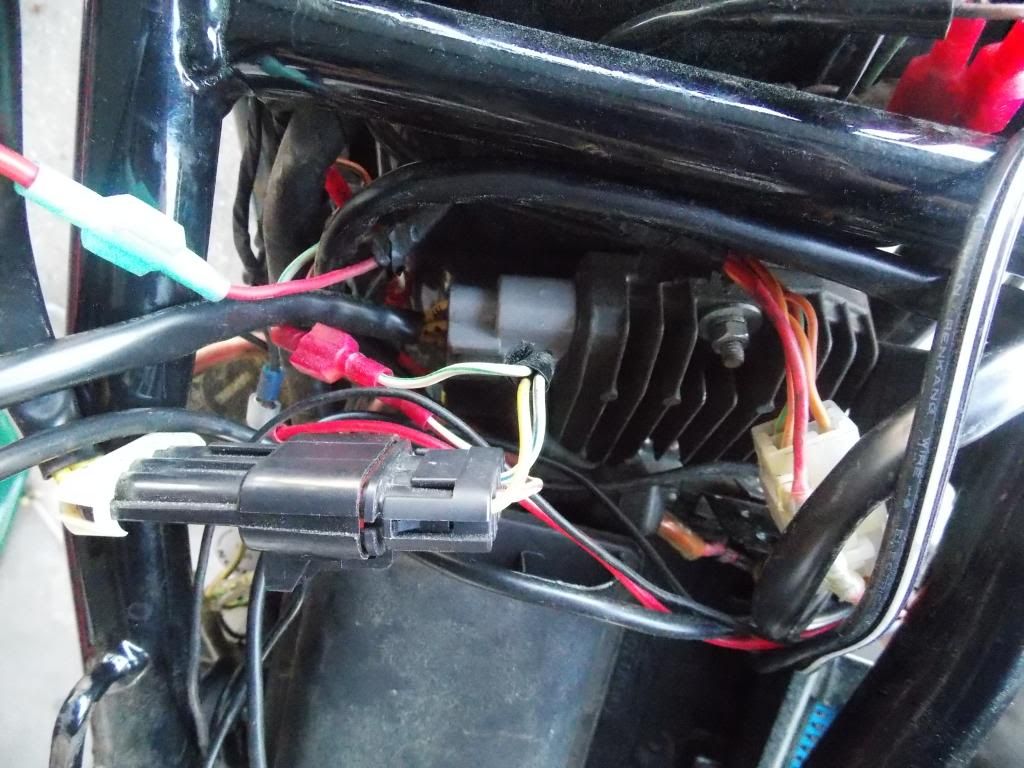
                This picture is where the wire leads and my three stator wires coming in from the bottom; the red wire coming from the right side of the screen goes to the battery. The wire does indeed lead to the headlight, so I am not exactly sure what the point is. Also, my other two stator wires are supposed to go into the plug in the two vacant slots.


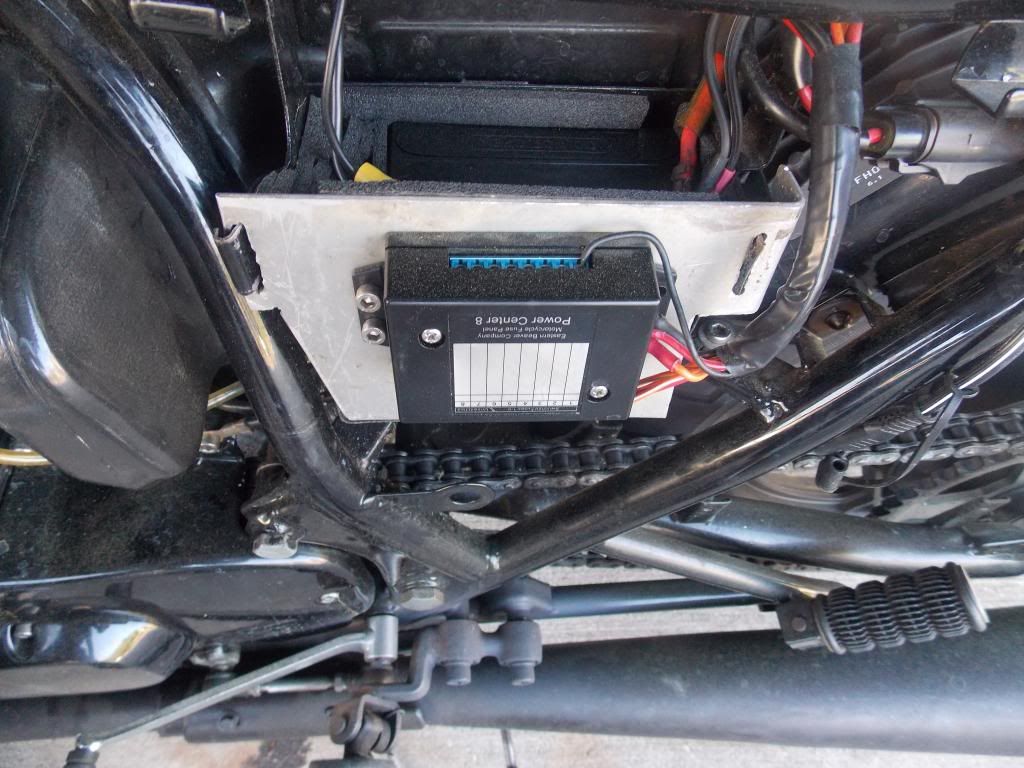
                Granted, the way that the PO had everything hooked up, everything worked, but I'm not sure exactly if this is what ultimately blew my stator. JT, I just glanced through, and those do seem like I need to give them a good read through. Steve, very well put bit there. Apparently, according to another blurb that I started on this forum, my R/R is upgraded and quite expensive, as well as my "power center" that the PO installed.


                My bike really just has a rat's nest of electrical work, and it would be awesome if I just had a manual to what the PO did
                Last edited by Guest; 04-27-2014, 03:19 PM.

                Comment


                  #9
                  The headlight loop is a carry over from prior models where the headlight could be turned off. This is no longer an option, but Suzuki chose to not modify the wiring harness. It is not needed, remove it.

                  Comment


                    #10
                    Something is wrong. Three yellow (stator) wires coming in, but only one wire out? Humm, not good.

                    Three stator wires should feed directly into the R/R. Positive power output from the R/R should split with one leg going to bikes harness, and the other going to the fuse box on the way to the battery. Negative ground from the R/R can go to the battery direct.
                    Ed

                    To measure is to know.

                    Mikuni O-ring Kits For Sale...https://www.thegsresources.com/_foru...ts#post1703182

                    Top Newbie Mistakes thread...http://www.thegsresources.com/_forum...d.php?t=171846

                    Carb rebuild tutorial...https://gsarchive.bwringer.com/mtsac...d_Tutorial.pdf

                    KZ750E Rebuild Thread...http://www.thegsresources.com/_forum...0-Resurrection

                    Comment


                      #11
                      I suggest a complete rewire is in order. Remove that rat's nest and simplify as Ed has stated:
                      3 stator outputs to 3 regulator inputs. (No headlight loop)
                      1 ground. It can go directly to the battery, or it can go to a central frame ground point.
                      1 split 12V output, to fuse block and wiring harness.
                      This is a total of 5 wires, and will greatly simplify things.
                      The Eager Beaver Power Center is a nice unit.
                      That R/R, not so much. The Polaris unit Steve mentioned is much, much better and is priced competitively.

                      Ed, if you look at the last picture there appears to be 3 W/Green wires feeding the R/R. Not sure of the path, though.

                      Comment


                        #12
                        I would absolutely love to re-wire but can't afford a harness yet. Still gotta carb rebuild to do as well. So although that is in my plans, it is not in them yet.

                        I guess I should have clarified a bit better earlier as well. The stator has three wires, 2 of which, plug into the remaining two slots on the plug, and the one connects to the other wire that goes to the headlight loop. The other part of the plug runs to the R/R.

                        That being said, if that one wire goes to the headlight loop, and I do away with it, I do away with my being able to turn the headlight on/off? I just want to make sure that if I do away with it, then the headlight function will not go away completely.

                        You guys have been very informative thus far; thanks a lot for all the help and insight. Electrical is NOT my field of play.

                        Comment


                          #13
                          I'm guessing the PO, knows more about GS electrical than the Co and the Co is just fretting about appearances.

                          That is an issue but more matter of securing the wires rather a complete rebuild. The Co best approach is to confirming operation not re-engineering.

                          Quick test , Stator Pages and the rest.

                          Comment


                            #14
                            This is not a harness. It can be done simply using 18 gauge and 16 gauge wire, and some connectors. Sending you a PM.

                            Comment


                              #15
                              Originally posted by koolaid_kid View Post
                              I suggest a complete rewire is in order. Remove that rat's nest and simplify as Ed has stated:
                              3 stator outputs to 3 regulator inputs. (No headlight loop)
                              1 ground. It can go directly to the battery, or it can go to a central frame ground point.
                              1 split 12V output, to fuse block and wiring harness.
                              This is a total of 5 wires, and will greatly simplify things.
                              The Eager Beaver Power Center is a nice unit.
                              That R/R, not so much. The Polaris unit Steve mentioned is much, much better and is priced competitively.

                              Ed, if you look at the last picture there appears to be 3 W/Green wires feeding the R/R. Not sure of the path, though.
                              Prudent approach

                              Comment

                              Working...
                              X