R
RedBaron
Guest
A couple of months back I went through the coils on my 1100GK and 1100GL. As I'd taken photos of the process I thought I'd share them here to help in the future. I'd noticed isolated photos and descriptions posted by folks on here and I used them as reference during my run at it. Thank you for your posts. Hopefully putting photos step by step might encourage others to make the jump. It's worth doing. My bike now runs better and no longer shocks me when I am near the valve cover lol. Only ~500 miles on them so far, but they've functioned flawlessly
First I removed the wires by gripping the coil in one hand, and twisting the wire in the other.
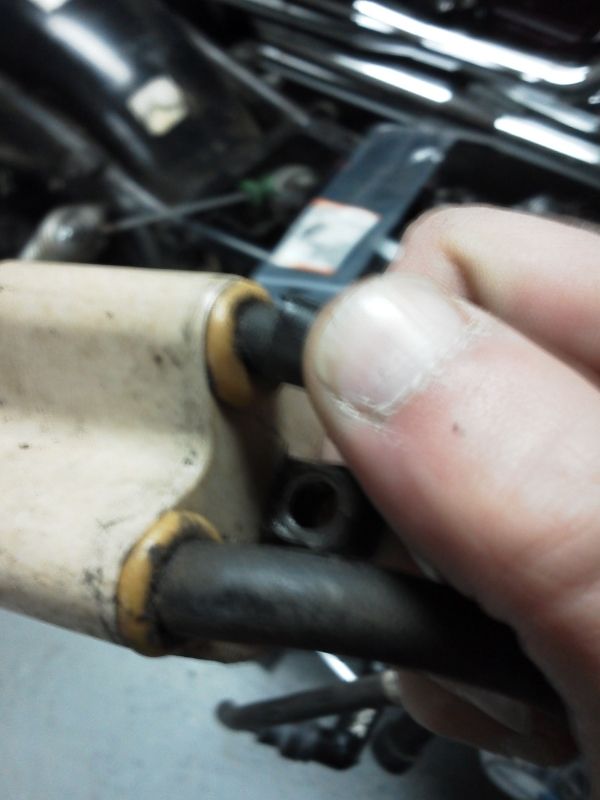
This tore the outer most layer of insulation right at the exit to the coil, and the old wires easily slipped out.
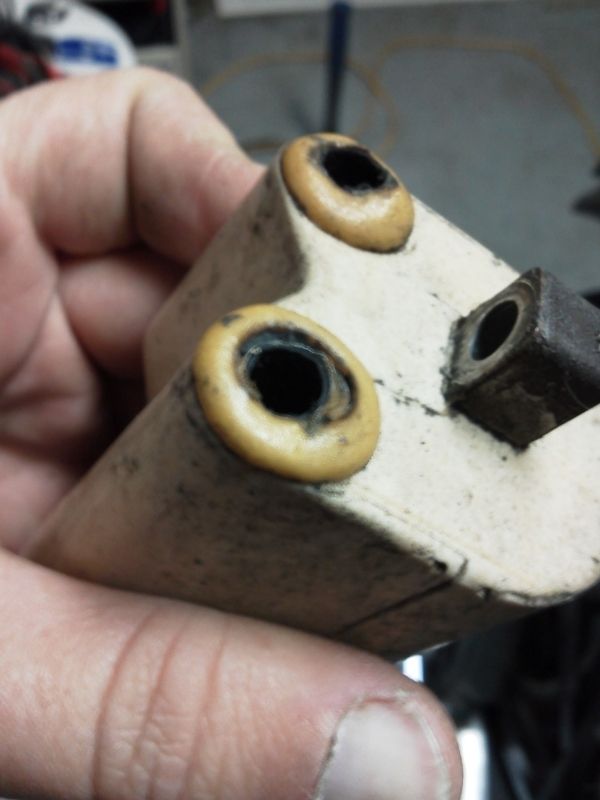
On one coil I chose to chip away the old epoxy, but this was also taking chunks out of my coil. After some thought I decided to throw on the dust mask and hit the edge of the coil quickly on the grinding wheel. I liked the result.
This leaves the that outer most layer of wire insulation the last remaining hurdle in dis-assembly. The epoxy used to assemble the coils is very thin down around this insulation. I used a straight pick like this -
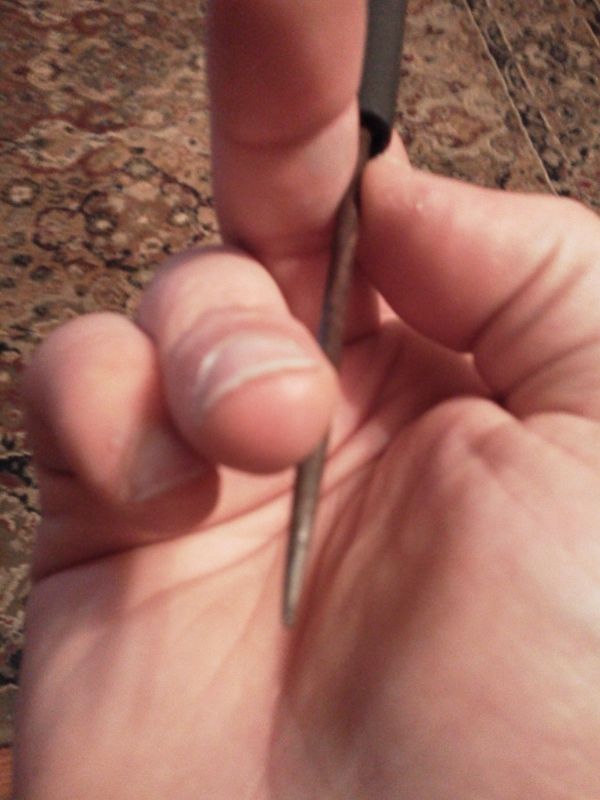
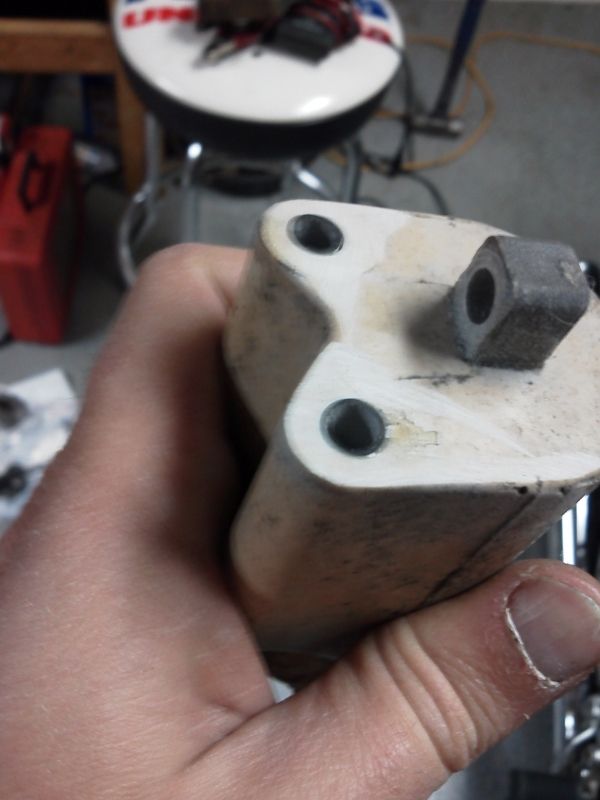
-around the perimeter of the remaining insulation inside the coil opening
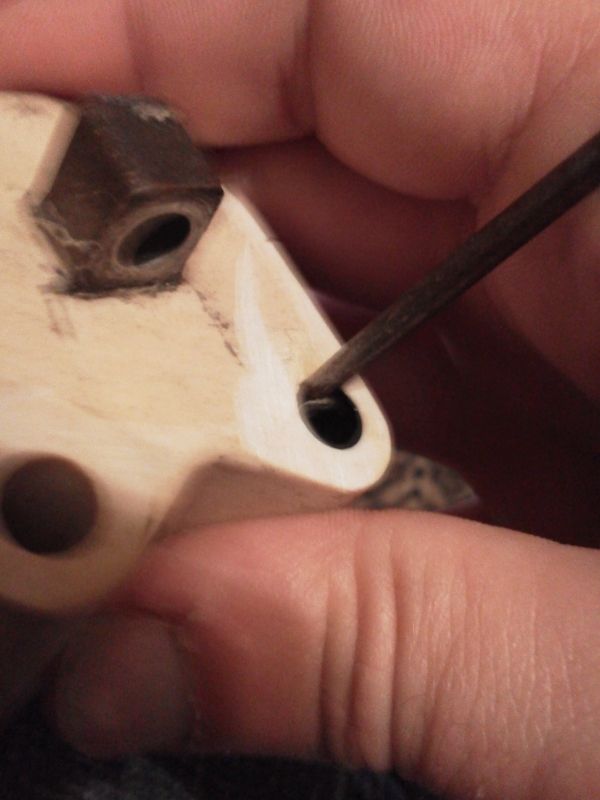
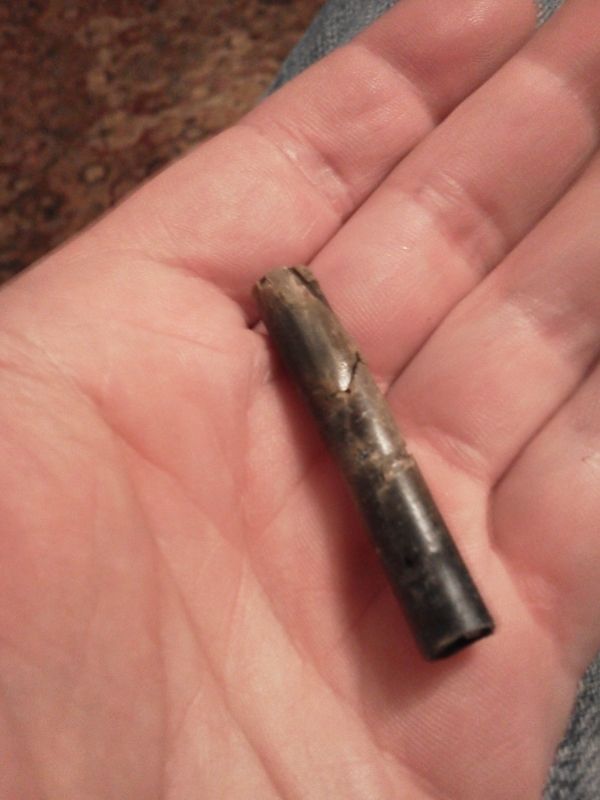
-working in circles and what-not to break the epoxy's hold. Now, if you're wondering, this only applies to the perimeter of the hole. the base has a protruding spike that goes into your wire and shouldn't be trifled with. Ok, after a little while you wind up with these little brain slugs-
Hooray! Now you should install your new wires! I used 7mm regular old copper wires from Oreilly's. The special ordered a long length for me from a bulk roll in warehouse (figured owning some extra wire could be handy. Anyway cut your wires close to length and install them held in place with the epoxy of your choice. (I actually took a risk and used a dab of Gorilla Glue, has held great so far but use at your own risk).
Oops, lost that picture. Oh well, you get the idea.
Top off the wires with NGK XB05F and VB05F caps and throw them on the bike.

A good coil relay mod won't hurt ya either.
Keep those wires off your valve cover, and wire spacers can be built using ziptyes if you want (search google).
If this post is redundant feel free to remove it. Just thought it might convince someone to dive into their coils. (It's easy)
First I removed the wires by gripping the coil in one hand, and twisting the wire in the other.

This tore the outer most layer of insulation right at the exit to the coil, and the old wires easily slipped out.

On one coil I chose to chip away the old epoxy, but this was also taking chunks out of my coil. After some thought I decided to throw on the dust mask and hit the edge of the coil quickly on the grinding wheel. I liked the result.

This leaves the that outer most layer of wire insulation the last remaining hurdle in dis-assembly. The epoxy used to assemble the coils is very thin down around this insulation. I used a straight pick like this -

-around the perimeter of the remaining insulation inside the coil opening

-working in circles and what-not to break the epoxy's hold. Now, if you're wondering, this only applies to the perimeter of the hole. the base has a protruding spike that goes into your wire and shouldn't be trifled with. Ok, after a little while you wind up with these little brain slugs-

Hooray! Now you should install your new wires! I used 7mm regular old copper wires from Oreilly's. The special ordered a long length for me from a bulk roll in warehouse (figured owning some extra wire could be handy. Anyway cut your wires close to length and install them held in place with the epoxy of your choice. (I actually took a risk and used a dab of Gorilla Glue, has held great so far but use at your own risk).
Oops, lost that picture. Oh well, you get the idea.
Top off the wires with NGK XB05F and VB05F caps and throw them on the bike.

A good coil relay mod won't hurt ya either.
Keep those wires off your valve cover, and wire spacers can be built using ziptyes if you want (search google).
If this post is redundant feel free to remove it. Just thought it might convince someone to dive into their coils. (It's easy)
")

