Required reading for all forum users!!!
Welcome!
Register to access the full functionality of the GSResources forum. Until you register and activate your account you will not have full forum access, nor will you be able to post or reply to messages.
A note to new registrants...
All new forum registrations must be activated via email before you have full access to the forum.
A Special Note about Email accounts!
DO NOT USE sbcglobal.net, att.net, bellsouth.net or email.com email addresses when registering for the forum! Email that our system sends out to these email servers is treated as SPAM and you will never receive your activation email, or any other email that our system may send out. Use an email address from gmail.com or some other email server.
A note to old forum members...
I receive numerous requests from people who can no longer log in because their accounts were deleted. As mentioned in the forum FAQ, user accounts are deleted if you haven't logged in for the past 6 months. If you can't log in, then create a new forum account. If you don't get an error message, then check your email account for an activation message. If you get a message stating that the email address is already in use, then your account still exists so follow the instructions in the forum FAQ for resetting your password.
Have you forgotten your password or have a new email address? Then read the forum FAQ for details on how to reset it.
Any email requests for "can't log in anymore" problems or "lost my password" problems will be deleted. Read the forum FAQ and follow the instructions there - that's what we have one for...
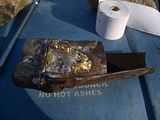
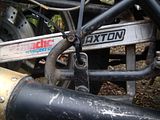
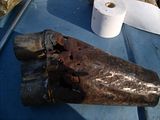 the brazing is mine as I tried to repair the damage caused by the guy who sold the system to me(in fairness to him he did mail me to say it had been hard to split for postage).I lost the will to fix it and after a long hard look decided to just cut the whole thing off and remake it.I took sections of automotive exhaust that fitted snugly that I begged from a repair shop and cut them to approx. the right length then fitted the downpipes into the head as shown here
 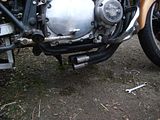 made the bottom patch for the collector/endcan and offered it up
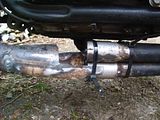 and yes I know that zip ties have terrible thermal properties
 it was just to mock up so I could cut and shape the top part of the patch!
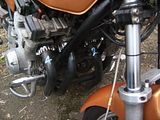
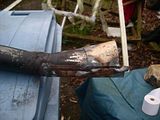
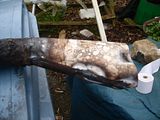
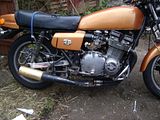
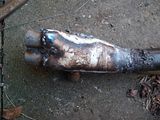
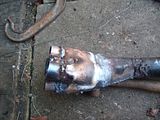
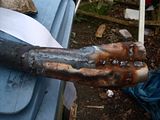
 but I hadn't ground back any of the weld yet.In case anyone is curious the metal for the patches came from the side of a washing machine of early-mid '80s vintage,reasonably thick and easy to weld without blowing into holes!


 )
)
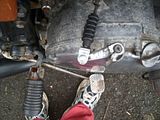
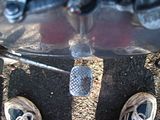

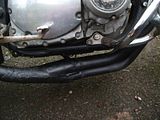
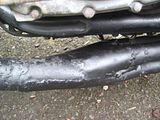
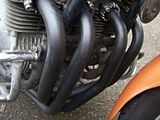
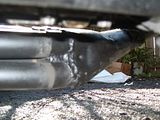
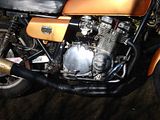
 , most people would have thrown that exhaust away, but I guess that I spent too much time with what would now be called"old school" mechanics when I was a kid and money was even tighter for the vast majority of the population than it is now and unless it was in 30or40 pieces it was considered repairable,I could almost hear them saying "that's easily fixable,just stop and think for 5 minutes", but I guess not everyone is as lucky or let's be honest has a big brass neck(our expression for a person who will walk into just about anywhere and say"I need X,Y,Z, where is your scrap bin") to go and ask for bits that I need yet others consider to be junk!
Comment