Announcement

Collapse
No announcement yet.

Front MC disassembly FYI

Collapse
X
 
  • Filter
  • Time
  • Show
Clear All
new posts

    Front MC disassembly FYI

    Slow day in the shop today awaiting parts. I had an old front MC from a Suzuki laying around. The plastic reservoir was broken and I just replaced the whole assembly. Well I just bought some new Motion Pro MC clip ring pliers and decided to test drive them. While doing that I snapped a couple of pics in case someone else might think it's a good idea to see what's inside a MC. I think most new guys think they are complicated and hard to rebuild. Nothing could be farther from the truth. Simply and only about 3 moving parts. In my experience most often I can get away with just a good cleaning and put it back together and back into use. If it doesn't leak I'll try it out before replacing it.


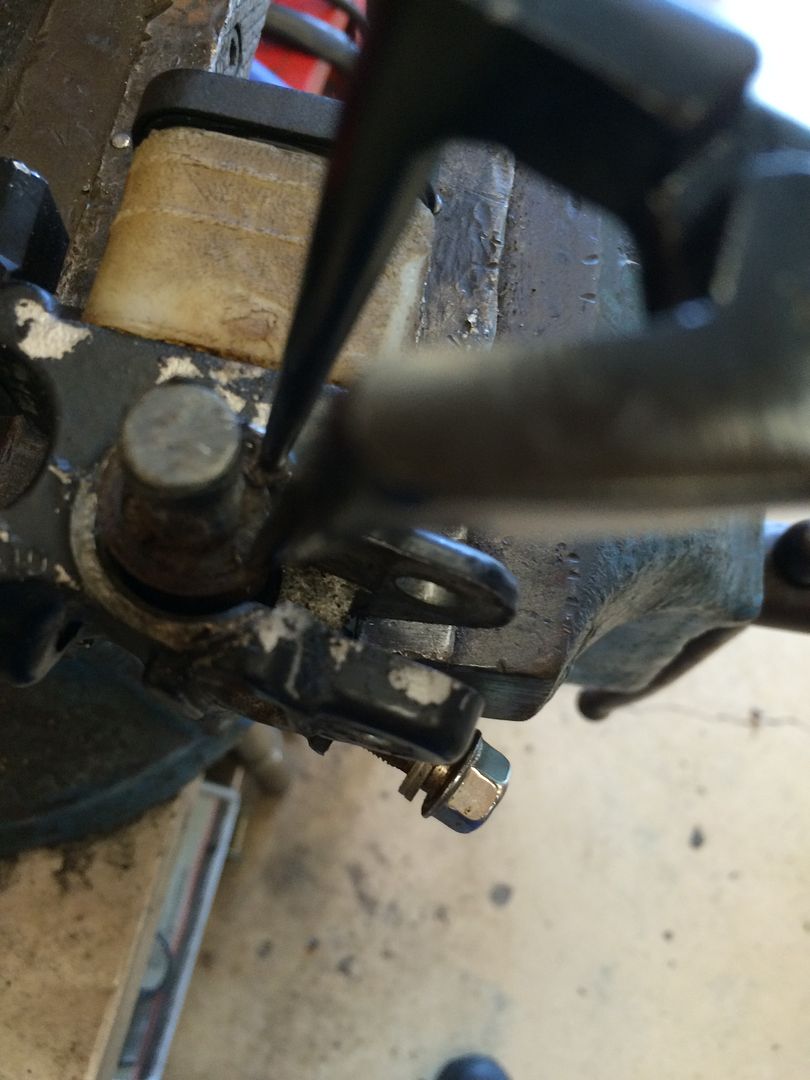
    Brake lever removed and lightly held in a vice. Remember you don't want to break it and it's aluminum so fragile. My new clip ring pliers to get the circlip out. There was a lot of crud covering this and the rubber dust boot just fell apart exposing the Circlip. Cleaned up a little and time to go after the clip.


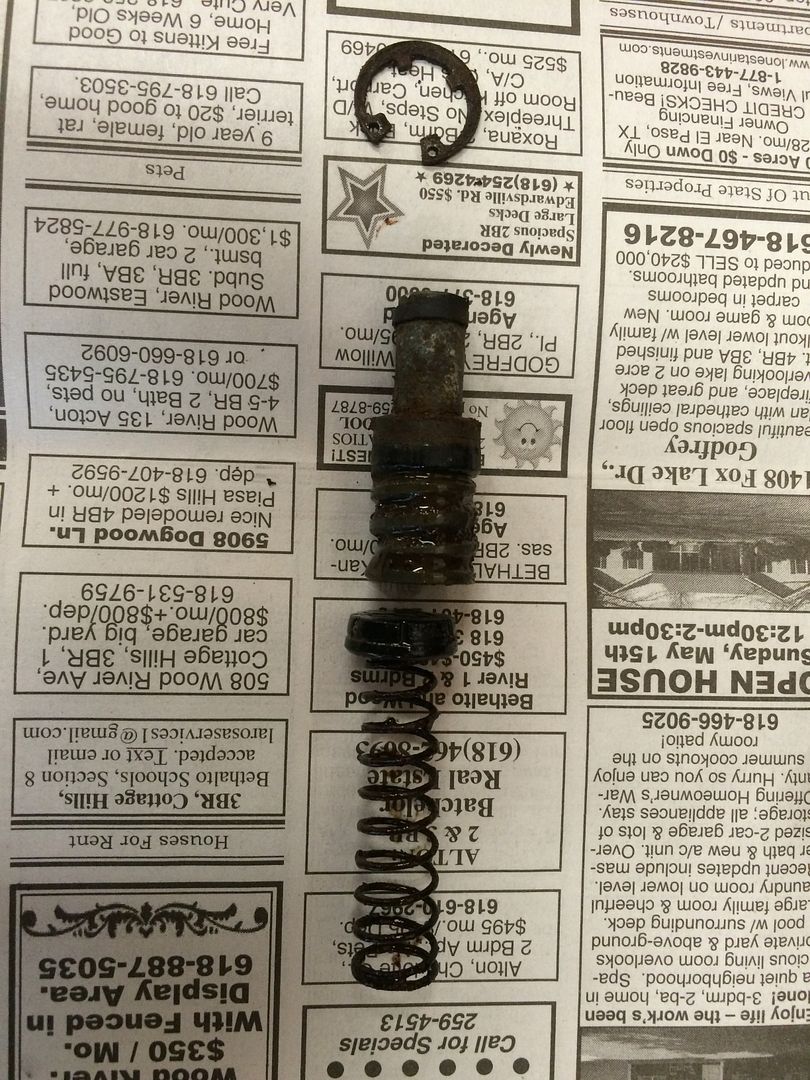
    Once the clip was out it was easy to do with these pliers by the way, the piston was easy to remove. Not so easy all the time but I got lucky. Careful as this whole thing is spring loaded. All of the parts layed out in the order in which they are assembled. VERY important to keep this orientation! Note both rubber "cups" face the same direction.


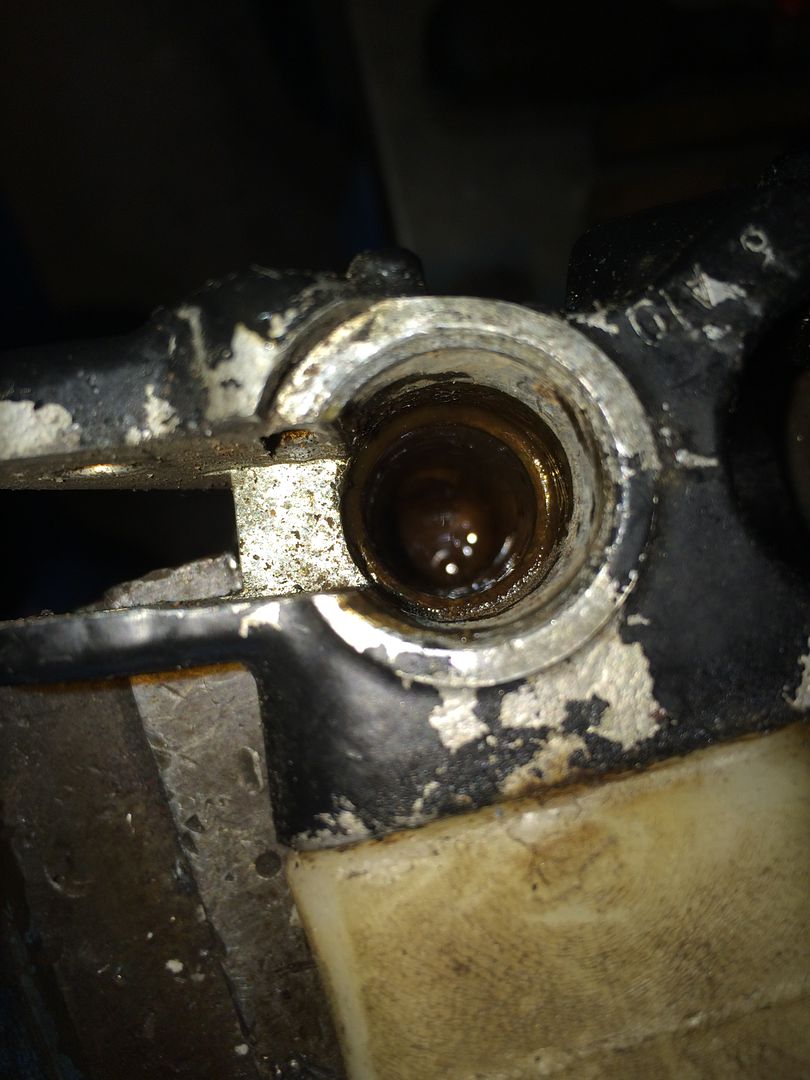
    Inside the bore and it's pretty nasty in there. Rusty and grimy looking stuff.


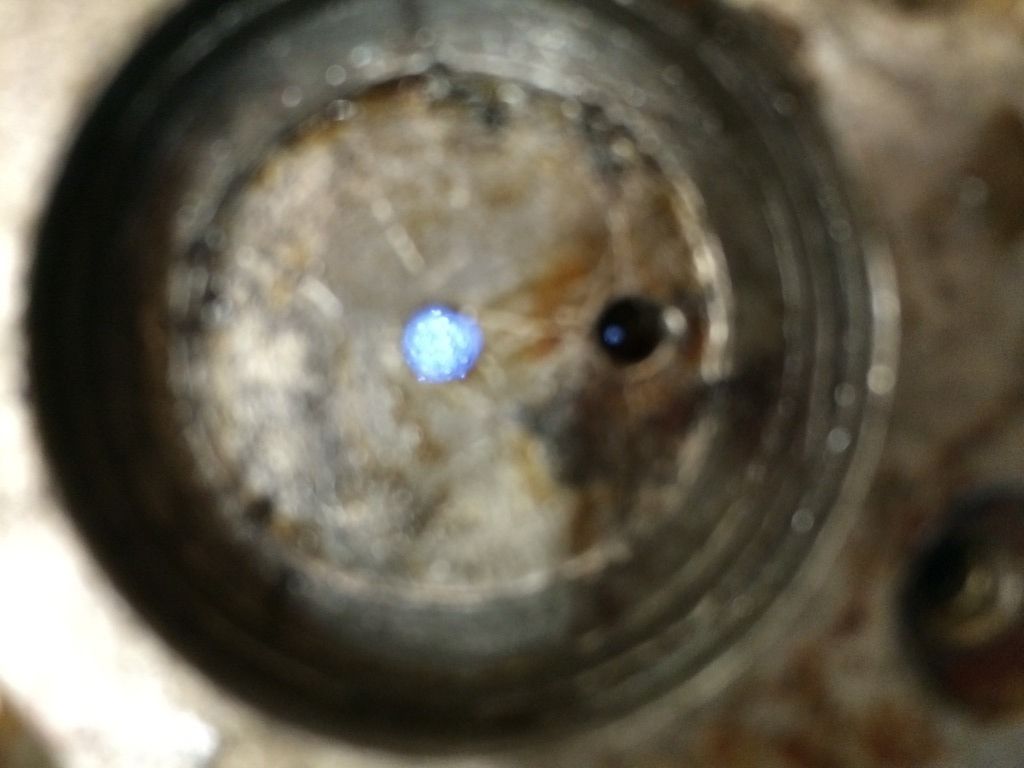
    Pry off the plastic reservoir and look at the rusty mess underneath. That rusty spot, to the right of the main hole, is the spooge or return hole. Dig out the crud with a screwdriver tip or anything really to get that stuff out of there. The spooge hole is in the bottom of the cone shaped hole. It's tiny. I use a precision drill #80 and my pin vise to clean the hole. TIP: soak that hole with some PB Blaster for a couple of minutes first to soften up the crud.
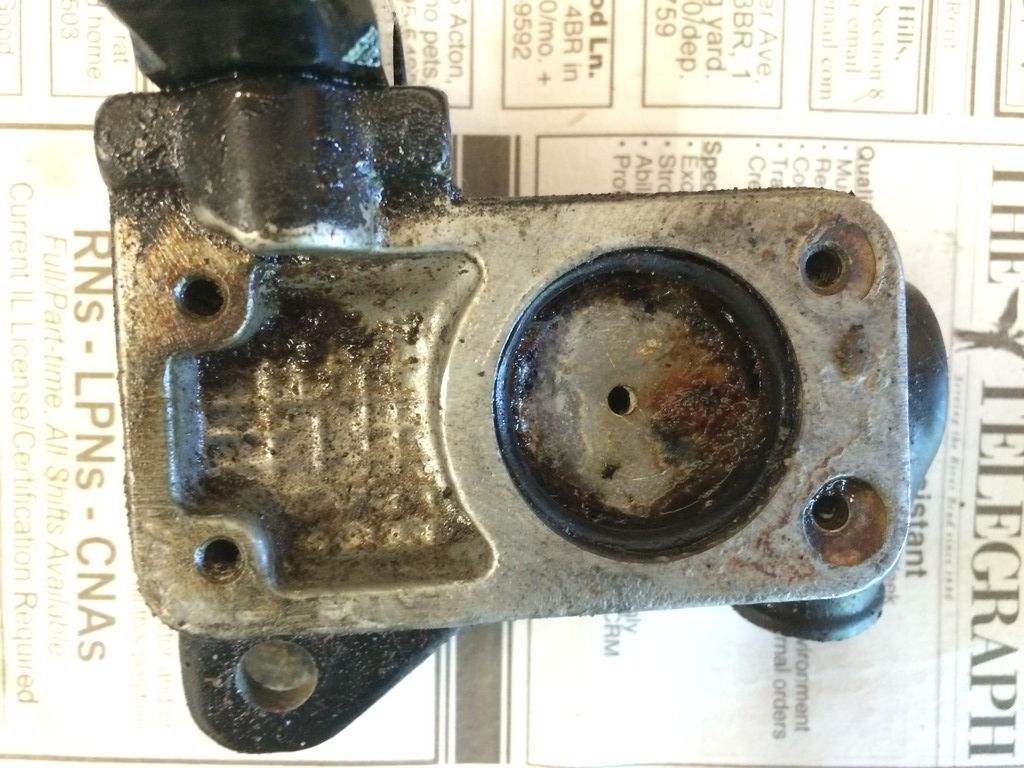


    With my flashlight shining into the bore you can see now that the spooge hole is open and how tiny it really is:


    Put it back together using brake fluid ONLY and re-insert the clip. The thing is spring loaded so you have to hold the piston assembly down while inserting the clip.
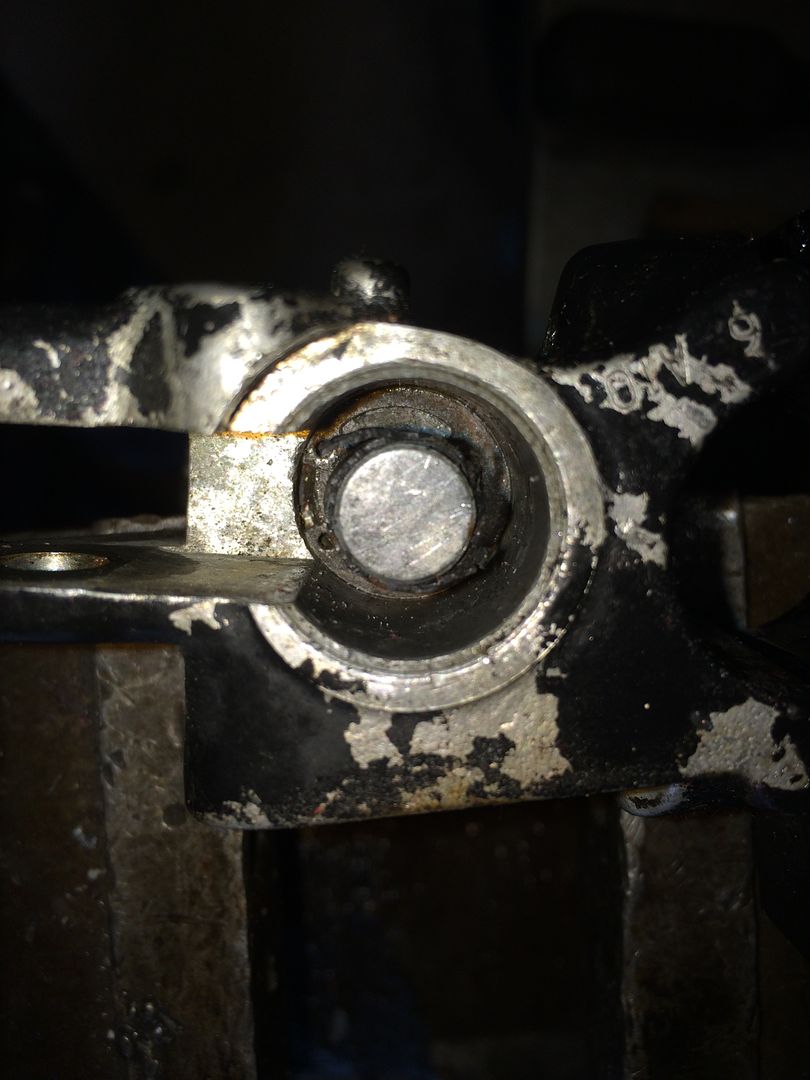


    That's really all there is to it. Pretty simple huh?

    Probably should have included the link to the pliers. I know $25 is a lot of money but what you didn't see was the frustrating couple of hours I spent trying to dig that circlip out of there. This literally took me 1 minute to remove the clip.


    Also before you flame me on how dirty the MC appeared after re-assembly, you have to realize that I am never going to put this thing into service and so the bare minimum of cleaning was done just so I could make this thread.

    #2
    Thanks for posting. I'm sure this info will come in handy for someone sooner than later.

    Comment


      #3
      Originally posted by ShadowFocus603 View Post
      Thanks for posting. I'm sure this info will come in handy for someone sooner than later.
      Thank you for the kind words. It was my pleasure.

      Comment


        #4
        Indeed thank you for the post. I like looking at this stuff.
        Alan

        sigpic
        Weaned on a '74 450 Honda
        Graduated to an '82 GS850GL
        Now riding an '83 GS1100GL
        Added an '82 GS1100GL

        Comment


          #5
          This is the kind of stuff probably every one of us has to do on our GS's- good stuff.
          Question: do you hone the bore on the master? Sometimes they're corroded, and I've seen some so bad you could never build up safe brake pressure, can't use them. At that point I'd probably be shopping for a complete new modern assembly.

          Comment


            #6
            Very much agree. I've done a rebuild and it was a learning experience.


            Ed
            GS750TZ V&H/4-1, Progressive Shocks, Rebuilt MC/braided line, Tarozzi Stabilizer[Seq#2312]
            GS750TZ Parts Bike [Seq#6036]
            GSX-R750Y (Sold)

            my opinion shouldn't be taken as gospel or in any way that would lead you to believe otherwise (30Sep2021)

            Comment


              #7
              Originally posted by Sandman900ss View Post
              This is the kind of stuff probably every one of us has to do on our GS's- good stuff.
              Question: do you hone the bore on the master? Sometimes they're corroded, and I've seen some so bad you could never build up safe brake pressure, can't use them. At that point I'd probably be shopping for a complete new modern assembly.
              My feeling is that if the bore needs to be honed then replace the whole thing. I can usually buy a new MC for less than the price of a rebuild kit on eBay. I have some nylon bottle brushes that I got at Harbor Freight for a couple of dollars and I use them and lots of spray brake clean. If that doesn't clean it I'll replace it.

              Comment


                #8
                I let the MC parts soak in solvent provided by the Maintenance shop while in Alamogordo, NM. I then used wire brushes to remove the gunk inside the bore.


                Ed
                GS750TZ V&H/4-1, Progressive Shocks, Rebuilt MC/braided line, Tarozzi Stabilizer[Seq#2312]
                GS750TZ Parts Bike [Seq#6036]
                GSX-R750Y (Sold)

                my opinion shouldn't be taken as gospel or in any way that would lead you to believe otherwise (30Sep2021)

                Comment

                Working...
                X