Announcement

Collapse
No announcement yet.

1980 Mikuni BS 34 jet needle adjustment

Collapse
X
 
  • Filter
  • Time
  • Show
Clear All
new posts

    1980 Mikuni BS 34 jet needle adjustment

    Hi all. What a great forum. I'm brand new, so maybe what I am looking for is already on here, but I haven't been able to find it.

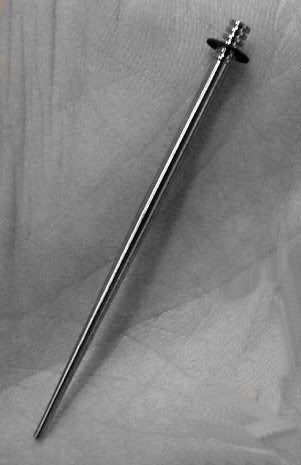
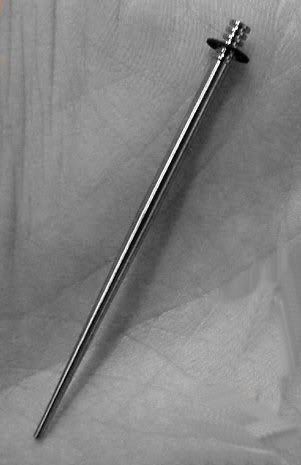
    I have a 1980 GS 450L with Mikuni BS carbs. The jet needles on these aren't like the grooved ones I've seen in the posts here. They are... hard to describe. Is anyone familiar with these? Does anyone know how to adjust them?

    Thanks for any help you can give!

    #2
    If you want to adjust your needle jet it is done by changing the position of the e-clip on the piston/diaphram assembly. If there is only one notch for the clip you can get spacers (small washers) to adjust the needle.

    I'm new to carbs myself, but am doing a rebuild/rejet on the same year/model bike and this is the info I came up with.


    Anyone feel free to correct me if I am wrong.

    Good luck with your project and use the search tool on the forum, that's where I found a ton of good information.

    :mrgreen:

    Comment


      #3
      Yeah, I know what you mean, but that's the problem. Mine's not like that at all. I'd be curious to know if yours is like the others I've seen and read about on this forum, like this one


      Mine looks nothing like this.

      I would like very much to hear how your project is going! Are you going to keep the stock airbox?

      later

      Comment


        #4
        Ok, I obviously have no idea how to post an image on this forum.

        [img][/img][/url]

        Comment


          #5
          None whatsoever.

          [img]src="http://i2.photobucket.com/albums/y36/bazango/needle.jpg" alt="Image hosted by Photobucket.com"[/img]

          Comment


            #6
            OK I give up.

            [/img]

            Comment


              #7
              Mine looks nothing like this.
              Got a picture of what it DOES look like? That pic is pretty typical of a needle. Exactly how is your different?


              Mark

              Comment


                #8
                I'll snap a pic tonight.

                Comment


                  #9
                  my project is going well.... chem dipped the carbs and am putting them back together now, new jets, pod filters and a 2-1 exhaust. should be interesting

                  i'll post some pics for u later tonight


                  :mrgreen:

                  Comment


                    #10
                    Here are some pics of the carbs off my '80 GS450L

                    photo1 = jet needle
                    Latest news coverage, email, free stock quotes, live scores and video are just the beginning. Discover more every day at Yahoo!


                    photo2 = snap ring
                    Latest news coverage, email, free stock quotes, live scores and video are just the beginning. Discover more every day at Yahoo!


                    photo3 = needle jet
                    Latest news coverage, email, free stock quotes, live scores and video are just the beginning. Discover more every day at Yahoo!


                    photo4 = carb schematic from Clymers
                    Latest news coverage, email, free stock quotes, live scores and video are just the beginning. Discover more every day at Yahoo!


                    To adjust the jet needle and needle jet you need to remove the snap ring and move it to another notch or put spacers in. If you need the spacers give Rob from http://www.motorcyclecarbs.com a call

                    good luck

                    :mrgreen:

                    Comment


                      #11
                      Can't find the # but you can get a package of small washers to use as shims from Radio Shack

                      Comment


                        #12
                        Originally posted by hipster
                        Here are some pics of the carbs off my '80 GS450L

                        photo1 = jet needle
                        Latest news coverage, email, free stock quotes, live scores and video are just the beginning. Discover more every day at Yahoo!


                        photo2 = snap ring
                        Latest news coverage, email, free stock quotes, live scores and video are just the beginning. Discover more every day at Yahoo!


                        photo3 = needle jet
                        Latest news coverage, email, free stock quotes, live scores and video are just the beginning. Discover more every day at Yahoo!


                        photo4 = carb schematic from Clymers
                        Latest news coverage, email, free stock quotes, live scores and video are just the beginning. Discover more every day at Yahoo!


                        To adjust the jet needle and needle jet you need to remove the snap ring and move it to another notch or put spacers in. If you need the spacers give Rob from http://www.motorcyclecarbs.com a call

                        good luck

                        :mrgreen:
                        If you remove the C-clip snap ring in photo 2 the nylon piece (guide holder) comes out then you can take out the needle jet. On the needle jet itself is a small e-clip snap ring. The exact order for the set up is from the bottom of the needle up, spring, e-clip, nylon spacer, washer, then the guide holder and C-clip snap ring. I think what you need to do is place an additional washer between the spring and the e-clip to raise the final position of the needle valve once it is reinstalled in the slide. If you go to bike bandit and look at the schematic it is a lot clearer then the one in the Clymers manuel.

                        Comment


                          #13
                          Thanks for the pics and the great carb parts link! Yours is exactly like mine, I am just too stupid. I hadn't pulled the needle out of the slide yet, and it never occured to me... oh heck, I wonder about myself sometimes. Thanks for the info, all. I think the "professional" shop that worked on my bike just before I aquired it put the needles back together wrong, because the parts were not in the order you describe. It's a wonder this thing runs as good as it does!

                          Hipster, I ditched my airbox too, and it ran terrible. Almost wouldn't accelerate without enrichment on. I drilled the jets just the tiniest bit bigger, and now it runs great! Still can feel a little hesitation around 1/2-3/4 throttle, though. So... with this info maybe I can get it perfect!

                          Look forward to hearing how your project comes together.

                          Comment

                          Working...
                          X