.png "Powered by vBulletin")
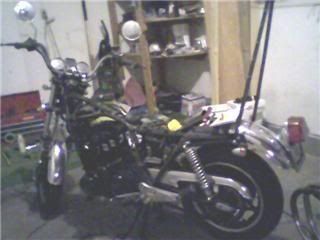
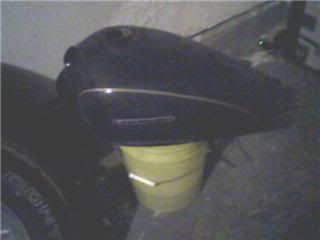
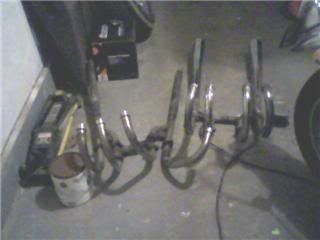
Ok so I've got a little bit of all I had planned done http://www.thegsresources.com/_forum...d.php?t=119734 but I have a couple questions.
I know some of you used a zip tie folded over for adjusting the valves, right? Can someone please explain this to me. I think you were just using it hold the valve open just not sure how exactly. I have a the exhaust and carbs off right now so I'm thinking it might be easier to use the zip tie through the intake or exhaust ports.
Also, someone out there has a spreadsheet for adjusting the valves and figuring out which size you need, right? If I could get a copy it would be greatly appreciated.
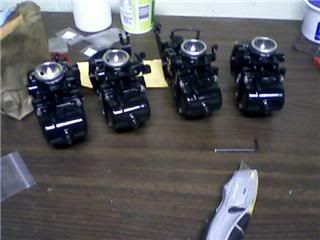
And also, I've reassembled the carbs but not the rack yet. How do you bench sync these? I believe its something like 1.5 or 2 turns out on the air mixture screw right? Well ever since I had a wheel fall off my car I've had a habit of over tightening bolts and screw and nuts and what not so do you guys go 1.5 turns out from tight or just finger snug or what? Is there anything else I need to adjust while I have them off the bike before trying to vacuum sync these?
Lastly, any one have a trick to getting the old exhaust gaskets out?
As always thanks for your GSpertise
-Bradley
I know some of you used a zip tie folded over for adjusting the valves, right? Can someone please explain this to me. I think you were just using it hold the valve open just not sure how exactly. I have a the exhaust and carbs off right now so I'm thinking it might be easier to use the zip tie through the intake or exhaust ports.
Also, someone out there has a spreadsheet for adjusting the valves and figuring out which size you need, right? If I could get a copy it would be greatly appreciated.
And also, I've reassembled the carbs but not the rack yet. How do you bench sync these? I believe its something like 1.5 or 2 turns out on the air mixture screw right? Well ever since I had a wheel fall off my car I've had a habit of over tightening bolts and screw and nuts and what not so do you guys go 1.5 turns out from tight or just finger snug or what? Is there anything else I need to adjust while I have them off the bike before trying to vacuum sync these?
Lastly, any one have a trick to getting the old exhaust gaskets out?
As always thanks for your GSpertise
-Bradley

Comment