Announcement

Collapse
No announcement yet.

1982 GS550LZ part numbers help / carb rebuild?

Collapse
X
 
  • Filter
  • Time
  • Show
Clear All
new posts

    #16
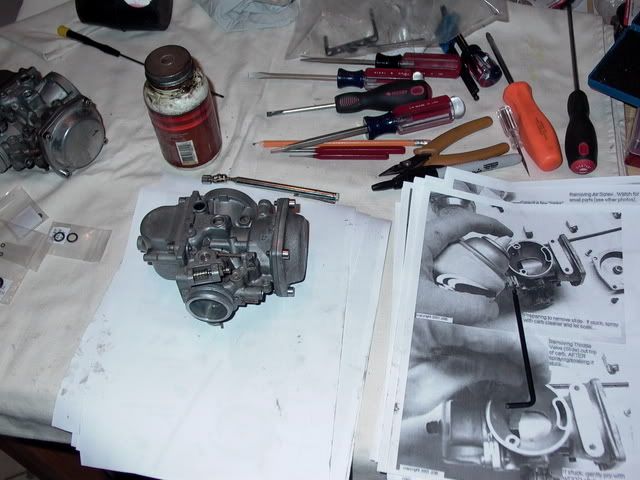
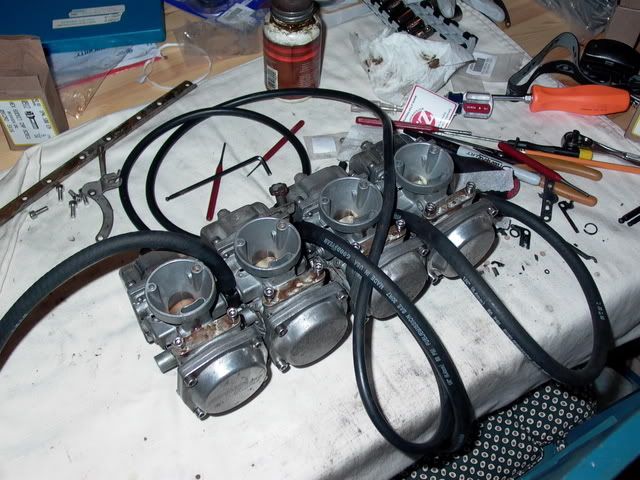
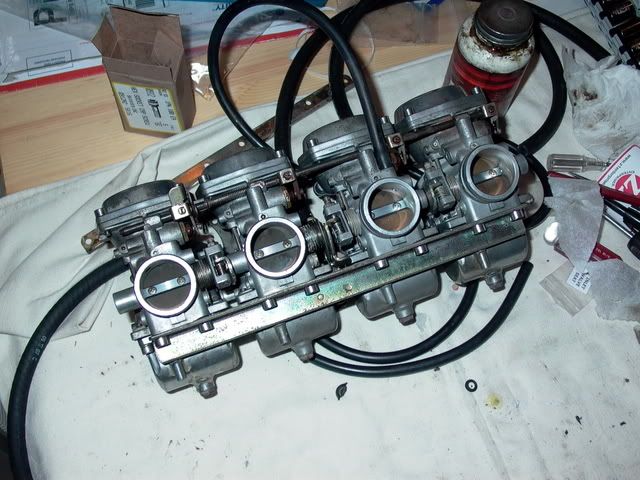
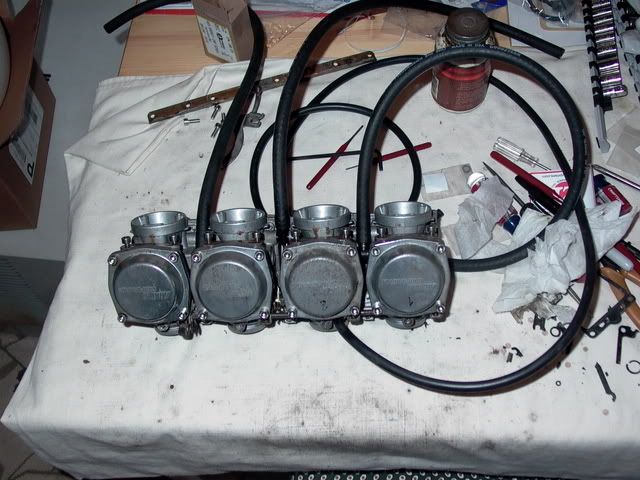
    Progress! Two carbs back together with stainless steel socket head cap screws in lieu of the original fasteners for the float bowls & top caps.


    I'm just waiting on Z1 to get me my new floatbowl gaskets and for clarification on where to check the float height, and I'll finish up the other two carbs and begin reassembly.

    As an aside, I bought packs of 100 fasteners & lock washers for the individual carbs and the gang rails. It's way more than I need, but would anyone else be interested in these fasteners as well? I don't want to step on any toes here, and I've dispatched an email to Mr. Barr asking his opinion on such matters.

    scurvy

    Comment


      #17
      Re-re-re-bumping my own thread. More progress!

      Progress #1: Retrieved the #3 float bowl drain screw from under my deck. It's ferromagnetic, so it's theoretically possible to crawl around under your deck in your underwear with a magnetic pick-up tool wearing a LED headlamp to find it. Theoretically.

      Progress #2: New floatbowl gaskets & rubber plugs arrived from Z1. Reset the float heights based on the manual picture above - they're set at 22.4 mm from the gasket surface to the radiused surface on the float on both sides.

      scurvy

      Comment


        #18
        I'm getting pretty good at this.

        I had the #3 carb from working condition to stripped apart and resting in the dip basket of the noxious Berryman's cleaner in about five minutes flat. Half an hour later and it was back together. #4 should be tonight, then I can work on reassembling and bench synch. This one didn't require any float height changes but the previous two were set too low. All the fuel screws are set for 3 turns out from lightly seated.

        Comment


          #19
          Great job man, sounds like you are doing the job right. Regarding the float height, make sure the weight of the float itself is not causing the spring in the needle to depress. If so, hold the float up slightly and measure when the float just starts to depress the spring loaded needle. Most likely you are good to go on this but just saying...
          Ed

          To measure is to know.

          Mikuni O-ring Kits For Sale...https://www.thegsresources.com/_foru...ts#post1703182

          Top Newbie Mistakes thread...http://www.thegsresources.com/_forum...d.php?t=171846

          Carb rebuild tutorial...https://gsarchive.bwringer.com/mtsac...d_Tutorial.pdf

          KZ750E Rebuild Thread...http://www.thegsresources.com/_forum...0-Resurrection

          Comment


            #20
            Originally posted by Nessism View Post
            Regarding the float height, make sure the weight of the float itself is not causing the spring in the needle to depress. If so, hold the float up slightly and measure when the float just starts to depress the spring loaded needle.
            Interesting. I'll have to check that when I do #4 tonight. From what I recall, the weight of the floats wasn't nearly enough to cause the needle spring/plunger to drop - I manually pushed the floats down and let them spring back up and come to rest before measuring the float heights.

            Also, man alive that Berryman's Chem-Dip is some noxious stuff. WHEW, CRACK A WINDOW!

            As soon as the bench synch is done, I can start reassembling everything and possibly maybe have a running bike this weekend! \\/

            scurvy

            Comment


              #21
              Originally posted by Nessism View Post
              Regarding the float height, make sure the weight of the float itself is not causing the spring in the needle to depress.
              Went through carb #4 last night. The weight of the float is not causing the spring in the needle to depress. Thanks for pointing that out.

              Next up: reassembly as a group & bench sync.

              scurvy

              Comment


                #22
                All four have been reassembled as a group, I'll finish bench sync tonight. All new fuel line, vent lines & vacuum line as well. I'll post sizes & pictures tonight for everyone's emollient, hopefully will also keep someone from standing around in VatoZone and scratching their back end for an hour, trying to figure out what sizes to get.

                Comment


                  #23
                  Carburetors, now in a four-pack like Guinness, Sprecher or that delicious Goose Island Matilda.


                  The stainless steel fastener kit came in from Z1 (finally), so after a little more disassembly of the engine sidecovers, it will be time to start the reassembly. Petcock rebuild kit also will go in soon as well.

                  When reassembling the gang plates to all four carbs, put one on loosely, then the other on loosely, both finger tight, then both snug. Do not put one on snug then spend half an hour trying to get the bolts in the other one. These pictures don't show the second gang plate on yet, tho. I wound up using regular black oxided steel socket flange head cap screws on one as I couldn't get stainless steel ones with the same diameter head. Turns out there are button head cap screws available in stainless that are 1mm smaller in diameter that will work. I should be ready to offer stainless steel carb fastener kits soon. After the bike is back running, y'know.

                  I know for a fact I used Goodyear 1/4" fuel line for the tank line and vent lines, vacuum tubing is Goodyear 5/32".

                  scurvy
                  Last edited by Guest; 05-30-2008, 10:21 AM. Reason: corrected vacuum tubing size

                  Comment

                  Working...
                  X