Announcement
Collapse
No announcement yet.
front fork...trying to fix myself
Collapse
X
-
 ryonker
 -
 TheCafeKid
Even better! Then you're not stringing socket extensions together..Originally posted by ryonker View PostOr, you could just use 24 inches of 1/2" threaded rod and the nuts that fit it. Those nuts are almost exactly 19mm OD (just checked) and other guys use this set up. Use two nuts at one end to lock up each other, and two on the other end to hold onto with a socket.
Rick
Comment
-
 Marine36
To help (I hope) you understand.
The oil seal is between the inner and outer fork tubes at the top of the outer tube. When these seals leak the oil will leave a film on the inner fork tube as it moves up and down in the outer tube. Also oil may collect under the dust cover and eventually leak down the fork. You will only need to replace the seals you have ordered. Be sure to inspect the inner fork tube for rust or pitting in the area the moves through the seal. There are threads on the forum that show you how to fix the rust and pits if present.
Don't panic because of more oil. That just means the bad seal is getting worse. Since you already plan to change it ,no worries.
Enjoy the satisfaction of doing this yourself. Enjoy the ride when your done.
Comment
-
 boathead
still haven't gotten the seal in the mail, but doing the prep work...
drained the oil that was in it....got about 4 ml....yikes.
have the fork off the bike, and have my tools ready. hopefully will be able to get the damper rod off. will be trying it if it dries up outside.
Comment
-
 Suzuki_Don
Guys the 19mm nut trick does not work on the 650 forks. It only works on the bigger bike's front forks. The 650 forks are of a different design. There is another method for removing the bottom hex head bolt in these forks which holds the damper.
Comment
-
 boathead
???? what is the other method don???
i have my 19mm double nut tool all ready to go, and it's not gonna work?
the clymer manual only refers to a special suzuki holding tool.
i did notice that the 8mm allen wrench didn't fit the bottom nut in the fork...i think it is 6mm.Last edited by Guest; 07-04-2009, 09:31 AM.
Comment
-
 TheCafeKid
 -
 boathead
hahahaha!
thanks alot. i've got f'ing oil all over the place.....a washer sprung out and rolled under the sink somewhere. oh crickey is right.
Comment
-
 boathead
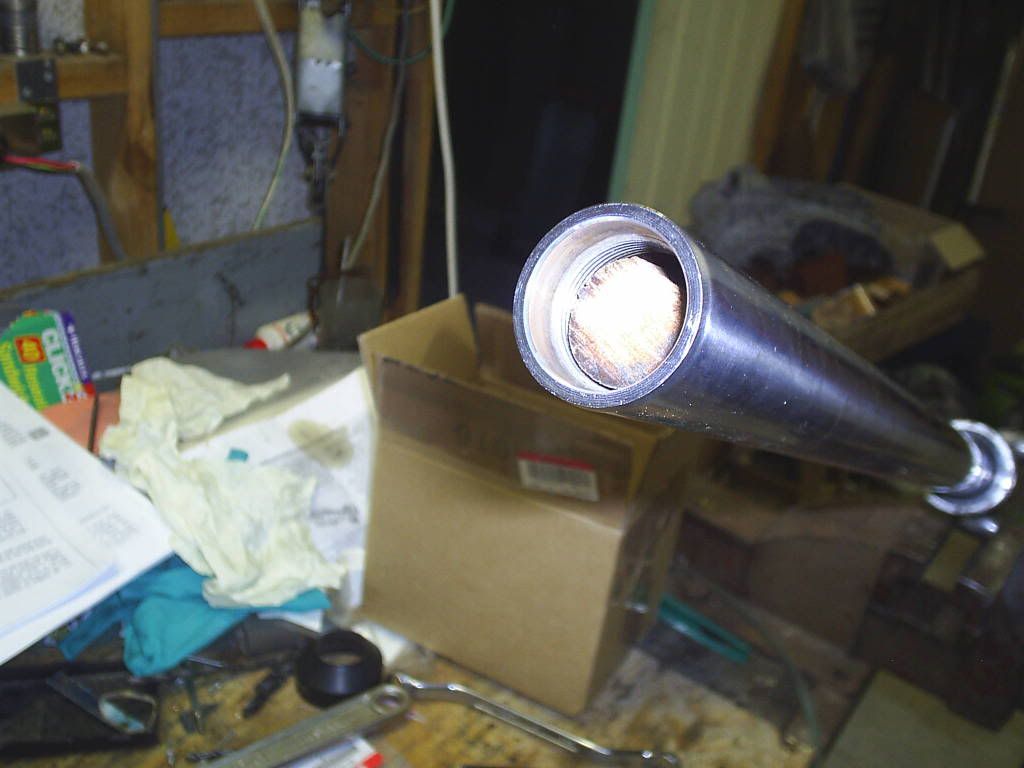
do you guys think i simply need a tool that has a smaller o.d. nut? it's tough to see in there, and i'm letting the balance of the oil drip out.
Comment
-
 TheCafeKid
I dont think it HAS walls like a nut if its like the 550 forks i just did. They're just round. You may have to reassemble the upper tube so that the spring tension will allow you to draw that allen head out. Breaking it loose is a B I T C H so get prepared. You have an aircompressor and a impact gun?? Would be mega usefull..
Comment
-
 boathead
i just reassembled it. i don't have an impact driver, so i'll have to wait until monday. hopefully the maintenance dept where i work has one.
i'll hope that the spring tension might hold the damper unit in place. peaking down the tube is tough to see, but it does appear round.
and so, with this colossal project of mine squarely on hold, perhaps i'll now kick back and enjoy the holiday. the seal didn't come in yesterday's mail, so i'm on hold anyway.
and so, no more fork questions until next week!
Comment
-
 boathead
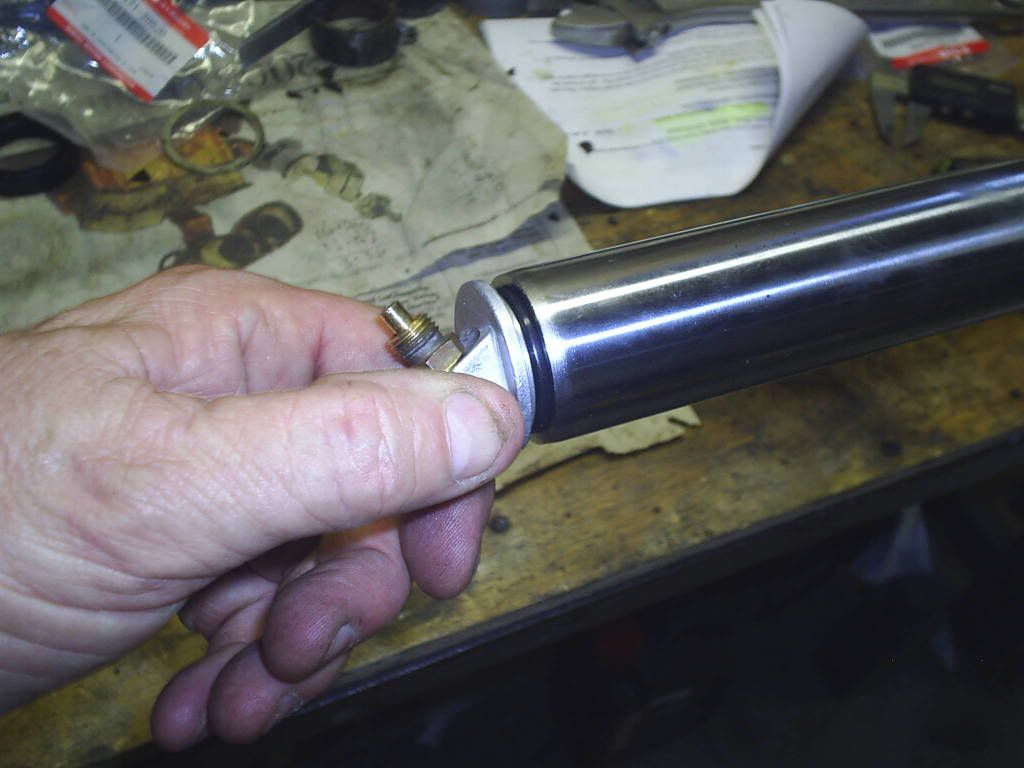
all right, i lied. one quick question. how does the dust cover come off? i don't want to force something that shouldn't be forced, but mine doesn't want to move upwards. must the damper unit come off first?
Comment
-
 Suzuki_Don
Hey guys don't complicate things. This task is really easy.. Josh, it's not april fools day is it, you leading boathead up the garden path with 19mm nut information. HAHA.
OK. Listen carefully. The method for the 650 forks is called the BROOM STICK METHOD. But in my case I didn't have a broom stick, well I did, but my wife would have killed me if I'de used her new broom handle to pull my forks apart. So I had to resort to an old rake that I had in the shed and I used the handle from that. Steps are as follows:
1. Remove fork leg from top and bottom yokes.
2. Remove top nut from the fork leg.
3. Tip fork upside down and allow all oil to drain from fork leg.
4. Remove fork spring and put aside.
5. Mount fork carefully in vice using softwood pieces either side of upper tube, this allows the lower slider to slip all the way down.
6. Now place the broomstick (rake handle in may case) inside the fork from the top. The broomstick comes to rest on the top of the damper inside the fork. Mark the broomstick at the top where it is level with the fork.
7. Then cut the broomstick to length so that when it is inserted in the fork tube there are about two threads for fork cap nut showing inside the fork. This allows the top nut to be started and as you tighten it up it locks the broomstick onto the damper rod and prevents it from turning when undoing the 6mm allen head bolt from the bottom of the slider.
Hope this all makes sense. I will add a picture later to help with my doubtful explanations.


 Last edited by Guest; 07-05-2009, 12:30 AM.
Comment
-
 boathead
this would be really funny if my entire front end was not completely disassembled and in parts strewn about. ok, it is really funny anyway.Originally posted by Suzuki_Don View PostHey guys don't complicate things. This task is really easy.. Josh, it's not april fools day is it, you leading boathead up the garden path with 19mm nut information. HAHA.
thanks, don, i will give it a go. i sort of want to do this by myself at this point without running to my work's maintenance dept for help.
Comment
-
 boathead
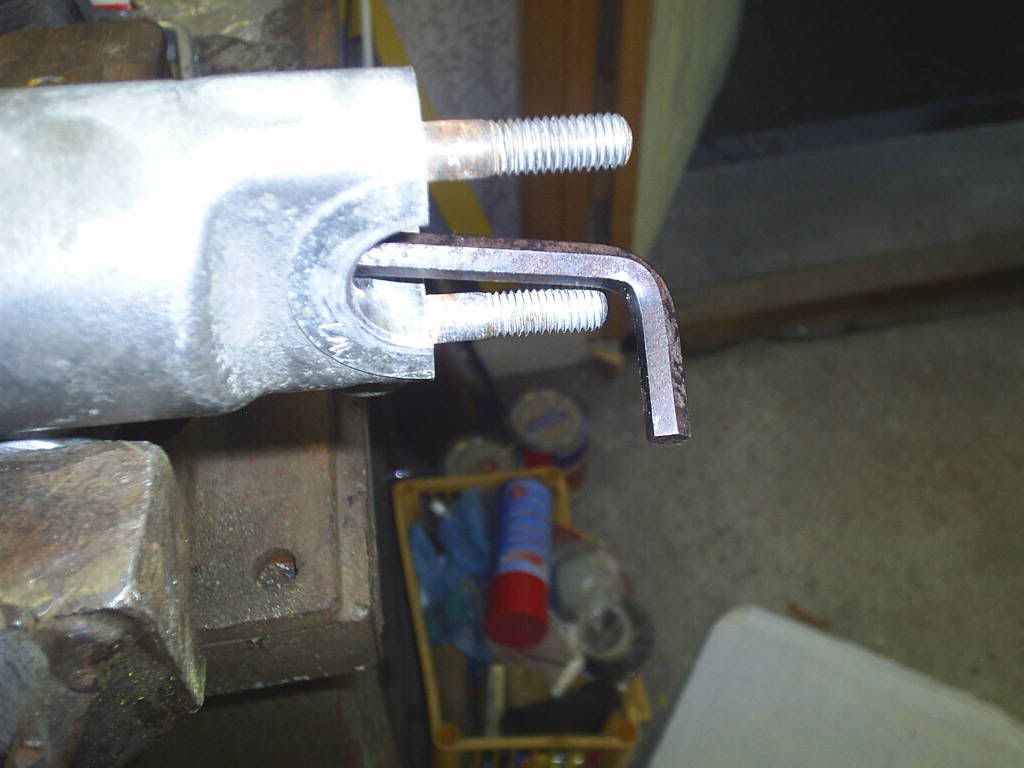
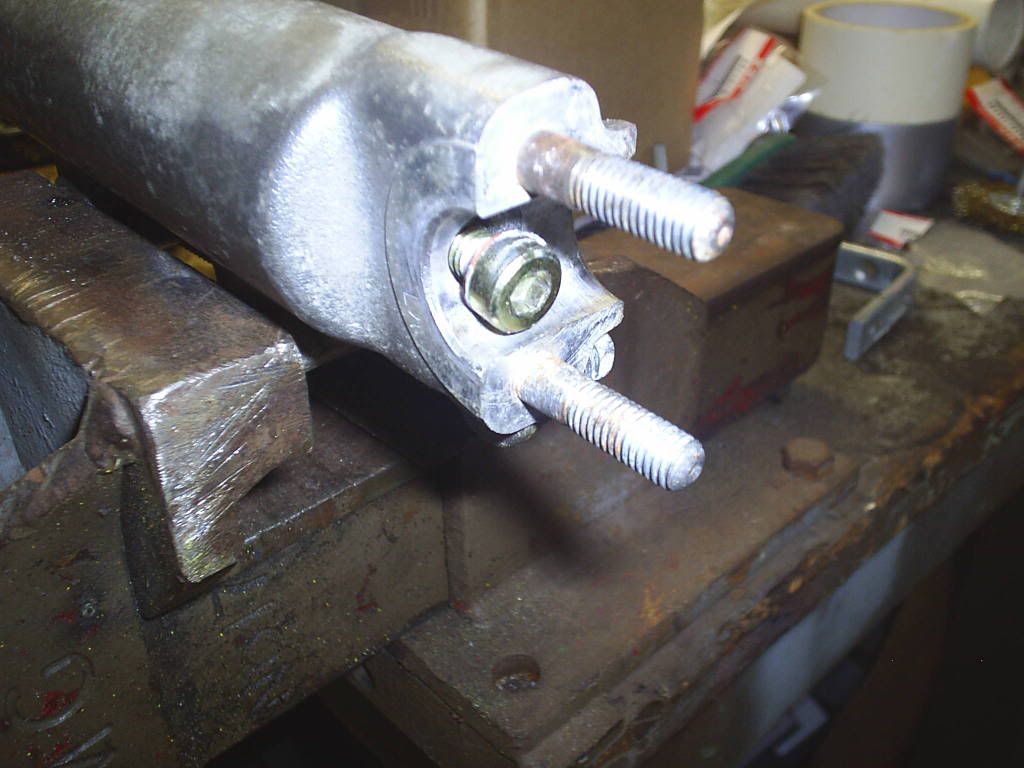
i am happy as a pig in chit. of course, whenever i start something, i never have the proper tools. so i got a cheap vise, and a 6mm allen wrench with a turning handle.
figured lets just spend a moment with just the springs in the damn thing, hoping that the provided tension would be sufficient.
put the fork ears in the vice, and gave it a go. nothing. realized my issue at this point was NOT the damper unit rotating, but rather the loctite having a firm grab on things.
found a piece of old pvc pipe, slid it over the wrench handle as a breaker bar...and voila!
got the damn thing out. the springs were sufficient.
of course i have more oil now...seems every screw i loosen accesses another pocket of the crap.
so, props to everyone with my thanks.
more questions tomorrow when i actually try to completely disassemble the stuff.
Comment
.png)
Comment