.png "Powered by vBulletin")
Well, I am back from a two month hiatus. In early July I was riding one of my bicycles after liberally applying beer and whiskey to my blood stream. As I am well aware, not all my decisions are of the genius caliber. Anyway, coupling my blood chemistry with a patch of wet curvy downhill and my desire to go faster than I should resulted in me heading over the handlebars and rolling around on someone's front lawn.
My bike was mostly okay, but I did a number on my shoulder. Before anyone feels the need to give me a lecture, you can rest assured that I received the full version of the riot act from several other sources. I would like to say that I learned my lesson, but only time will decide that (oh, I did start to feel good enough to ride the bicycle a few weeks after the injury, and was almost immediately involved in a car/bike accident. A young woman pulled into an intersection without seeing me coming, panicked at the last minute, slammed on her brakes in front of me, and I hit the side of her car. If she hadn't stopped I probably could have safely gone behind her, but instead I was launched over her trunk. Good Times.)
So, with my shoulder a little soft I didn't feel confident on a moto-bike. Couple that with the recent home purchase, which keeps me busy, and the recent acquisition of a project car, my time free time/money is stretched pretty thin.
Three weeks ago I felt I had healed enough to be confident on the GS, so I backed her out of the garage. As I was grabbing some brake to bring the bike to a halt, I lovely spray of fluid arched out from behind my light bucket. Wonderful.
I had been wanting to replace my lines with stainless steel for two years now, but I always found some other project to do first. Well, the joke's on me.
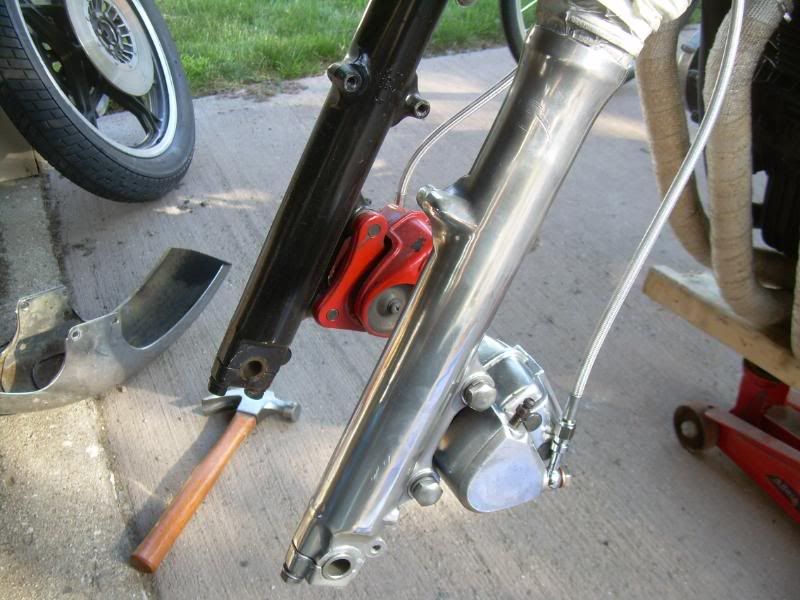
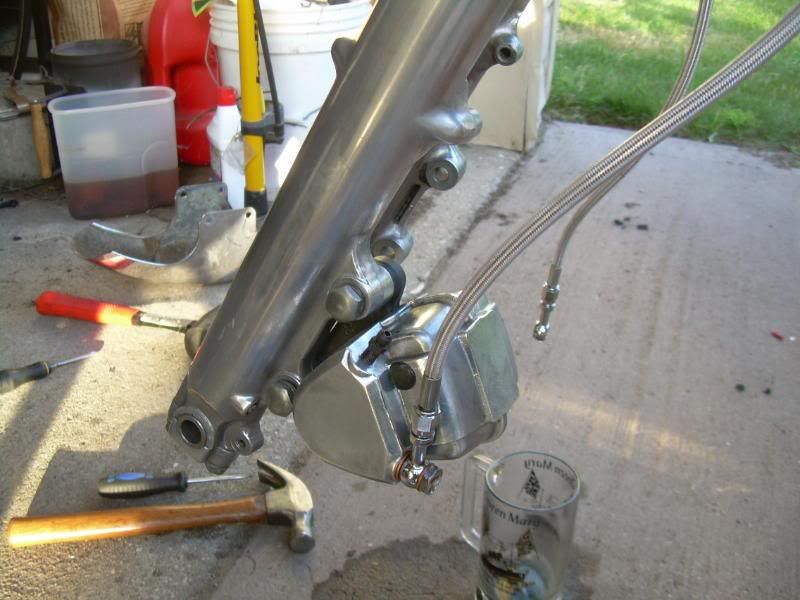
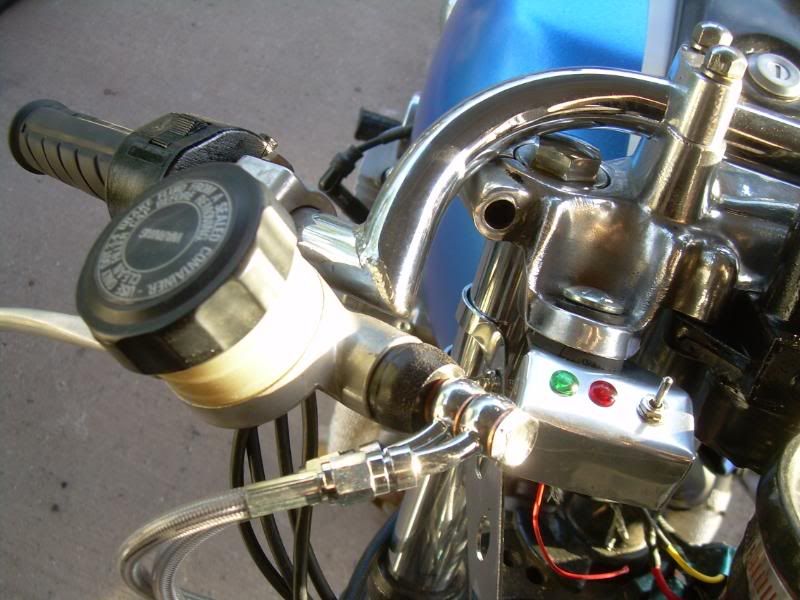
Last week I ordered some lines from Z1, and as is typical they were here in three business days. I opted to ditch the stock line splitter design in favor of two lines that run the full length from each brake to a double banjo at the master. It ended up being way easier to bleed, and is a much nicer setup.
Then I hit the road. Wow, everyone should do this conversion. I now have handfuls of brake, and the feel/feedback is tremendous.
And my first ride in two months was almost two miles long before it started to rain. Well, Har-Dee-Har-Har. I finally got some decent riding in yesterday, and halfway into it my speedo cable broke. Gotta love these old bikes. Well, time for another order from Z1.
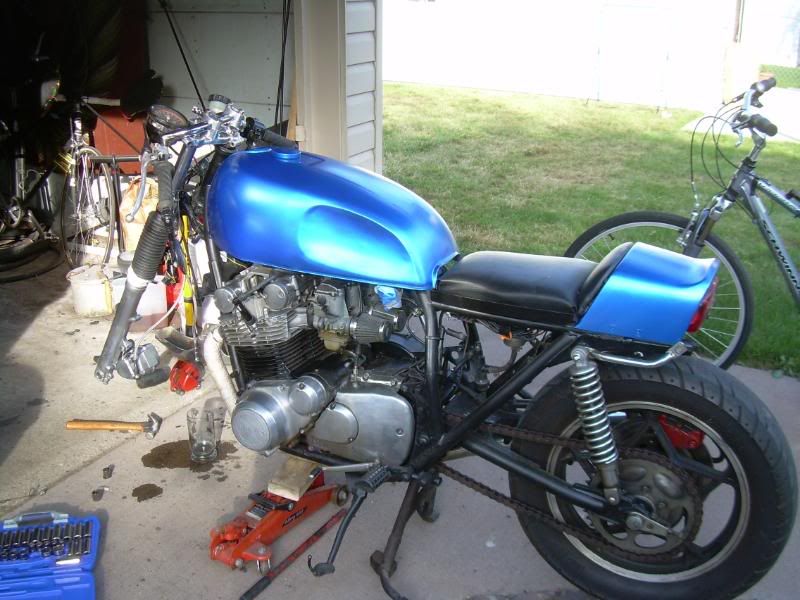
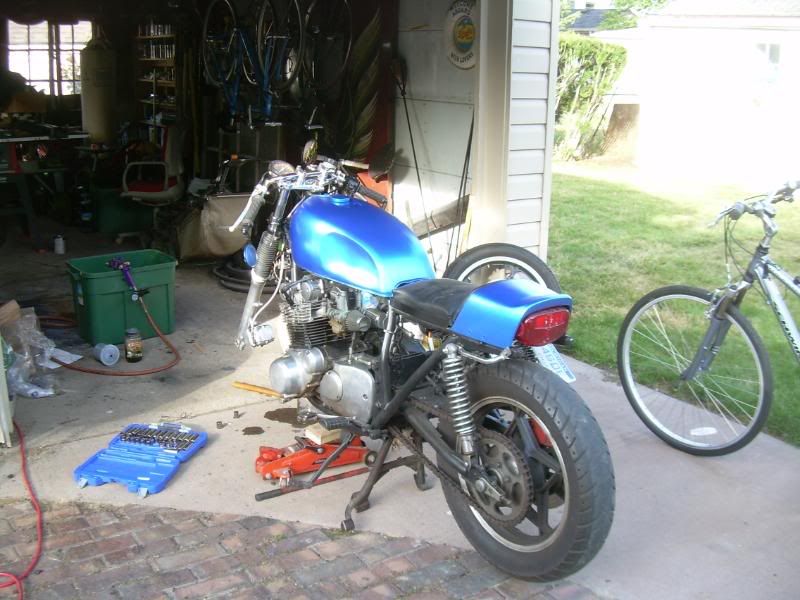
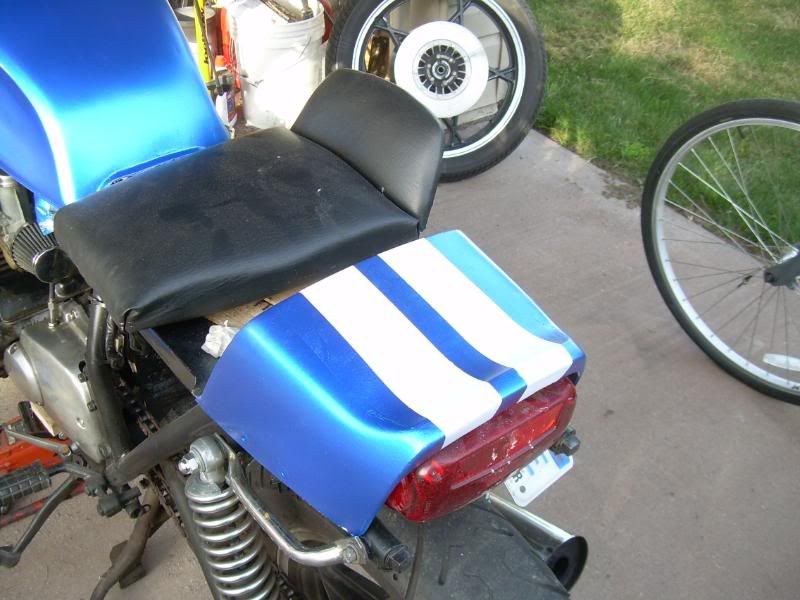
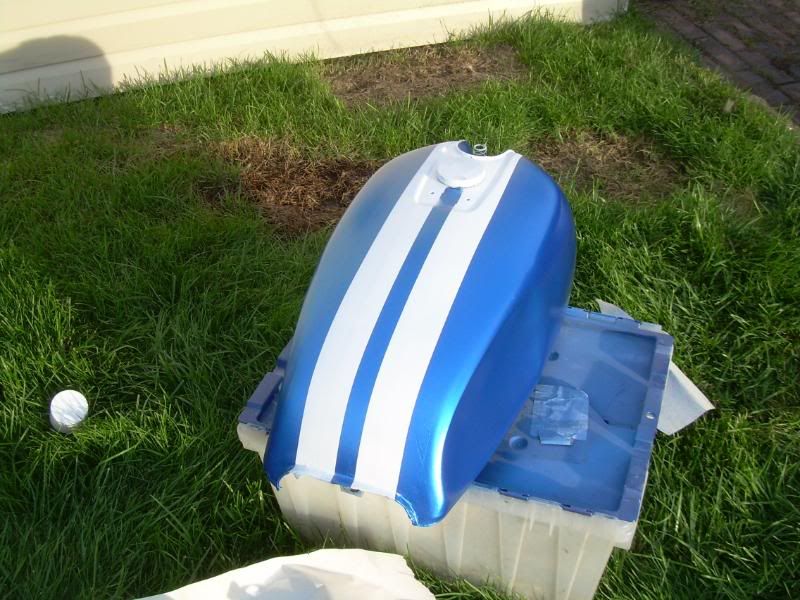
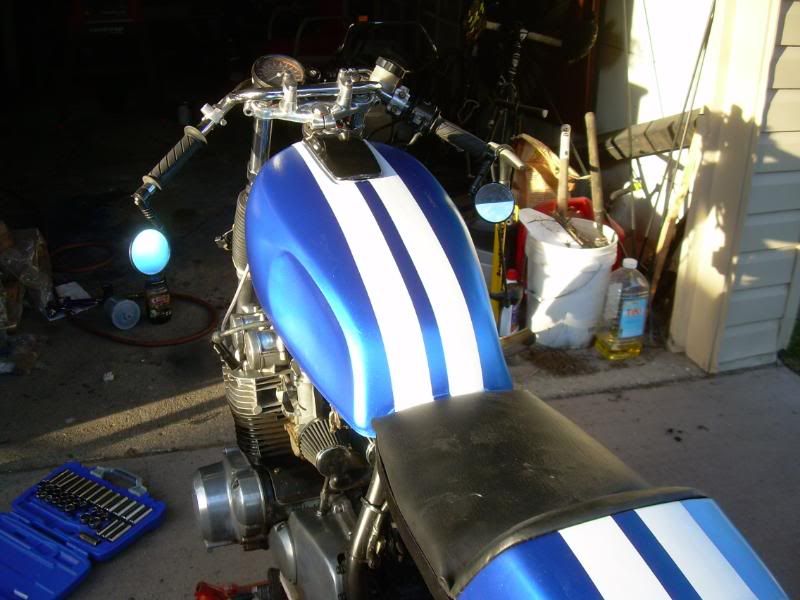
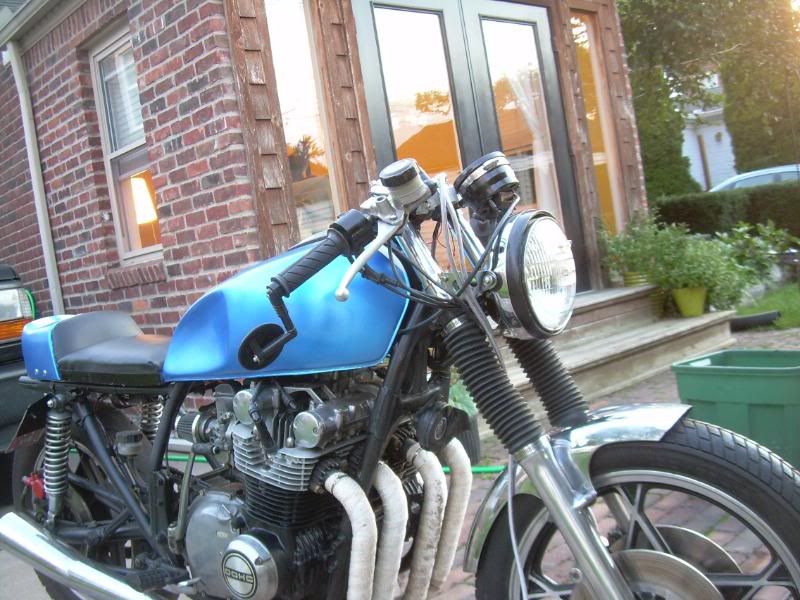
Since I had to do a little disassembly, I once again decided to go whole hog. Here are the photos:
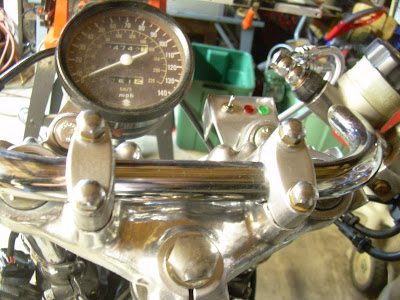
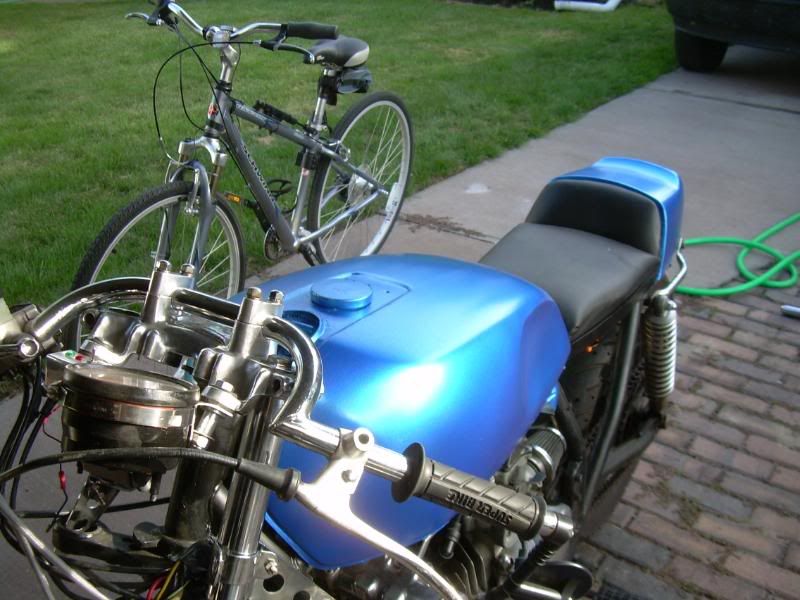
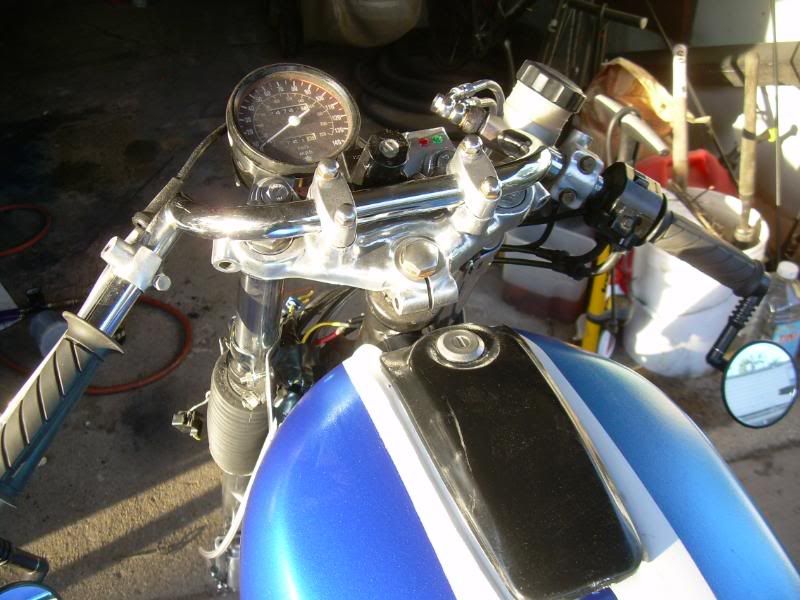
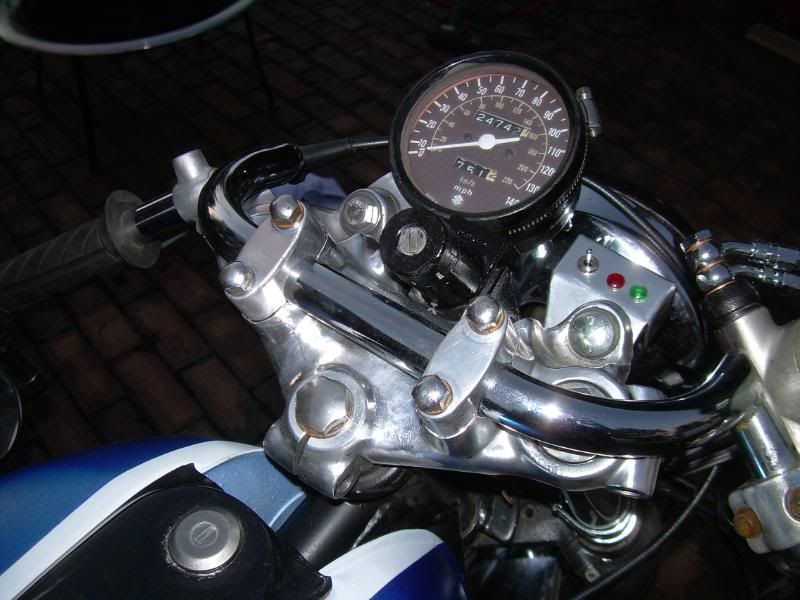
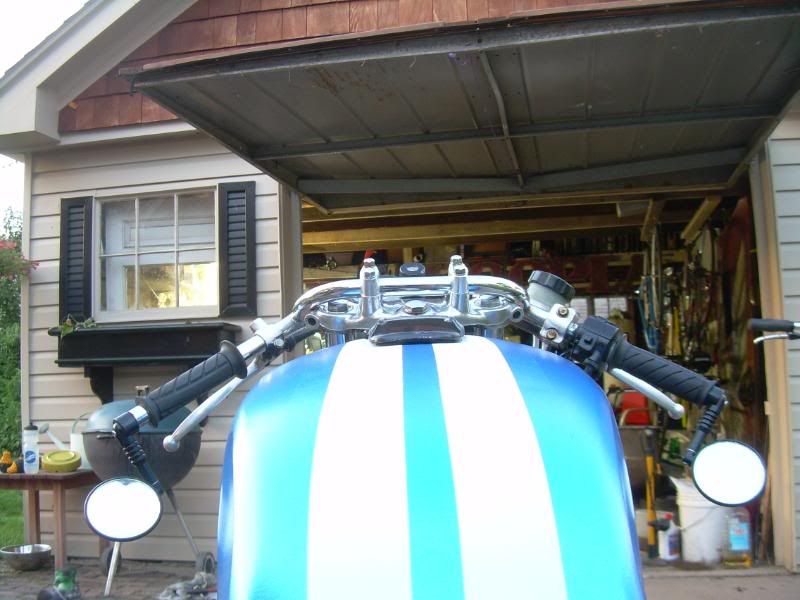
I was never thrilled with the direction my homebew dash was going in, so I tried a different approach. I started the fab on a new bracket for the speedo, and a new 'box' for the idiot lights/light switch. I picked up a square of aluminum from a local hobby shop for the materials, and I am really happy with it so far. I was inexpensive and easy to work with. Should get better picks when it is all wired in.
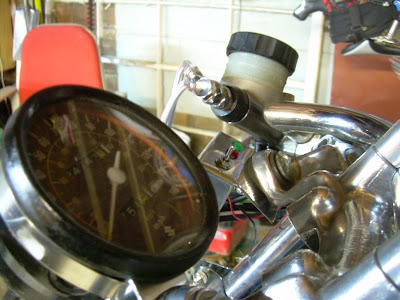
You can also see the double brake line, and I stripped and polished the top yolk.

My bike was mostly okay, but I did a number on my shoulder. Before anyone feels the need to give me a lecture, you can rest assured that I received the full version of the riot act from several other sources. I would like to say that I learned my lesson, but only time will decide that (oh, I did start to feel good enough to ride the bicycle a few weeks after the injury, and was almost immediately involved in a car/bike accident. A young woman pulled into an intersection without seeing me coming, panicked at the last minute, slammed on her brakes in front of me, and I hit the side of her car. If she hadn't stopped I probably could have safely gone behind her, but instead I was launched over her trunk. Good Times.)
So, with my shoulder a little soft I didn't feel confident on a moto-bike. Couple that with the recent home purchase, which keeps me busy, and the recent acquisition of a project car, my time free time/money is stretched pretty thin.
Three weeks ago I felt I had healed enough to be confident on the GS, so I backed her out of the garage. As I was grabbing some brake to bring the bike to a halt, I lovely spray of fluid arched out from behind my light bucket. Wonderful.
I had been wanting to replace my lines with stainless steel for two years now, but I always found some other project to do first. Well, the joke's on me.
Last week I ordered some lines from Z1, and as is typical they were here in three business days. I opted to ditch the stock line splitter design in favor of two lines that run the full length from each brake to a double banjo at the master. It ended up being way easier to bleed, and is a much nicer setup.
Then I hit the road. Wow, everyone should do this conversion. I now have handfuls of brake, and the feel/feedback is tremendous.
And my first ride in two months was almost two miles long before it started to rain. Well, Har-Dee-Har-Har. I finally got some decent riding in yesterday, and halfway into it my speedo cable broke. Gotta love these old bikes. Well, time for another order from Z1.
Since I had to do a little disassembly, I once again decided to go whole hog. Here are the photos:
I was never thrilled with the direction my homebew dash was going in, so I tried a different approach. I started the fab on a new bracket for the speedo, and a new 'box' for the idiot lights/light switch. I picked up a square of aluminum from a local hobby shop for the materials, and I am really happy with it so far. I was inexpensive and easy to work with. Should get better picks when it is all wired in.
You can also see the double brake line, and I stripped and polished the top yolk.


 Glad you are on the mend.


Comment