Apples and oranges eh?
Announcement
Collapse
No announcement yet.
GS1000L to crazy cool looking bike
Collapse
X
-
 240punk
Cracks me up. Everyone has hate for a complete custom and no one mentions some guy putting a harley rear fender on haha.
Apples and oranges eh?
-
 old_skool
 -
 Pendulum
Re-jetting for pods isn't that big of a deal. You gotta tear the carbs down for a rebuild anyway, so you may as well re-jet if you know you want to run pods.
I went from stock exhaust, stock airbox, and dirty nasty carbs to clean carbs, pods, and straight pipes all in one shot. I dropped my needle clip 1 slot and bumped my mains 5 steps. My jetting is almost perfect as is. I could drop the mains 1 size, which will be done soon. Granted, this is for a 550 but the principal is the same.
Comment
-
 EdgeGrip
 -
 speedorchid
Ok I decided to stay away from that wicked looking bike that can't be ridden without the ultimate wedgy and move one to what I can do....learning tons as I go...
so that you veterans can laugh, i had an oil bucket under the bike to catch whatever came out as I slowly took off the "cylinder head cover"(new words I learned today), thinking that once they were off, some oil or gas would flow out...ha
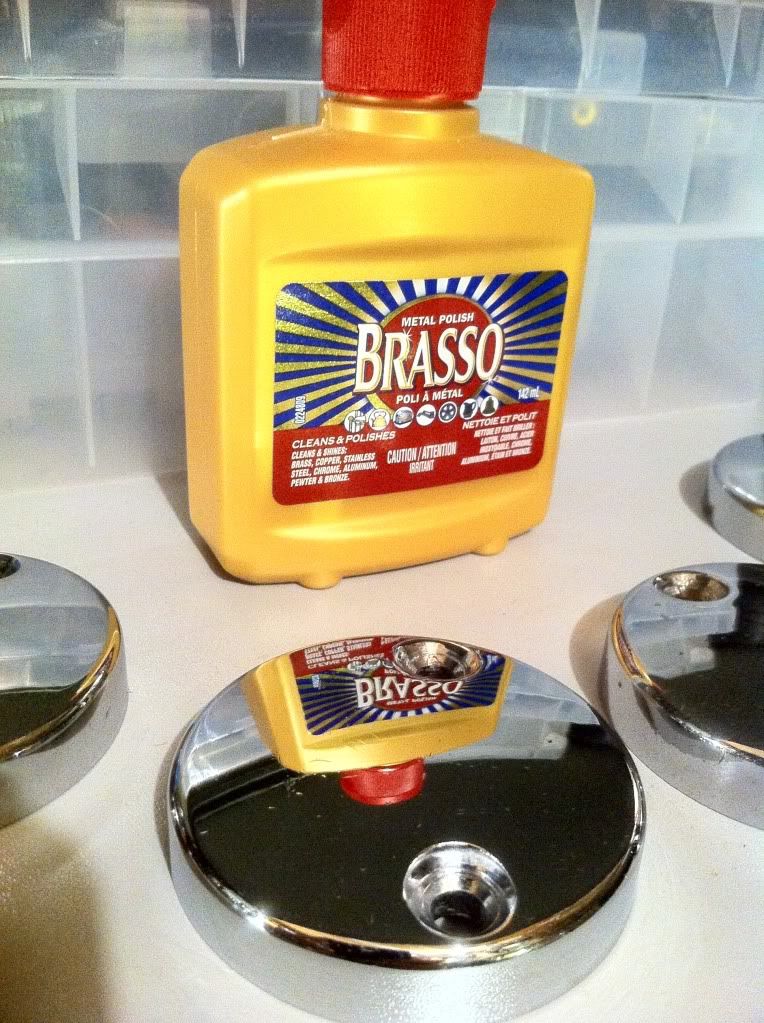
Got the cylinder head covers on the side nice and shiny... That brasso stuff worked great. I found that of the 8 screws that held on the 4 covers, there were 4 different types....i'll be fixing that soon.
Exhaust going to be painted tomorrow...I hope.
I sanded the rust off, wiped her down with some soap and water and then rinsed...bought some good old BBQ paint and well see what happens.

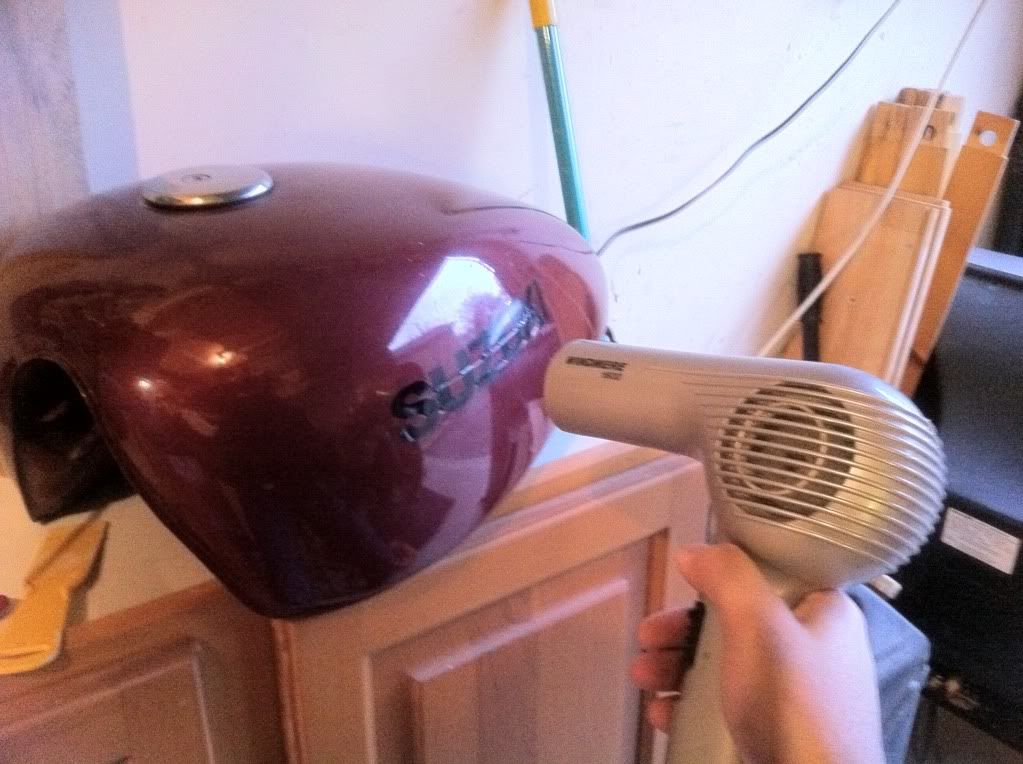
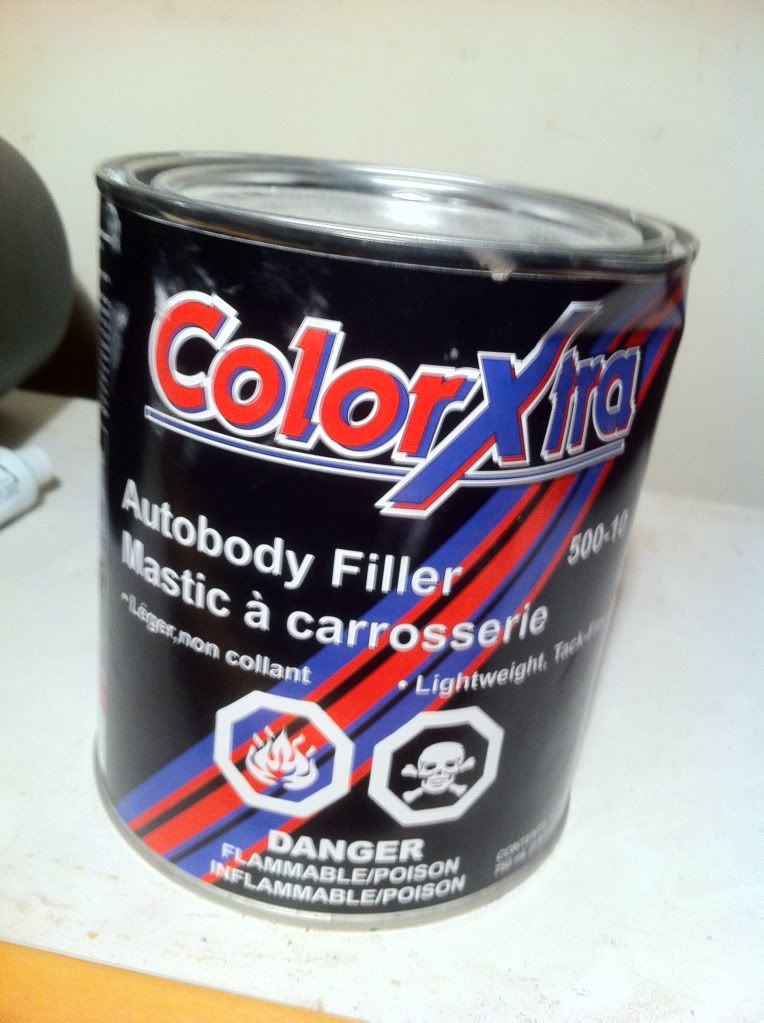
also got rid of the cheezy suzuki logo that someone stuck on. I was thinking I would sand the imperfections, then put some "bondo" right on the side where the old logo used to be....then resand 400-600-800 etc.., then primer, then paint....any thoughts on this process? I don;t have the old emblem to stick back on.
Comment
-
 speedorchid
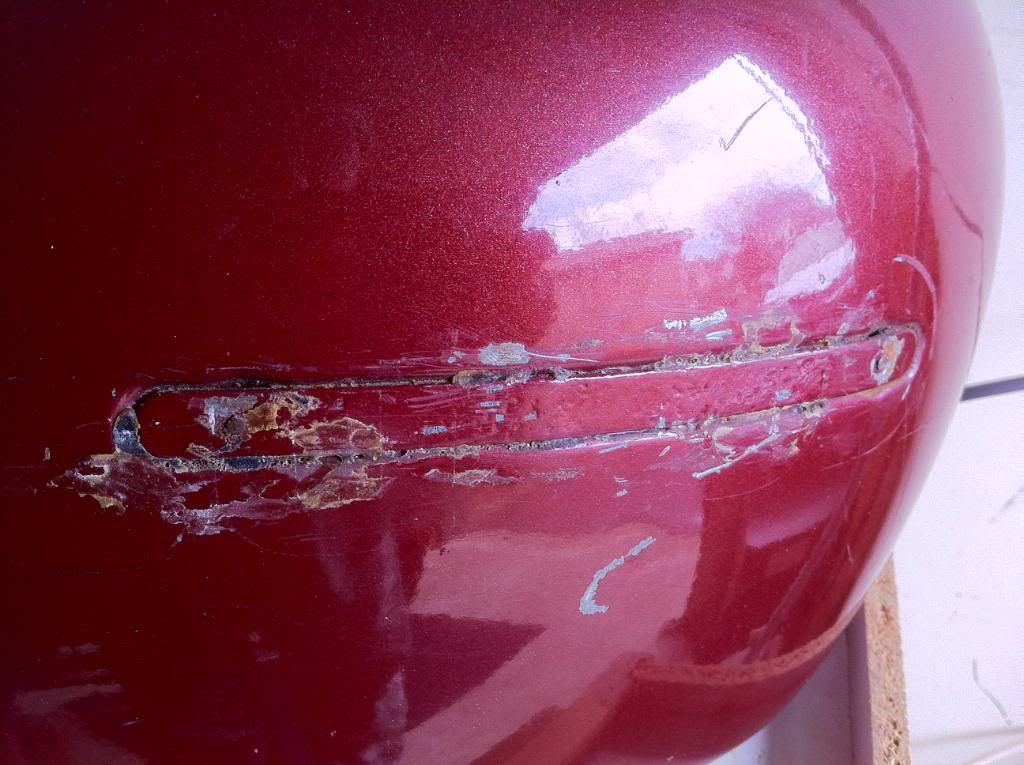
cheezy plastic label removed:
then sanded:
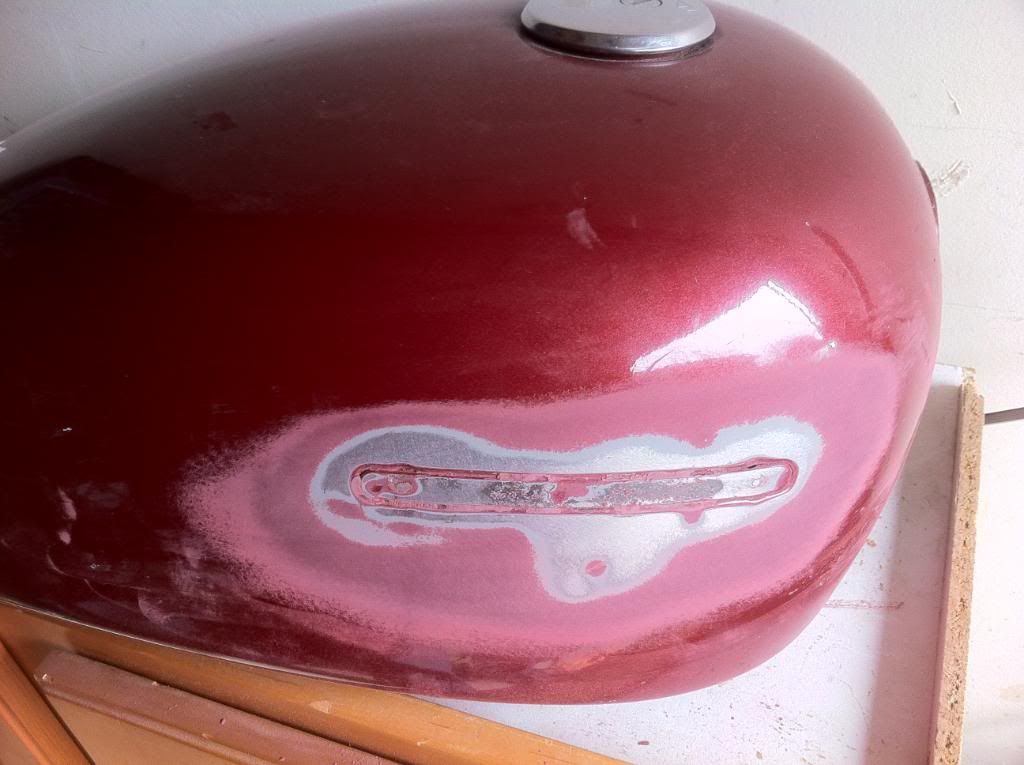
then bondo'd:
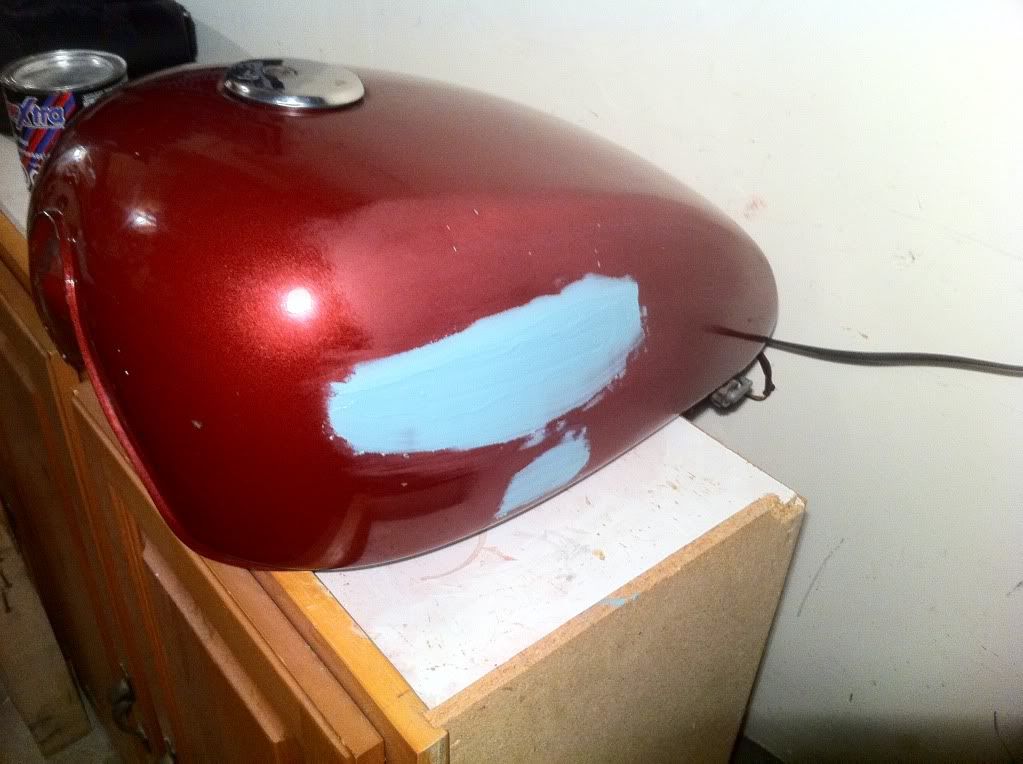
then sanded:
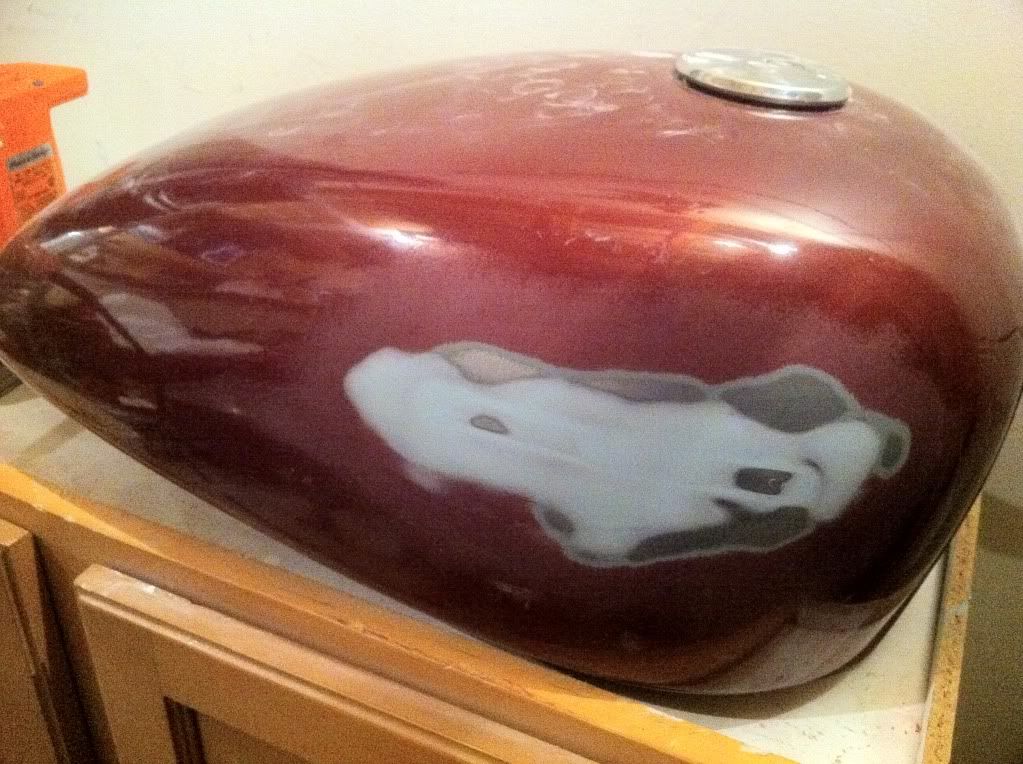
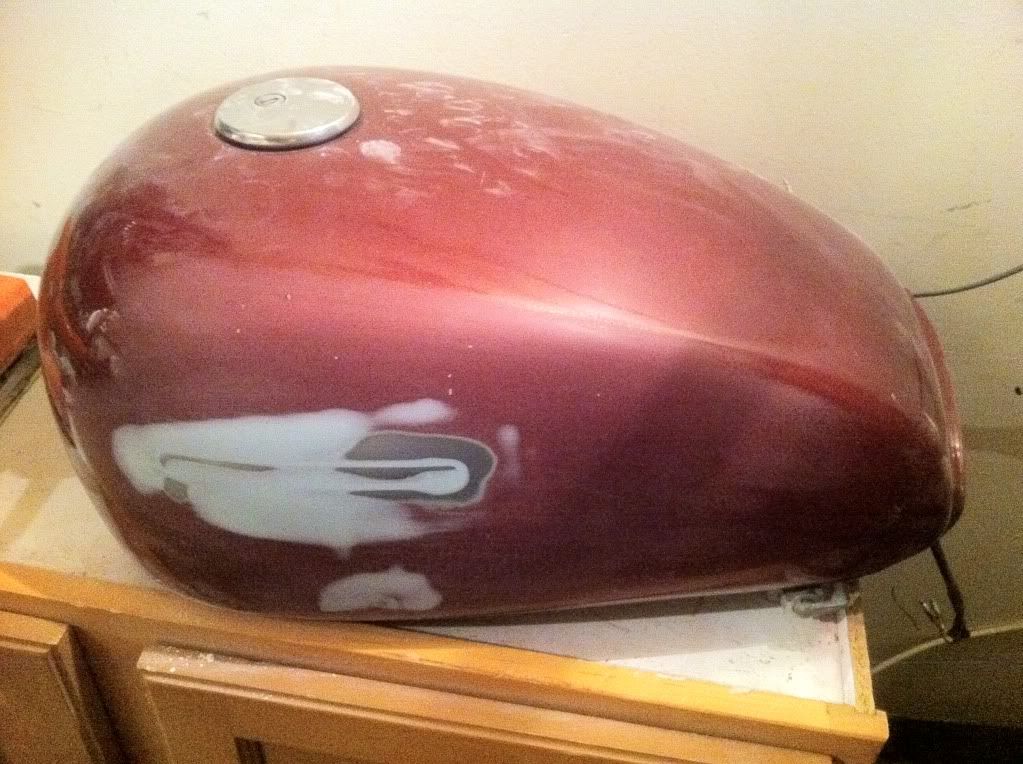
I think I might do another round of bondo as there is a little bump still. Then going to paint.....
So many posts on how to paint a motorcycle tank. That being said, I don;t have a spray gun or 20 different types of paints and stuff so....I will do the following:
1)sand the tank down with 1200 paper all over. I will leave the maroon paint on the top portions but scuff it all up with the 1200 sand paper. Or is there a need to sand down the whole tank so no maroon paint is showing?
2)Prime the whole tank with a primer
3)resand lightly using 1200 paper
4) paint the whole tank with
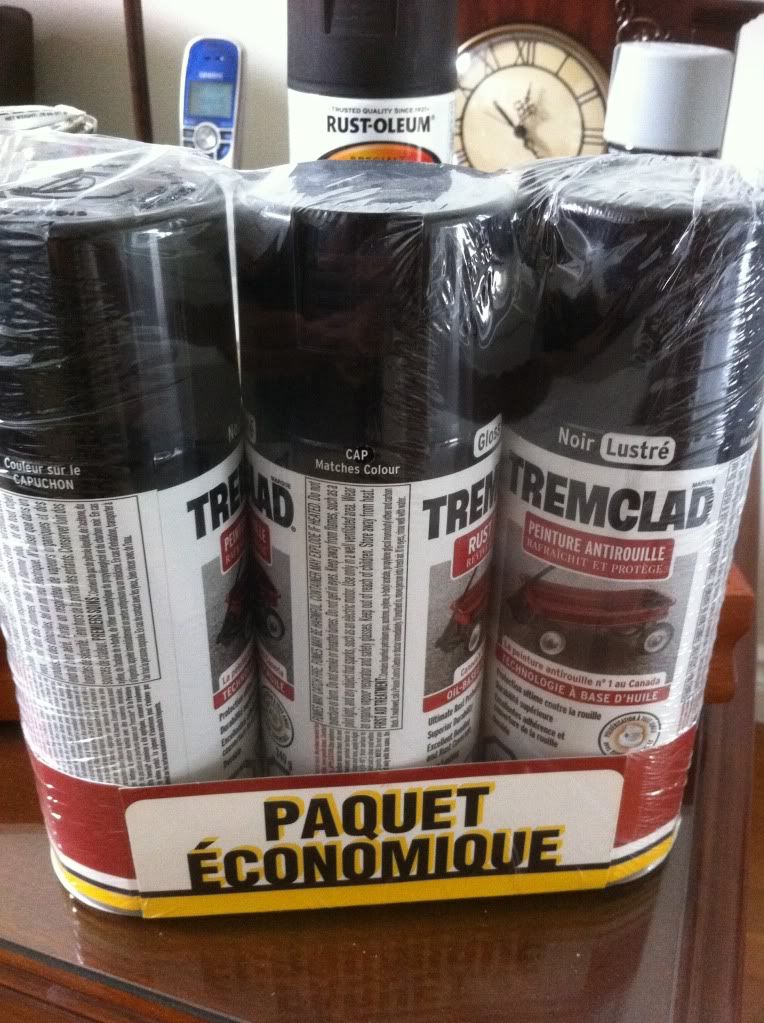
5) clear coat/ protective coat?
people talk about clear coats and other things and buffing etc....Do I really have to do something to the tank after painting with the rattle cans above? Is there anything that I can buy at home depot/lowes/rona that might help keep the gas from eating away at the paint?
If it is too hard, I might just pay someone 100$ to paint it black.
ok well I'll keep posting my progress, at least fun moving ahead with things.
primer and then
Comment
-
Your best bet is to find the 2K (?) Clearcoat that is referenced in the forums and use it. I rattle canned my tank last year and put a crappy Duplicolor clear coat on it. Sadly, I will be redoing it this year as it just didn't last and will find a better clearcoat.
Spend the money now on doing it right or you'll keep spending more later.Cowboy Up or Quit. - Run Free Lou and Rest in Peace
1981 GS550T - My First
1981 GS550L - My Eldest Daughter's - Now Sold
2007 GSF1250SA Bandit - My touring bike
Sit tall in the saddle Hold your head up high
Keep your eyes fixed where the trail meets the sky and live like you ain't afraid to die
and don't be scared, just enjoy your ride - Chris Ledoux, "The Ride"
Comment
-
 speedorchid
More picts moving forward


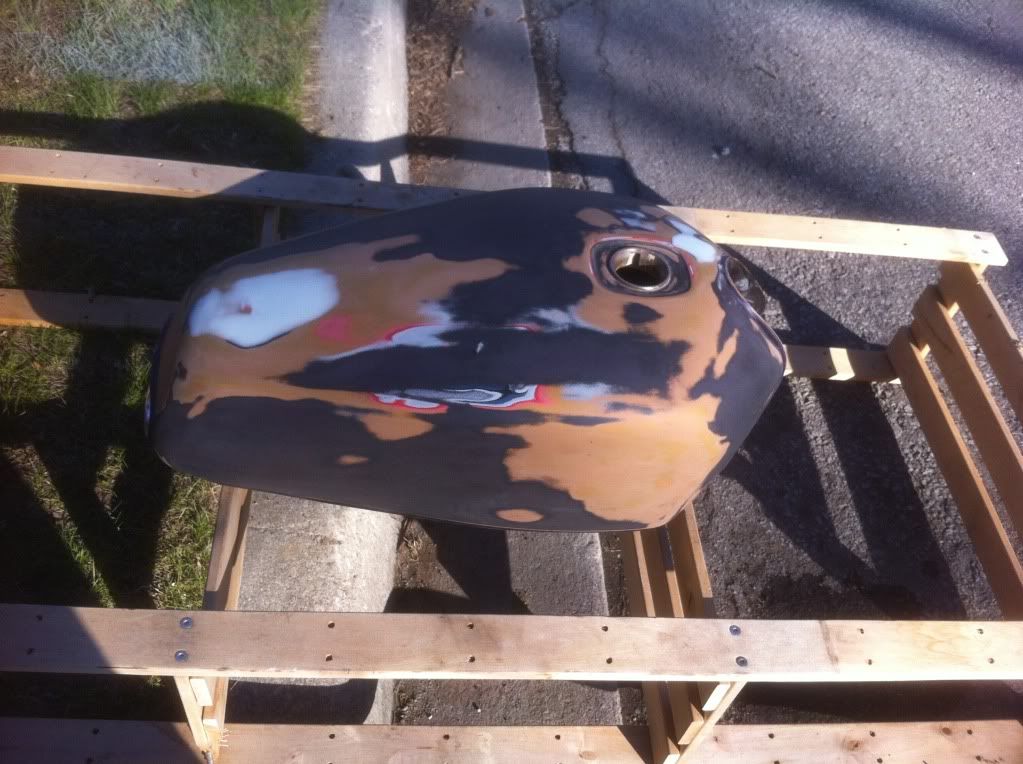
also working on this purple tank:
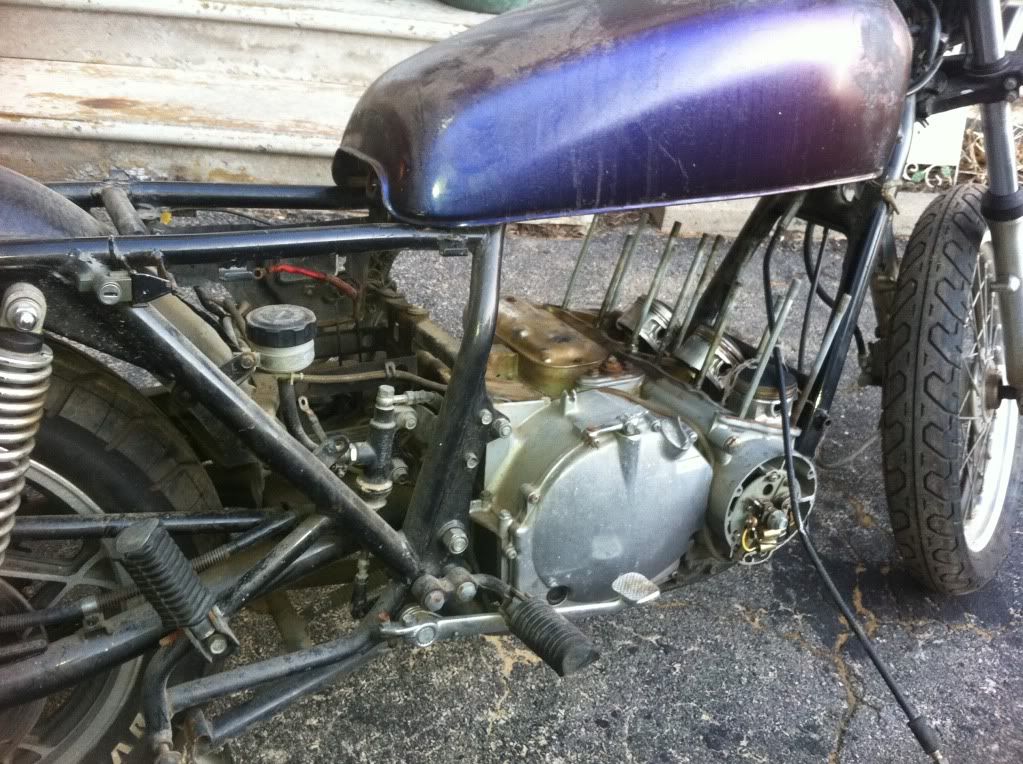
bondo'd to hell
primed
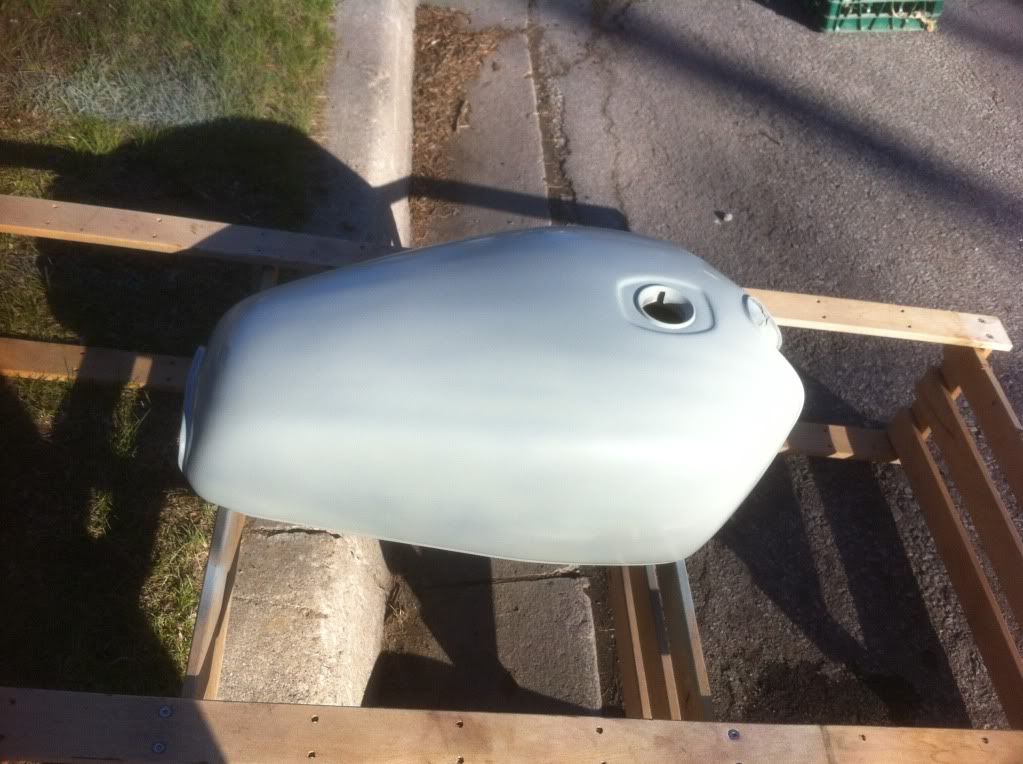
turned out awesome!!!!

still going to clear coat the top......hope it holds up to gas if it spills.
Comment
-
 speedorchid
Comment
-
 Roger P.
Originally posted by sschering View PostI went with a basic De-L-ing process
swap to straight forks
swap bars
add rear sets and less ugly seat cover.
It still looks a little odd but it gets me around..
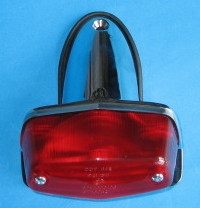
The rear fender /tail light still bug me.. That and the giant gap between the neck and the tank.
From this

to this


I put the top one on this list of tail lights on my XS650 and it smartened up the look a LOT. There are various places to buy the same one.
 XS650 direct.com is the world's largest one-stop shop for XS650 parts. offering thousands of Yamaha XS650 motorcycle parts. Carrying parts for the XS360 to XS1100 motorcycles. Free $10 Gift Card for orders over $99. Free Shipping - Upgrade your XS650 Today
Comment
-
 mrl1000l
speedorchid, welcome to the L club! I have a 79 gs1000l with k&n pods, with a kerker 4-1 and I can tell how I jetted mine. PM if you are curious about jetting based on stock carbs. I can also tell you that you will completely waste your time jetting unless you do all this first:
• checked the valve clearances
• checked the compression on each cylinder
• checked the carb boots & o-ring seals for cracks
• checked the vacuum petcock diaphragm isn't leaking
•*checked the voltage to the coils
• checked points clearances
Looking forward to seeing how this turns out!
Comment
-
 speedorchid
awesome thanks so much...this week I'm moving forward with some more cosmetic stuff so will post some picts asap.
Originally posted by mrl1000l View Postspeedorchid, welcome to the L club! I have a 79 gs1000l with k&n pods, with a kerker 4-1 and I can tell how I jetted mine. PM if you are curious about jetting based on stock carbs. I can also tell you that you will completely waste your time jetting unless you do all this first:
• checked the valve clearances
• checked the compression on each cylinder
• checked the carb boots & o-ring seals for cracks
• checked the vacuum petcock diaphragm isn't leaking
•*checked the voltage to the coils
• checked points clearances
Looking forward to seeing how this turns out!
Comment
-
 speedorchid
Was too overwhelming - but looks good
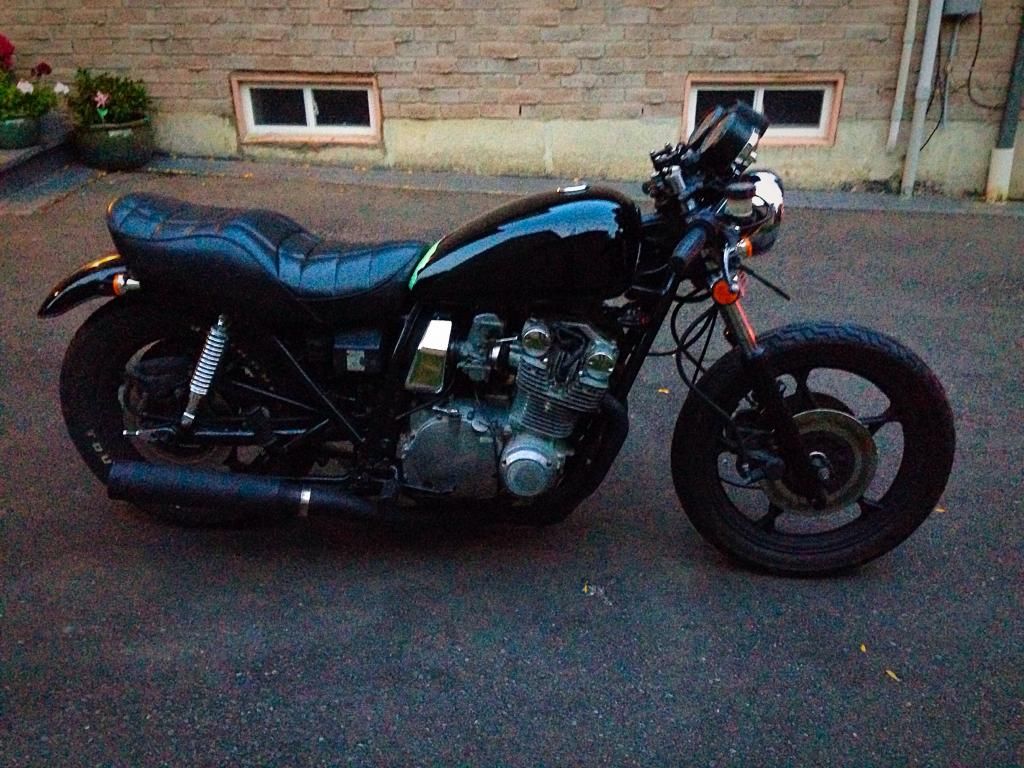
IT got to be too much to do on my own so I sent to someone who cleaned the carbs and got it all working. He called me to let me know that there is a grinding sound coming from the middle of the engine and that it needs to be taken apart to find out what exactly is the issue or I need to get a a used engine to swap into it. Both will cost too much $$$ sooooo....I will get it all back together with a good carb cleaning and sync as well as the top engine with a new gasket. I have to lift it back up an inch or so as its too low....I'll get some new oil in it and then it will be for sale with an accompanying parts bike unless I can think of something between now and when I get it back.
A sad day for me as I put in a ton of time and effort into this one but think I have to cut my losses. Thanks GS for all the feedback and replies.
Comment
-
 jeffgs
I am saying this more in regards to the bike and not your discouragement.
I cannot believe for one second you are giving up on that bike. That is a hot bike. Finish the race brother
Comment
.png)


Comment